Circus Animal Paper Puppets Craft
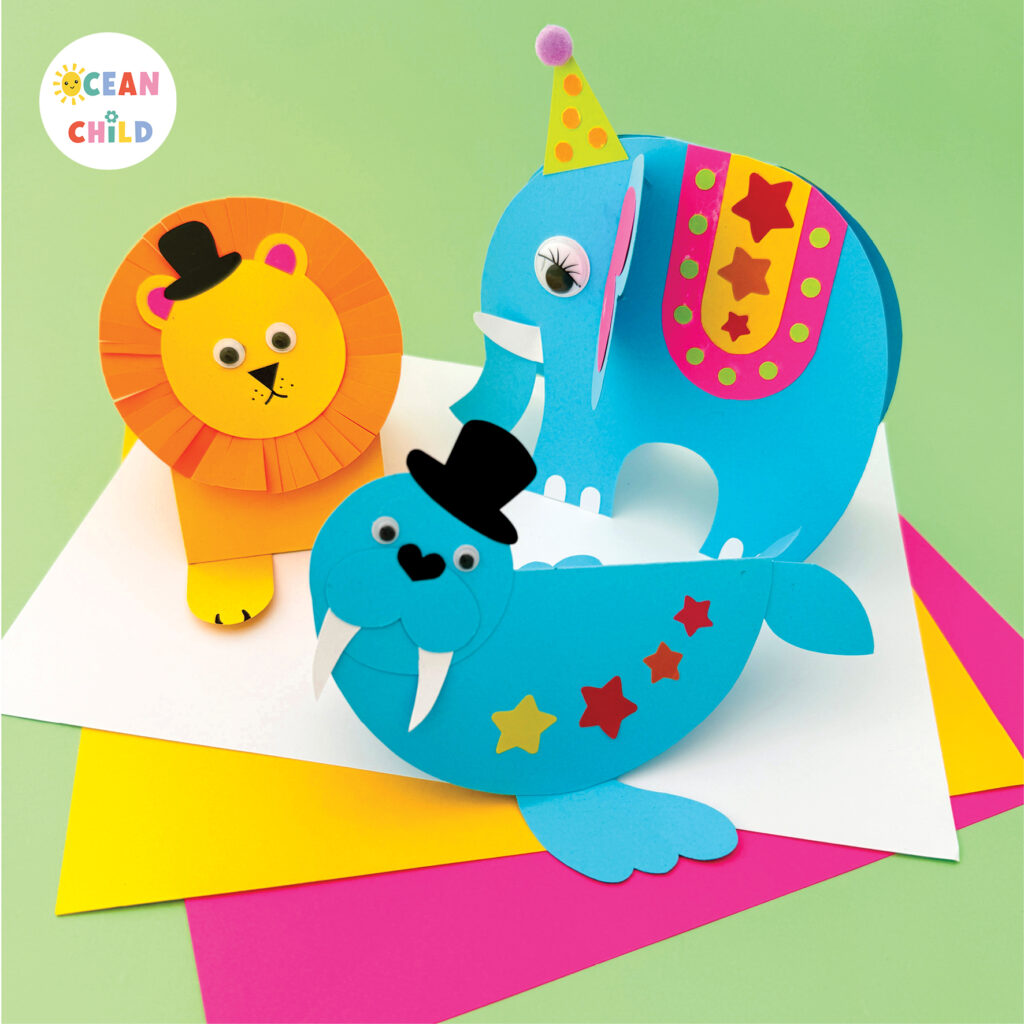
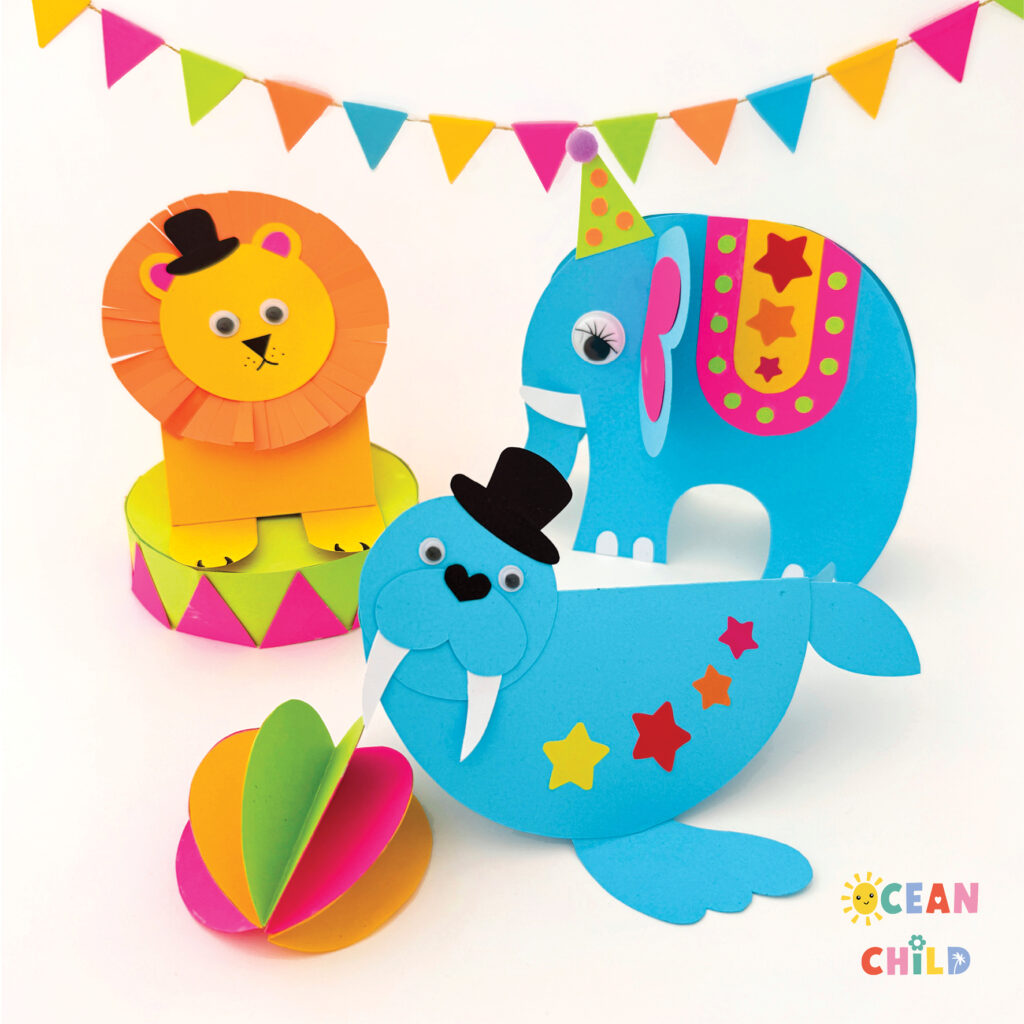
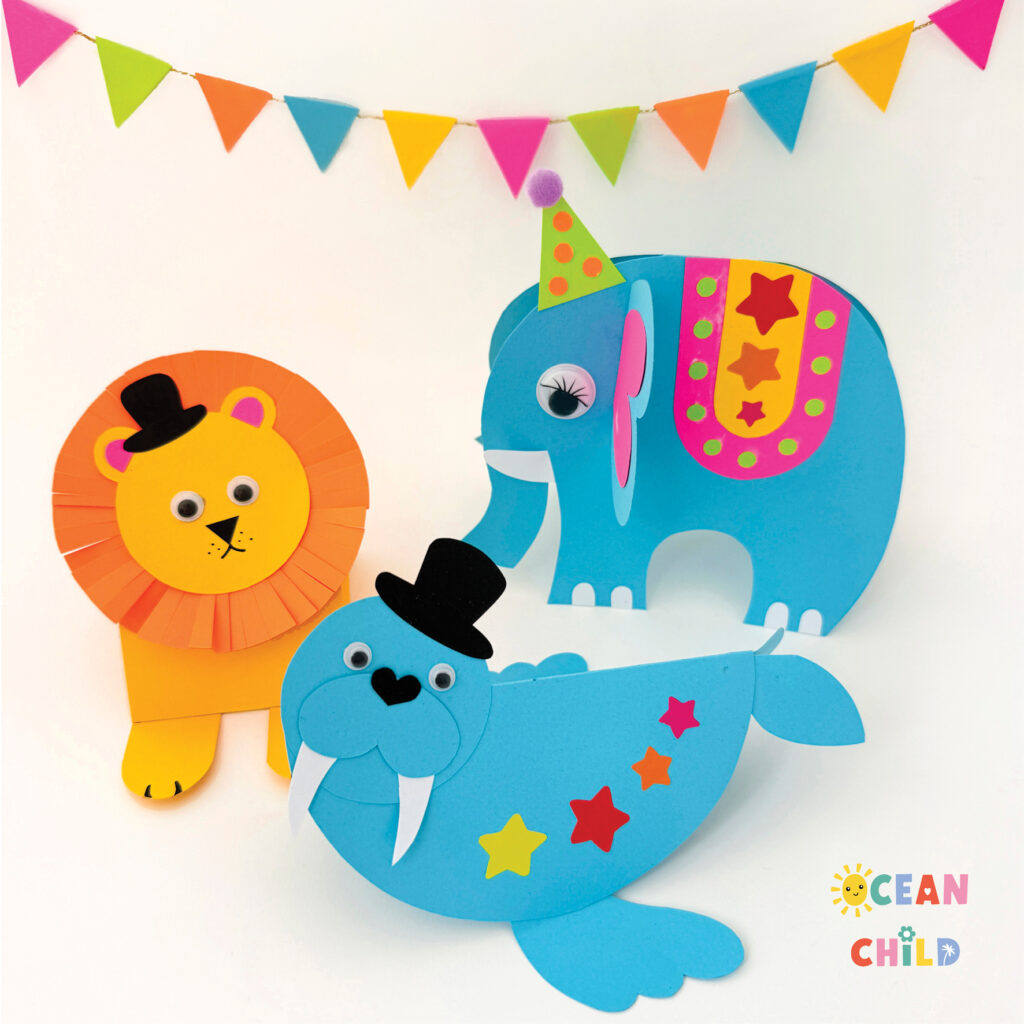
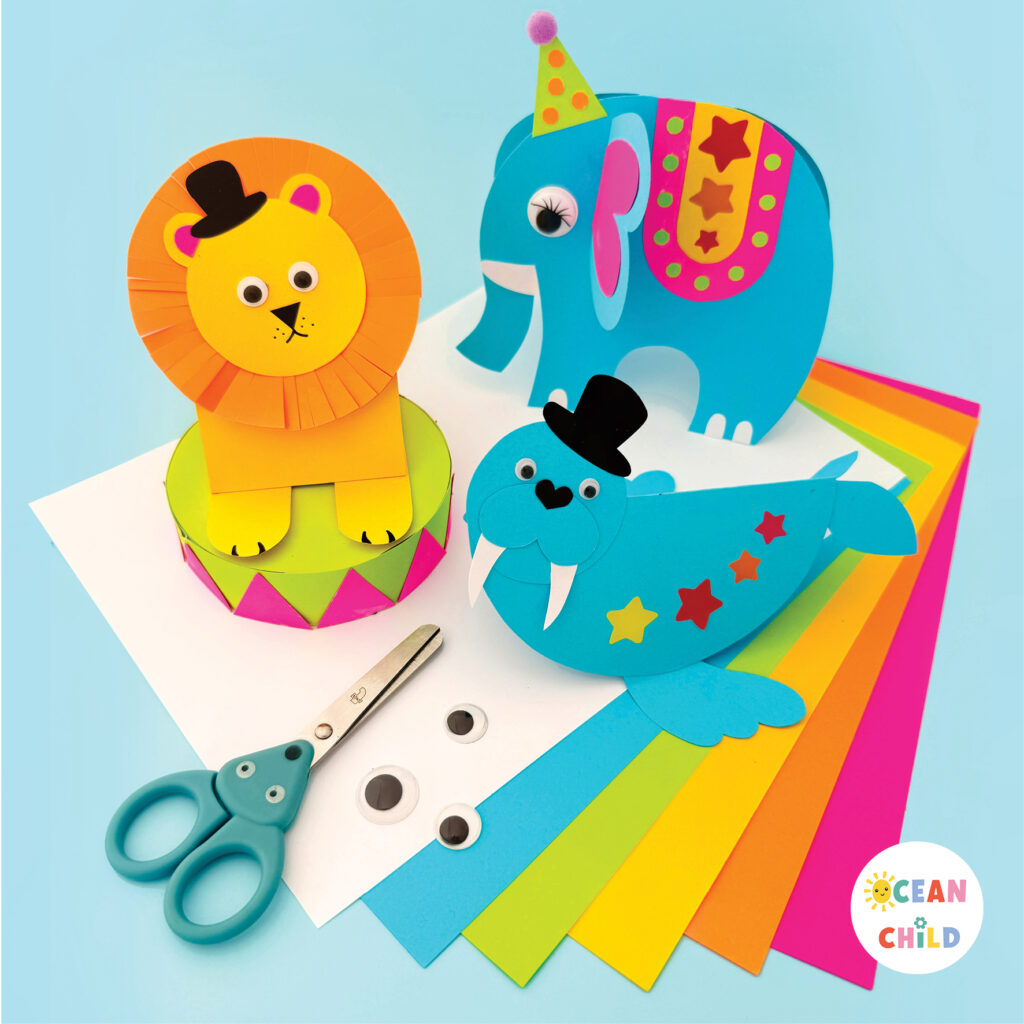
Bring the circus to your craft table with these cheerful folded paper circus animal puppets! In collaboration with Astrobrights®, we created this colorful circus craft for kids who love animals, pretend play, and hands-on paper projects. With the free printable template, kids can make three different circus animals: a lion, an elephant, and a walrus. Each animal has its own simple folded paper base, so once they are finished, they can stand up on their own.
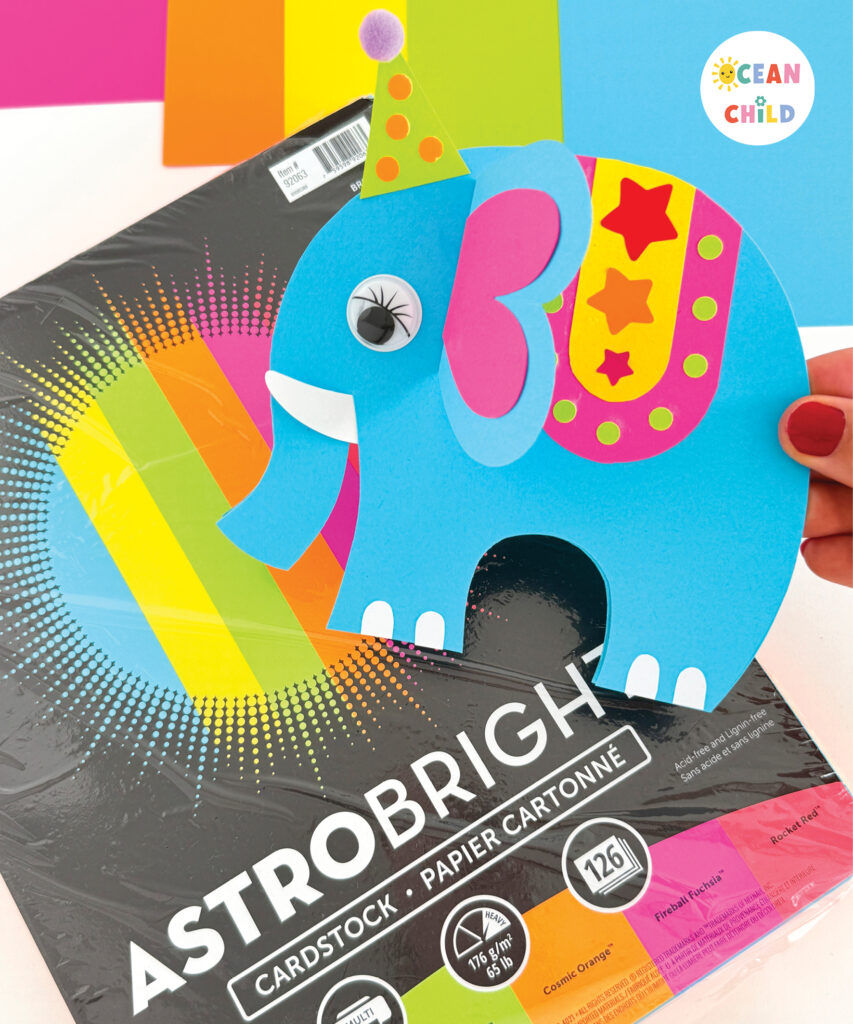
For this project, we used the Astrobrights® Brilliant Cardstock. to give the animals a fun and playful circus look. The bold colors work so well for this craft and make each puppet feel extra cheerful. You can use the printable template in a few different ways. Print the template, cut out the pieces, and use them as tracing templates on colored cardstock. Or print the template directly on white cardstock and let kids color the animals before assembling them.
By using this site, you agree to our privacy policy and terms of use. This article contains affiliate links. Please read our full disclosure here.
-
- Circus Animal Craft For Kids
-
- Paper Circus Animal Puppets Craft
Why Kids Will Love This Craft
Kids get to cut, fold, glue, decorate, and bring their own circus animals to life. The finished puppets are not just cute to display, but also fun to use for imaginative play.
This craft is great for a circus theme, animal theme, classroom craft, rainy day activity, or a colorful family craft afternoon.
It’s also a nice activity for practicing fine motor skills. Kids will cut out shapes, fold along the dotted lines, glue small details, and decorate their animals with their own creative touches.
-
- Astrobrights cardstock craft
-
- Free Printable Circus Animal Craft
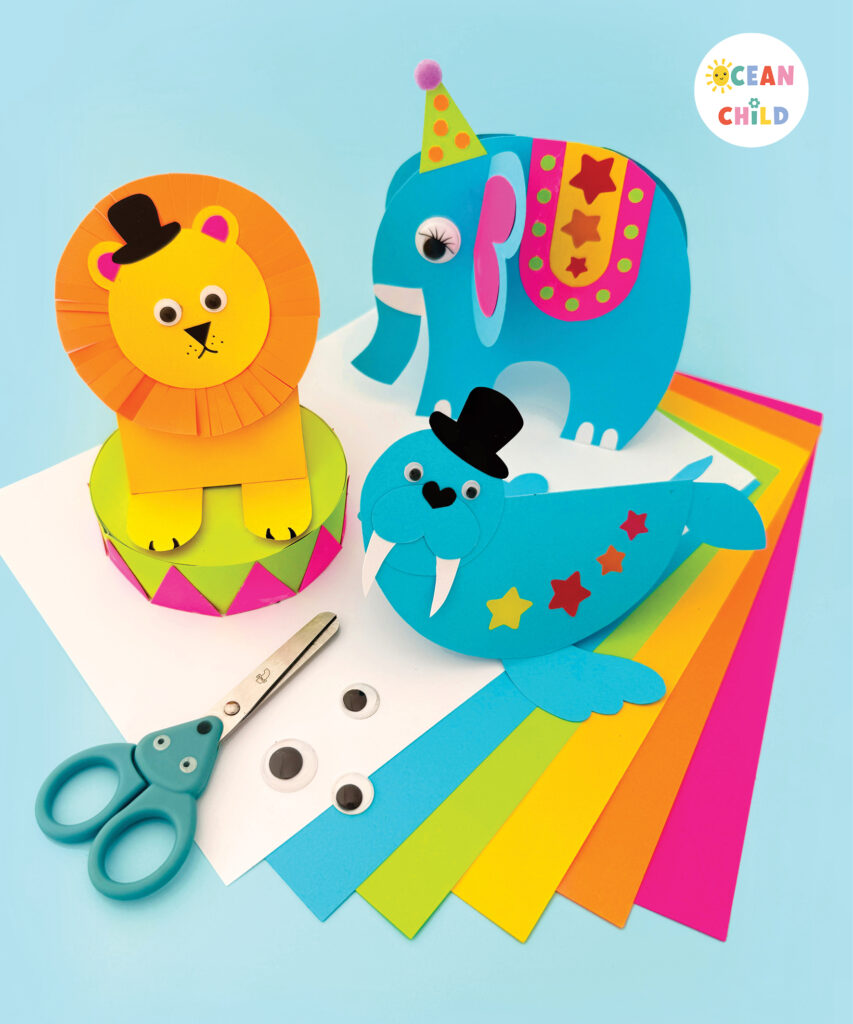
Supplies Needed
- Astrobrights® Brilliant Cardstock
- Free printable circus animal puppet template
- Scissors
- Glue stick or craft glue
- Googly eyes
- Black marker
- Optional: pom-poms, paper stars, stickers, or other decorations
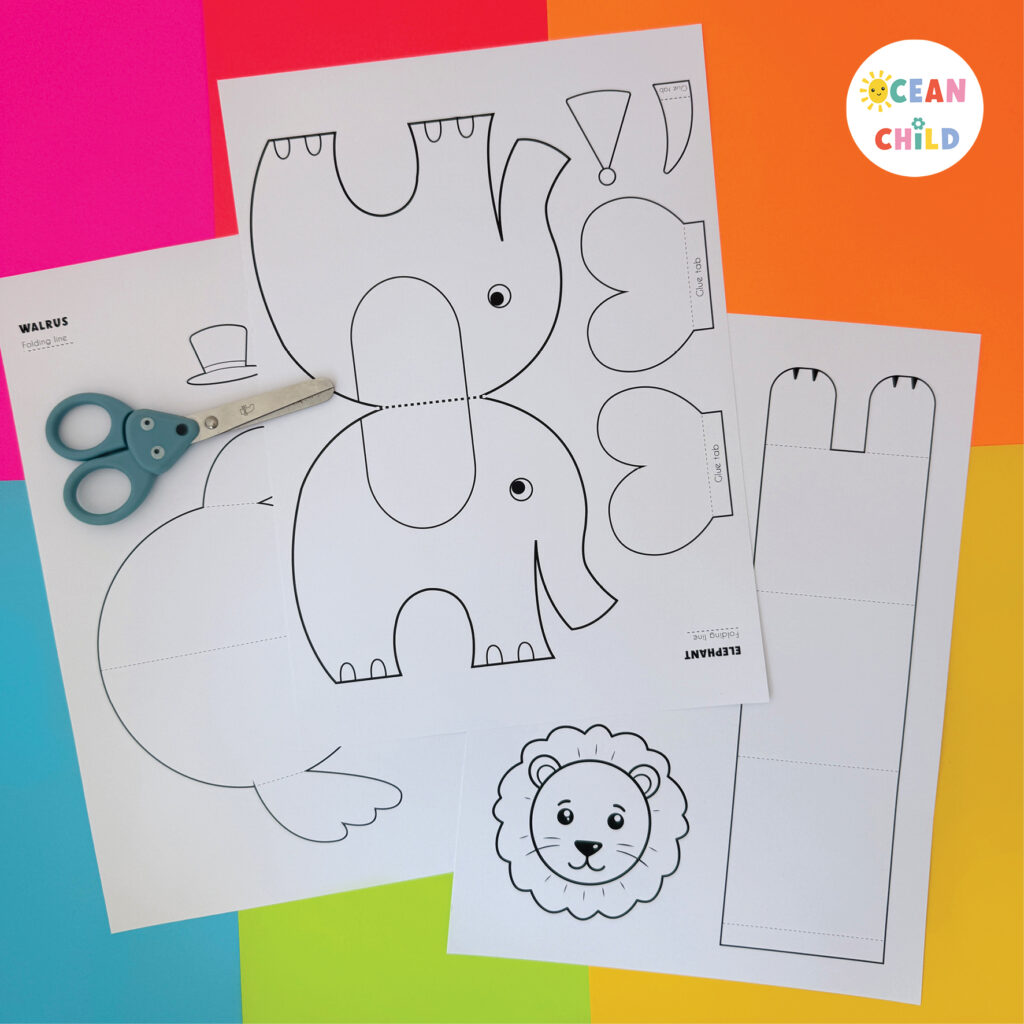
How to Prepare the Circus Animal Templates
Print the circus animal puppet template. Cut out the template pieces you want to use. Then trace the shapes onto Astrobrights® Brilliant Cardstock. I used bright cardstock colors to create a bold circus look, but kids can choose any colors they like.
After tracing, cut out all the cardstock pieces. It helps to keep the pieces for each animal in separate piles, especially the smaller pieces like ears, tusks, hats, paws, and decorations. Now you are ready to fold and assemble your circus animals.
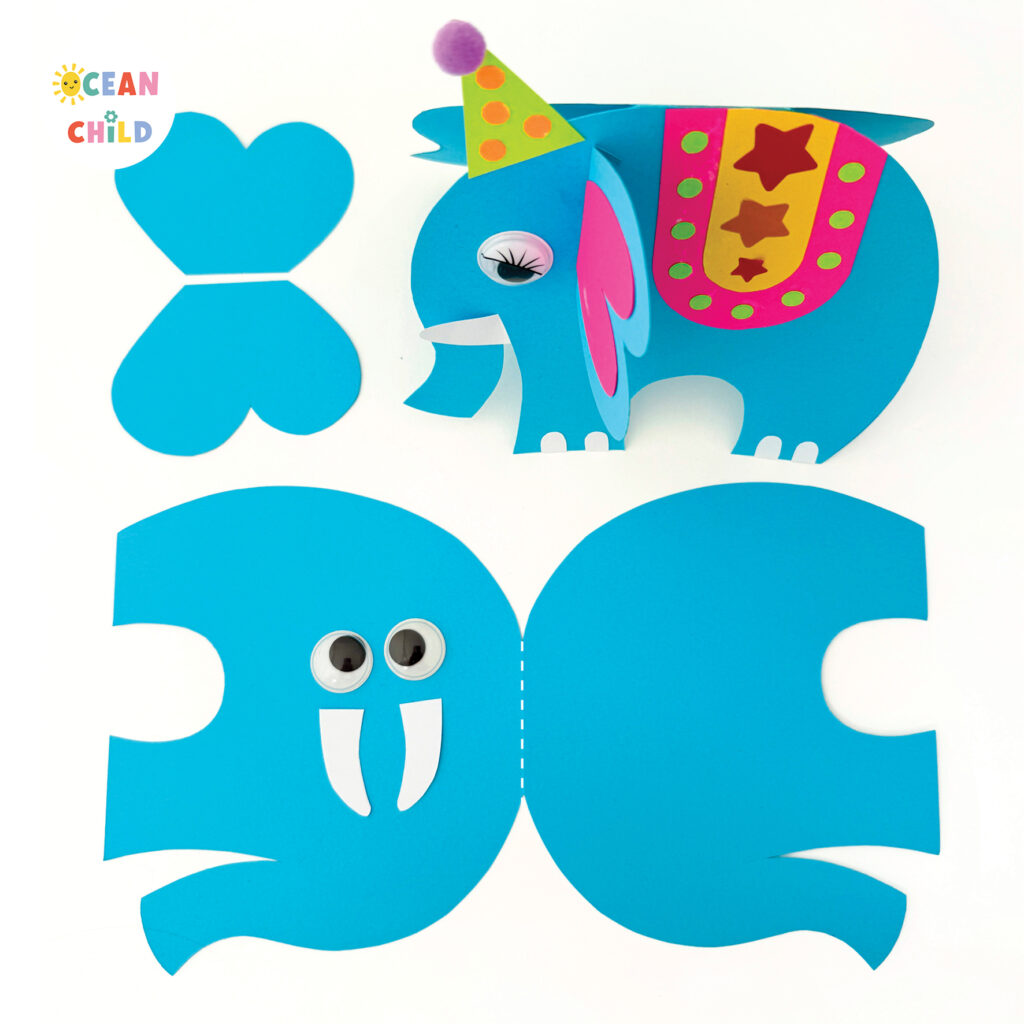
How to Make the Elephant Puppet
The elephant is made from one large folded body shape. The fold runs along the top of the elephant’s back, which helps it stand upright.
Step 1: Cut out the elephant body
Use the elephant body template to trace the shape onto blue cardstock, or another color of your choice. Cut out the elephant body carefully.
Step 2: Fold the elephant
Fold the elephant body in half along the dotted folding line at the top. Press the fold gently so both sides line up. Place the folded elephant on the table to check if it stands. If needed, adjust the fold a little.
Step 3: Add the ears
Cut out the two elephant ears. Fold the glue tabs on the ears. Add glue to the tabs and attach one ear to each side of the elephant’s head. You can bend the ears slightly outward to give the elephant more shape.
Step 4: Add the face
Glue on a googly eye or draw an eye with a black marker. Cut out the tusk and glue it near the trunk. You can also draw a small smile or add a few extra details with a marker.
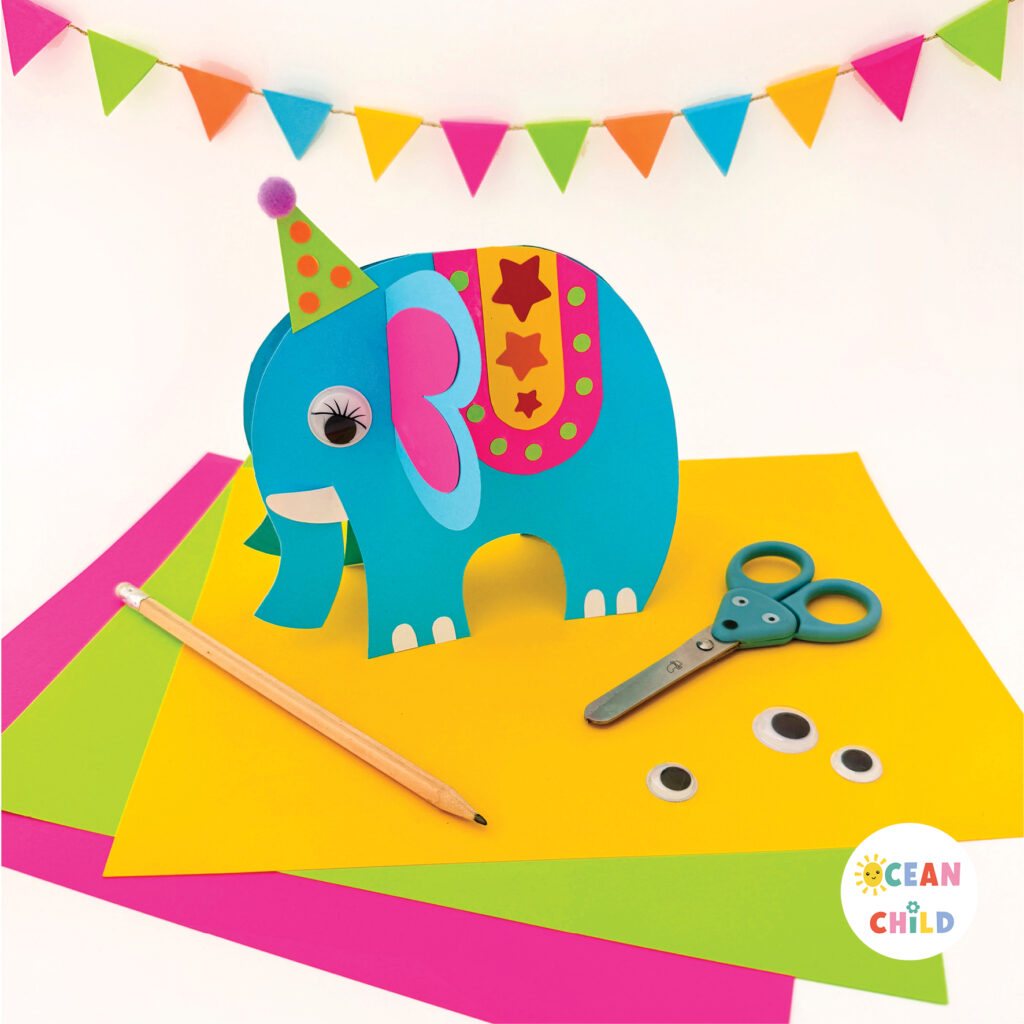
Step 5: Decorate the elephant
Add a colorful circus blanket to the elephant’s back. Decorate the blanket with paper stars, dots, stripes, or any fun shapes you like. You can also add a little party hat to the elephant’s head for an extra festive touch.
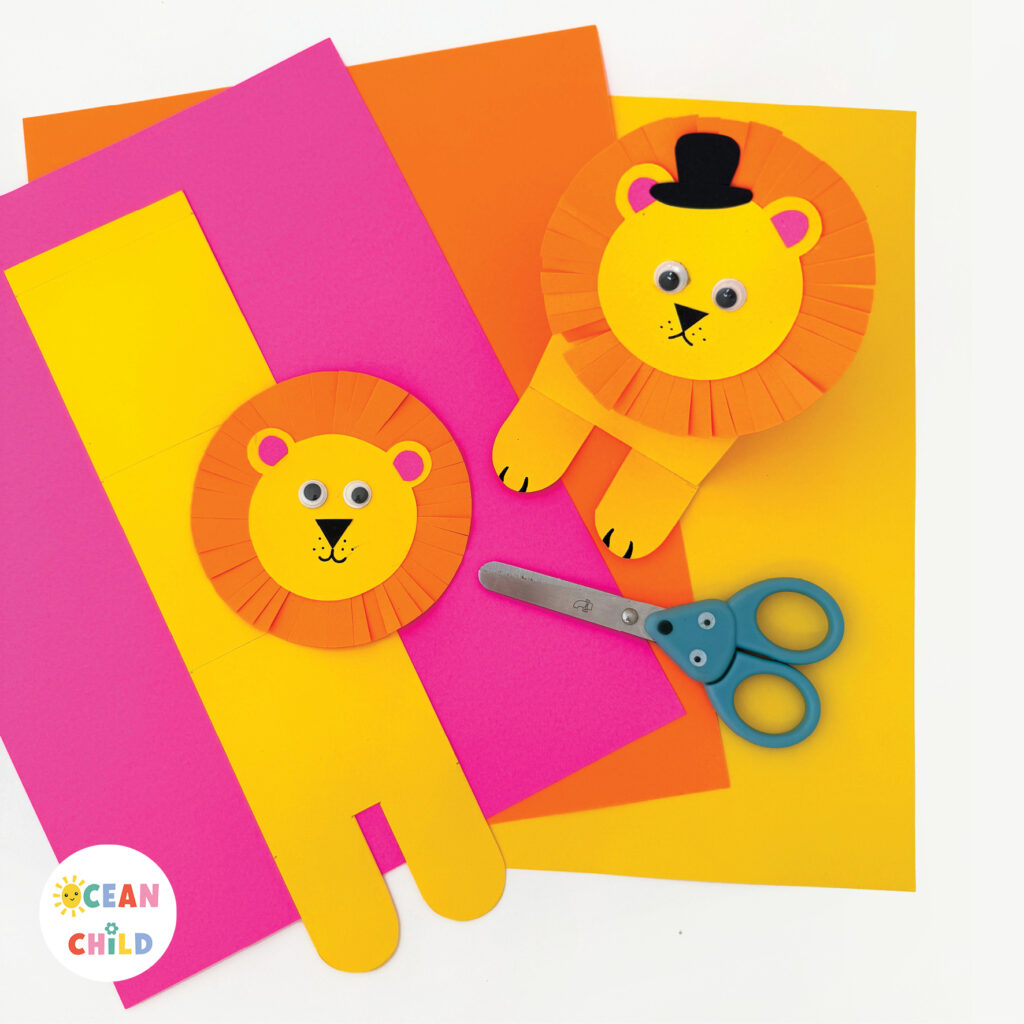
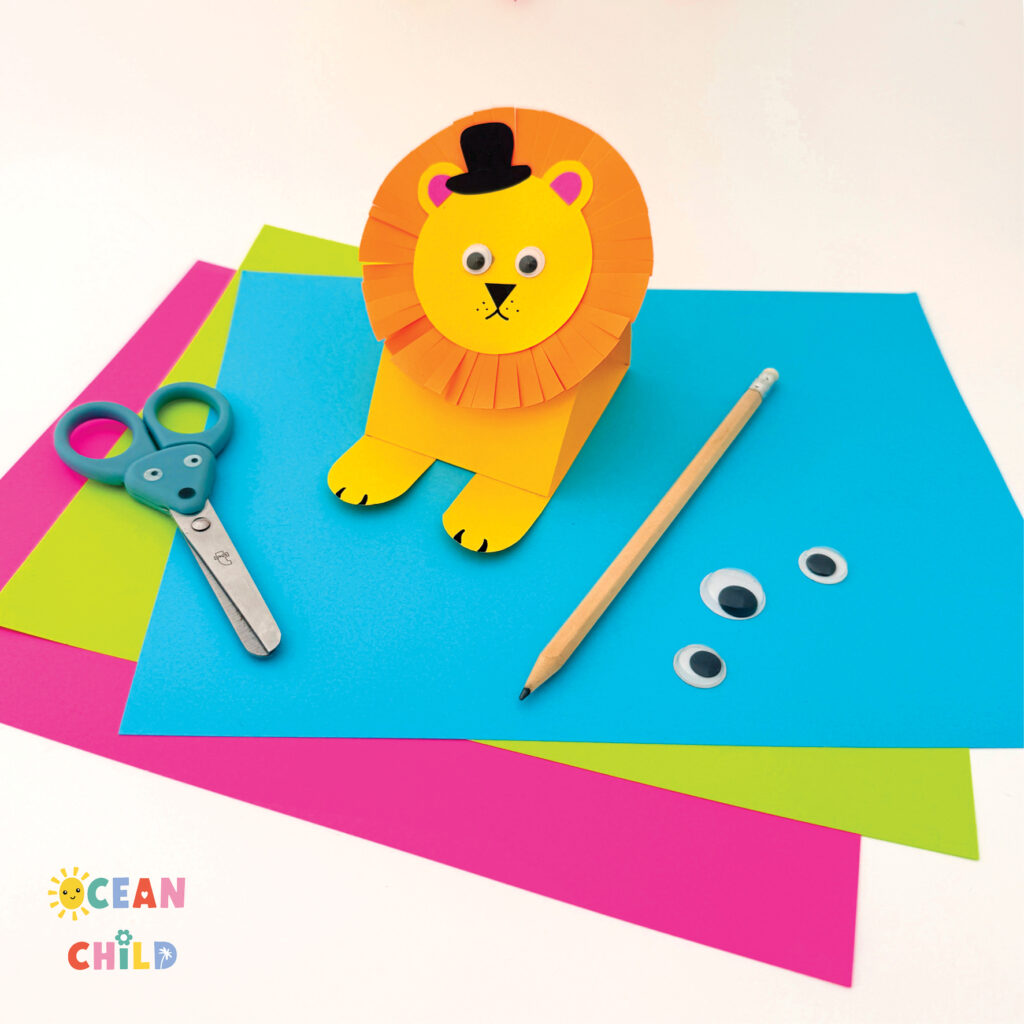
How to Make the Lion Puppet
The lion has a folded rectangle body. When folded and glued, the rectangle creates a standing triangle base.
Step 1: Cut out the lion body
Use the lion body template to trace the long rectangle shape onto yellow or orange cardstock. Cut out the shape carefully.
Step 2: Fold the body
Fold the body along the dotted lines. The folds will create a triangle shape that helps the lion stand. Add glue to the tab and press it in place to close the triangle base. Let it dry for a moment before adding the head.
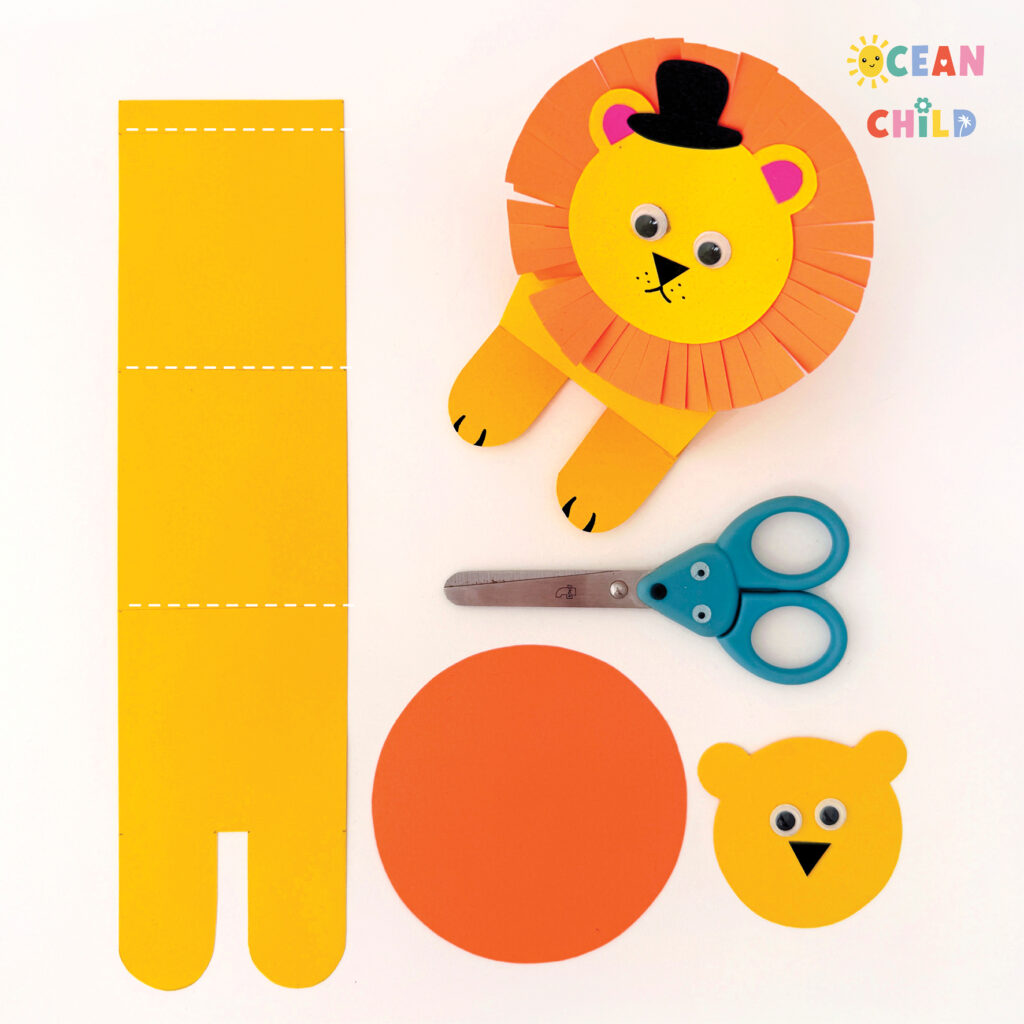
Step 3: Make the lion head
Cut out the lion’s mane and face. You can use orange cardstock for the mane and yellow cardstock for the face. Glue the face onto the center of the mane. To give the mane more texture, cut small snips around the edge of the mane and gently lift or bend the strips.
Step 4: Add the face details
Glue on googly eyes, or draw the eyes with a marker. Add the ears, nose, mouth, and whiskers. You can use small paper pieces or draw the details with a black marker.
Step 5: Attach the head and paws
Glue the lion’s head to the front of the folded triangle body. Cut out the paws and glue them to the front of the body. Draw little claws with a black marker.
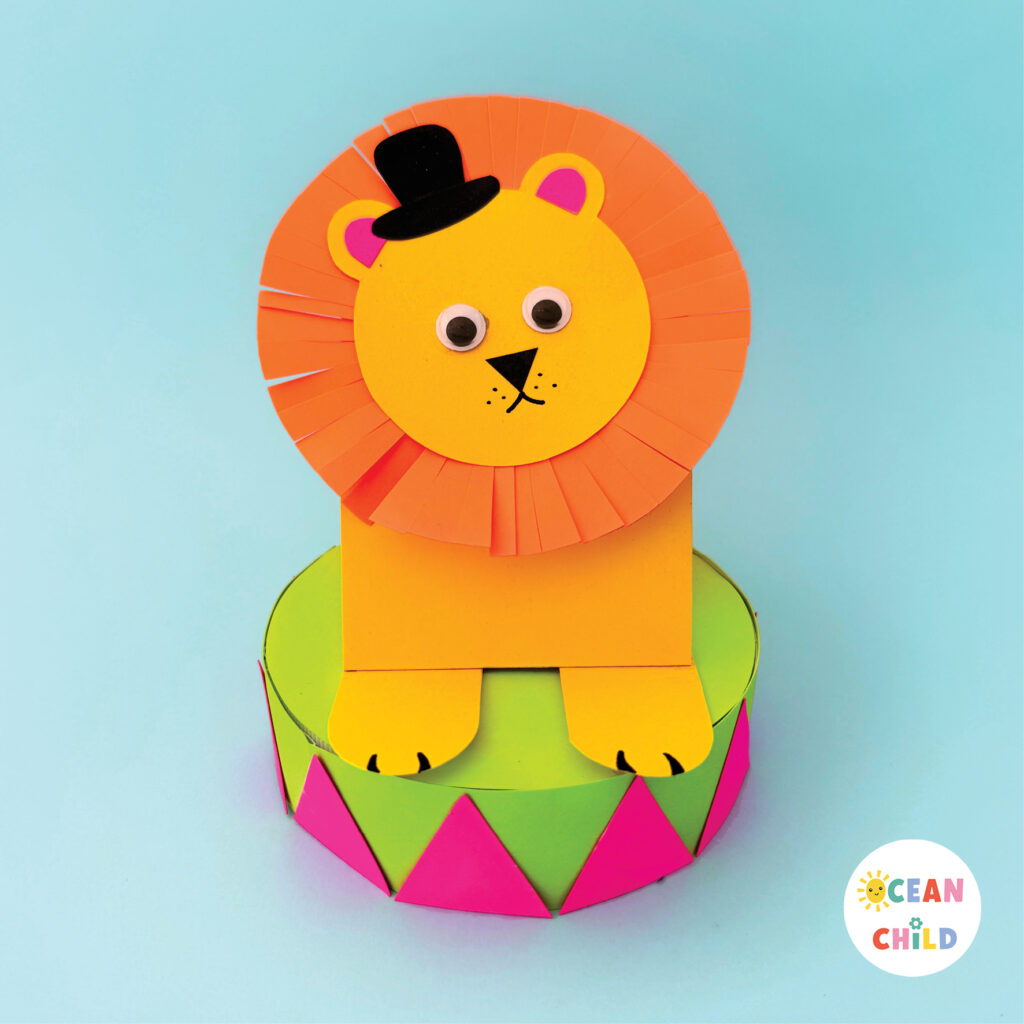
Step 6: Add circus details
Finish your lion with a tiny top hat or party hat. You can also place the lion on a small paper circus stand or add colorful decorations around the base.
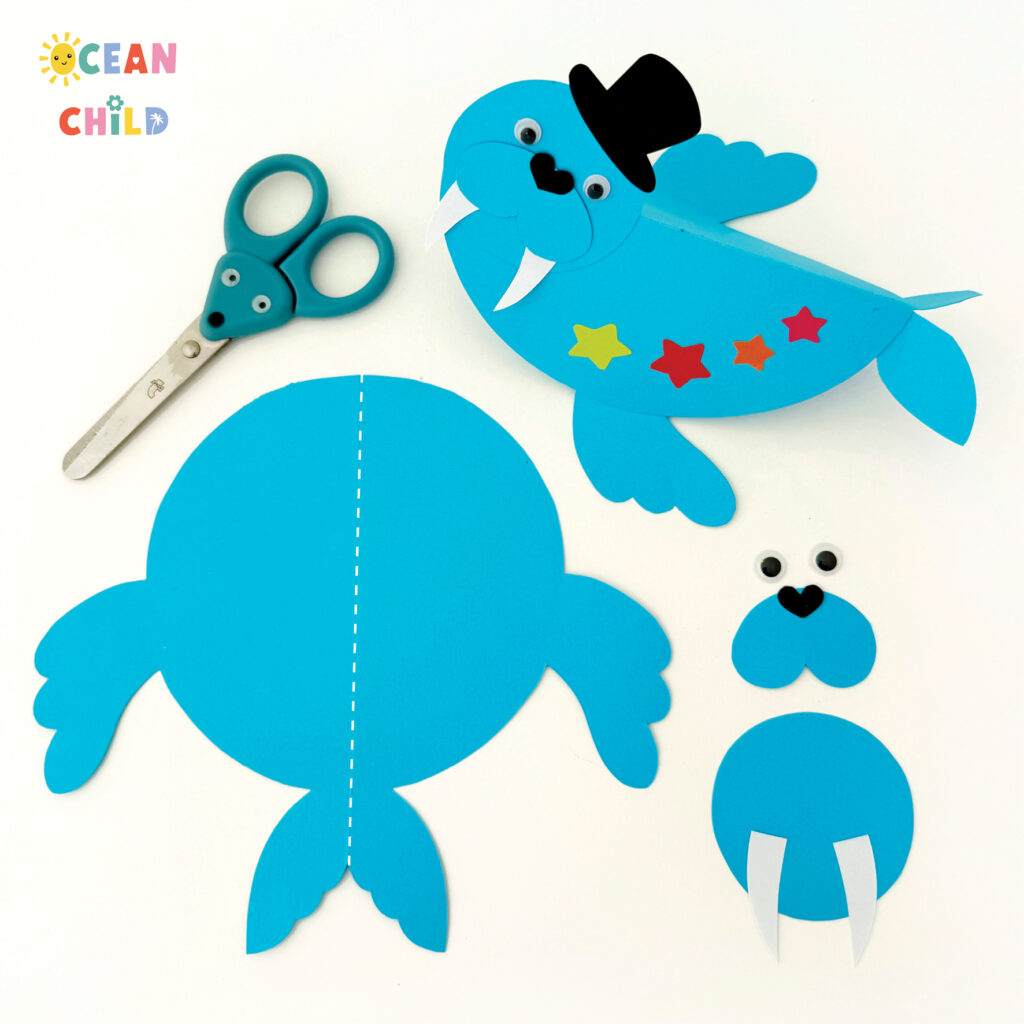

How to Make the Walrus Puppet
The walrus is made from a folded circle. This creates a rounded body that stands nicely and gives the puppet a playful shape.
Step 1: Cut out the body
Use the large circle template to trace the walrus body onto blue cardstock. Cut out the circle carefully.
Step 2: Fold the circle
Fold the circle in half along the dotted folding line. This folded circle becomes the walrus body. Place it on the table to check that it stands. The folded edge should sit at the top, while the rounded bottom helps create the body shape.
Step 3: Add the tail and flippers
Cut out the tail and flipper pieces. Glue the tail to the back of the folded body. Then glue the flippers near the bottom. You can bend the flippers slightly outward to give the walrus more movement.
Step 4: Make the walrus face
Cut out the face pieces and glue them to the front of the folded body. Add the nose, tusks, mouth, and whiskers. Use the template pieces or draw some details with a black marker.
Step 5: Add the eyes
Glue on googly eyes or draw eyes with a marker. For a fun expression, you can make your walrus smile, wink, or look surprised.
Step 6: Decorate the walrus
Add a small top hat to give the walrus a circus performer look. You can also decorate the body with paper stars, dots, or stripes.
Fun Ways to Decorate Your Circus Animal
- There are so many ways to make these circus animal puppets extra fun. Kids can use the template pieces or add their own decorations.
- Try adding paper stars, colorful dots, stripes, mini hats, pom-poms, stickers or glitter.
- The elephant can wear a bright circus blanket. The lion can stand on a little circus pedestal. The walrus can have a top hat and colorful stars on its body.
- This is a great craft for letting kids make their own choices and create animals with lots of personality.
-
- Circus Animal Craft
Helpful Craft Tips
- Use cardstock for the animal bodies so the puppets stand more easily.
- Fold all dotted lines before gluing. This makes the animals easier to assemble.
- If you are crafting with younger kids, you may want to pre-cut the smaller pieces, such as the tusks, ears, hats, and decorations.
- A glue stick works well for paper, but craft glue may be better for pom-poms or googly eyes.
- Let the glue dry before standing up or playing with the puppets.
Circus Animal Puppet Craft
Once all three animals are finished, set them up together to create your own colorful paper circus scene. Kids can use their lion, elephant, and walrus puppets for pretend play, storytelling, classroom displays, or a fun circus-themed craft activity.
I love how bright and playful these folded paper animals look together. The simple folds make them easy enough for kids to create, while the colorful cardstock and little circus details make them feel extra special.
For more colorful paper craft inspiration, follow @astrobrights on Instagram and tag us in your circus crafts. We would love to see what you create!
 Paper Cone Animals: Easy 3D Animal Crafts with Templates
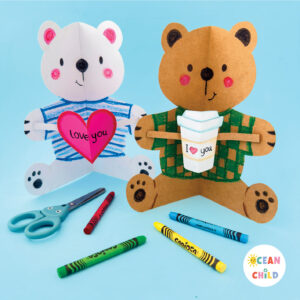 Bear Pop-Up Card for Kids – Easy Valentine’s and Mother’s Day Craft
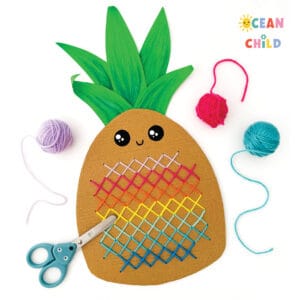 Teach Kids to Stitch with This Cute Pineapple Cross-Stitch Craft (Free Pattern)
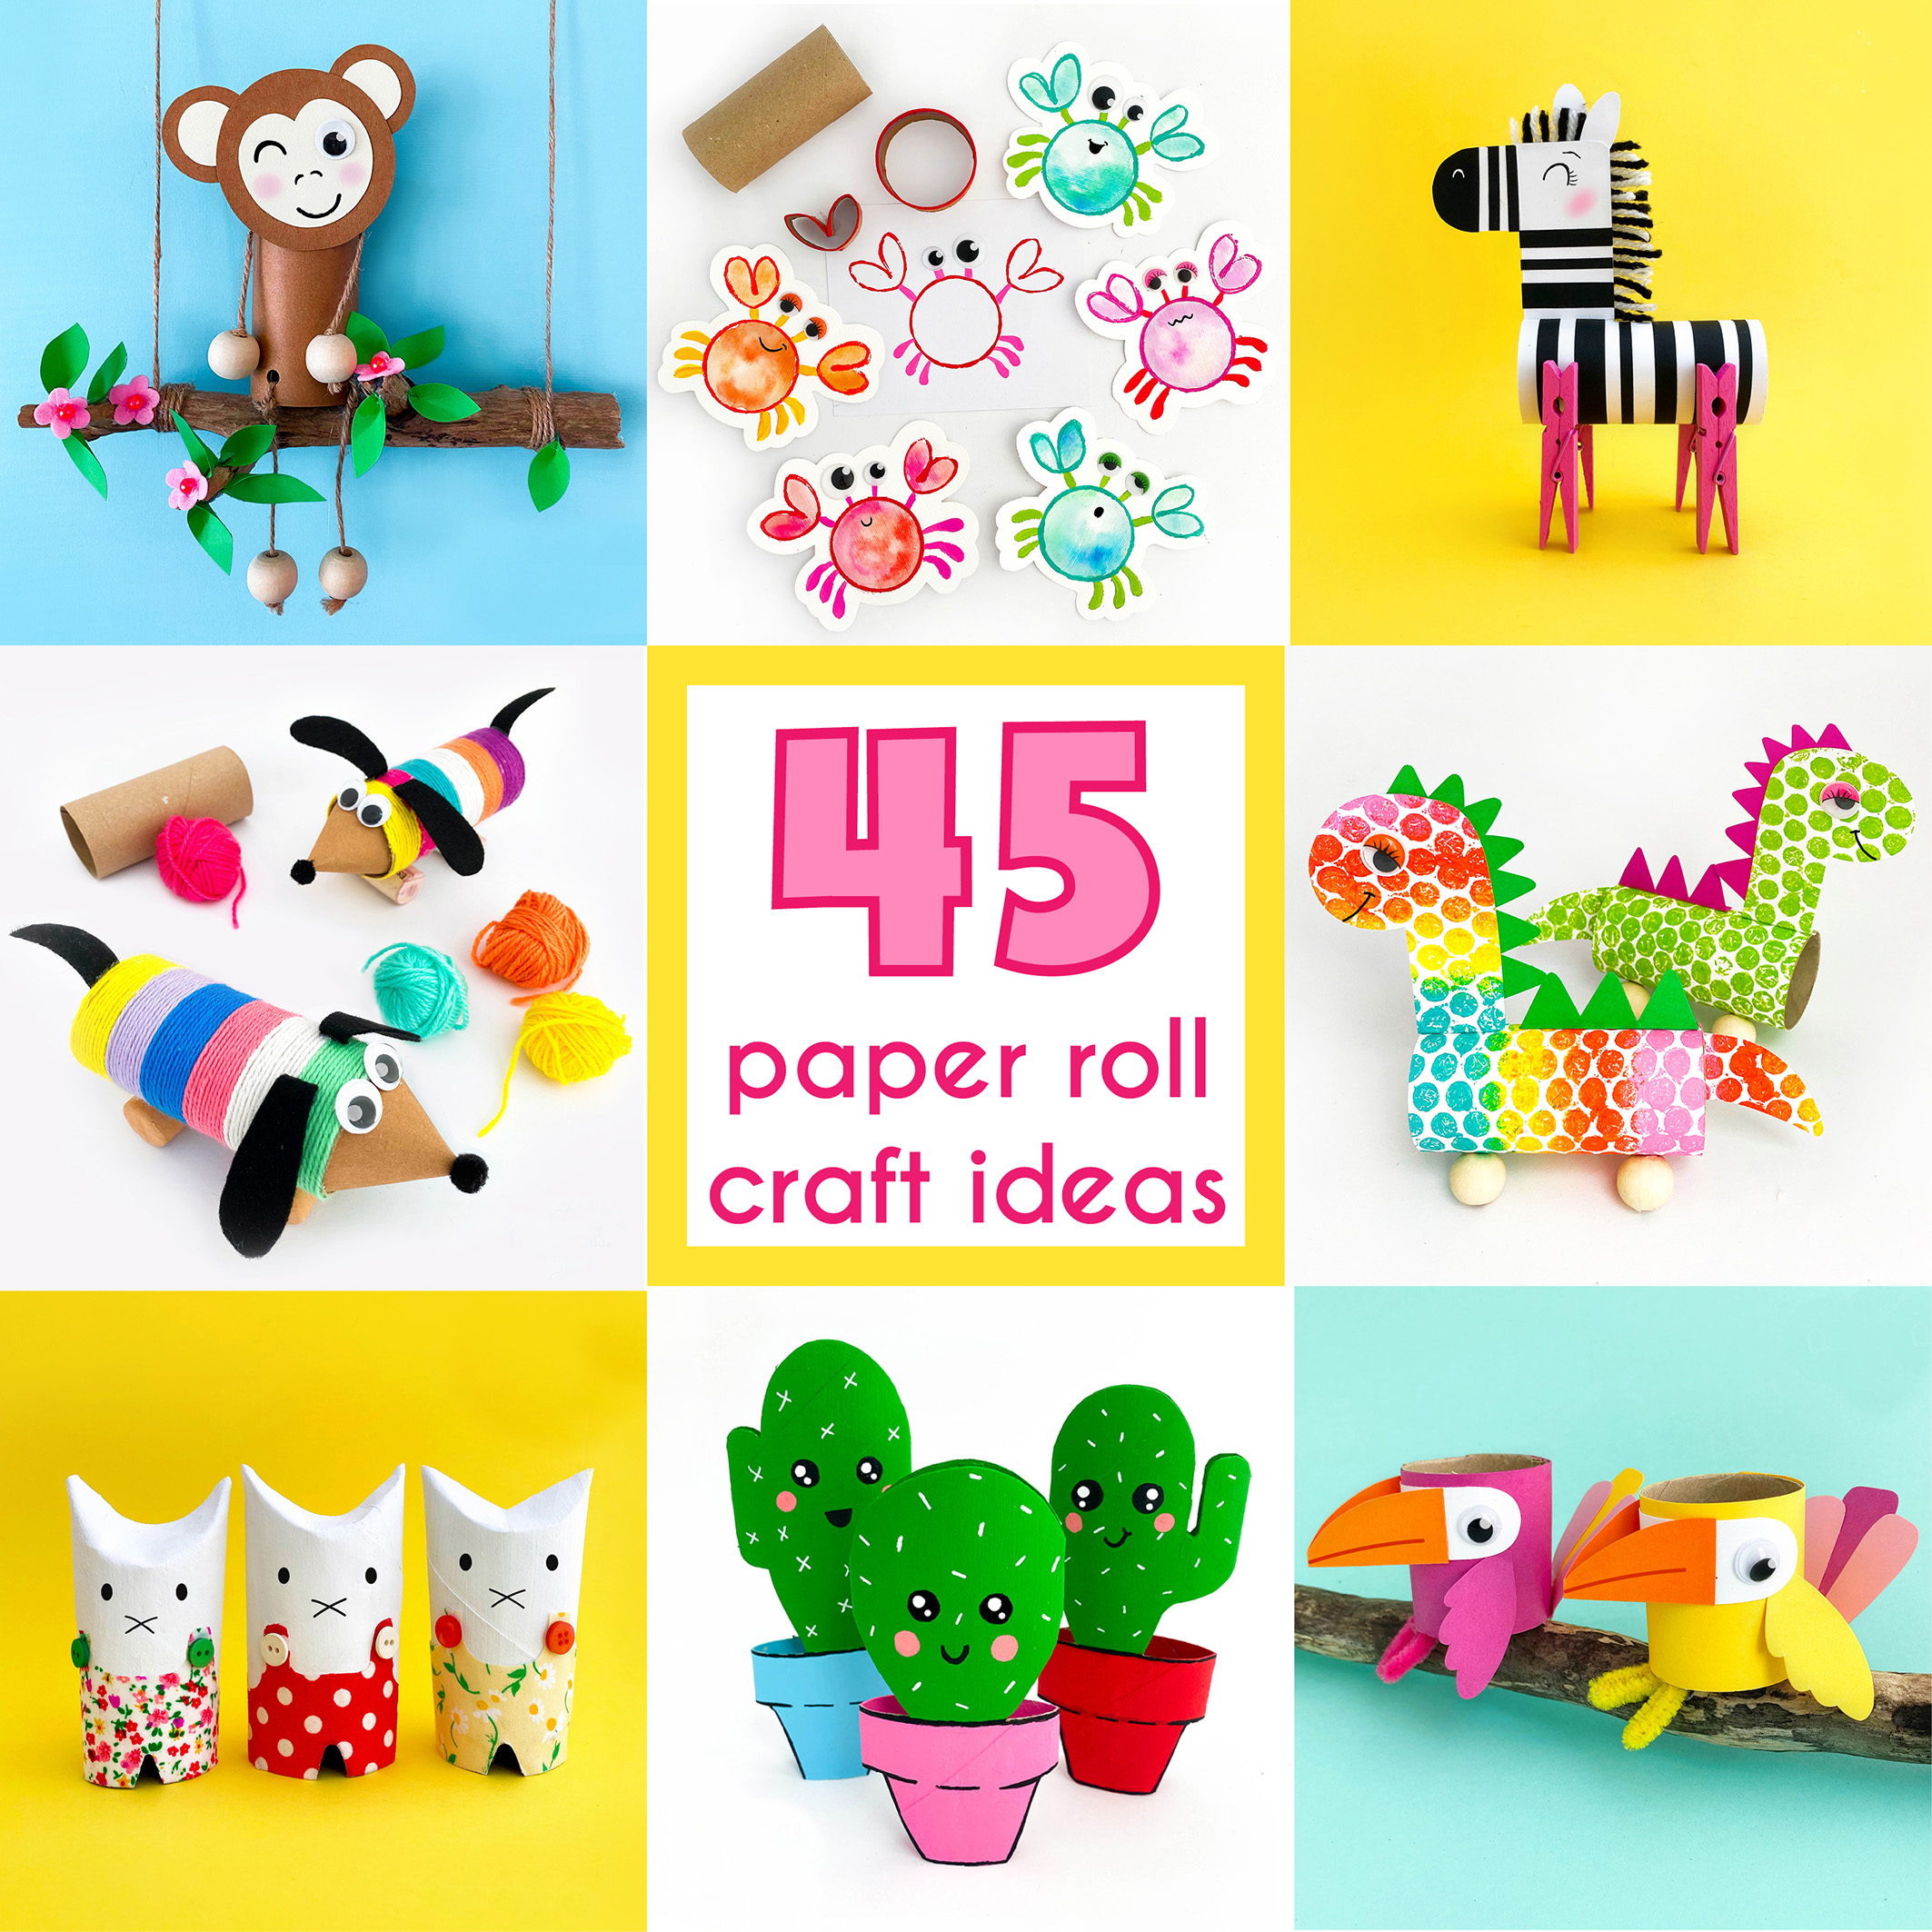 45 Toilet Paper Roll Crafts for Kids of All Ages (Eco-Friendly Fun!)


Leave a Reply