You must try these DIY spinning tops for kids; they´re easy to craft from a recycled bottle lid. The flower design makes your DIY spinning tops look extra cute and incredible while spinning. We created a FREE craft printable to make the crafting process even easier for you. Gather the craft supplies below and follow the steps to make these easy and fun DIY spinning tops with flower designs.
By using this site, you are agreeing to our terms of use. This article contains affiliate links. Please read our full disclosure here.

Easy DIY spinning tops for kids
Craft supplies DIY spinning tops:
- Printable and colored pencils (optional)
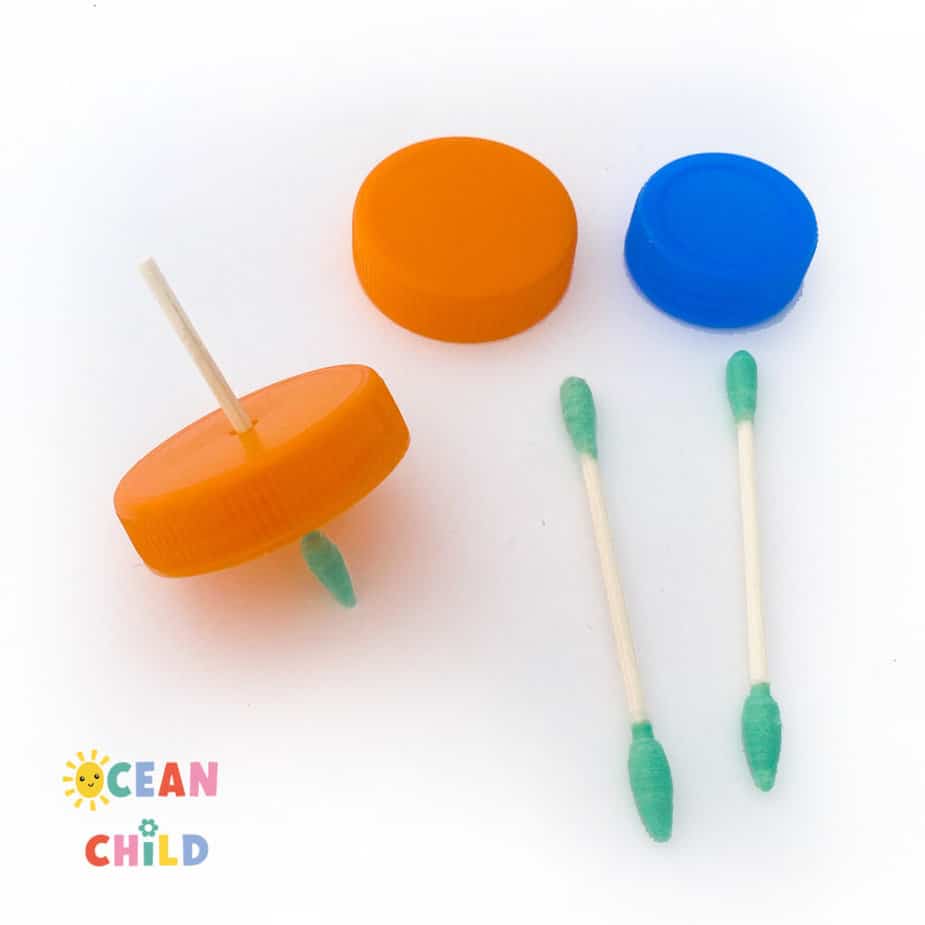
- Bottle lid
- Cotton swab
- Colored paper, preferably cardstock
- Scissor
- Glue
- Black sharpie
-
- Turn your bottle lid in a spinner top
-
- DIY spinners with flower design
Step-by-step craft instructions for DIY spinning tops:
Step 1: Gather the craft supplies above and print the printable if you want to use it.
Step 2: Use a bottle lid as the base forng top. We used a lid with a diameter of 4 CM, but it can be smaller or slightly bigger. With a knife or skewer, make a tiny hole in the middle of your bottle lid your DIY spinner.
Step 3: Cut the top part of your cotton swab. Please see the picture above.
Step 4: Poke the cotton swab through the bottom of your lid, where you poked a tiny hole. Make sure the cotton part is on the bottom; see pictures. We added a little bit of hot glue to make sure it sticks well.
DIY kids flower spinner
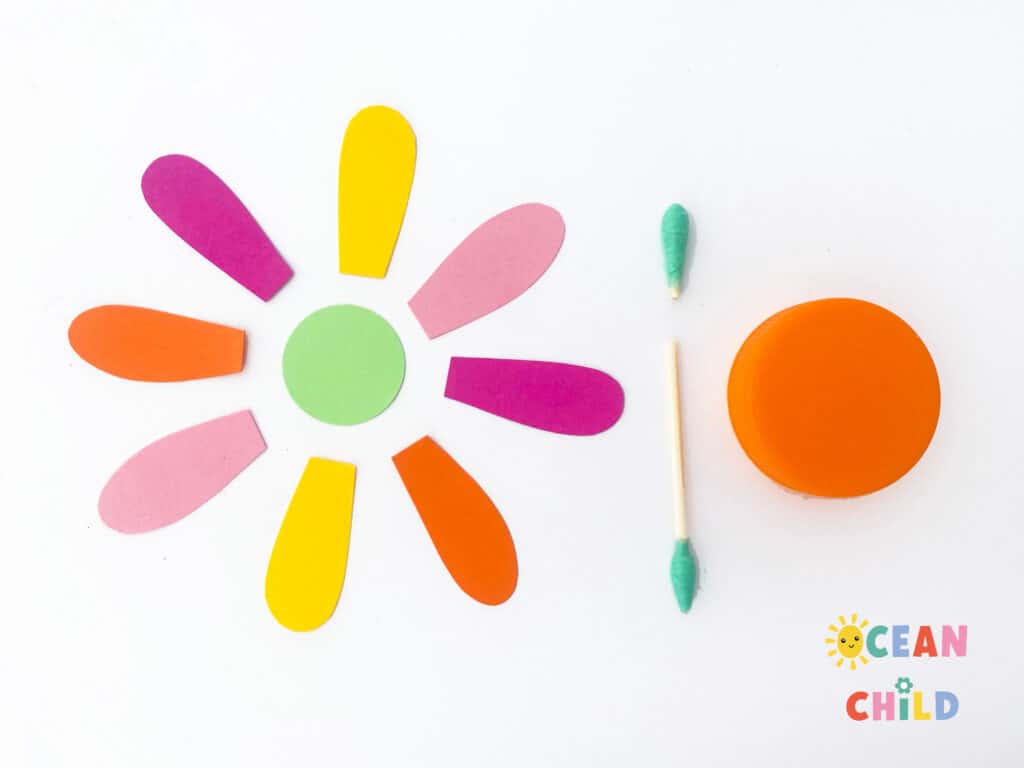
Step 5: From colored paper, you’re going to cut the pedals of your flower. The size depends on the size of your lid. We cut our pedals 3 CM long; you can do 6, 8, or 10 pedals, depending on your preference. Print the printable if you would like to use it.
Step 6: Cut the middle circle for your flower; if you like, you can give your flower a happy smiley.
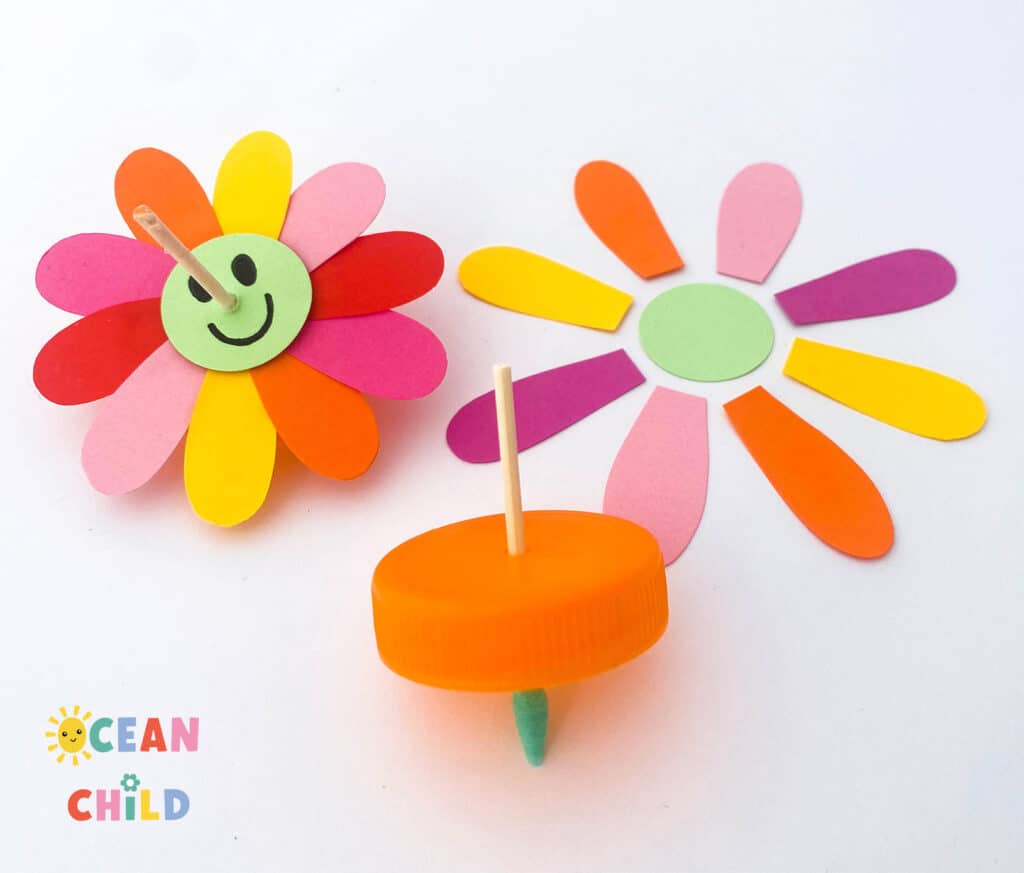
Step 7: Glue your flower top together. First, glue the pedals on your lid, then your smiley on top.
Step 8: Give your DIY spinning tops a few good spins to ensure they work well. Great job!
Looking for another fun flower craft activity? Try out these DIY tulips with tie dye effect!
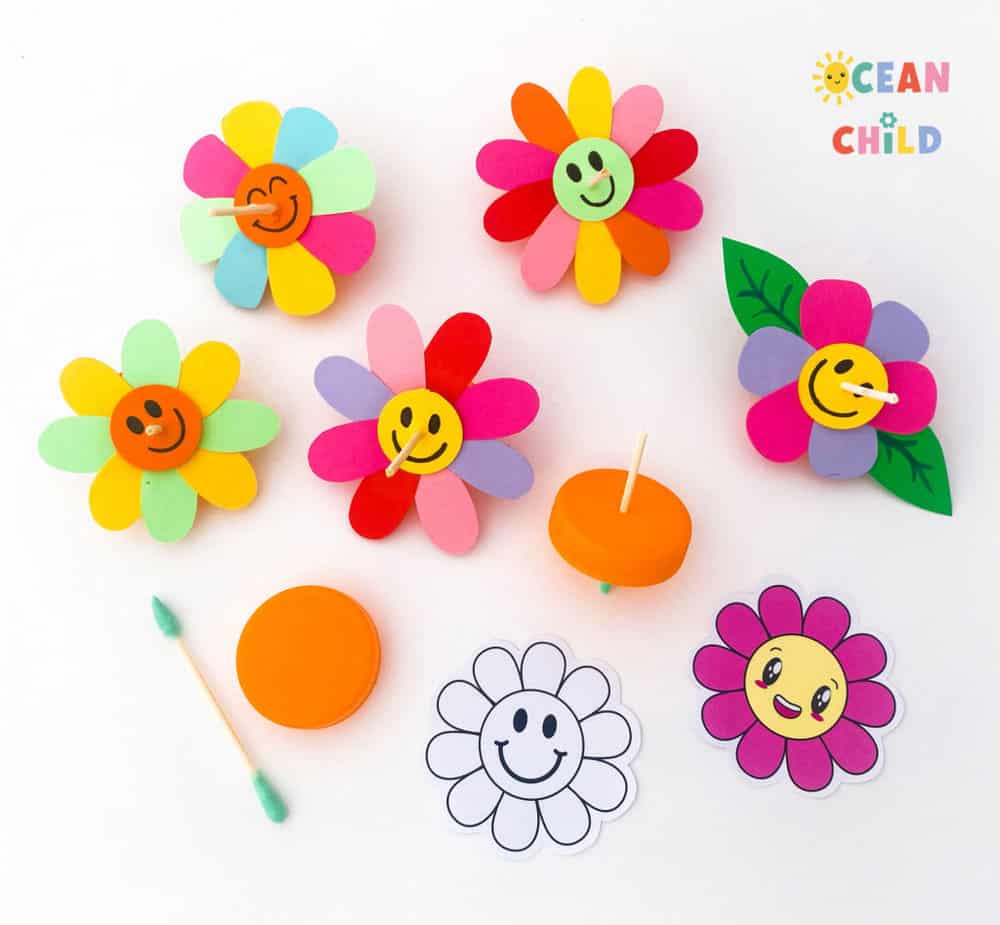
Easy kid’s craft, recycled flower tops
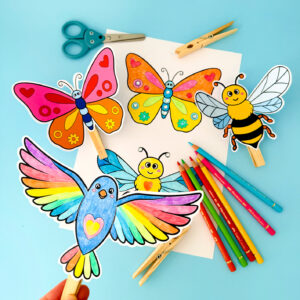 Bug Clothespin Craft with Flapping Wings for Kids
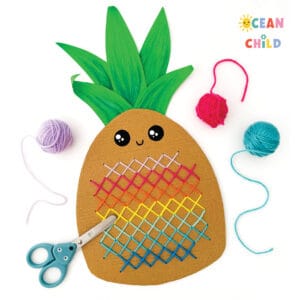 Teach Kids to Stitch with This Cute Pineapple Cross-Stitch Craft (Free Pattern)
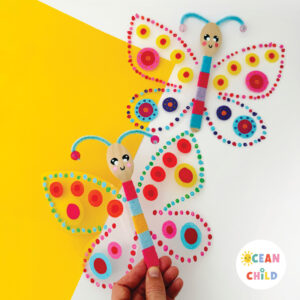 Make Colorful Butterfly Puppets with Flapping Wings for Kids!
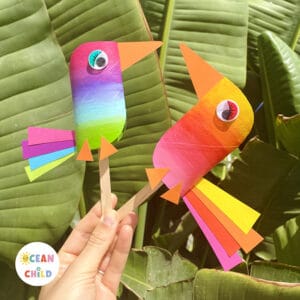 Colorful Paper Roll Bird Puppet Craft for Kids


Leave a Reply