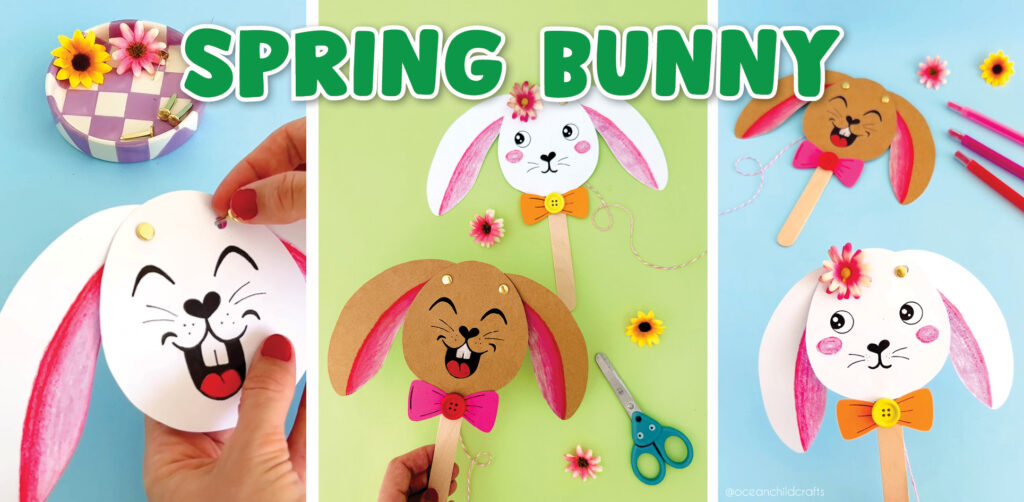
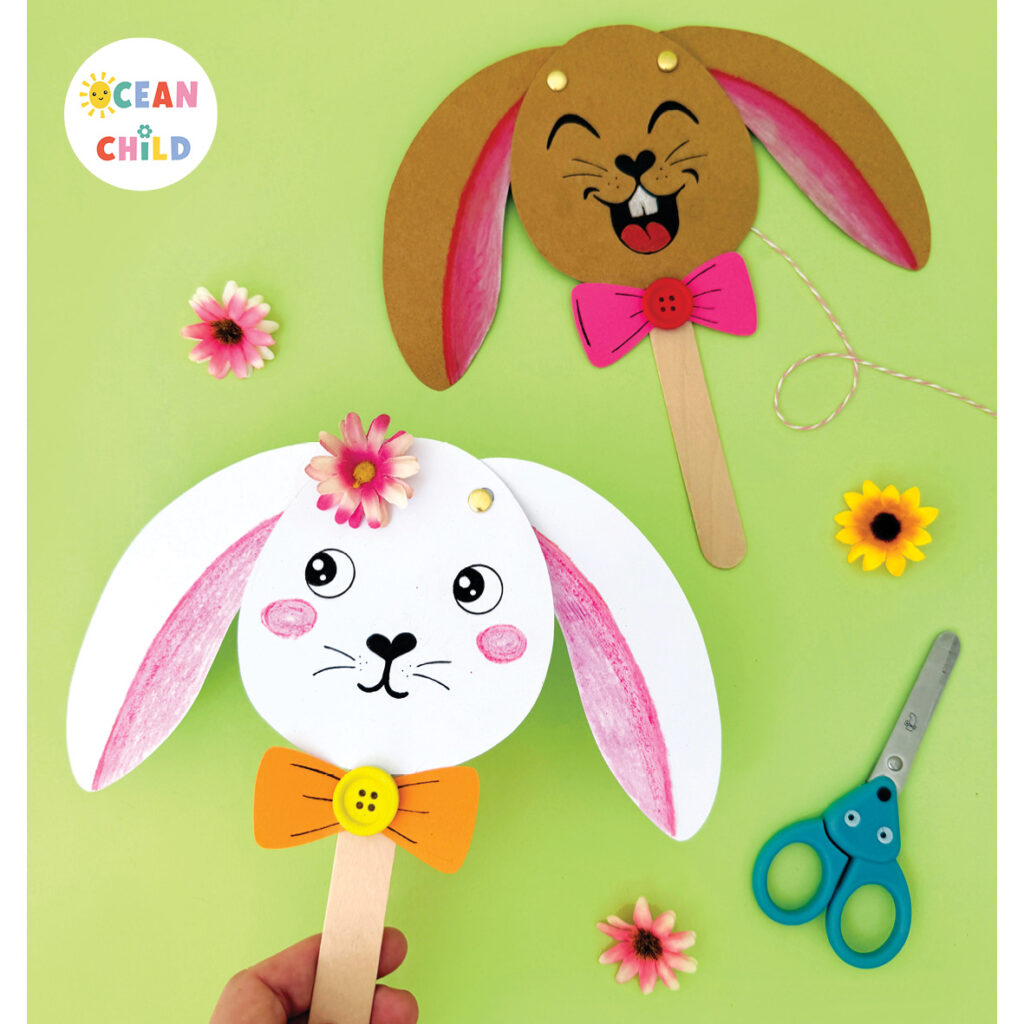
It’s officially the first day of spring—yay! Time to celebrate with the happiest spring bunny craft idea! How adorable is this bunny with flapping ears? Kids can pull the string to make the bunny’s ears move up and down! Plus, we have a free craft printable for you to download! This makes crafting easier and more enjoyable for pre-schoolers and elementary-age kids.
This delightful paper craft is perfect for both home and classroom settings. Using the provided template, children can personalize their bunnies by drawing cute faces and using vibrant spring colors! Imagine how adorable these dancing bunnies will look in the classroom, bringing joy and creativity to any space! A great activity to try this Easter and spring season.
How To Make Paper Bunnies With Flapping Ears
To achieve the best craft results, I recommend using Thinker printing paper for the template. This spring bunny printable template can serve as a coloring page or a modeling template. Additionally, I will share craft instructions for those who wish to create these cute bunnies from scratch. So gather the craft supplies below, and let’s get started with these adorable spring bunnies!
By using this site, you agree to our terms of use. This article contains affiliate links; read our full discloser here.
-
- Family-Friendly Craft Ideas
-
- Printable Bunny Templates
Essential Supplies for Your Spring Bunny Craft Project
- Spring Bunny Craft Printable (optional)
- Colored cardstock
- Crayons, pencils or markers
- 2 split pins, like these
- Yarn
- Jumbo popsicle stick
- Black fineliner or marker
- Scissors
- Glue
Free Printable Bunny Craft Template
How to make paper spring bunnies with flapping ears?
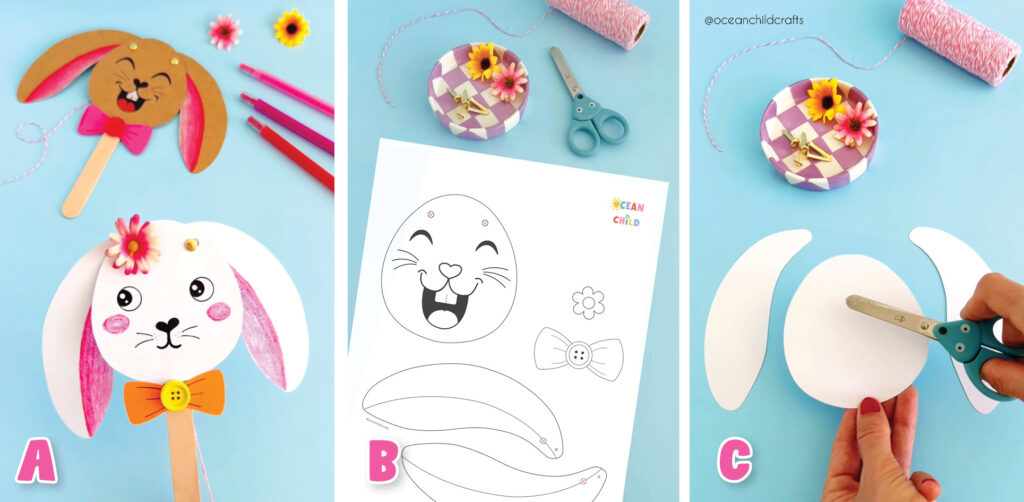
Step 1: Gather the craft supplies listed above. You can either use the free spring bunny printable as a coloring page or template or create the bunnies from scratch. If you choose the printable, print it on thicker paper for better durability, allowing the bunny ears to move more freely. The following steps will guide you in making the craft from scratch, but you can also follow the instructions for the printable.
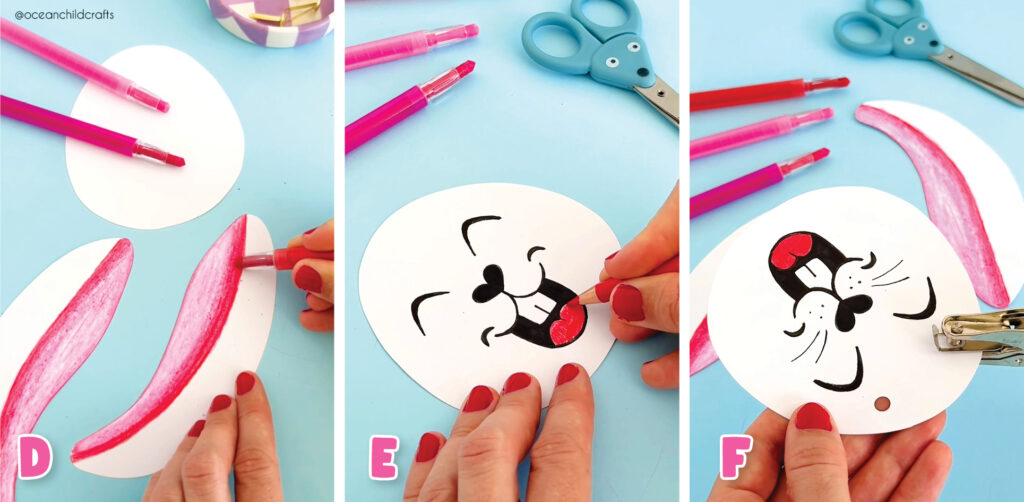
Step 2: Start with cardstock paper, brown, white or any color you like for your bunny. To draw our bunny, we begin with an egg-shaped head and two long ears. The head measures 10.5 cm high and 10 cm wide, with the top being slightly smaller for easier ear movement. You can use our printable as a template to help guide you. Or see the pictures B and C.
Now let’s make the long bunny ears! You can use the template or draw your own ears. Use pictures B, C and D for guidens. The ears are 15 cm and have a slight moon shape! The top is sleek, while the bottom flares out a bit. Begin by sketching one ear, and once you’re happy with your design, cut it out. Trace it to create a matching ear— Make sure they mirror each other.
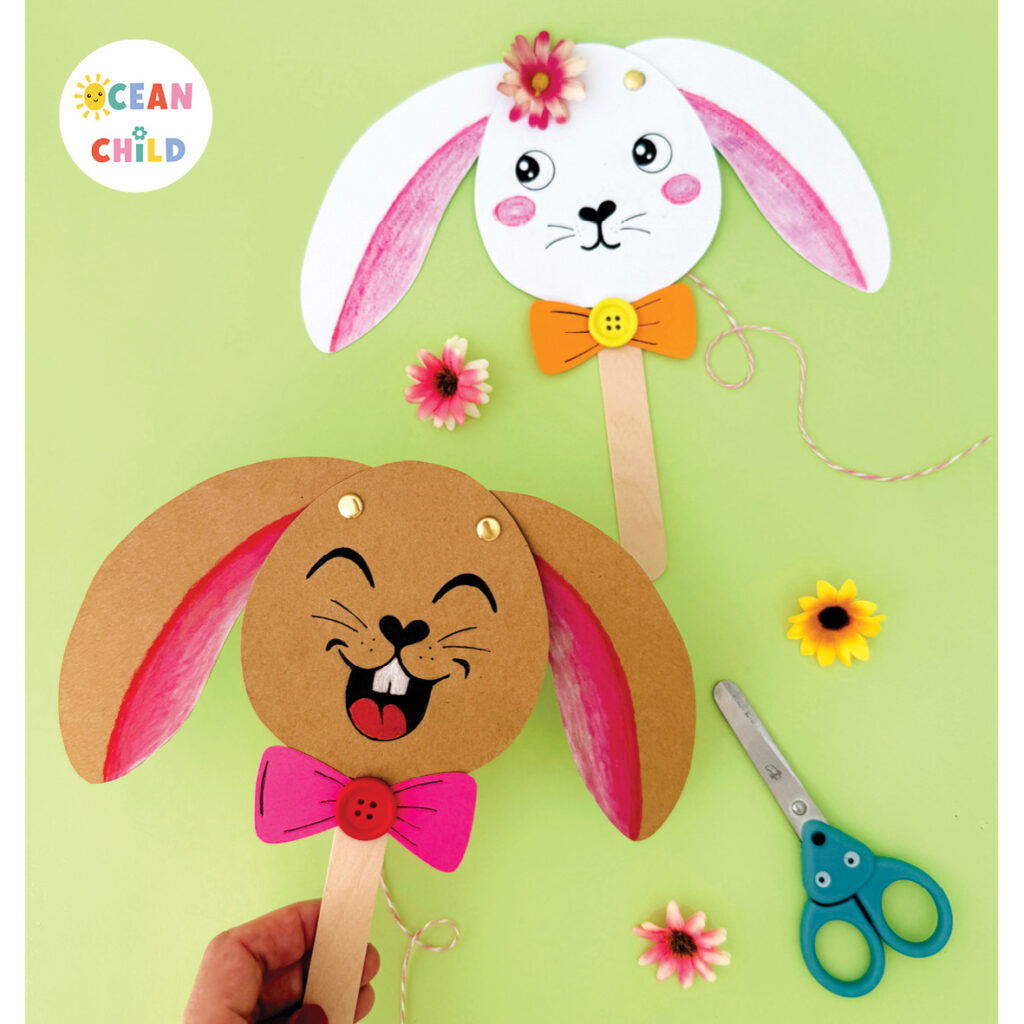
Spring Bunny Craft Ideas for Kids
Step 3: Draw and color your spring bunny craft! Place the egg-shaped head on the table with the small part upwards. We gave our bunny a cute heart-shaped nose, whiskers, and a happy smile. For the ears, we used pink crayon shades because we love the texture of crayons. You can use crayons, pencils, markers, colored paper, or even googly eyes for decoration.
Step 4: Let’s get those bunny ears moving! Here’s how to create the holes:
- Bunny’s Head: Make two holes at the top of your bunny’s head (see picture F). For this you can use a hole puncher.
- Ears: For each ear, create:1 small hole on top and 1 larger hole below (see picture G). The small holes are for the yarn, while the larger ones are for the split pins. Check out the printable for exact placements! The small holes you can make with a sharp pencil or skewer and the larger holes you can use a hole puncher.

Easter Bunnies Classroom Art Project
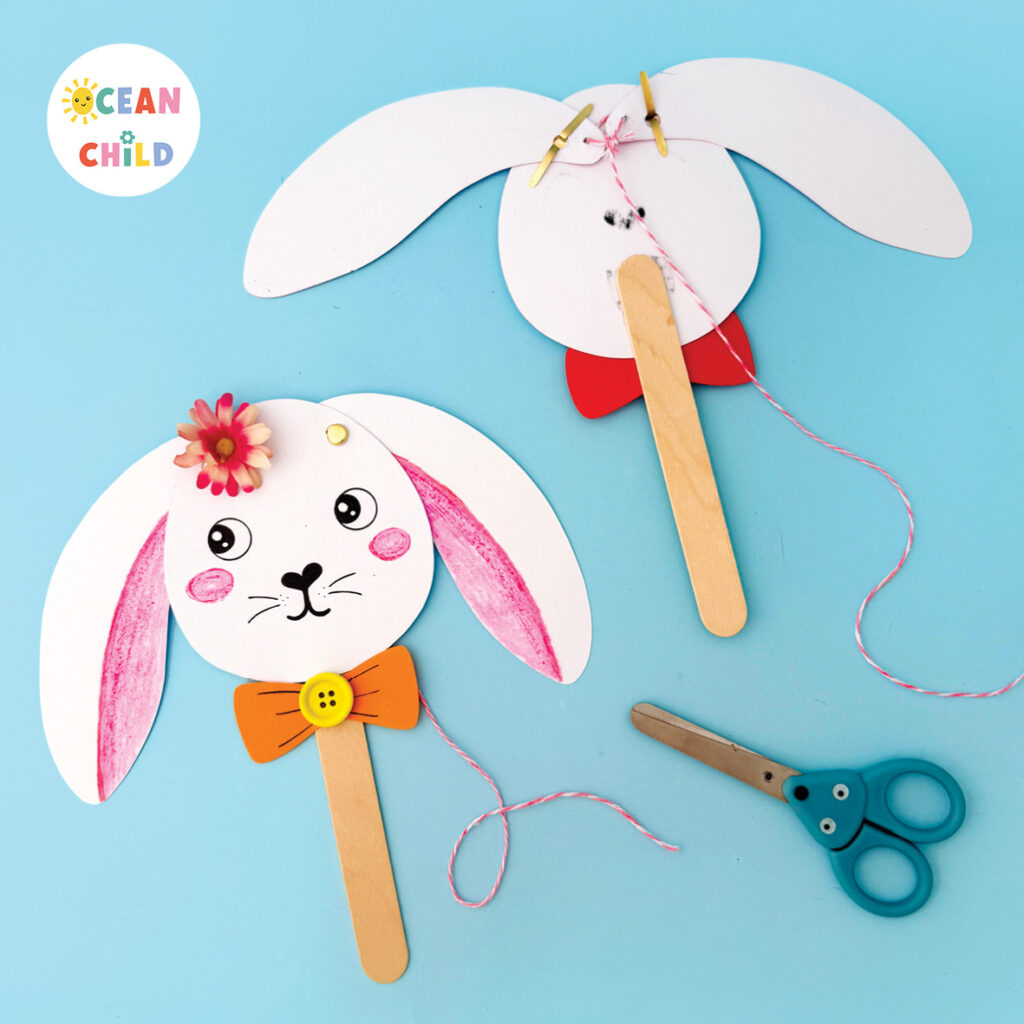
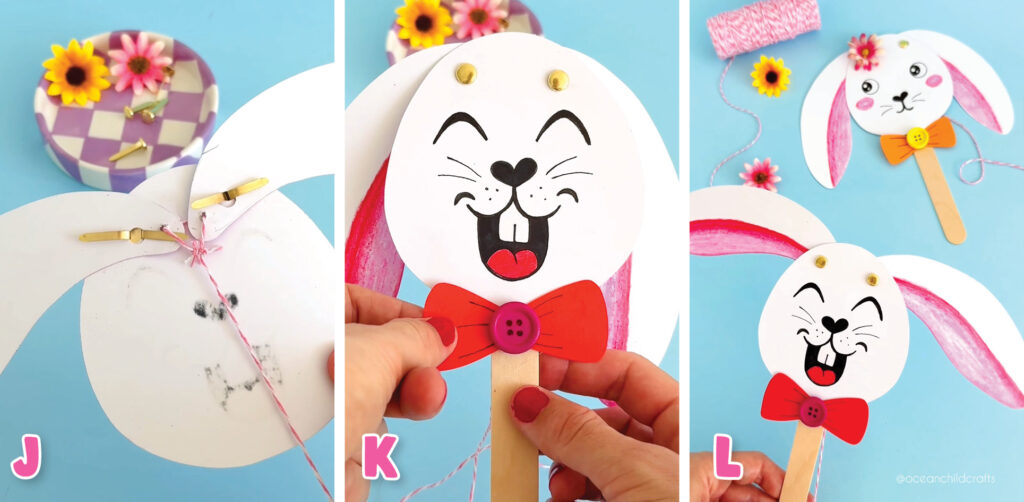
Step 5: To assemble our bunny, start by attaching the ears to the back of the head using a split pin (see picture H). Next, connect the ears with yarn by threading it through the small holes and tying it in the middle. Now the ears are horizontally connected and we can add a long string in the middle, which we can pull to move the ears. See pictures I and J.
-
- Easy Bunny Puppet Ideas
-
- Hands-on Learning Activity
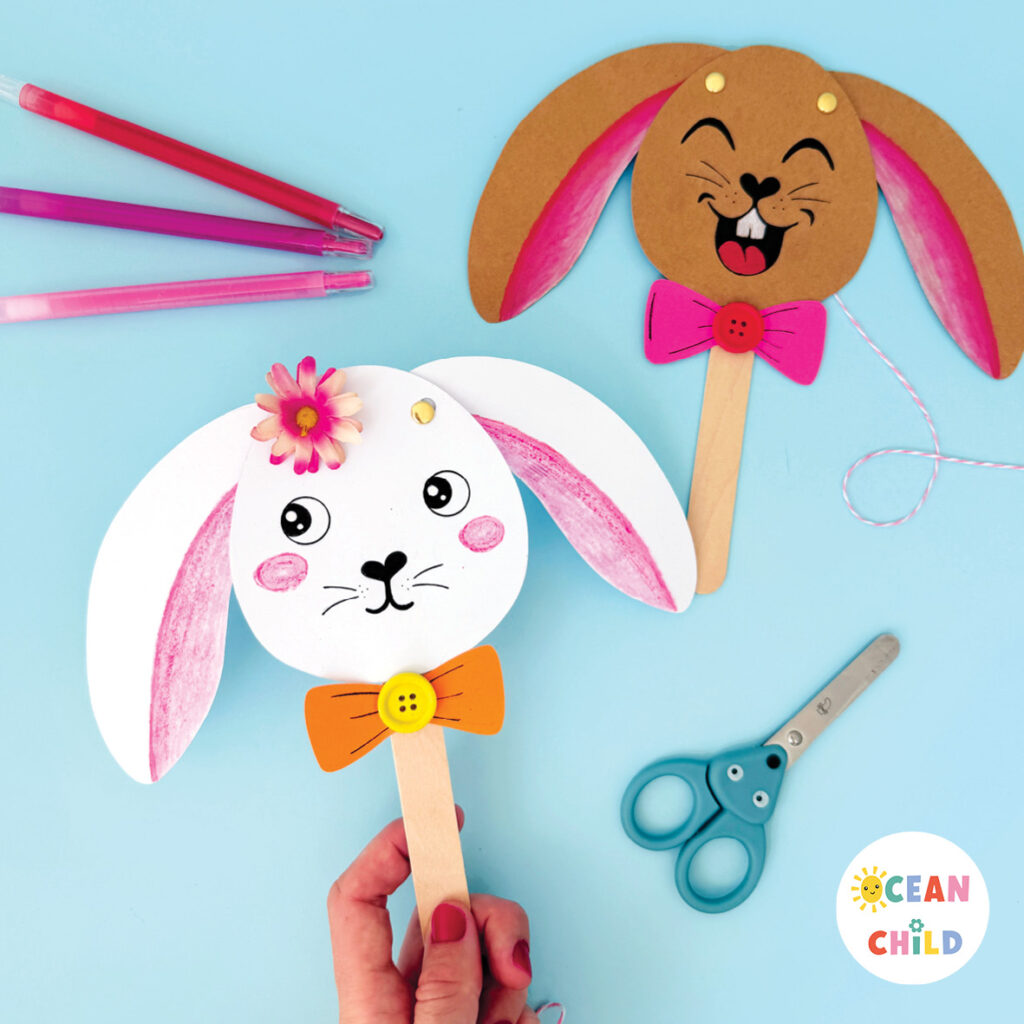
Step 6: Great job! We almost finished our bunny puppet. First, glue your bunny face to a stick. This allows you to hold the stick while simultaneously pulling the string. We used Jumbo popsicle sticks, but you can also use a sturdy stick from outside or a piece of strong cardboard. And to make your spring bunny caft look extra cute you can give it a bowtie or a pretty flower.
Interactive Bunny Puppet Craft for Kids
Get ready to hop into your next bunny craft adventure! What about these adorable paper cup bunnies, one of our most popular crafts on the blog!
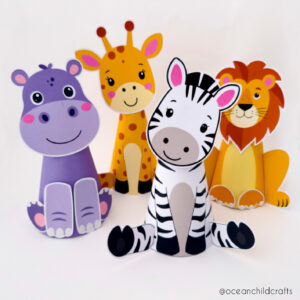 Paper Cone Animals: Easy 3D Animal Crafts with Templates
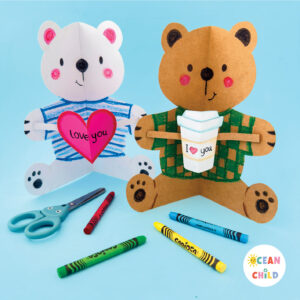 Bear Pop-Up Card for Kids – Easy Valentine’s and Mother’s Day Craft
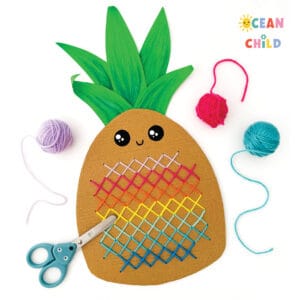 Teach Kids to Stitch with This Cute Pineapple Cross-Stitch Craft (Free Pattern)
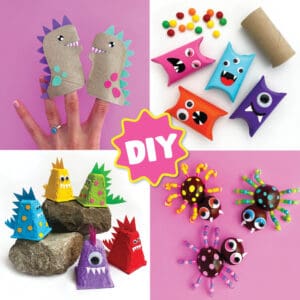 13 Spooky and Fun Halloween Crafts for Kids


Eu quero
Amei