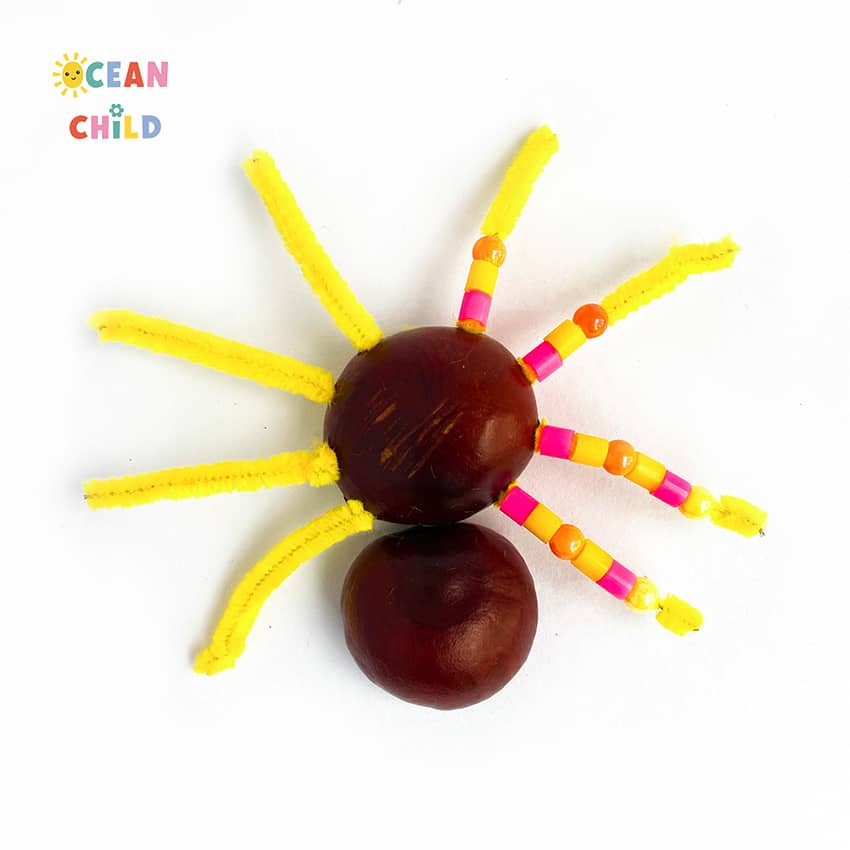
Chestnut spider for Halloween! Looking for a fun and spooky Halloween craft idea for kids? These colorful chestnut spiders are the perfect mix of creepy and cute and they’re super simple to make! Using natural materials like chestnuts paired with fun craft supplies like pipe cleaners, googly eyes, and beads, your kids can create their very own not-so-scary spiders.
This DIY Halloween spider craft is great for toddlers, preschoolers, and school-aged kids. It’s hands-on, encourages creativity, and makes the perfect spooky decoration for Halloween!
By using this site, you agree to our terms of use. This article contains affiliate links; read our full discloser here.
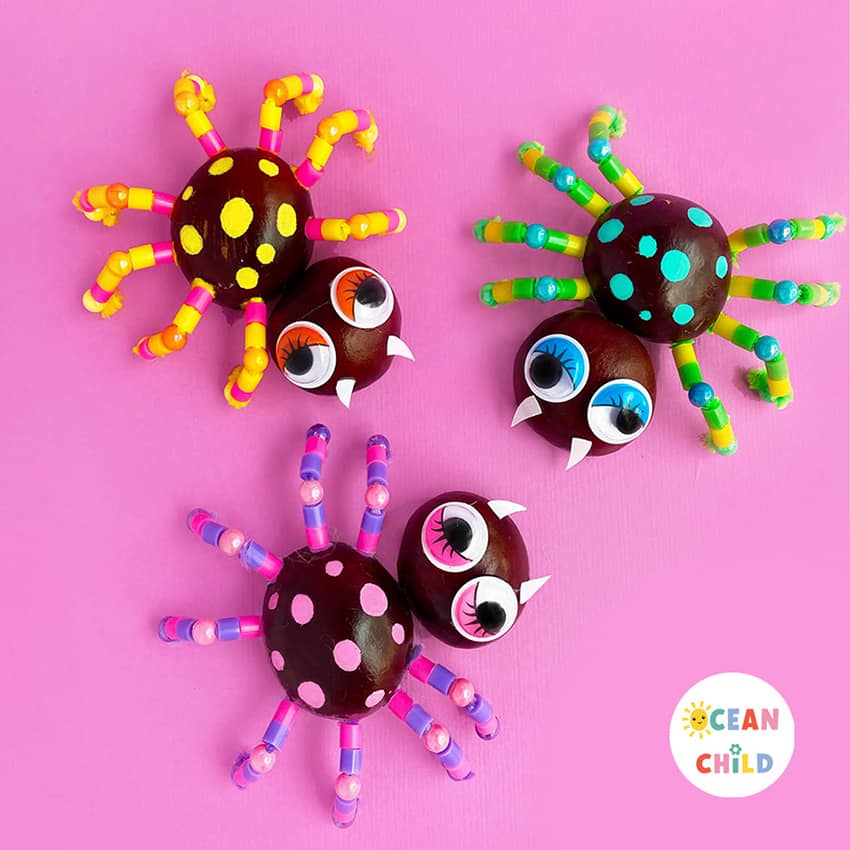
Spooky chestnut spiders
Craft Supplies
- Chestnuts
- Colorful beads
- Colorful pipe cleaners
- Toothpicks
- Googly eyes, we used Googly eyes with lashes
- Acrylic paint or paint markers, we used our Posca markers
- Skewer/small screwdriver
- Regular school glue or hot glue
- Scissor
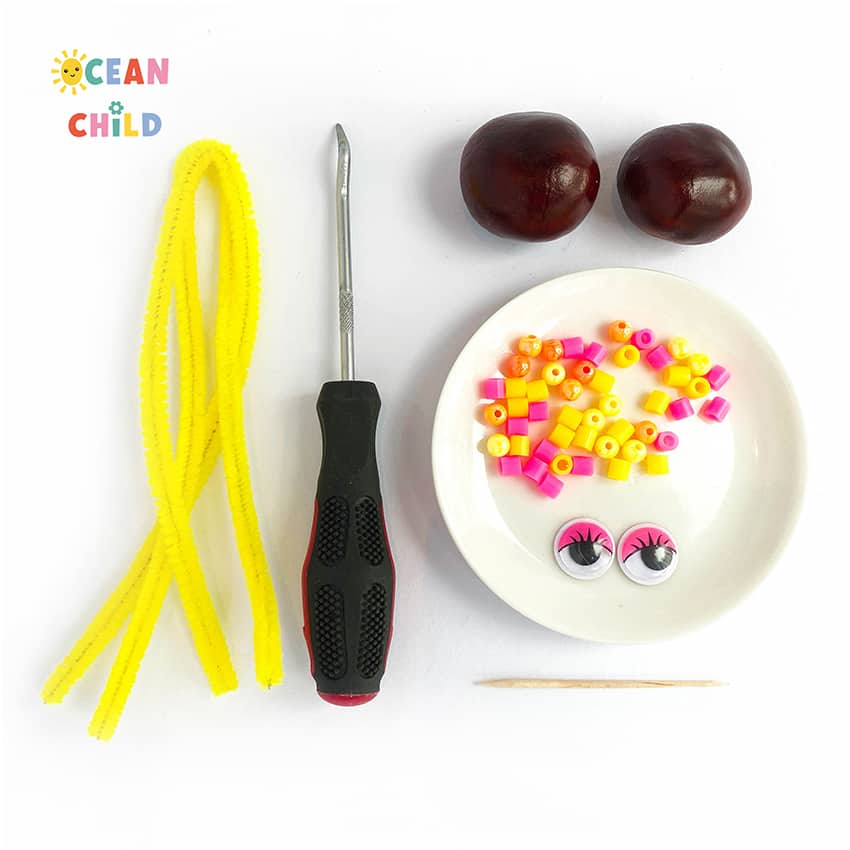
Spooky chestnut spiders, craft supplies
How to Make a Chestnut Spider, Step-by-Step Instructions
Step 1: Prep Your Materials
Before you begin, lay out all your supplies on a flat workspace. This helps keep things organized and fun for little hands.
Step 2: Cut the Spider Legs
Take a pipe cleaner and cut it into five equal parts (about 2.5 inches or 6 cm each). Repeat until you have eight legs in total. See image below for reference.
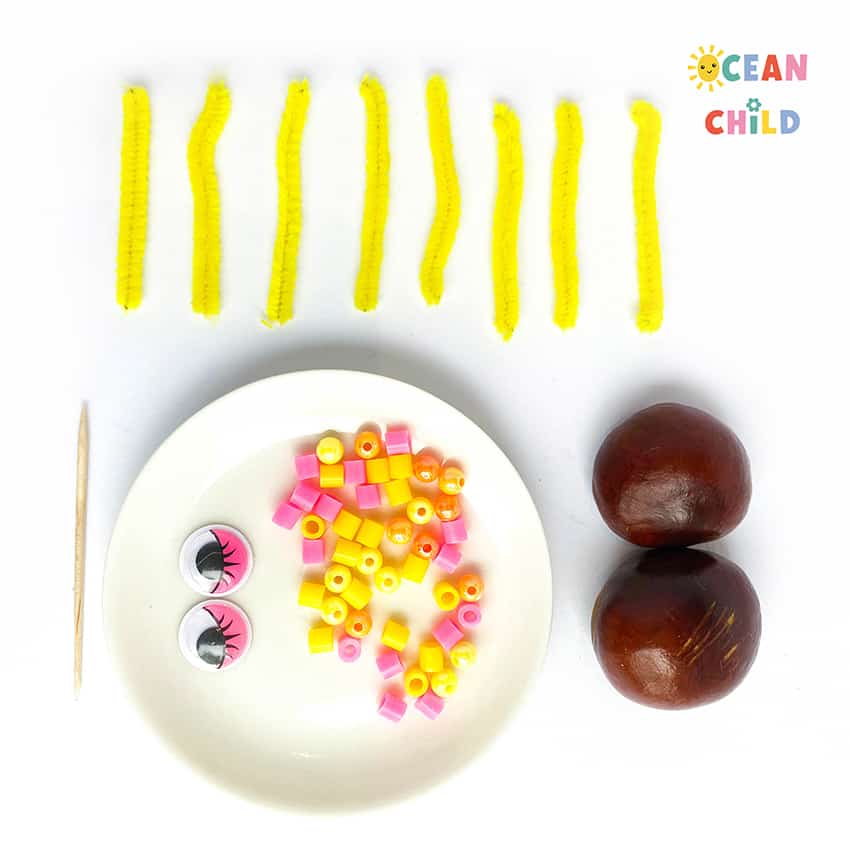
Chestnut spider craft for Halloween
Step 3: Make Holes in the Chestnut Body
Use a large chestnut as the spider’s body. Carefully poke nine holes: one in the front for the “neck,” and four on each side for the legs. Use a skewer or small screwdriver; adults should supervise or help with this step!
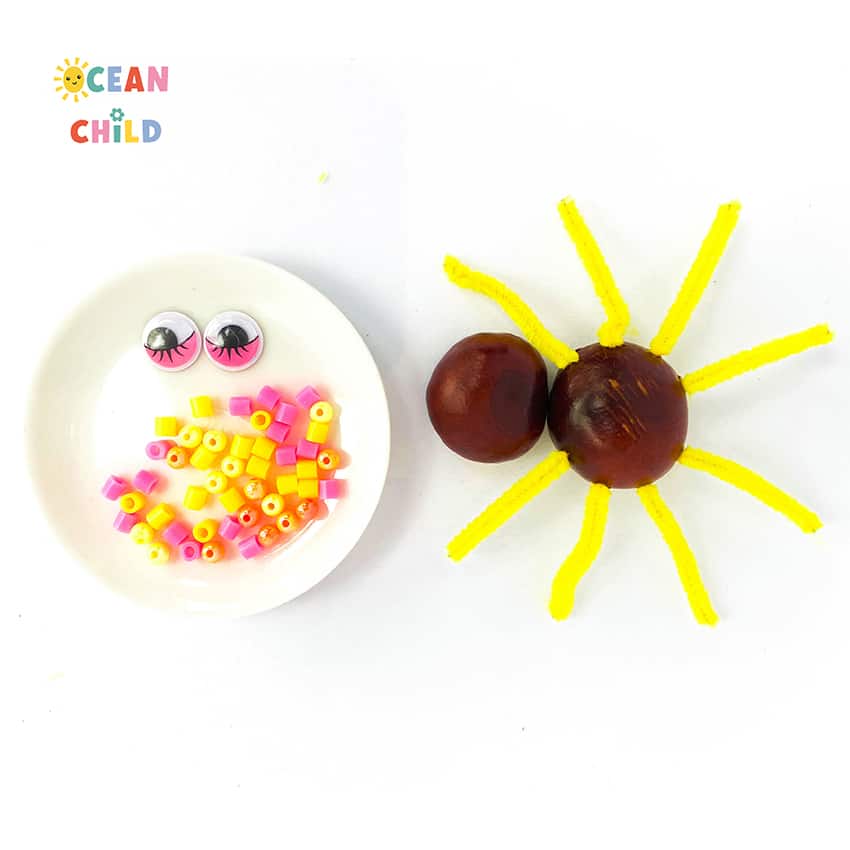
Chestnut spider craft for Halloween
Step 4: Add the Spider Legs
Insert the eight pipe cleaner legs into the side holes. Use a dab of hot glue or school glue to secure them in place.
Step 5: Decorate Your Spider With Beads
Now it’s time to bling up your spider! Slide colorful beads onto each leg in fun patterns or mix up the colors. To keep the beads from sliding off, fold the end of the pipe cleaner or add a drop of glue to hold the last bead in place.
Pipe cleaner and chestnut spider craft
Step 6: Attach the Head
Cut a 2 cm piece of a toothpick and use it to connect a second chestnut (the spider’s head) to the body. Add a bit of glue for extra hold.
Step 7: Paint Your Halloween Spider
Use paint markers or acrylic paint to add dots, stripes, or spooky patterns to your spider’s back.
Step 8: Add Spooky Googly Eyes
Glue on a pair of googly eyes, we love the ones with eyelashes for a silly twist!
Halloween Fun for the Whole Family!
These DIY chestnut spiders are a great way to celebrate Halloween while encouraging creativity and fine motor skills. They’re also perfect for classroom crafts, party activities, or just a cozy afternoon project at home.
Looking for more fun Halloween activities? Try our Trap-the-Ghost Halloween Craft – always a kid favorite!
Favorite Craft Supplies
Want to know which craft tools and materials we always keep stocked? Check out our favorite craft supplies here, trusted by crafty parents and teachers alike.
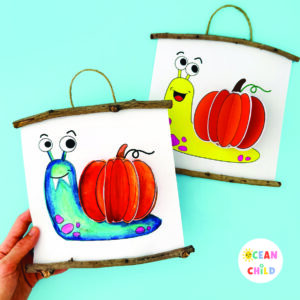 A 3D Pumpkin Snail Craft for Kids, Fall & Halloween Activity with Template
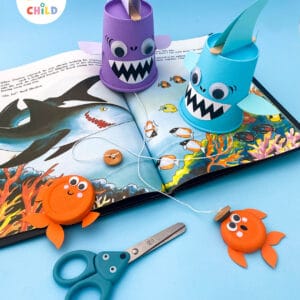 Paper Cup Shark Craft & DIY Fishing Game, Perfect for Shark Week (Free Template)!
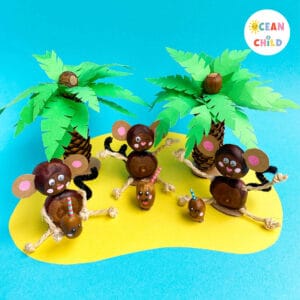 Fun fall craft for kids, nature craft with chestnuts
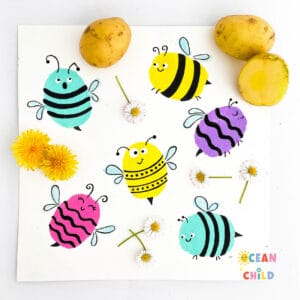 Potato stamp bees, easy bee craft for kids!


[…] crafts try out these gorgeous watercolor manta rays or if you prefer to keep it spooky give these chestnut spiders a […]