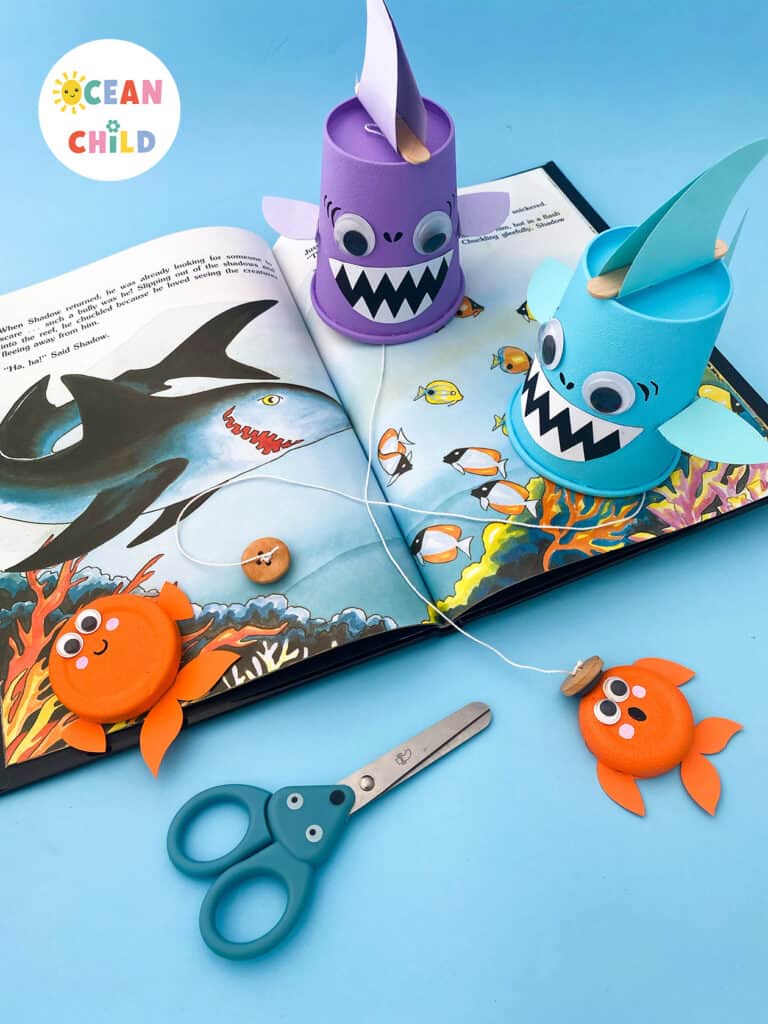
Looking for a fun, hands-on shark craft for kids? This paper cup shark craft comes with a twist—it turns into a playful DIY fishing game once your shark is built! Kids get to craft their own fierce (or funny!) sharks and then use them to “go fishing” with magnets. It’s a craft and activity all in one—perfect for Shark Week, Ocean Day, or a summer afternoon indoors.
And the best part? It comes with a FREE printable that includes all the pieces you need to make your paper cup shark and fish. Just print, cut, and craft—no need to draw parts from scratch!
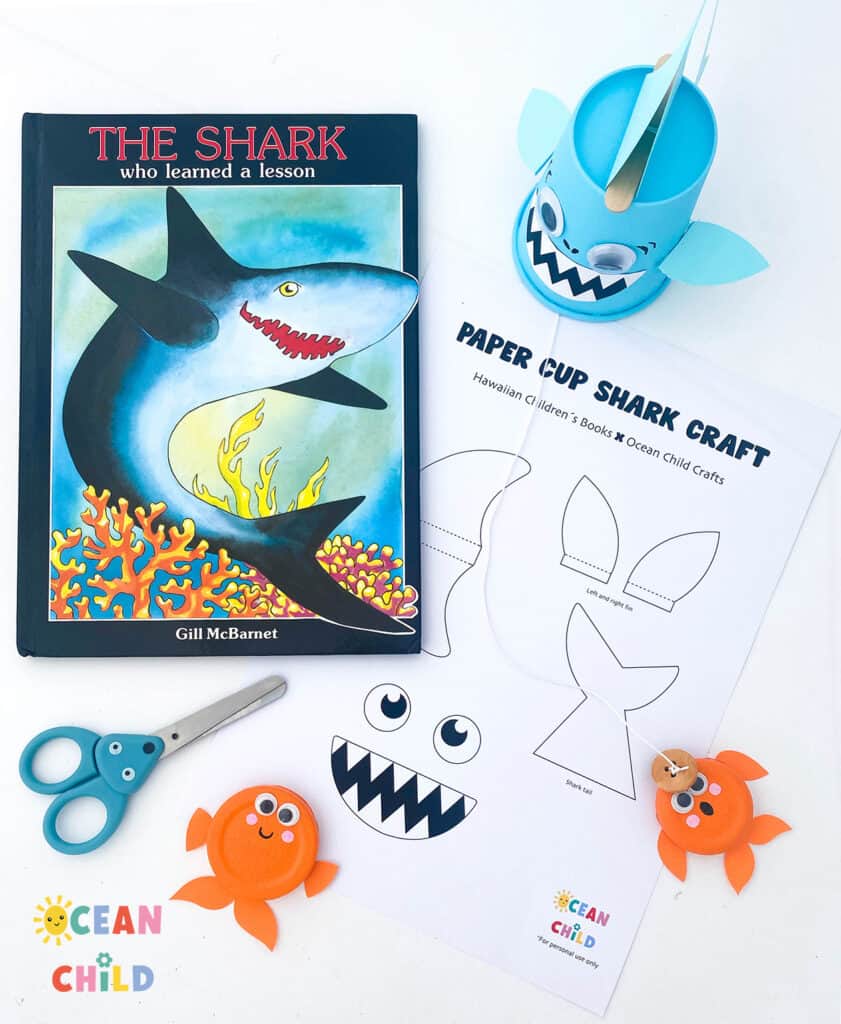
Inspired by the charming book The Shark Who Learned a Lesson by Gill McBarnet, this project also encourages kindness, creativity, and imaginative play, whether you’ve read the book or not!
-
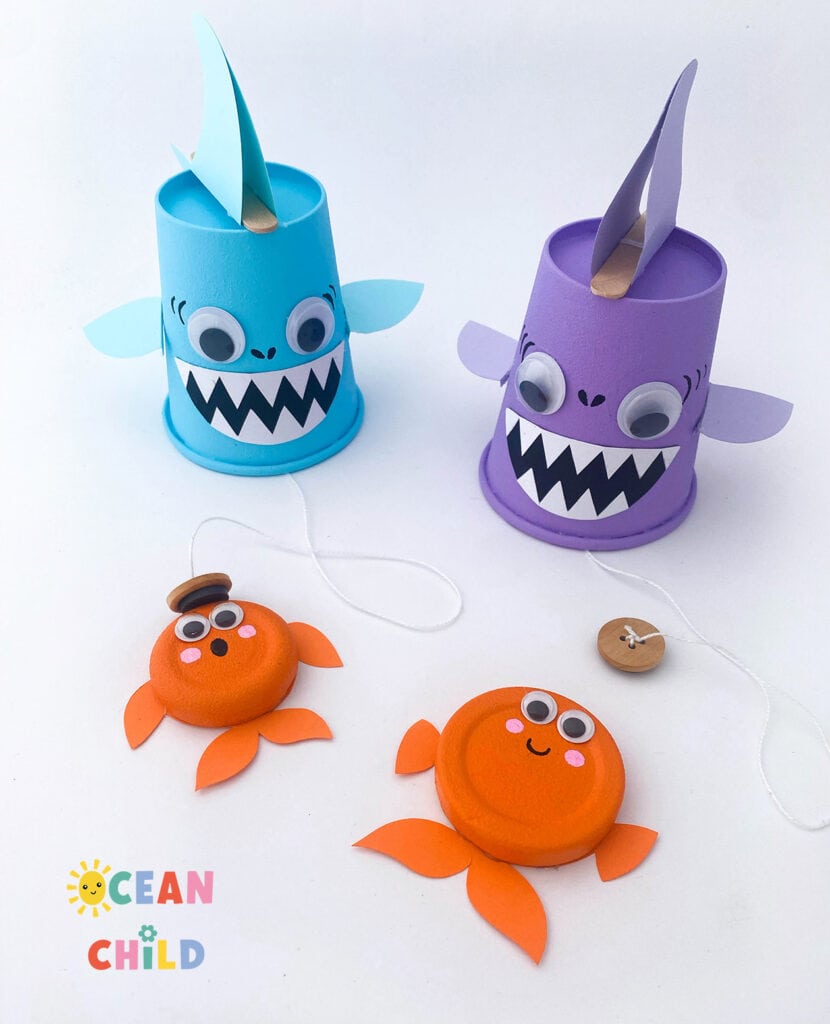
- Paper cup shark craft
-
- Paper cup fishing craft for kids
Shark Craft for Kids Using Recycled Materials
This shark is made using basic craft supplies like paper cups, mason jar lids, and a few recycled materials. It’s a great way to talk with kids about eco-friendly crafting while letting their creativity shine. The printable pieces make it extra easy for younger kids to follow along and decorate their sharks just the way they like.
DIY Magnetic Fishing Game for Shark Week Fun
After building the shark, the real fun begins! Attach a magnet to the shark’s “mouth” and let it go fishing for colorful printable fish. It’s a simple but engaging magnetic fishing game that gets kids moving, thinking, and laughing. Perfect for ocean-themed learning units or just good old-fashioned summer fun. Gather the craft supplies and free printable and let’s get started!
-
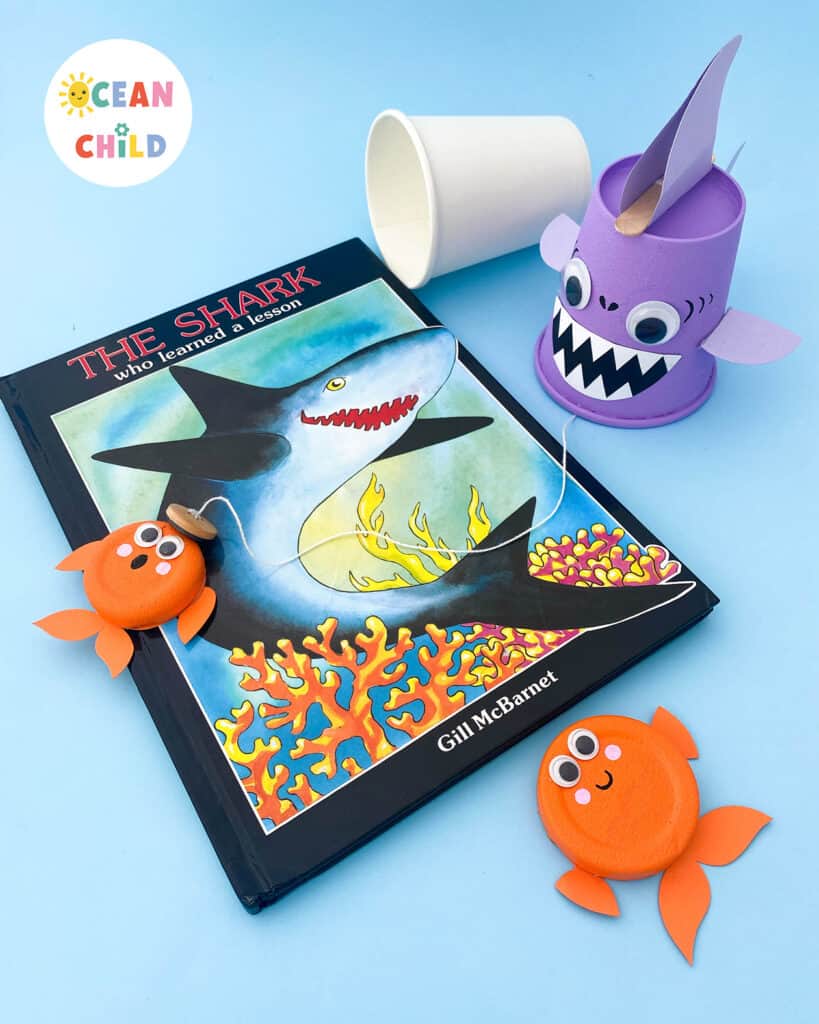
- Shark craft with shark book
-
- Free shark printable kids
Craft Supplies fishing game
Below is a list of all the craft supplies you need to create this shark craft. If you don´t have all the craft supplies, don´t worry. Just be creative and look for supplies you do have at home.
- Paper cup
- Printable, download the free printable template here
- Paint for your shark
- Colored paper in the color of your paint
- Mason jar lid
- Yarn
- Small magnet
- Button (optional)
- Black marker or fine liner
- Googly eyes (optional)
- Small (popsicle) stick
- Glue stick and glue gun
-
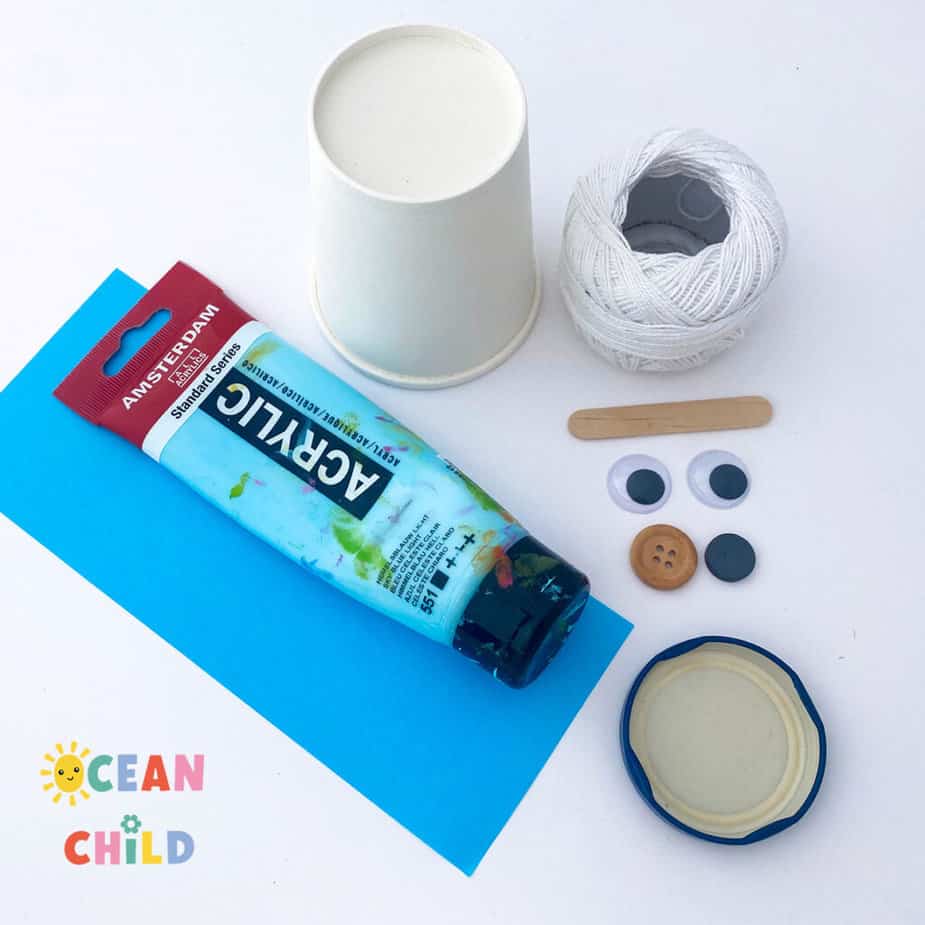
- Craft supplies paper cup shark craft
-

- Paint your paper cup
How to Make a Paper Cup Shark Craft & DIY Fishing Game
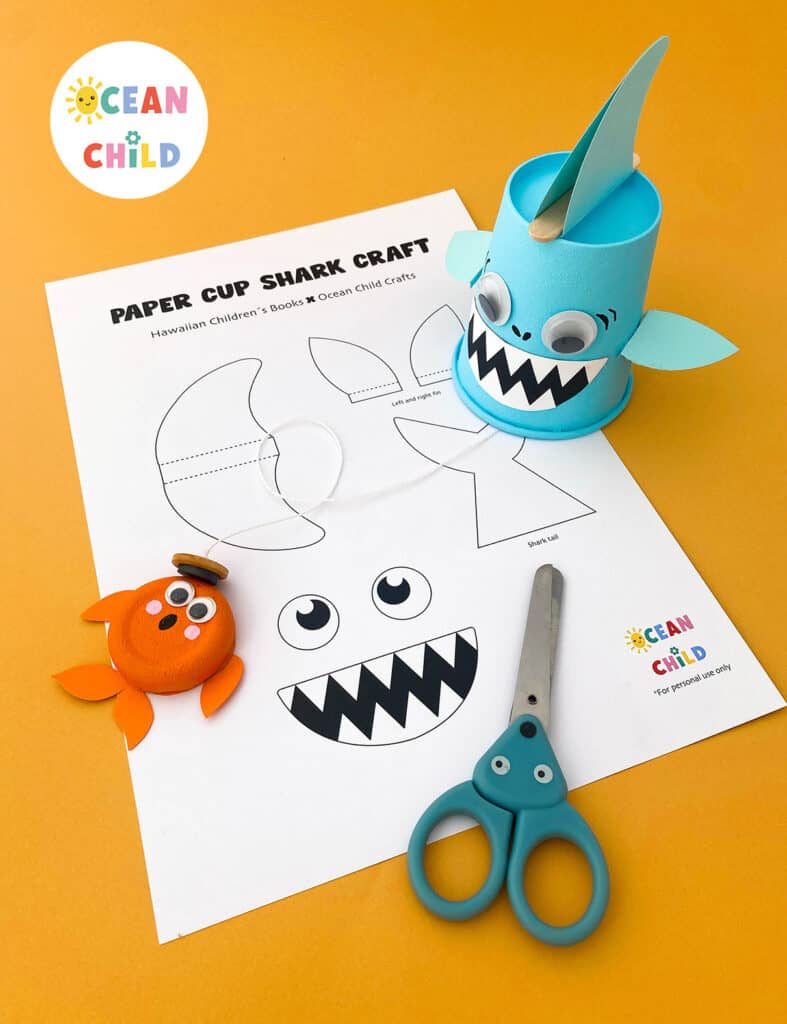
Step 1: Print Your Shark Craft Template
Start by downloading and printing the free shark craft printable. It includes all the parts you’ll need: fins, tail, and mouth ready to color and cut out.
Step 2: Paint Your Shark
Take a paper cup and paint it in your favorite shark color: grey, blue, purple or even a silly rainbow shark! Acrylic paint works great, or you can use washable kids’ paint for easier cleanup.
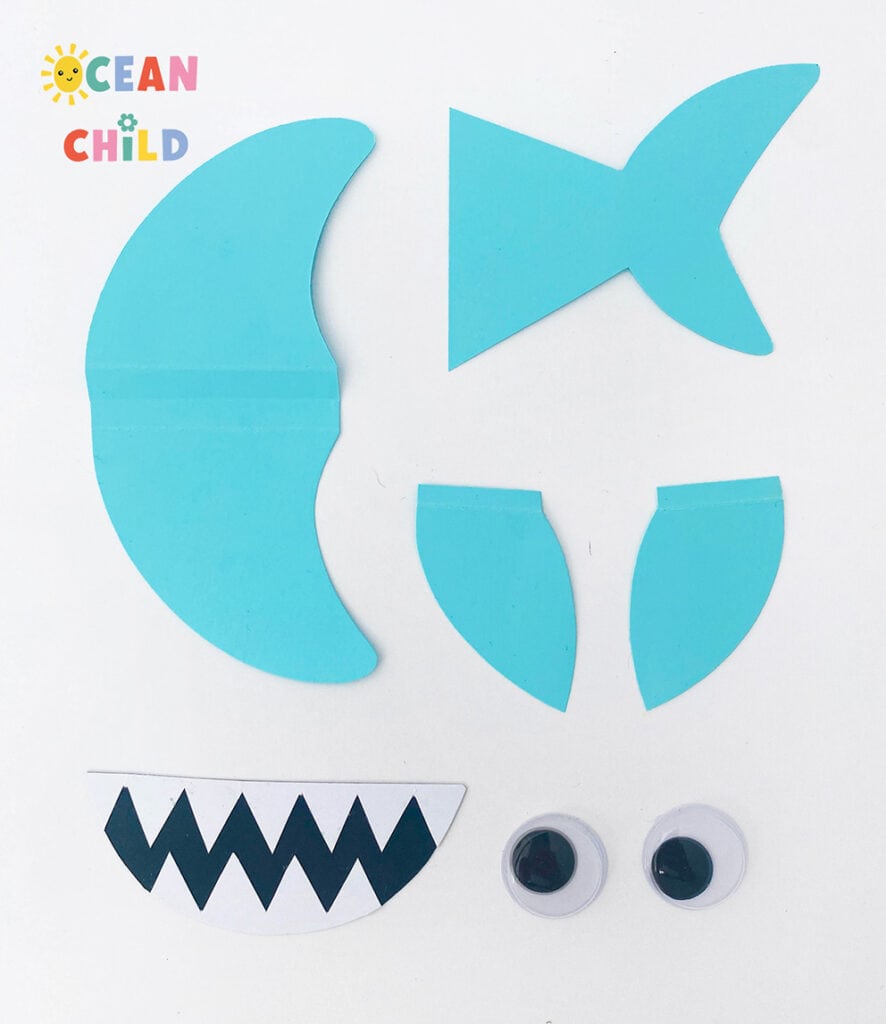
Step 3: Prep the Shark Body Parts
Use the printable to make all your shark pieces: fins, tail, and mouth. You can either color the template directly and cut it out, or trace the shapes onto colored paper. Don’t forget to fold along the dashed lines, those are your folding guides!
Step 4: Build Your Paper Cup Shark
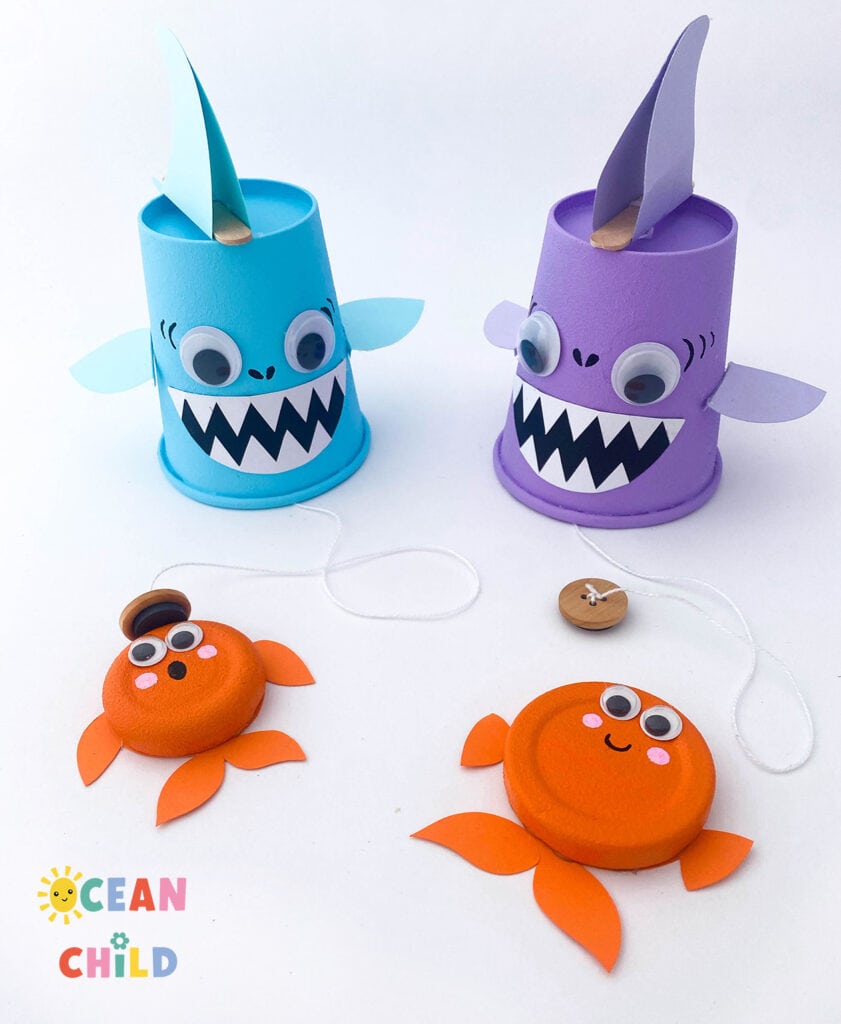
Now, it’s time to put your recycled shark craft together! Use glue to attach the fins, mouth, and tail. For the back fin, cut a small slit in the back of the cup and slide the fin inside to hold it in place.
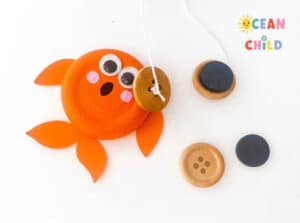
Step 5: Make the Fishing Line
Take a piece of string, this will be your fishing line. On one end, attach a small magnet. A fun trick: tie a button to the string and glue the magnet on top. This makes it easier to hold the magnet in place. See pictures below.
Step 6: Attach the Line to the Cup
Use a craft knife, skewer, or pencil to poke a small hole in the top of your cup. Thread the string through the hole so the magnet hangs below the shark. Inside the cup, tie the other end of the string around a popsicle stick, toothpick, or twig to keep it in place.
Step 7: Add the Top Fin
Fold your top fin along the dashed lines and glue it over the stick inside the cup. When you pull the top fin up, the magnetic line moves, just like a shark going in for a catch!
-
- DIY magnet fishing game
-
- Recycle mason jar in fish craft
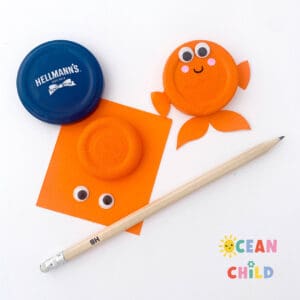
Step 8: Craft the Fish for Your Game
Time to create your magnetic fish! Use metal jar lids as your base. Paint the top of each lid in bright fishy colors using acrylic paint (it sticks best to metal).
Step 9: Make Fish Bodies
Once the paint is dry, place the lid on paper and trace around it. Draw and cut out a fish tail and two side fins. Then glue the painted lid on top of the paper shape. See pictures above. Use hot glue for a strong hold.
Step 10: Add Eyes and Details
Stick on googly eyes, and use markers to add gills, scales, or even silly fish faces. Now you’re ready to fish!
-
- Shark book and printable
-
- Fun fishing DIY
More Fun Ocean and Paper Fish Crafts To Try With Kids!
Finished your DIY origami fish? Great job! Now try some of our other easy ocean crafts for kids:
These make perfect additions to an ocean-themed week, homeschool lessons, or kids’ summer craft camps!
Short on prep time? We’ve got you covered! Our printable ocean craft packs are designed to make creative time simple, fun, and stress-free. Each pack comes in both full color and black-and-white coloring page versions, so kids can customize their creations and add their own flair.
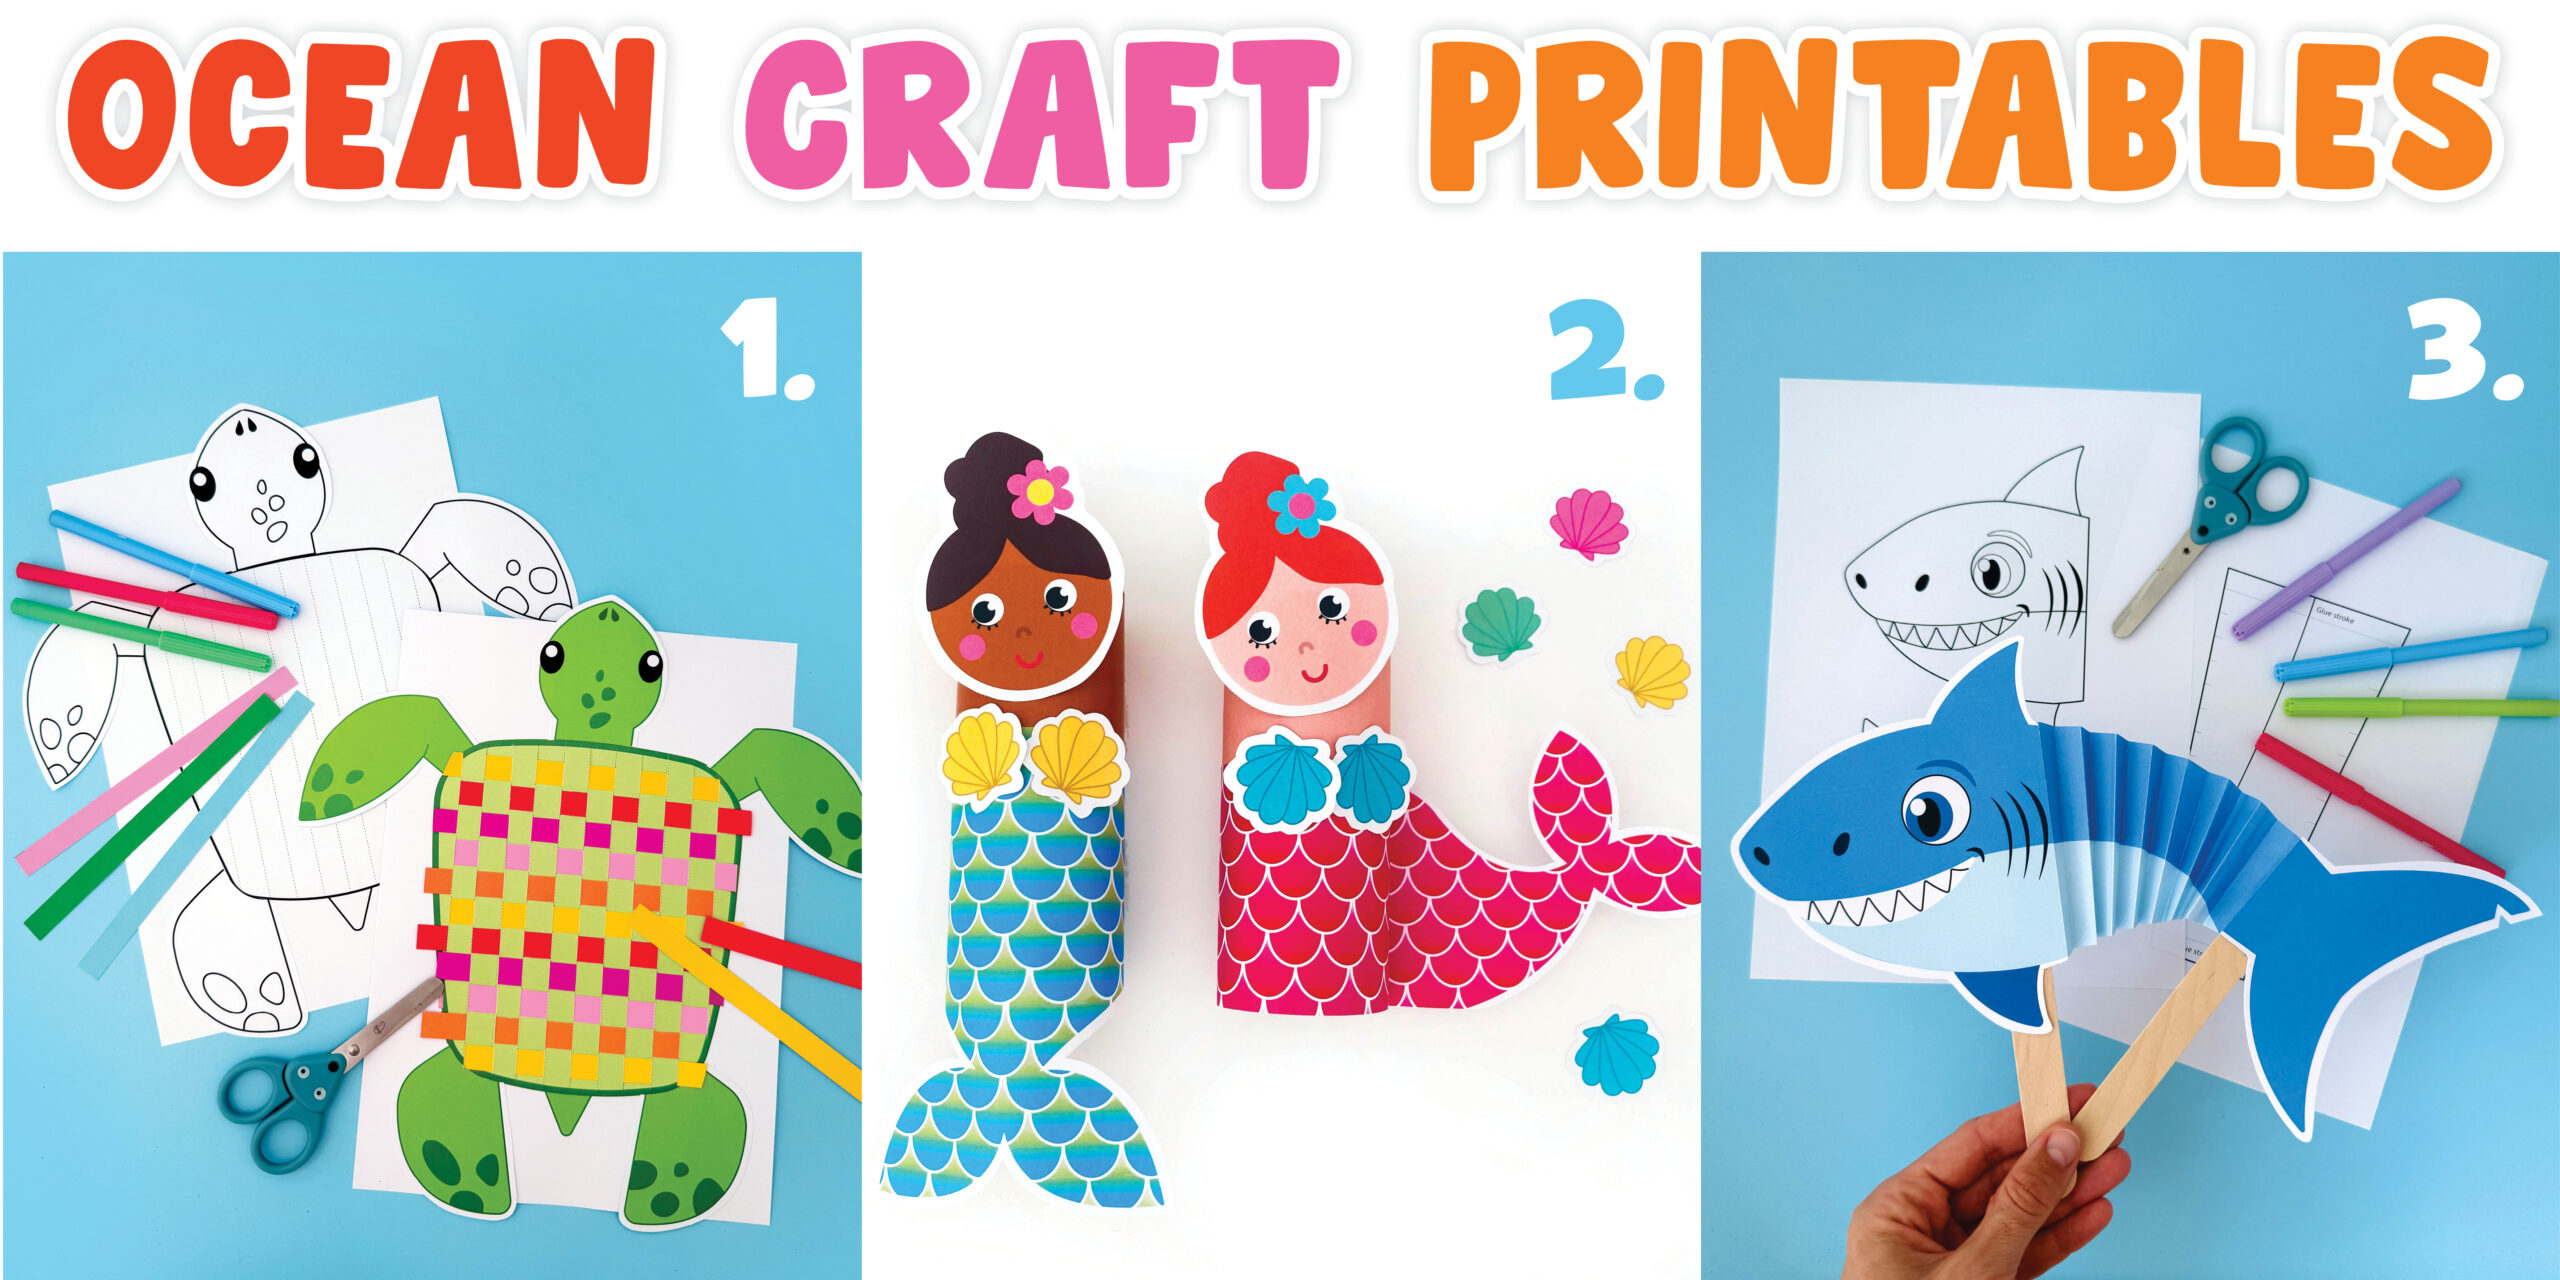
Here are a few of our most-loved ocean printables, see pictures above. You can purchase them on our website, Etsy Store and Teachers Pay Teachers:
- Sea Turtle Shell Weaving – A perfect blend of fine motor skills and creative play.
-
BIG Mermaid Puppet Bundle – A magical favorite packed with movement and sparkle!
-
Swimming Shark Puppet – Always a hit with shark fans and full of ocean action.
Whether you’re a parent, teacher, or homeschooler, these print-and-go craft kits are perfect for engaging little learners in a creative underwater adventure!
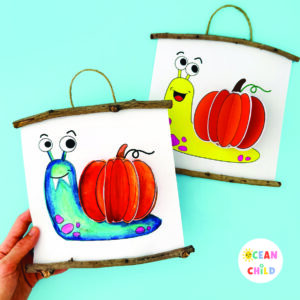 A 3D Pumpkin Snail Craft for Kids, Fall & Halloween Activity with Template
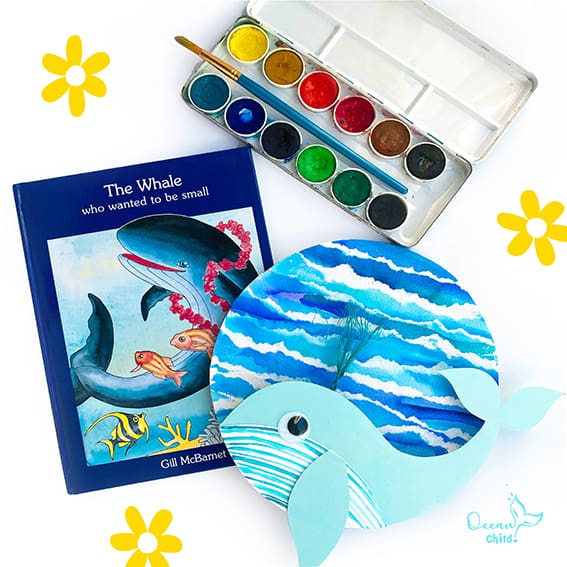 Watercolor Whale Craft For Kids With Free Printable Template
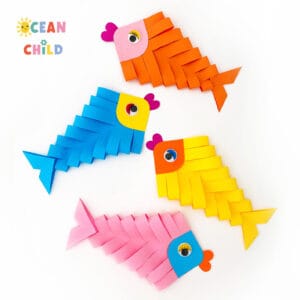 Easy & Fun Origami Paper Fish Craft for Kids With YouTube Tutorial
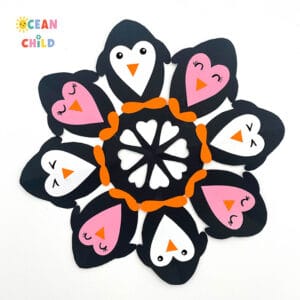 Valentine’s Day heart shaped penguins, paper penguin craft!


!)
I will definitely try it with my kids during the holidays. Thanks for the wonderful input 🙂
Thank you very much, I hope you enjoyed the craft!
link for the fish template