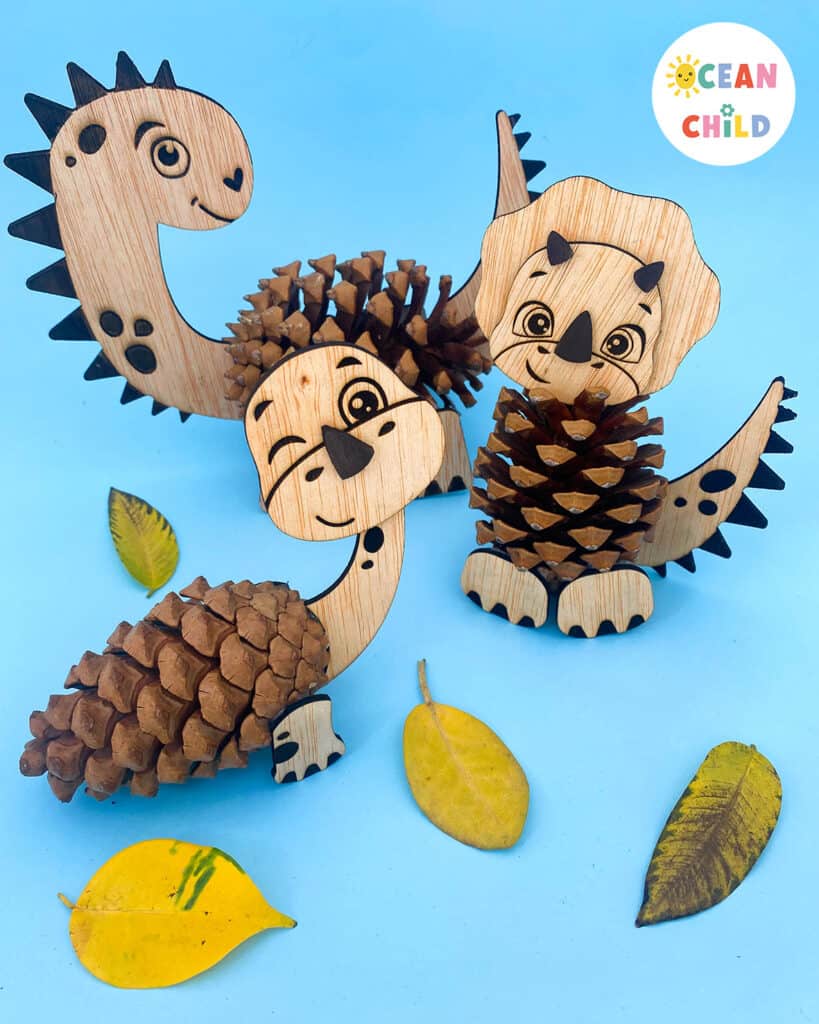
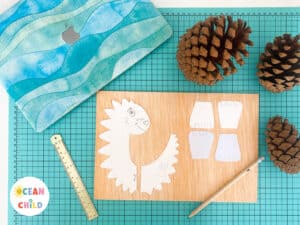
How cute are these pinecone dinosaurs for fall? They are the perfect DIY for a nursery room and make a unique newborn gift for a loved one. I created these wooden pinecone dinosaurs with the beamo laser cuter. I have always wanted to try out a laser cuter, so when FLUX reached out, I was super excited.
Why we used a laser cutter to make pinecone dinosaurs
The FLUX beamo is a compact laser cutter and engraver for professional, school, and home use. With the beamo, you can bring all your creative ideas to life; the small, simple, and affordable laser cutter gives you the power to make anything you or your kids will love. It´s perfect for creating educational resources, home décor, and personalized gifts. Because of its compact size, it fits comfortably on your workbench, desk, or design studio. And the best thing is that the beamo is ideal for dealing with almost any material. Find more details about the FLUX beamo laser cuter right here!
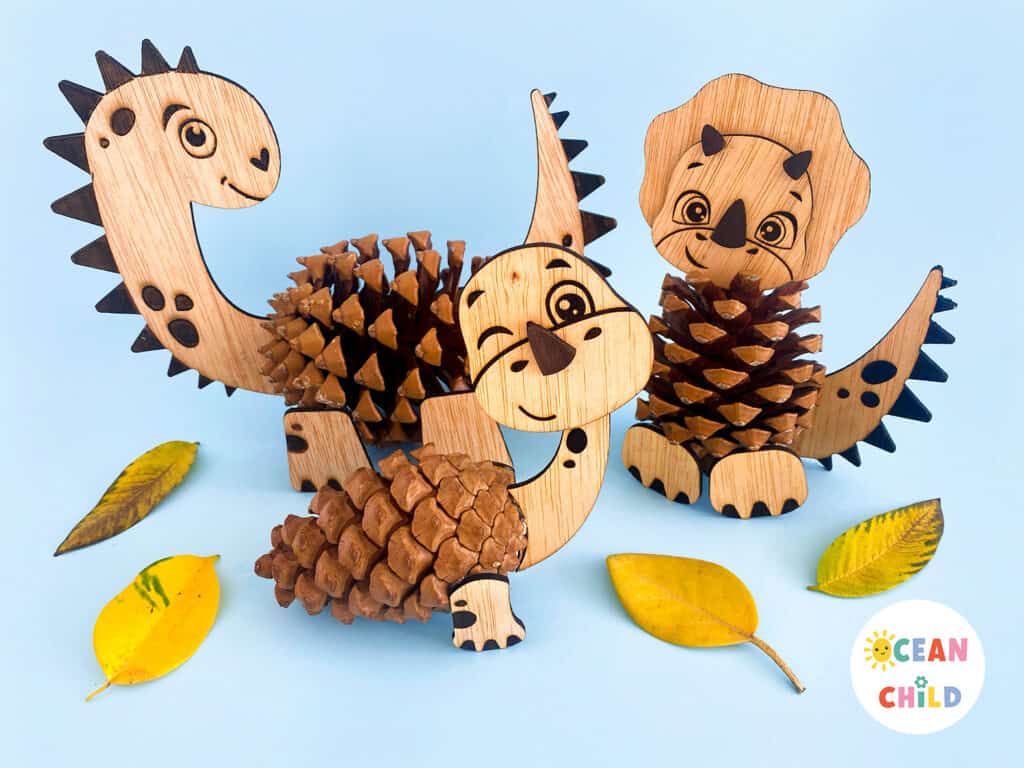
FLUX laser cuter craft, pinecone dinosaurs
The laser printer is (almost) immediately ready to use right out of the box. Only when I received the beamo by mail, I encountered installation problems because of the transportation. However, the employees of FLUX were super helpful and helped me solve the problem quickly. To make it easier for you, we created a step-by-step craft video on YouTube showing how easily the beamo works and how fun it was to develop these pinecone dinosaurs. Check the pinecone dinosaur craft video below.
These pinecone dinosaurs for fall are inspired by our cardboard dinosaur versions; please check this blog post with step-by-step craft instructions on the cardboard dinosaurs. You can use the FREE template in this blog post to trace on cardboard or print the template on cardstock and use that. Follow the step-by-step craft instructions below for the pinecone dinosaur craft using the beamo laser cutter. And don´t forget to watch the YouTube video. It will make the crafting process a lot easier.
By using this site, you are agreeing to our terms of use. This article contains affiliate links. Please read our full disclosure here.
- Our dinosaur inspiration
- Dinosaur craft for kids
Supplies needed to make pinecone dinosaursBelow is a list of all the craft supplies you need to create pinecone dinosaurs with a laser cutter.
- Beamo printer
- Computer/laptop
- FLUX app, Beam Studio
- Pinecone
- Piece of wood 3 or 5 mm
- Dinosaur template (optional)
- Glue gun
- Sketch paper and pencil
Pinecone dinosaurs craft tutorial on YouTube
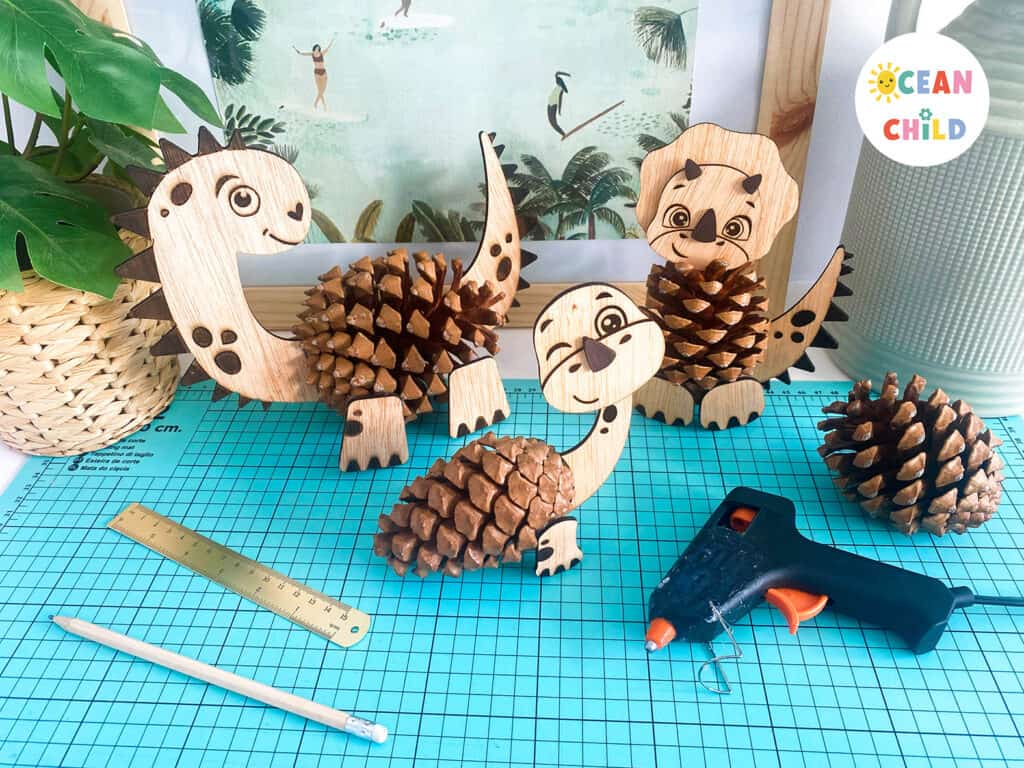
Dinosaur fall craft activity
How to Make a pinecone dinosaurs
Step 1: Gather the craft supplies above to create a pinecone dinosaur. You can choose if you would like to make the dinosaurs with a laser printer. Or, if you don´t have a laser printer, you can create the dinosaur with cardboard. You can use the dinosaur template for the outlines of your craft. We highly recommend watching the YouTube video for step-by-step instructions.
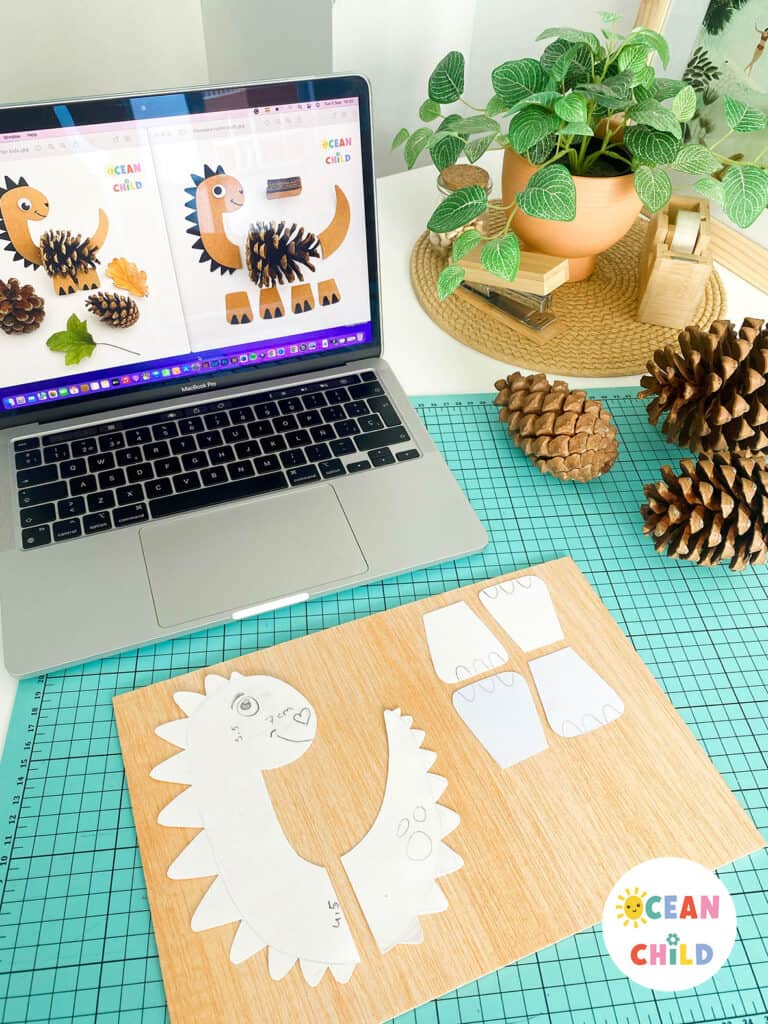
Step 2: Use the dinosaur template and scale it up or down to match your pinecone’s size. Or you can sketch your dinosaur on paper.
- Draw your dinosaur
- See if your dinosaur fits the wooden pannel
Step 3: Cut out all the pieces to see if it matches your wood panel or cardboard piece.
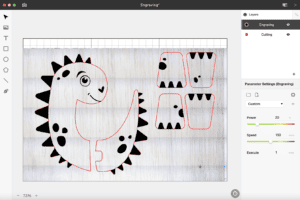
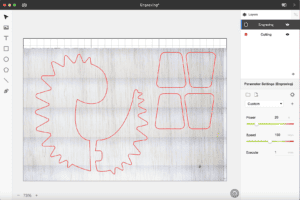
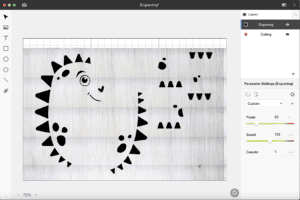
Step 4: In the next step, we created our dinosaur in Illustrator. If you´re using the FLUX beamo, you need two different layers: a cutting layer and an engraving layer. The cutting layer is only the outside of your dinosaur (see photo). The engraving layer is the details that the beamo will engrave (see picture). Find our free template right here. Save your design as a cutting layer and engraving layer on your desktop.
Step 5: Start your beamo and connect the beamo to your WIFI.
Step 6: Lay your piece of wood (3 or 5 mm) in the beamo laser printer.
- The Beam Studio app van FLUX
- Cutting layer
- Engraving layer
Step 7: Open the FLUX app, called “Beam Studio,” on your laptop (or any device you use). On the right side is a column with the parameter settings. Set your settings on wood, 3mm cutting (or 5 mm, depending on your wood), and ensure the execute is on 1.
Step 8: Drag your cutting and engraving layers in the Beam Studio and make sure your layers align.
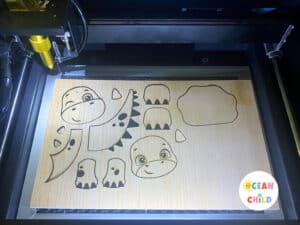
Step 9: In the Beam Studio app, you can find a camera icon (preview button) in the left corner. Click on it and select your entire workspace on the screen, the camera in the beamo previews your slice of wood/work area. Now you can see the wood on your screen. Make sure the dinosaur design fits on the wood, and readjust your dinosaur if necessary.
Step 10: Click the play icon in the top right corner to start the laser printer, it will show you the exact time duration of the laser process.
- Beamo lawer printer
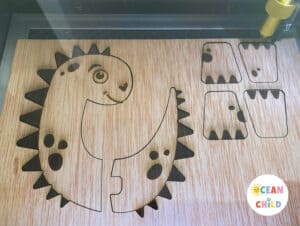
- Dinosaur parts in the laser printer
Step 11: Now, the beamo will start with the engraving layer and color the details of the dinosaur. After the engraving, the beamo will automatically cut out the cutting layer. This might take a couple of minutes; check on the printer regularly to ensure it goes well.
Step 12: You can open the top and check your design when the laser cutter is done.
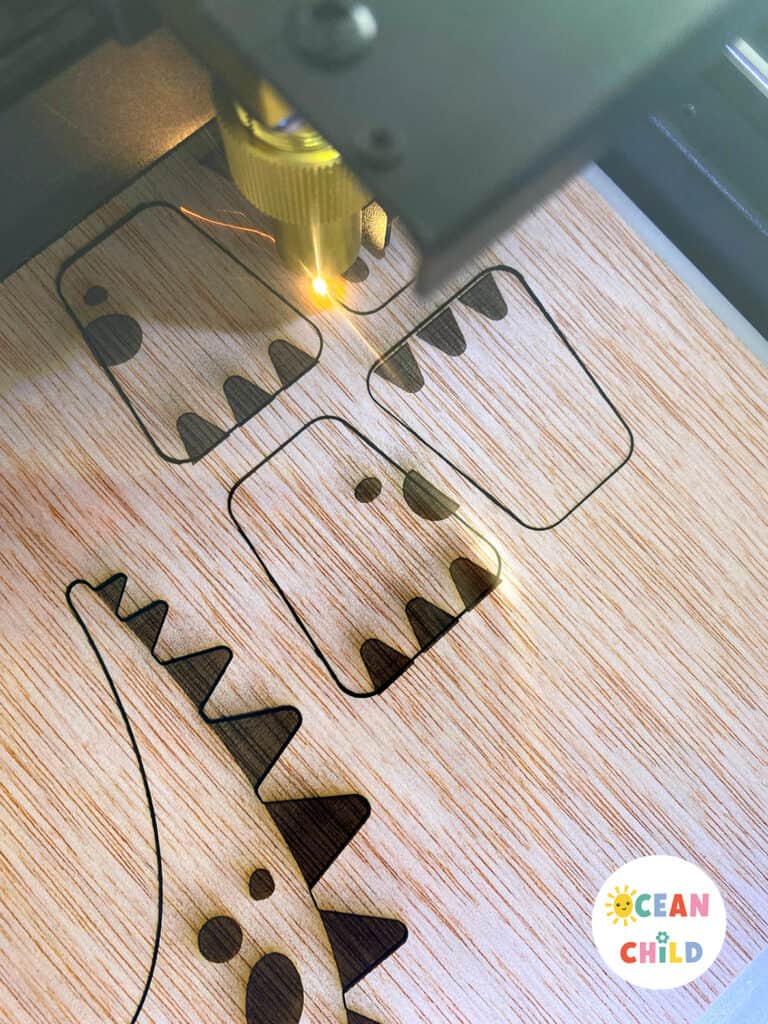
FLUX laser cuter craft
Step 13: Glue your dinosaur together with a glue gun. If the dinosaur has trouble standing, glue a small piece of wood or a wooden beat underneath for extra support.
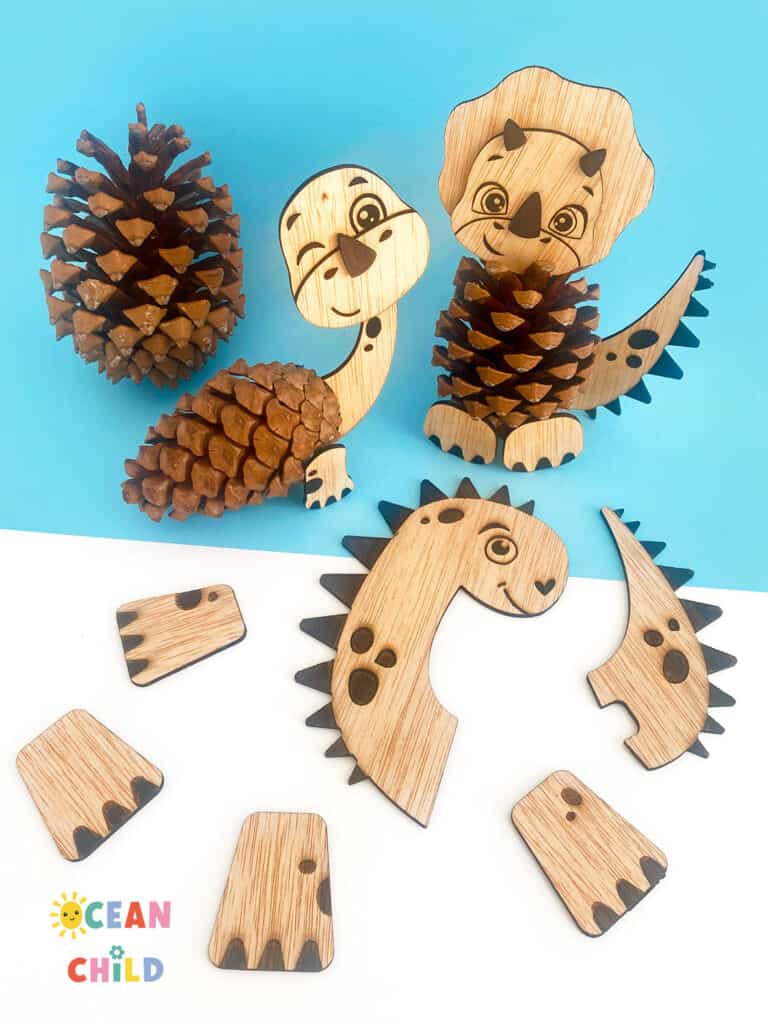
Pinecone dinos fall craft for kids
Find more information about FLUX and the beamo laser cutter right here.
Pinecones aren’t just for decoration; they’re the star of some amazing kids’ crafts! Explore our top pinecone craft ideas for classrooms and home. Get inspired right here!
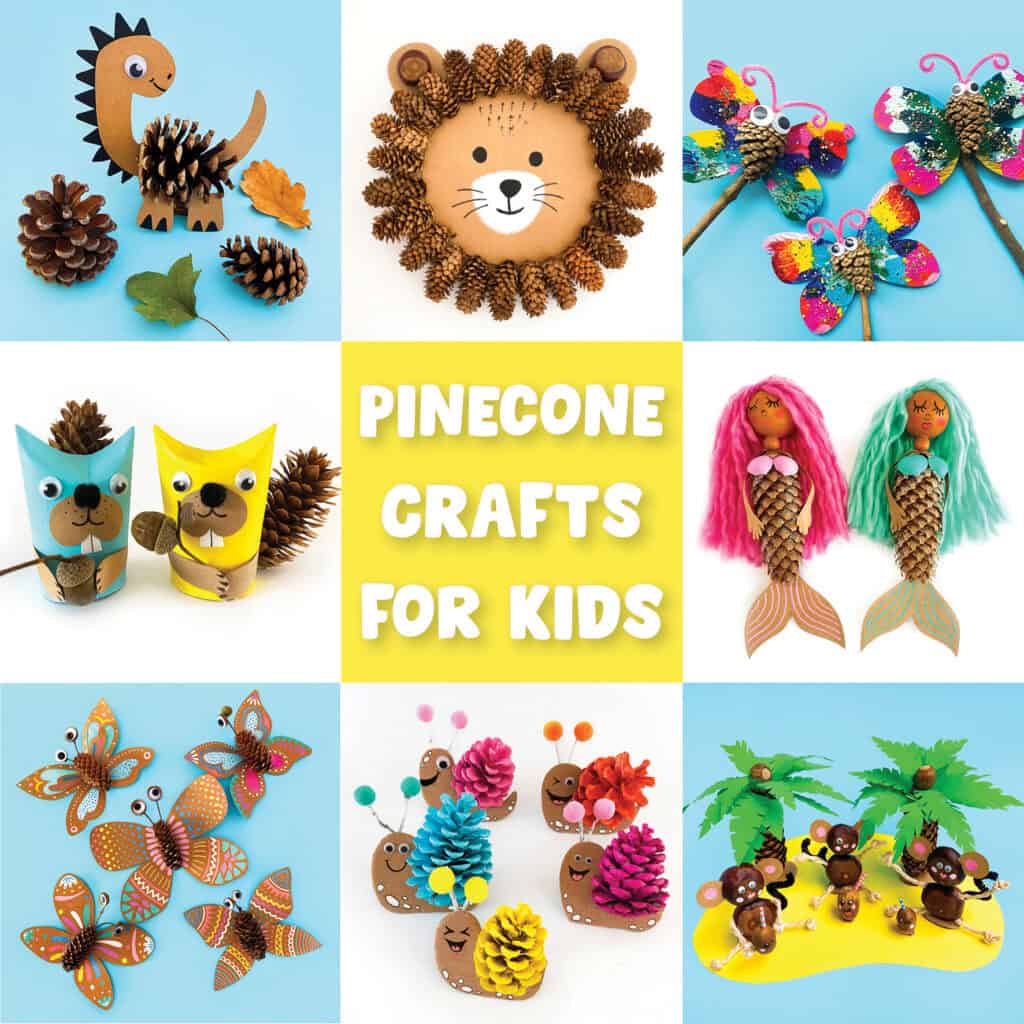
Creative Pinecone Crafts for Kids
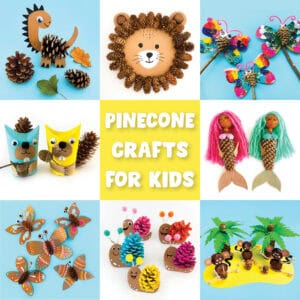 8 Fun and Easy Pinecone Crafts for Kids This Fall
 Woodland Animal Craft for Kids, Hedgehog & Squirrel with Fall Leaves
 A 3D Pumpkin Snail Craft for Kids, Fall & Halloween Activity with Template
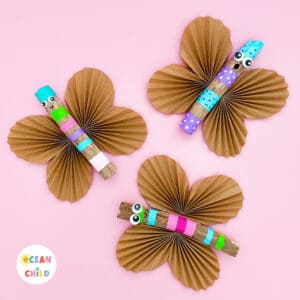 Butterfly stick craft for kids


Leave a Reply