Create beautiful DIY flower stamps for Valentine’s Day or Mother’s Day! This inexpensive and easy-to-set-up craft is a perfect gift idea for a loved one. You can make Valentine’s Day cards, birthday wrapping paper, or beautiful artwork for Mother’s Day. Or just a happy craft to prepare for the spring season.
We have designed two different flower stamps, both made from a simple paper roll. One stamp features colorful tulips, while the other showcases heart-shaped flowers. This activity is not only fun, but it also helps practice hand-eye coordination and strengthens hand muscles as you press the paper roll stamps onto the paper. It’s a fantastic process art activity that encourages personal creativity.
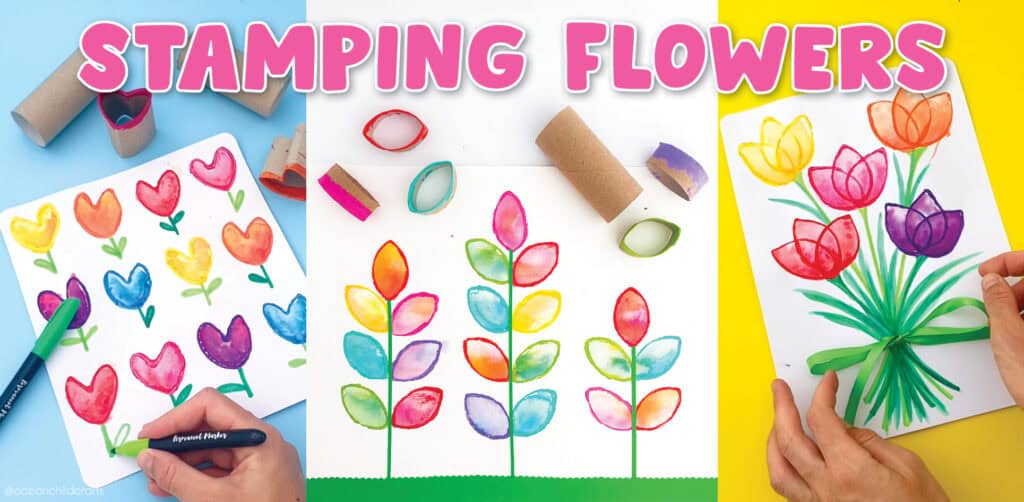
DIY Flower Stap Craft
Flower stamping is an excellent art activity for classrooms or daycare settings and is suitable for various age groups. Get your classroom ready for the spring season by stamping some colorful paper roll flowers. Read below for the step by step craft instructions on how to make DIY heart-shaped flower stamps!
By using this site, you agree to our privacy policy and terms of use. This article contains affiliate links. Please read our full disclosure here.
- Easy Tulip Craft Spring Activity
- Paper Roll Flower Craft
What You Need To Make DIY Flower Stamps
- (toilet) paper roll
- White paper/carstock
- Paint washable paint or acrylic paint, we used Amsterdam Acrylics
- Water and paintbrush
- Water color palette (optional)
- Green marker (optional)
Easy Kids Craft Activity Spring Season
How To Make A Paper Roll Tulip Stamp
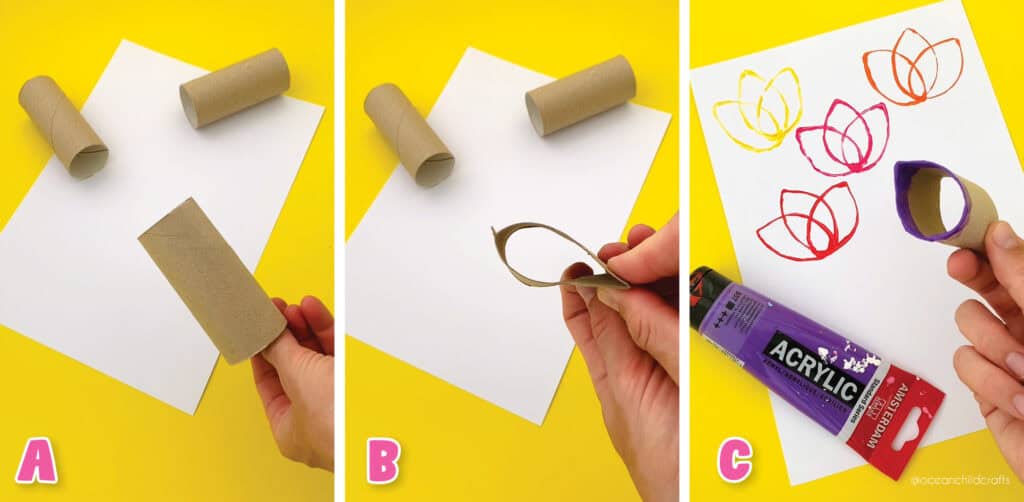
Step 1: Gather the craft supplies listed above. Let’s start with your paper roll to create our flower stamp. You can either cut the paper roll in half or use it as it is. To create a raindrop shape, fold one side of the paper roll. Make sure to leave one side rounded, as shown in pictures B and C.
Step 2: Now it’s time to create our tulip stamp. We used acrylic paint, but you can also use washable kids’ paint—both options work well! Put some paint onto a plate.
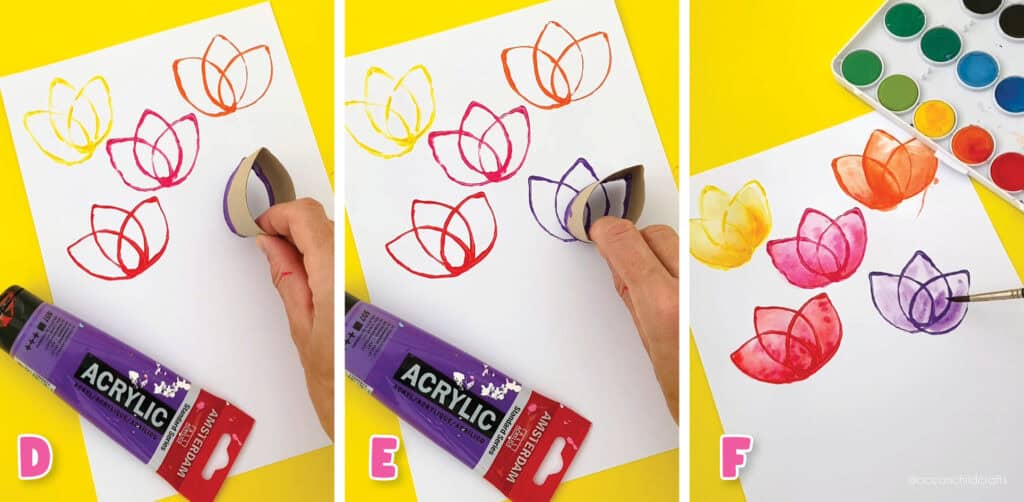
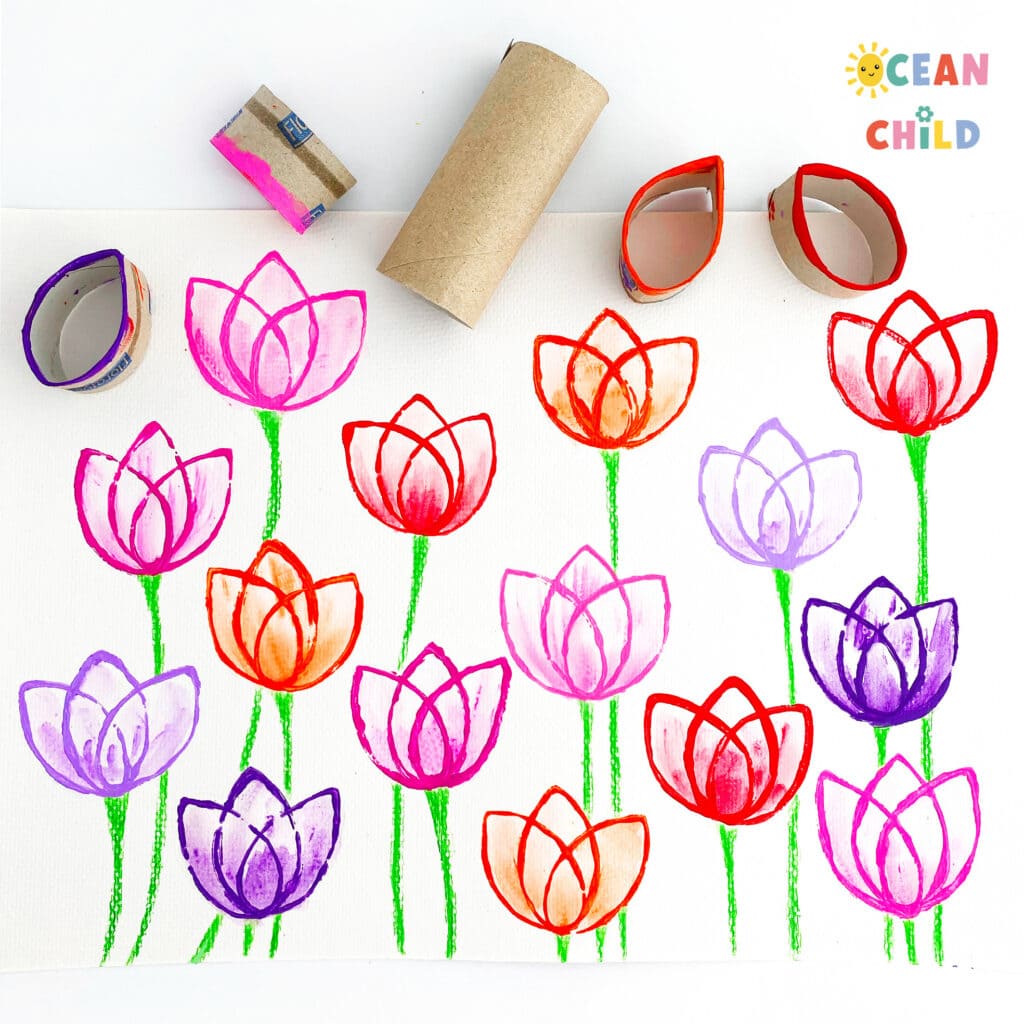
The tulip consists of three stamps: one middle raindrop and one on each side (left and right). For reference, see pictures C, D, and E.
I recommend testing your stamp first on a piece of scrap paper to get the hang of it.
To make the perfect tulip stamp, be sure to use enough paint (see picture B). Then, gently press your paper roll stamp onto the paper.
Beautiful DIY Flower Stamps
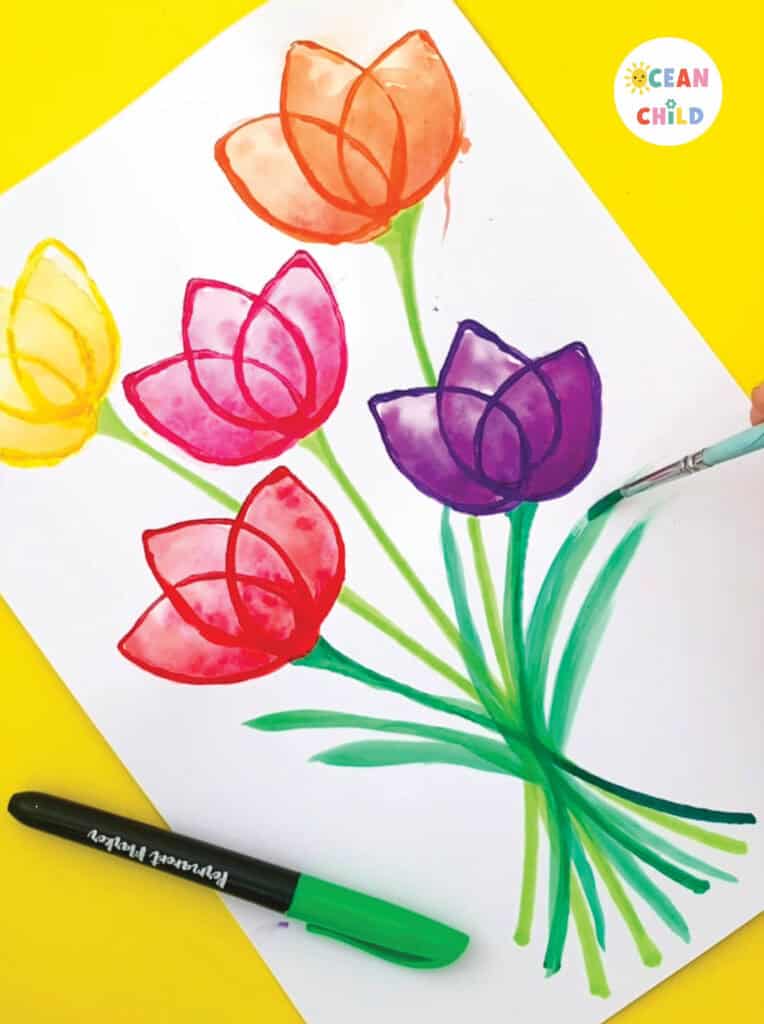
Step 3: Test your tulip/flower stamp on a piece of scrap paper until you achieve the desired shape. Once you have it right, take your main paper sheet and start creating your first tulip. If you want to make a bouquet of tulips, consider sketching how many tulips can fit on your paper. We’ve found that five tulips are the perfect fit: one in the center and four surrounding it. Use different colors for each tulip to add variety to your bouquet.
Step 4: Now that we have the outlines of our tulips, we can color them in. You can simply use water to blend your colors. Gently add water to your petals so that the paint mixes with it. Alternatively, you can use watercolors. To give your flowers different shades, adjust the amount of water you use, or even mix in a small amount of a different color to add some depth. See pictures F and G for reference.
Personalized Gifts For Mother’s Day
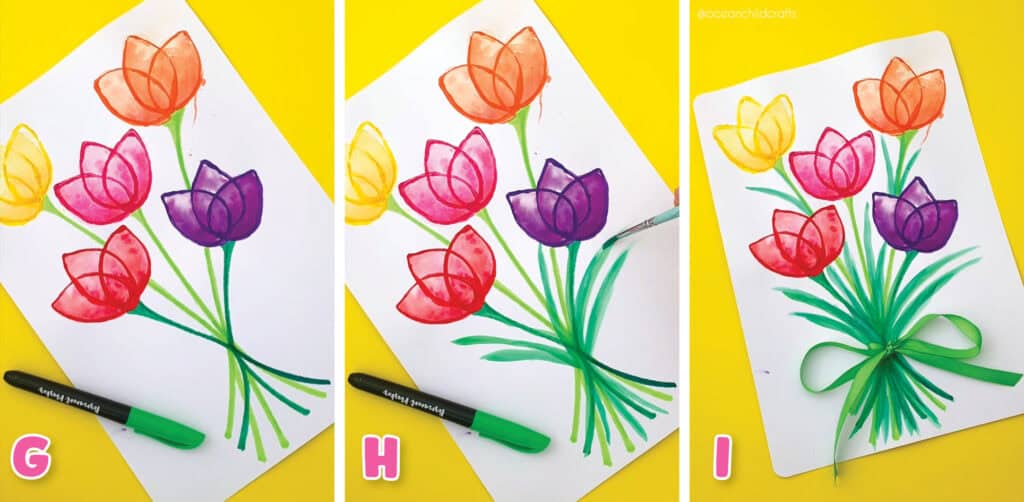
Step 5: Allow your tulips to dry, and then it’s time to add the stems to your painted tulips. We will create strokes of green that converge in the middle. If you find this challenging, lightly sketch the lines with a pencil first to see what looks best. Additionally, incorporate different shades of green to add more interest to your painting. See picture G.
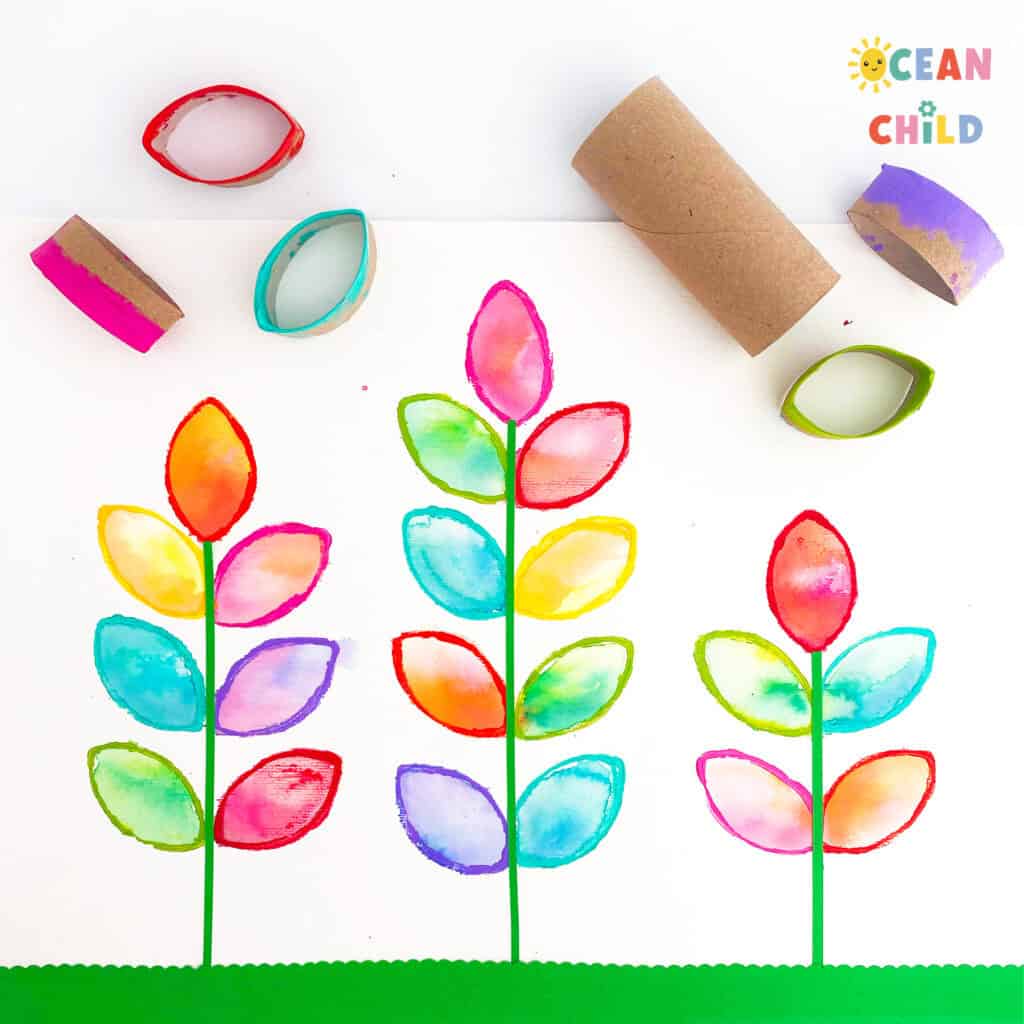
Step 6: Now give your stems some leaves. The stems of tulips have long leaves; we recreated this by adding some green paint-blended strokes to our bouquet. See picture H for reference.
Step 7: Finally, we added a bow to tie our tulip bouquet together. Create a bow and glue it onto your artwork. Now, your tulip bouquet is ready to be gifted to a loved one.
Fun Process Art For All Ages
How To Make Heart Shaped Flower Stamps From A Paper Roll
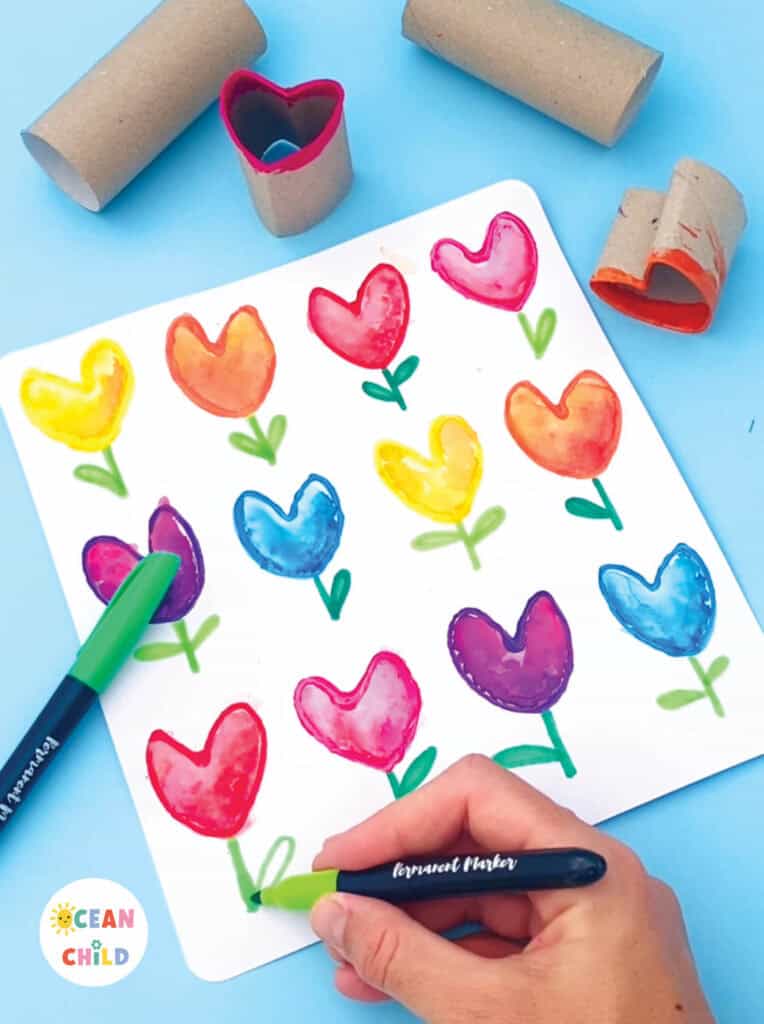
Heart stamps can be used for painting on paper or canvases, making Valentine’s card, homemade wrapping paper or flowers
Step 1: Gather the craft supplies listed above. We will start with our paper roll to create a card filled with heart-shaped flowers. Begin by bending the paper roll into a heart shape. You can achieve this by flattening the paper roll to create two creases: one at the top and one at the bottom.
Next, invert the crease at the top so that it curves inward. This will form the heart shape. If you like, you can use tape to secure the curve in place, making it easier for small hands to work with.
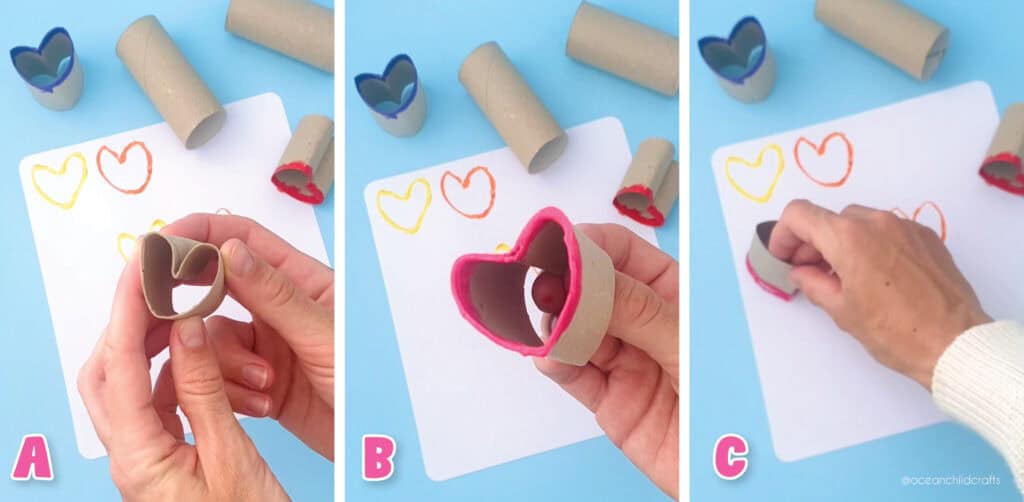
Step 2: I recommend testing your stamp first on a piece of scrap paper to get the hang of it. Put some paint onto a plate, and gently push your paper roll in the paint so its nicely covered. See picture B for reference. Now, make a test stamp on a piece of scrap paper; gently push your heart-shaped stamp on the paper. When your happy with your heart start stamping on your background.
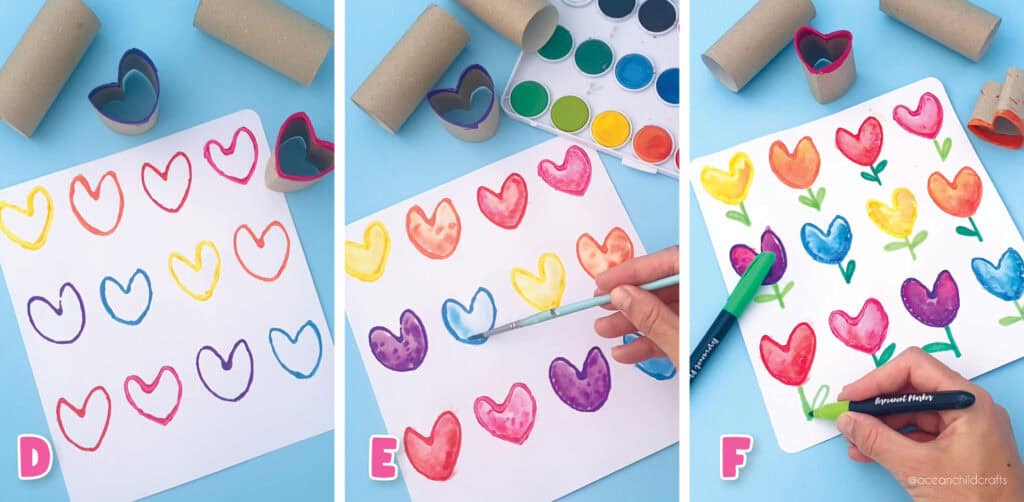
Step 3: You can add as many hearts as you like, but be sure to leave enough space underneath for the stems and leaves of your flowers. Use different colors for each heart to create variety in your flower designs. We added 12 hearts on our white square paper, measuring 21X21 cm. See picture D.
Valentine Flowers
Step 4: Now that we have outlined the heart-shaped flowers, we can begin coloring them in. You can easily use water to blend your colors. Gently apply water to the hearts so that the paint mixes smoothly with it. Alternatively, you can use watercolors for this process. To give your heart-shaped flowers different shades, adjust the amount of water you use, or mix in a small amount of a different color to create depth. Please refer to pictures E and F for guidance.
Step 5: Finally, we will add the stems and petals to our heart-shaped stamps. We used a regular green marker along with dark and light green markers to create some visual interest. For some stems, we added one leaf, while for others, we added two. Feel free to experiment with the shapes to give the flowers a playful look.
- Heart-shaped Flower Stamps
- Tulip Stamping Activity
Fantastic job creating your own flower stamps! Did you enjoy this activity? We have more stamping and flower activities on our blog. One of our favorite stamping projects is making cactus gift tags using potato stamps. We also created beautiful tulips from cotton pads—this easy craft is a lot of fun!
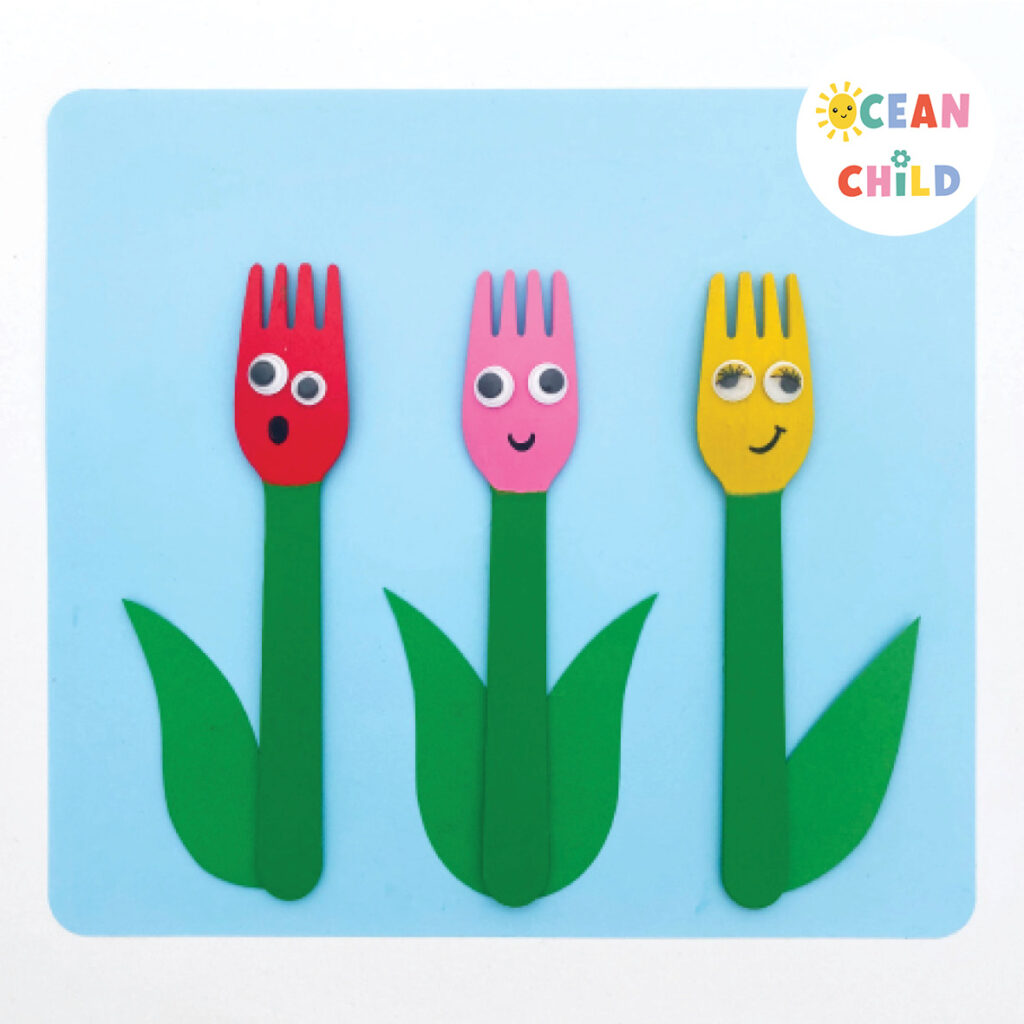
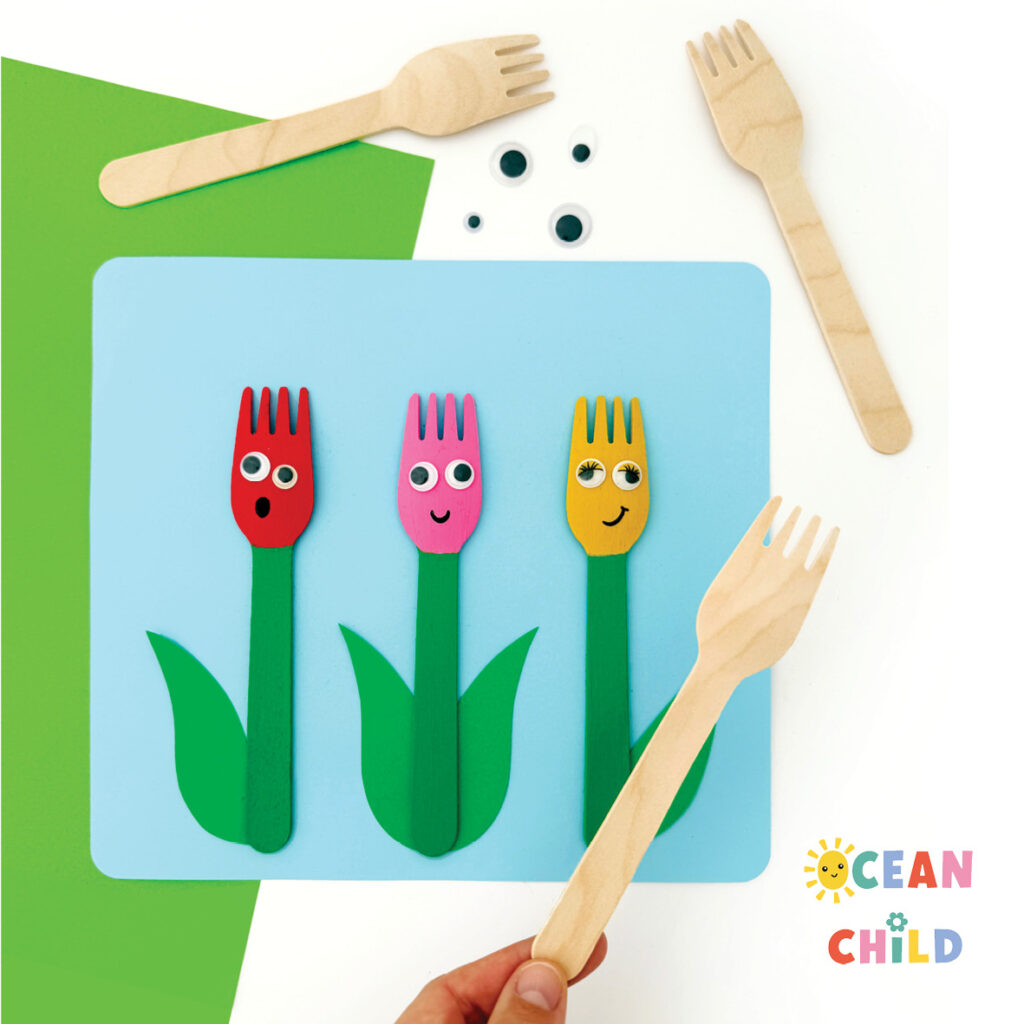
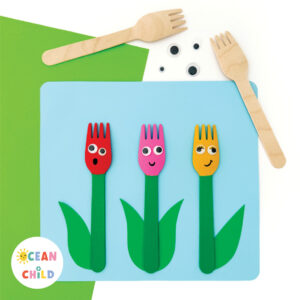
Or try out these easy bamboo fork tulips; they make a great greeting card!
- Kids Craft Activity Spring
- Turn a bamboo fork into cute tulips!
 Bear Pop-Up Card for Kids – Easy Valentine’s and Mother’s Day Craft
 Easy Tulip Craft Project: Make Unique Greeting Cards
 Easy butterfly craft with peanuts!


[…] try paper roll flower stamping with your kids, an easy way to make wrapping paper or greeting […]