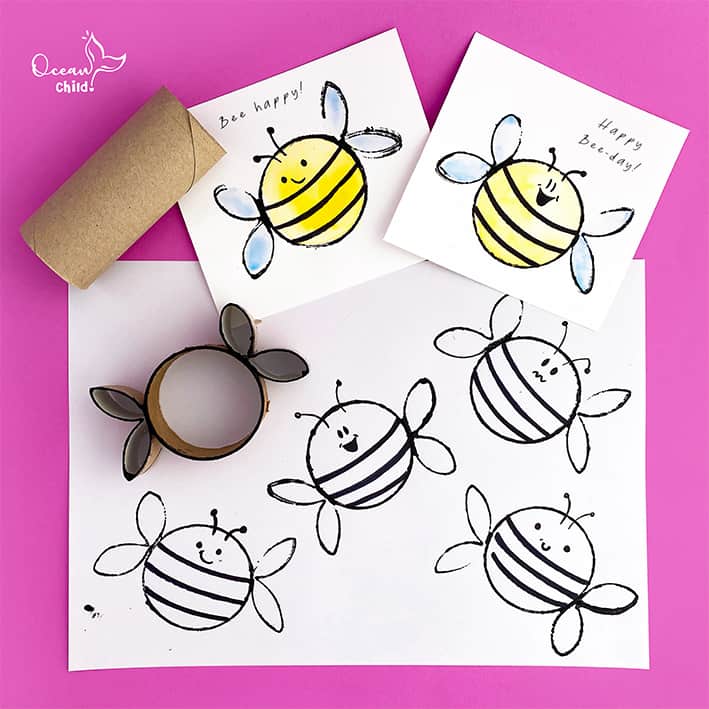
Toilet paper roll stamp bee
How cute is this toilet paper roll tamp of a bee? It’s no surprise that we love to craft with paper rolls. But did you know that paper rolls are also perfect for stamping? You can make so many cool designs with a simple paper roll, like these bee stamps, for example. You can turn them into cute greeting cards, birthday cards, or invitations. The perfect way to wish someone a bee-autiful or a bee-lightful day!
We used a toilet paper roll for the wings, and for the body, we used a paper roll that was slightly bigger than a regular toilet paper roll. But you can also use a regular paper roll or a lid (yes, plastic lids are perfect for stamping too).
By using this site, you agree to our terms of use. This article contains affiliate links; read our full discloser here.
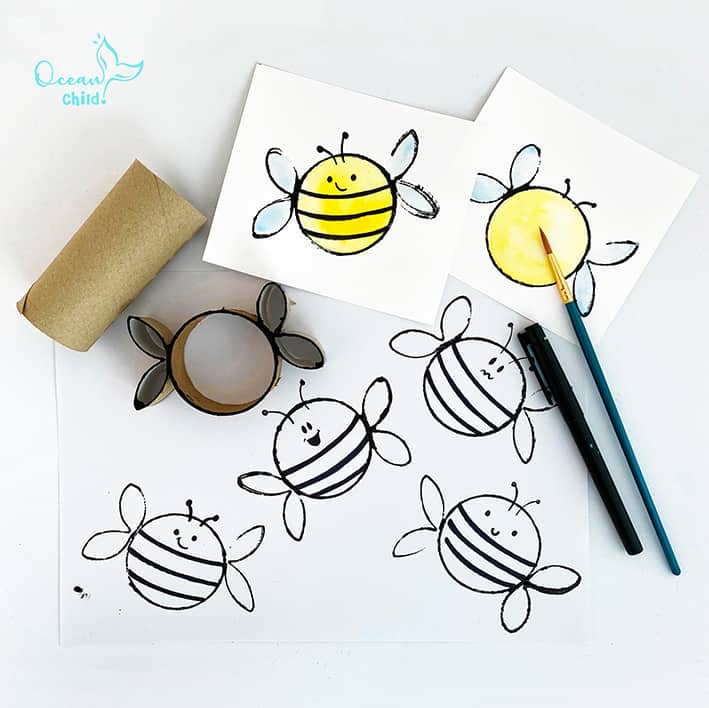
Craft supplies for toilet paper roll stamp
- Paper roll, or round lid
- Paint, we used paint from Amsterdam Acrylics
- White cardstock, preferably a bit thicker
- Black marker
- Watercolors
- Scissor
- Glue
- Sponge or brush to apply paint
Step by step instructions
Step 1: Take your paper roll and cut off three rings from about 1 inch. Make sure you cut in a straight line otherwise your stamp will be uneven. For the body of the bee you can also use a paper roll or plastic lid that is slightly bigger in size. For the wings is a TP-roll perfect because you can bend it easily.
Step 2: To create the wings fold your paper roll ring in a heart shape. Push it flat in the middle and fold the left and right side up.
Step 3: Take your glue, preferably strong glue. And glue both wings on the right and left side of the body. Glue it on top of a flat surface because it’s very important that the wings and body are exactly leveled, otherwise your stamp won’t work.
Step 4: When the wings are fully dry. Take some black paint and cover one side of the paper roll with black paint. I recommend using a sponge to apply the paint so it’s easy to apply and control.
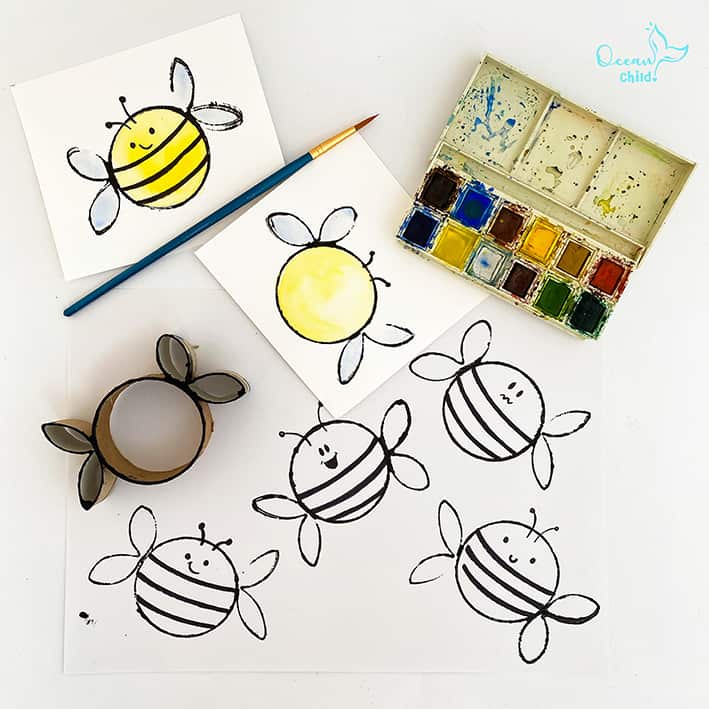
Toilet paper roll bee stamp
Step 5: Make your bee stamp on a paper sheet. Make sure you slightly push the stamp to get a perfect print.
Step 6: When your bee print is fully dry you can color it with watercolors.
Step 7: Wait for the watercolors to dry and add with a black sharpie or fine liner some stripes on the body and a cute face. To make it extra fun, give your bees different expressions and add a silly bee-text.
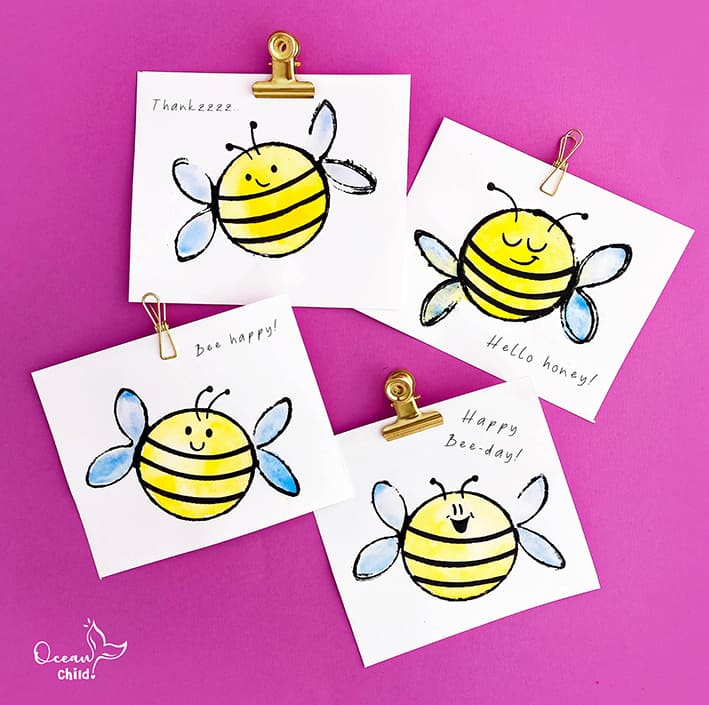
Create bee stamp greeting cards
Great job on these paper roll bee stamps. Now let’s try this paper bee fan craft activity. Or if you prefer a paper roll stamping activity, you should try out these paper roll LOVE bug stamps!
More information about our favorites craft supplies and/or stores, check out the blog post favorites. And don’t forget to subscribe to our YouTube channel for step by step craft instructions!
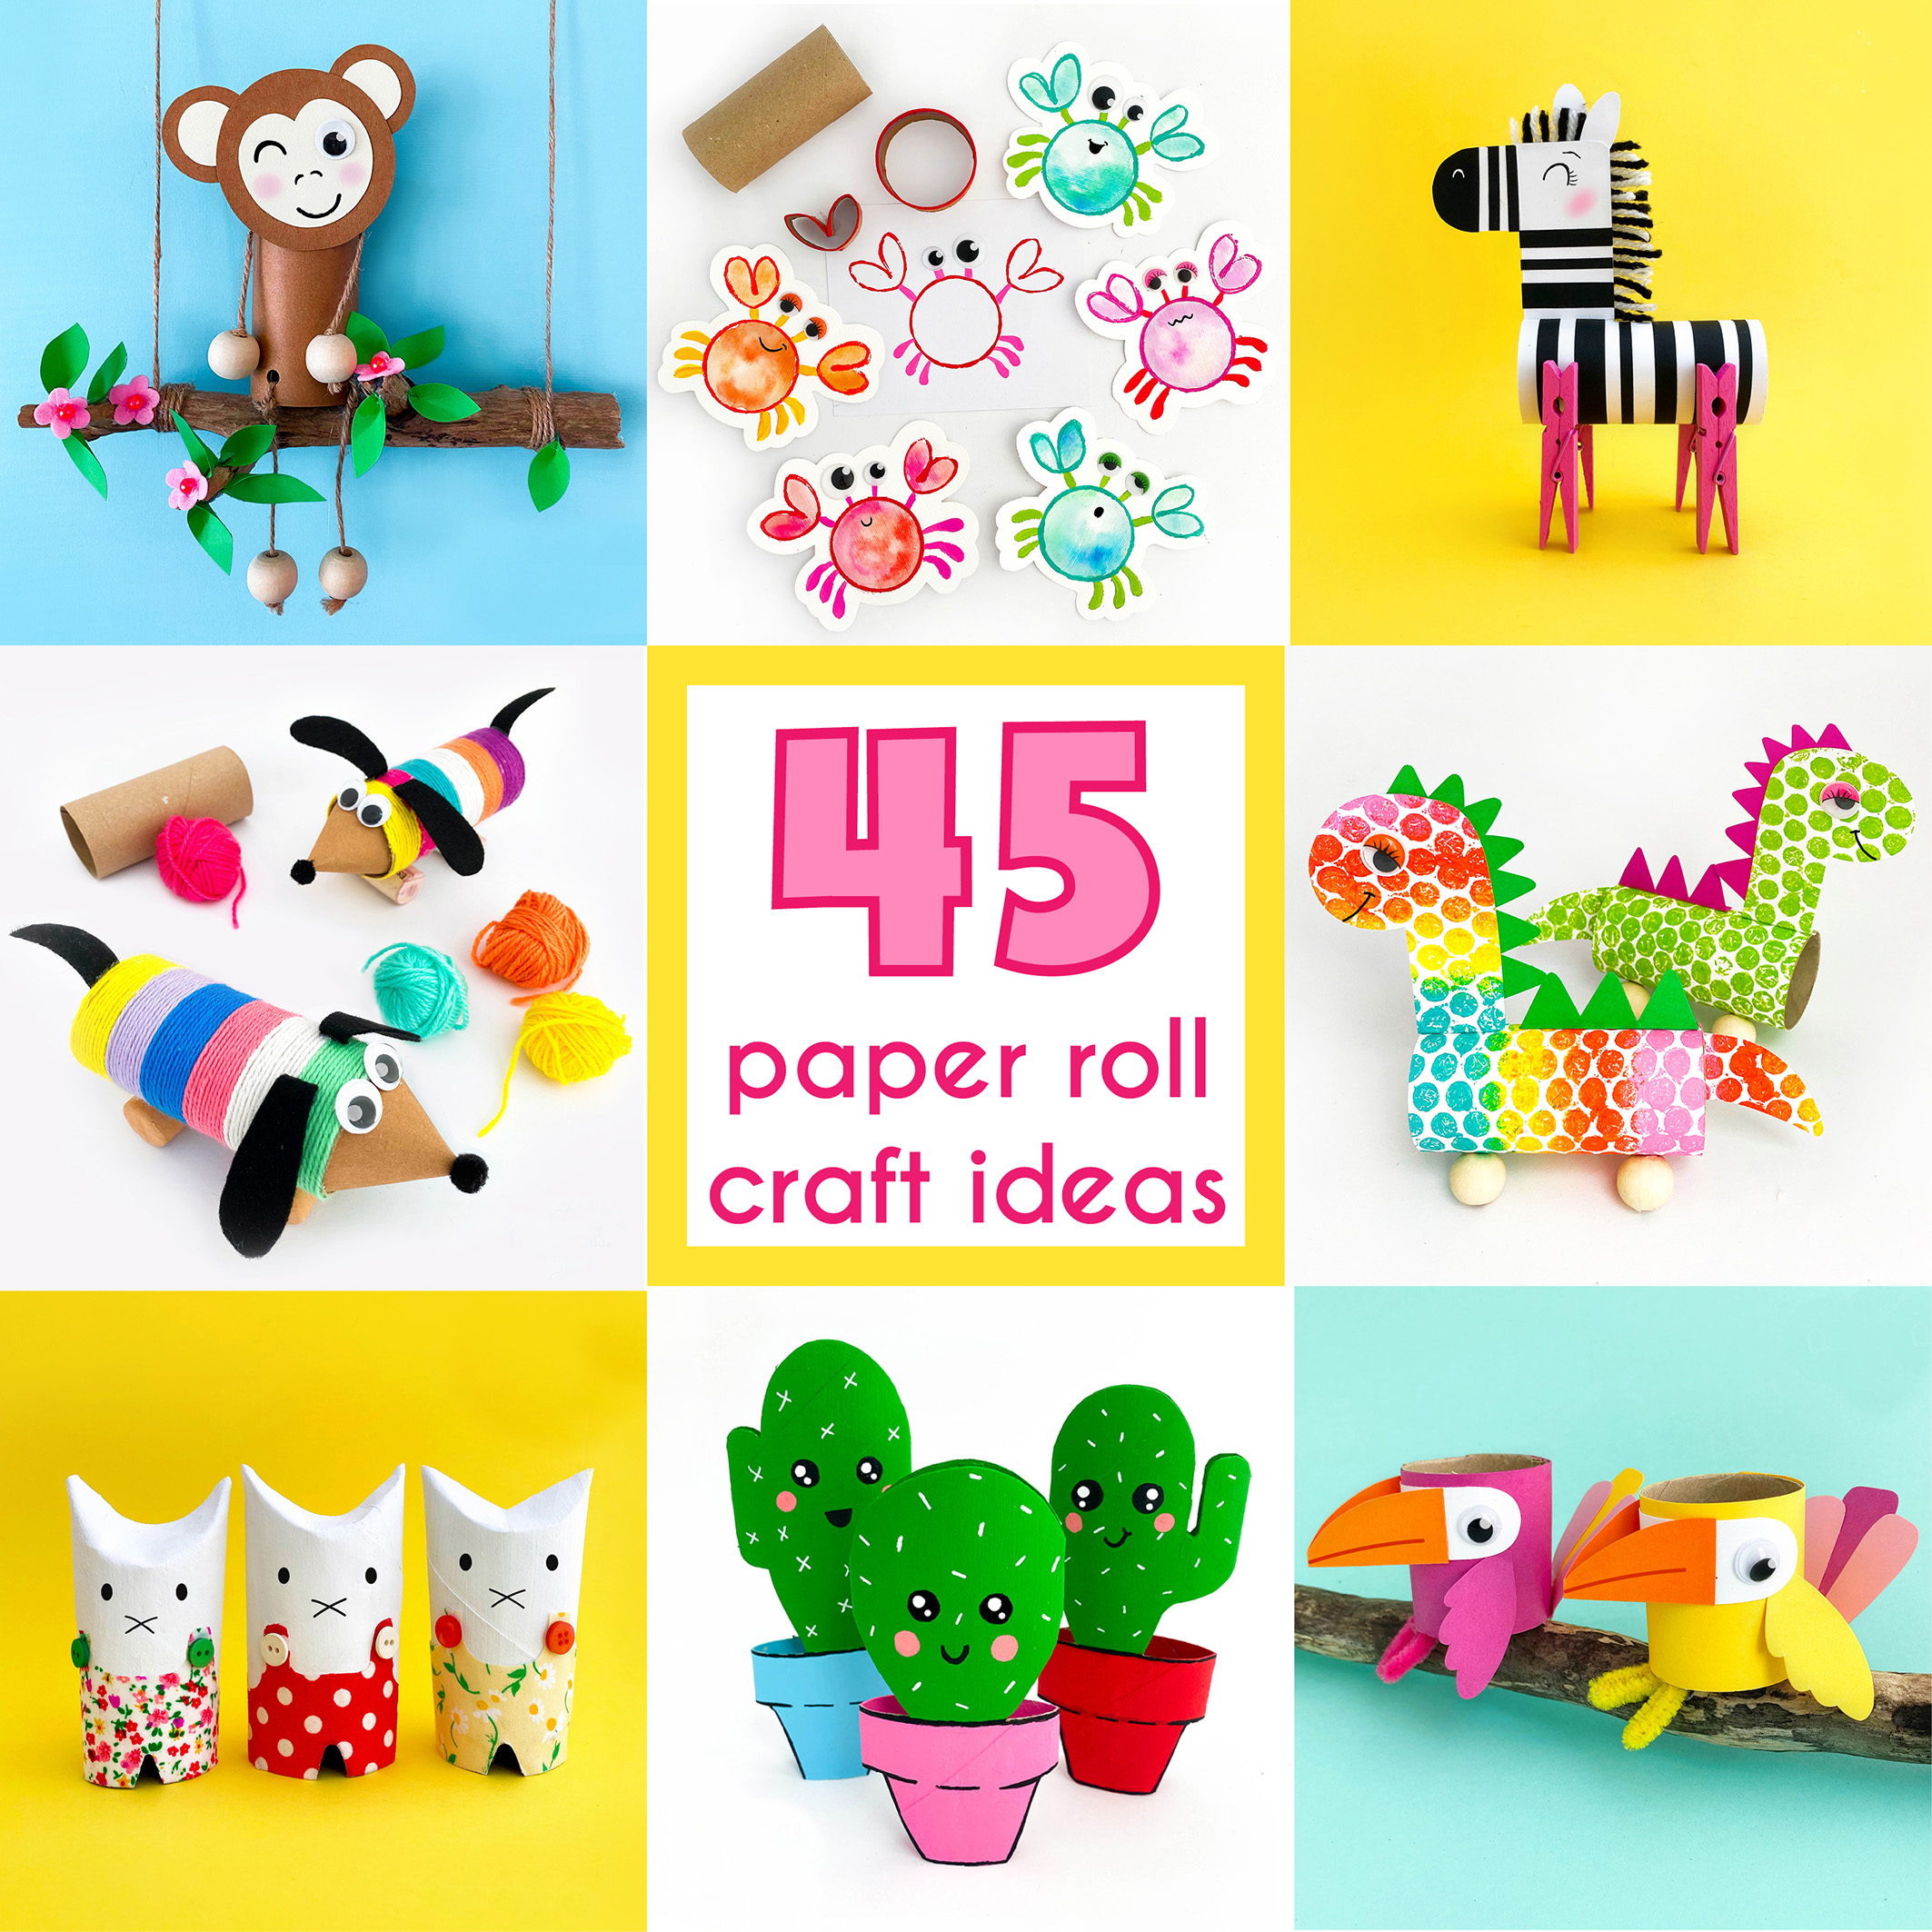 45 Toilet Paper Roll Crafts for Kids of All Ages (Eco-Friendly Fun!)
 Make Colorful Butterfly Puppets with Flapping Wings for Kids!
 Easy Tulip Craft Project: Make Unique Greeting Cards
 Paper Cup Shark Craft & DIY Fishing Game, Perfect for Shark Week (Free Template)!


[…] We also crafted super fun and easy bee stamps from a paper roll, check them out here. […]