We love this paper cup lion craft because of the beautiful rainbow manes. The dangling legs created from big wooden beads make the lion look adorable! It´s a fun and creative craft activity for you and the kids to create at home or in a classroom setting. This rainbow lion craft is a perfect craft activity for a zoo-themed classroom project.
By using this site, you agree to our privacy policy and terms of use. This article contains affiliate links. Please read our full disclosure here.
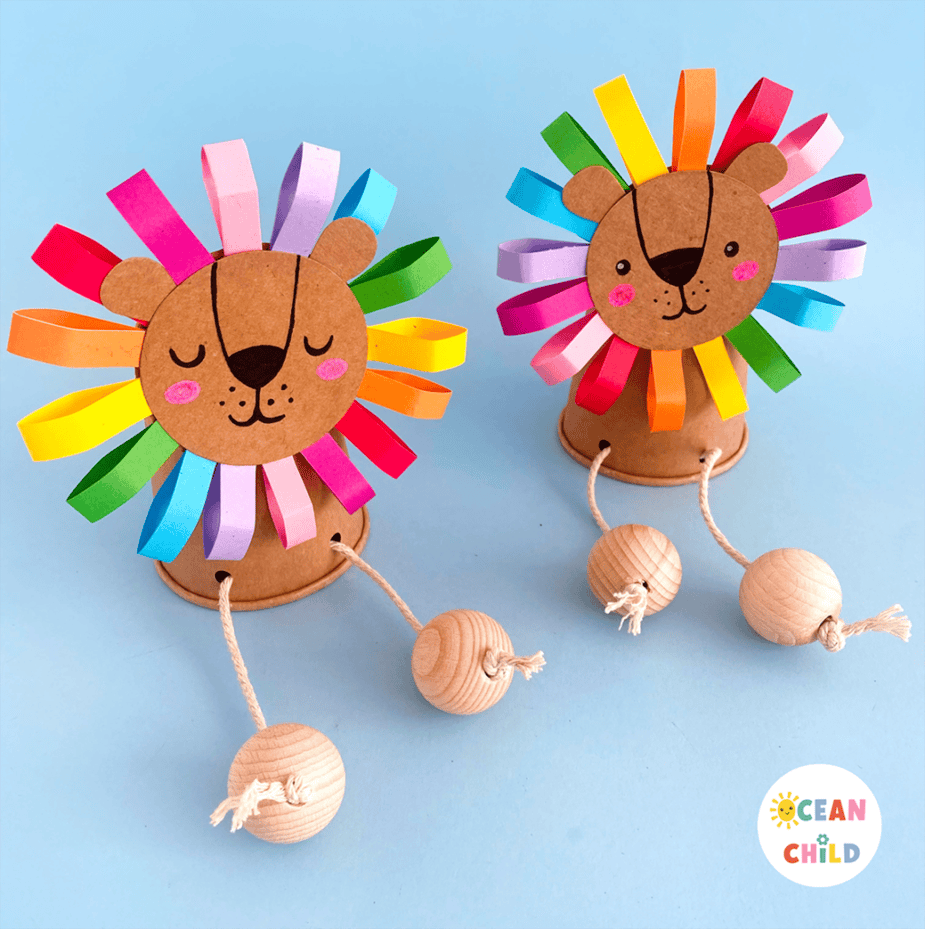
Paper cup lion craft activity
Craft materials to create a paper cup lion craft
We love this paper cup lion craft because it requires only basic craft supplies, like a paper cup and colored paper. If you don´t have big beads at home, don´t worry; you can easily swap the beads for buttons, pompoms, or a simple paper circle.
Brown paper cups are one of our favorite craft materials. It´s a versatile craft supply that we love. The natural brown color is a perfect canvas for any craft. You can transform this simple paper cup into various animals. You can find these paper cups on Amazon and at the Dollar Store.
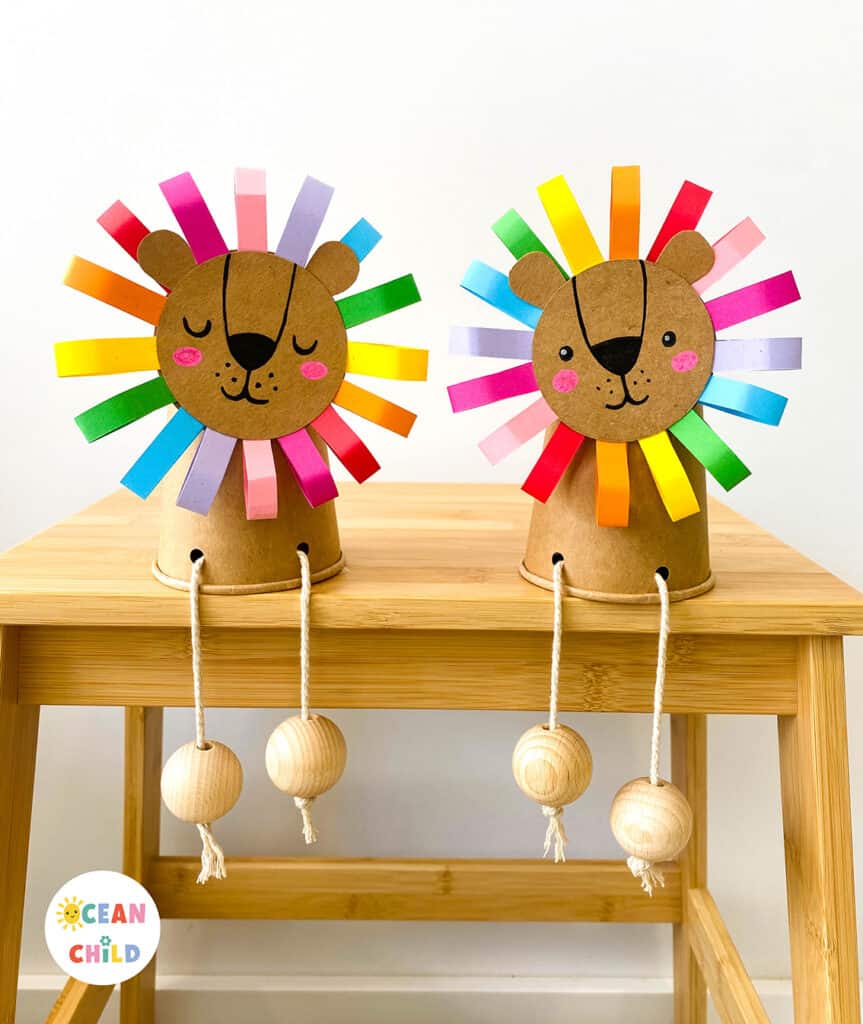
Paper lion craft with rainbow manes
Supplies needed to make a paper cup lion craft
Below, we listed all the craft supplies needed for our paper cup lion. As we said, don´t worry if you don´t have certain craft supplies in-house; you can easily swap them out for something else.
For example, you can use a paper roll instead of a paper cup. You can use plastic beads, buttons, or pompoms for the wooden beads. If you don´t have colored paper, you can draw or paint on white paper and cut the artwork into strokes. Or you can create the manes with just two colors and switch them up. Just look around at what you have at home and be creative.
Craft supply list:
- Paper cup
- Colored paper (we used origami paper)
- Brown Kraft cardstock (optional)
- Two big beads, 30 mm
- Twine
- Black marker
- Scissors
- Glue
- Ruler
How to make a paper cup lion craft
How to make a paper cup lion craft
Below, I will give step-by-step instructions for the paper cup lion. We also created a full tutorial on this lion craft; you can find the tutorial on our Instagram page; here is the link.
Step 1: Gather the craft supplies above.
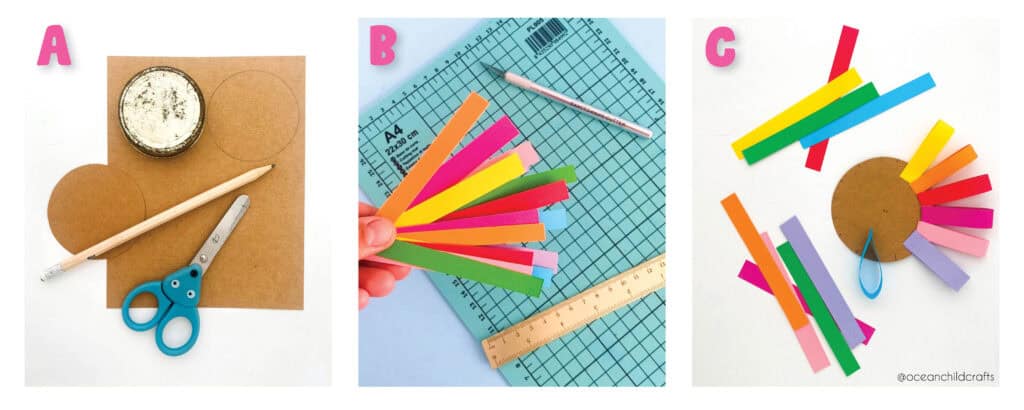
Step 2: Take a brown paper sheet, ideally matching the color of your paper cup. We used brown kraft cardstock. Draw two circles on the sheet with a diameter of 2.5 inches (6/6.5 centimeters). You can draw two ears or glue them on later. Now, cut the circles. See picture A.
Step 3: Let’s start with the lion’s rainbow manes. We created 16 paper strokes in 8 colors, 4 inches long and 0.5 inches wide (10 cm long and 1 cm wide). You can also make a lion with just ten strokes, making each stroke wider and making the crafting process more manageable for little hands. We used a craft knife, but you can cut the strokes with scissors. See picture B. You don´t have to measure the strokes; it will give the lion a more playful look. For the strokes, it´s easy to use origami paper; they fold easily and come in rainbow colors.
Paper lion with rainbow manes
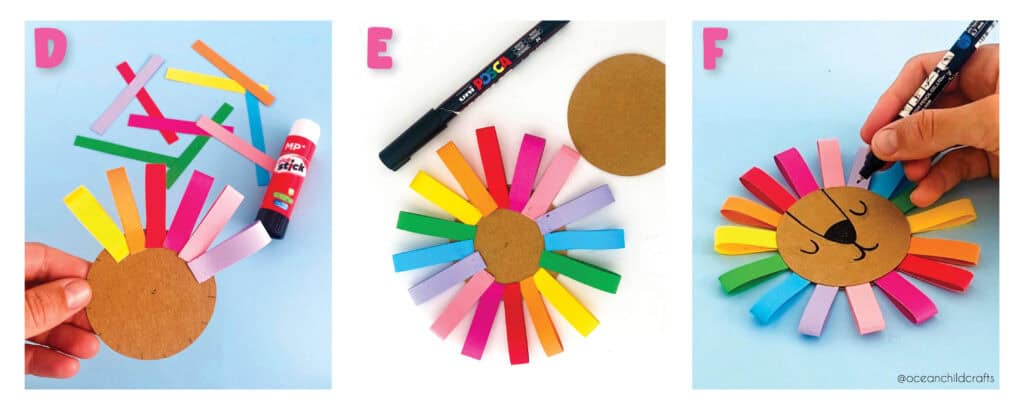
Step 4: When your strokes are ready, you can take one of the circles; this will be the base of the manes. Fold your paper strokes in half and glue the ends on your circle; see picture. See pictures C & D. We glued the strokes on in rainbow-colored order, but this is optional. Try to spread your strokes evenly, so they look like picture E.
Step 5: Glue the second circle on top of the strokes so you have the circles and, front and back in the middle, your colored rainbow strokes. Your lion´s head looks like a flower now.
Step 6: Draw a lion’s face on the circle with a black marker, Sharpie, or fine-liner. See picture F. We added some rosy cheeks with a pink marker.
Step 7: Now gather the two big beads, twine, and paper cup. We will make the lion´s dangling legs (see picture G). Make two holes in the bottom of your cup; this is where you add the twine (see picture H). We created the holes with a hole puncher and placed them 1.3 inches apart (3,5 CM). If you don’t have a hole puncher, you can make holes with a craft knife, skewer, or pencil.
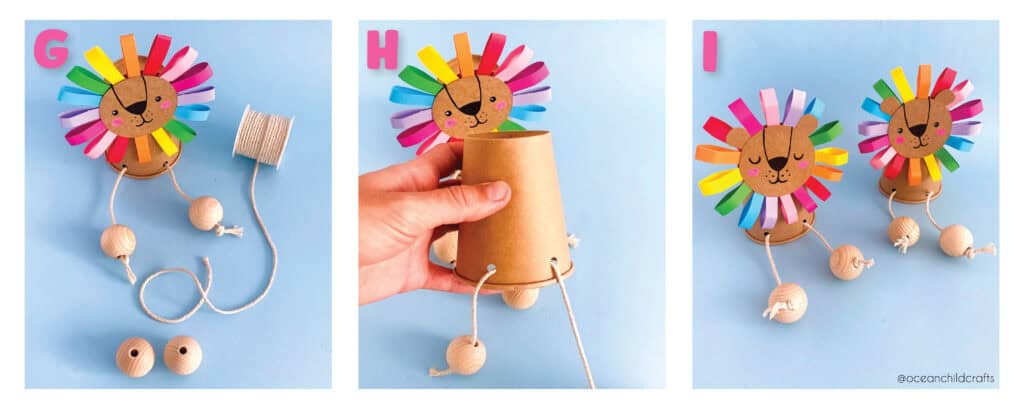
Step 8: Take your twine, poke it through the first hole, and let it come out through the second hole (see picture H). We used a piece of twine from about 10 inches (25 CM) and two big wooden beads with a diameter of 1.2 INCH (3 CM). Attach the beads to the end of your twine (see picture I). Make a double knot to ensure the wooden beads don´t slip off.
Excellent job on this adorable rainbow lion craft activity. You can display the lion on a shelf in the kid’s room.
More paper cup craft ideas
Check out our paper cup bunny craft. They look adorable and match well with our paper cup lion craft. The step-by-step craft instructions are right here.
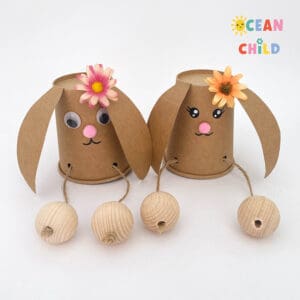
Paper cup bunny craft activity
 Paper Cup Shark Craft & DIY Fishing Game, Perfect for Shark Week (Free Template)!
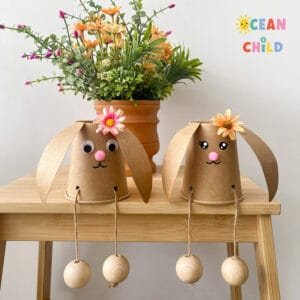 Super easy paper cup bunny craft activity!
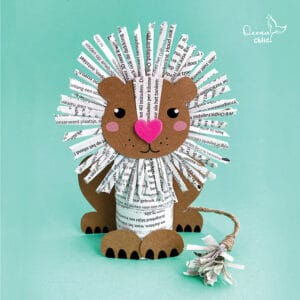 Lion newspaper craft, with only recycled materials!
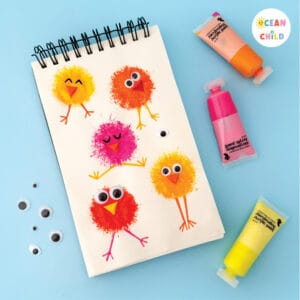 Hop into Spring: Fun and Easy Straw Print Chick Painting for Easter


Leave a Reply