Easy Paper Christmas Tree Craft for Kids, A fun, colorful, and festive holiday craft for home or classroom!
Get ready for a joyful and creative holiday season with this easy paper Christmas tree craft, a perfect activity for kids at home or in the classroom! This cheerful DIY project uses just one sheet of paper to create a beautiful tree that can be decorated, gifted, or turned into a handmade ornament.
There’s something magical about crafting during the holidays, the sound of scissors snipping, the sparkle of sequins, and the excitement of making something festive by hand. So, grab some green paper and let’s make Christmas trees that will bring a smile to every face!
By using this site, you agree to our privacy policy and terms of use. This article contains affiliate links. Please read our full disclosure here.
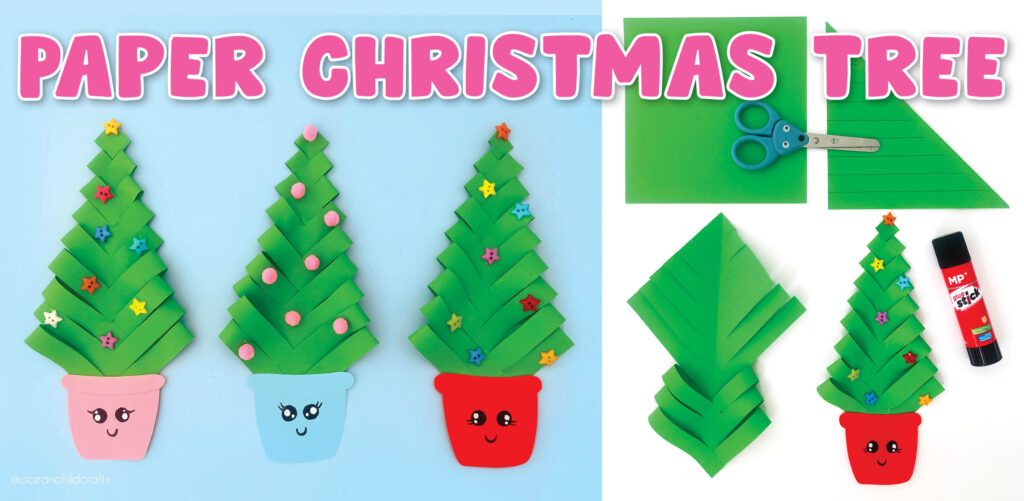
Craft Supplies for the Paper Christmas Tree
You’ll only need a few basic craft materials for this Christmas project:
- Green origami paper (6×6 inch / 15×15 cm)
- Kid safe scissors
- Ruler
- Pencil
- Black fineliners or markers (for faces or details)
- Glue stick
- Tiny pompoms, little star or flower buttons, or colorful sequins for decorating
- Printable Christmas tree (optional)
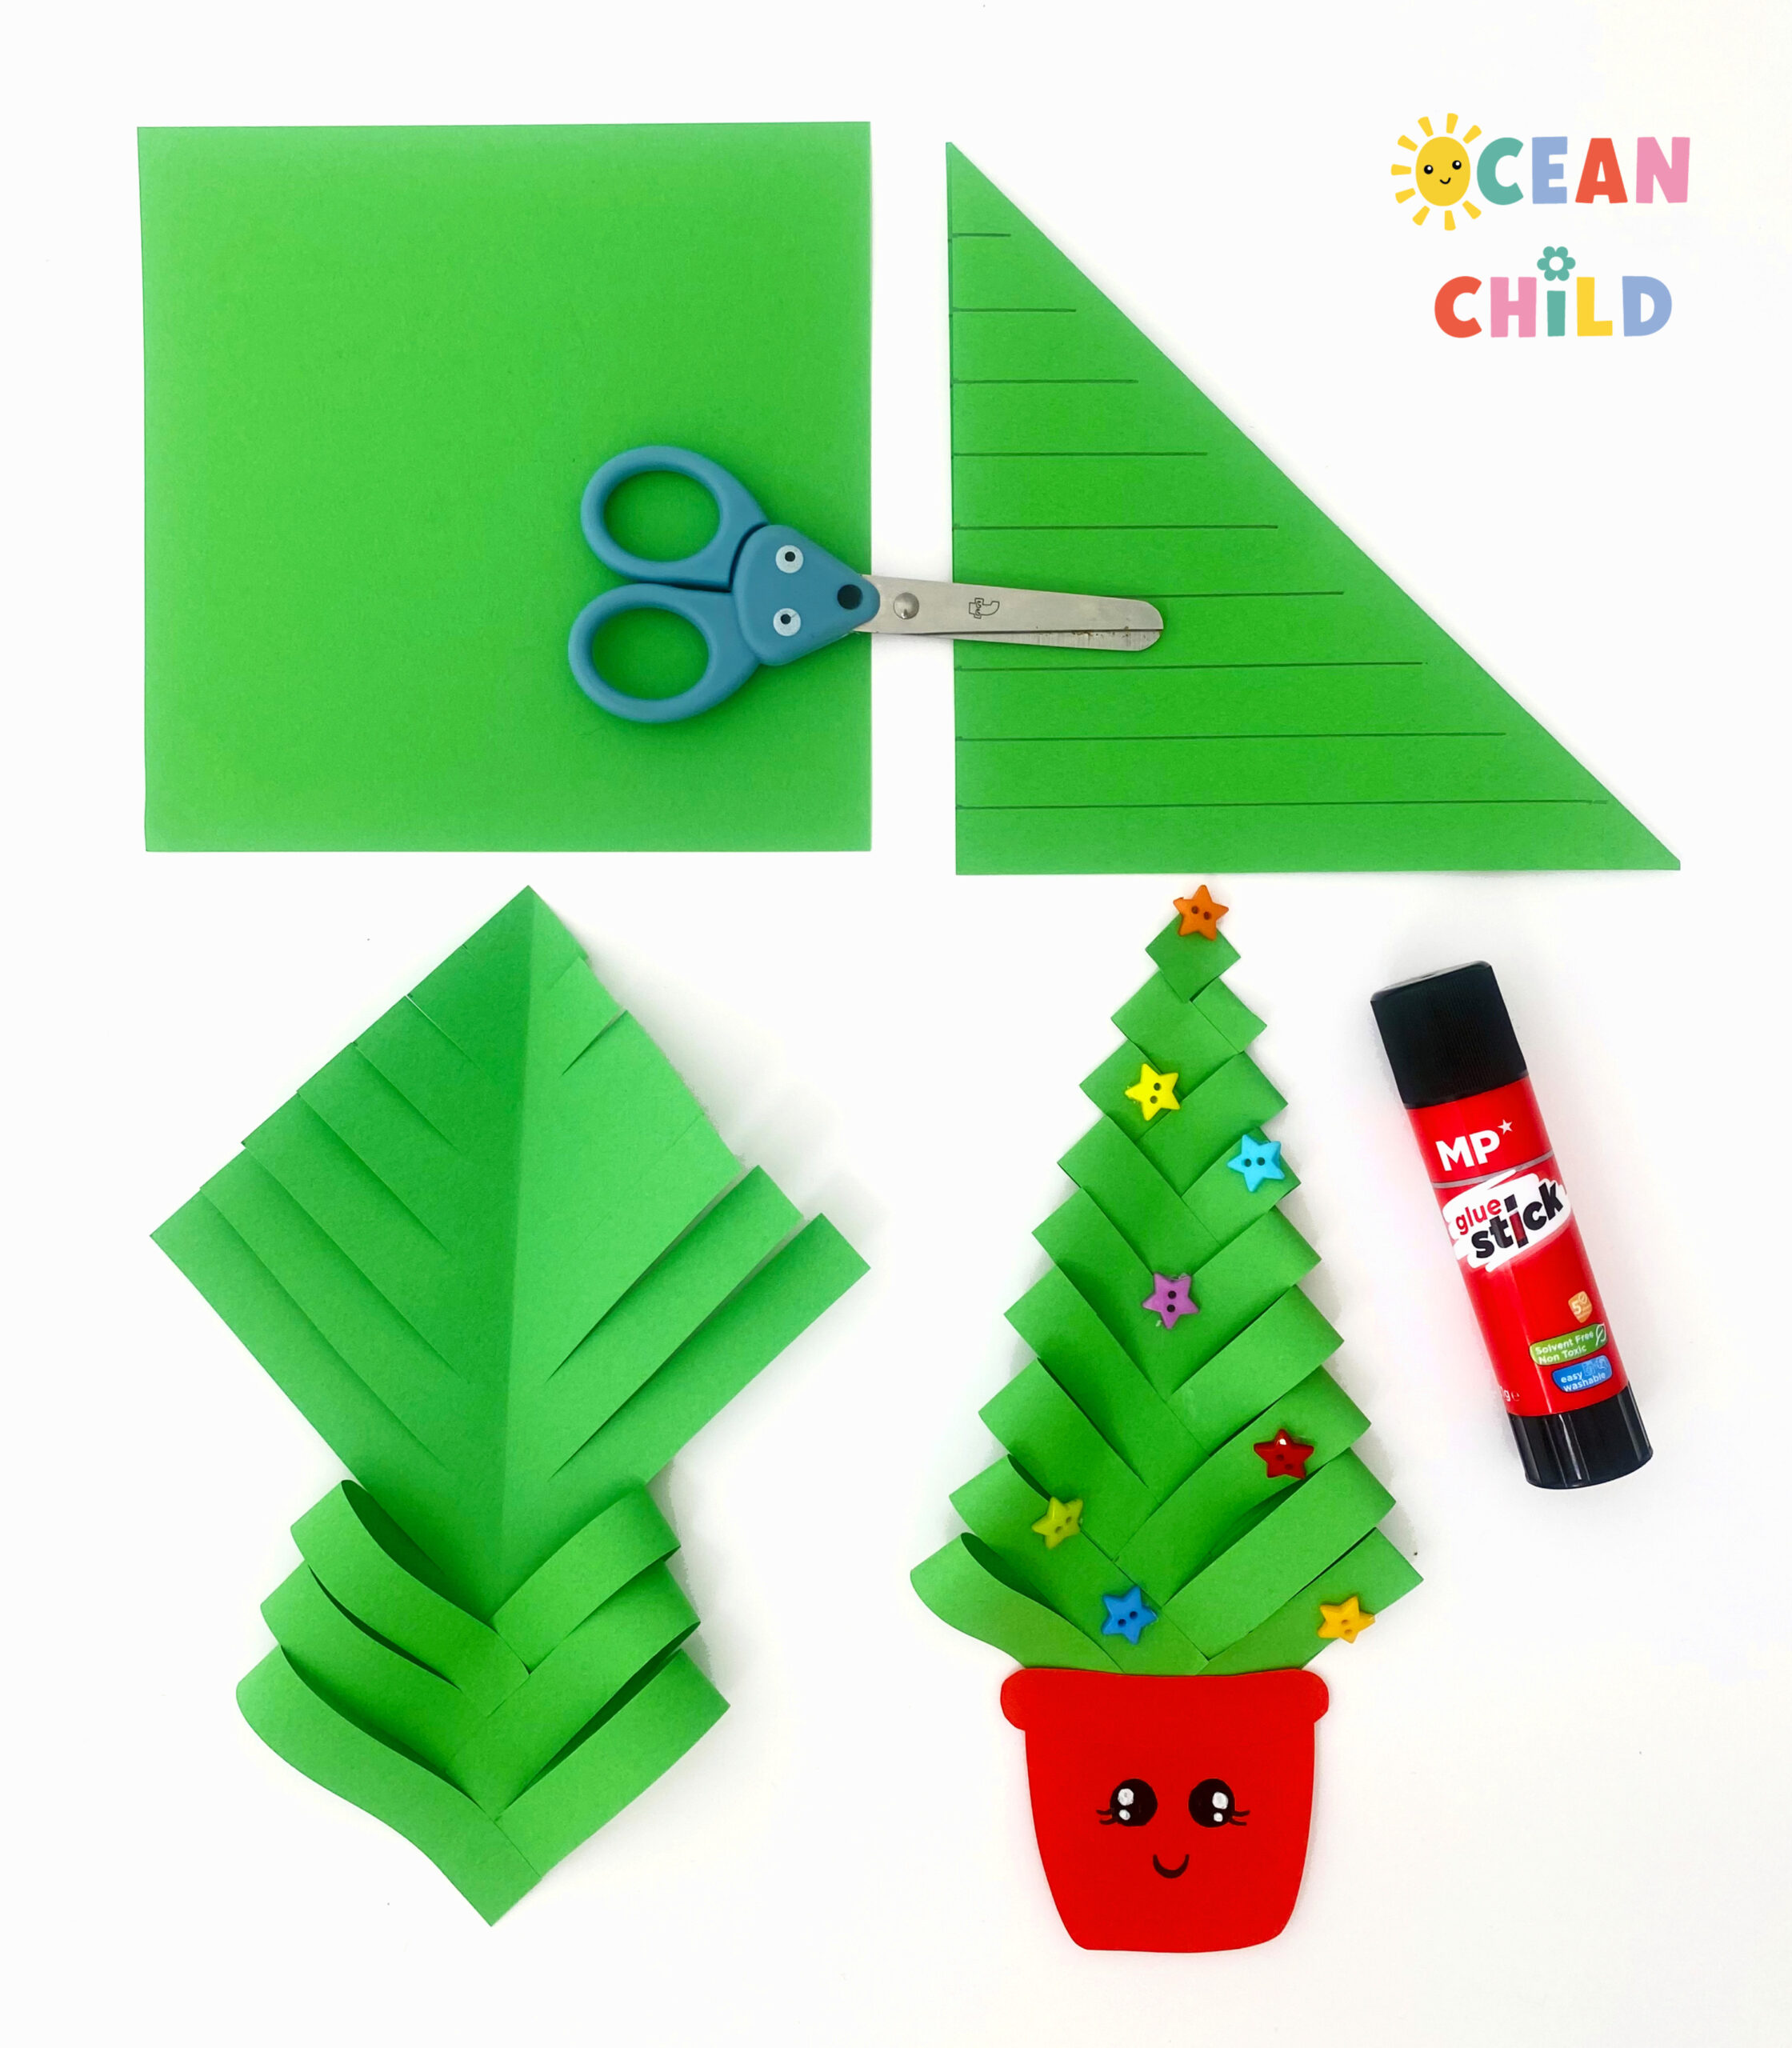
How to Make an Easy Paper Christmas Tree
Step 1: Prepare Your Paper
Start with a square piece of green origami paper (15×15 cm).
If you don’t have origami paper, just cut a square from any A4 or letter-size sheet (80-gram paper, so its easy to fold). Size is not very important, as long as you use square paper. The bigger the paper, the easier for little hands. You can also use our free Christmas tree printable template, in color or coloring page.
Step 2: Fold the Paper
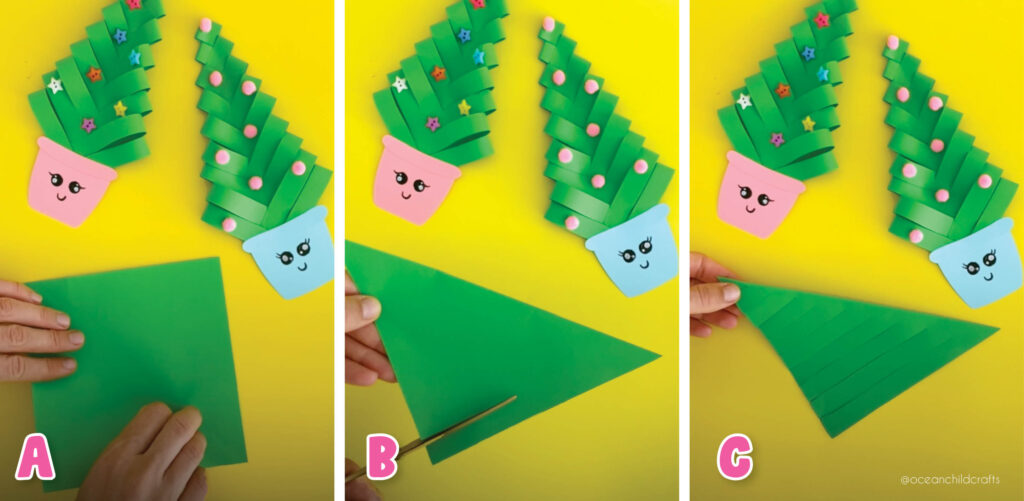
Fold the paper diagonally to make a triangle. Place the folded edge on top and the open side at the bottom.
Now, use your ruler to mark small dots every 1.5 cm (½ inch) along one side. You’ll make about 8–9 marks; these will be your cutting guides. See images B and C above.
Step 3: Cut the Strips
Using scissors, cut from the open edge toward the folded side, but stop about 1–2 cm before the fold so the tree stays connected. Don’t worry if your cuts aren’t perfectly even, each tree will have its own unique charm! See image C above for reference.
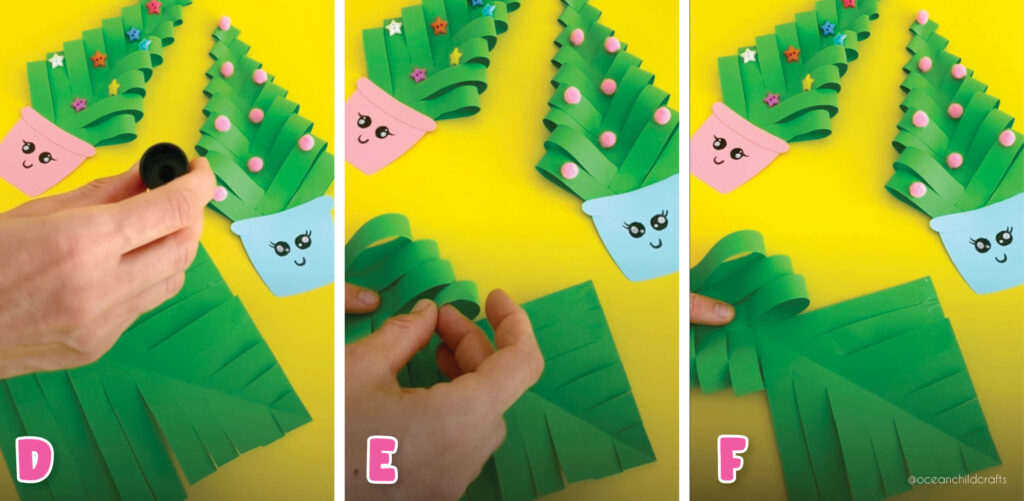
Step by Step Chrismas Tree Craft Instructions
Step 4: Create the Folded Branches
Now, it’s time to give your Christmas tree its 3D shape.
Start from the bottom and work your way up.
Glue the left strip to the center, then the right strip to the center.
Alternate sides as you go up, creating a layered “branch” effect. See image F above for reference.
You’ll see your paper transform into a cute folded Christmas tree (see image G below)!
Step 5: Shape the Top
Trim or fold the top of the tree into a neat triangle point. This will make your tree look tidy and balanced. See images H and I below for reference.
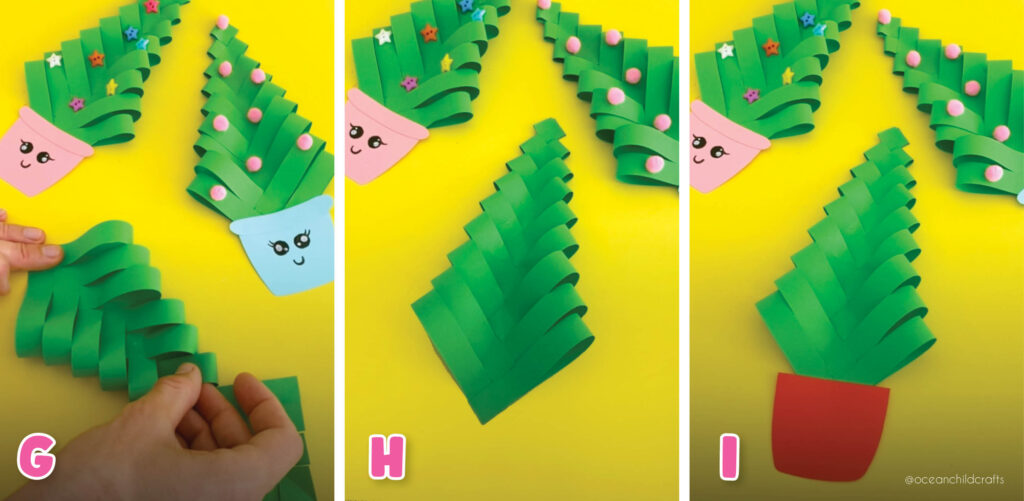
DIY Christmas Tree
Step 6: Make the Flower Pot or Trunk
Cut a small pot shape from colored paper, red, pink, or blue, all look adorable! You can also draw a sweet little face on the pot to make it extra cute. See images J, K, and L below for inspiration.
If you prefer a classic look, glue a small brown rectangle behind the tree for the trunk instead.
Step 7: Decorate Your Paper Christmas Tree
Now for the fun part, time to decorate! Add tiny pompoms, colorful sequins, or mini buttons to your tree to make it look like ornaments. Kids can also cut out tiny shapes from paper or foam to personalize their tree. We used star buttons and mini pompoms for ours, bright, cheerful, and oh-so-festive. See images below for decoration inspiration!
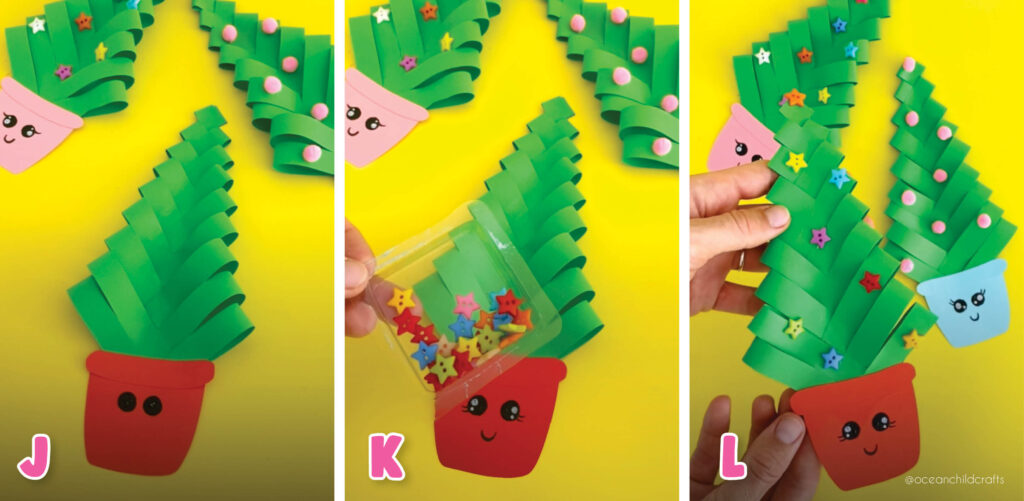
Decorate your Christmas tree
Step 8: Add a Finishing Touch
Once your tree is dry, you can:
- Attach it to a card for a handmade Christmas greeting.
- Add a loop of string or twine to the back to make it a DIY Christmas ornament.
- Display it as part of your holiday decor!
Tip: Try making trees of different sizes using larger or smaller paper squares, it’s a fun way to experiment with shape and scale!
Classroom Christmas Craft Idea
Teachers love this one, it’s a perfect holiday classroom craft because it’s:
- Easy to prep and uses minimal supplies
- Great for mixed ages (preschool to primary)
- Encourages creativity and individuality
- Quiet and focused, perfect for a calm holiday activity day
Let kids decorate their trees however they want, then hang them together on a bulletin board to create a “Classroom Christmas Forest”!
- Origmai Christmas Tree
- Decorate your paper Christmas tree
Christmas Craft Variations
- Make it sparkly: Use metallic paper or add a touch of glitter glue.
- Go mini: Create smaller trees for cards or gift tags.
- Add texture: Try using foam sheets instead of paper for a 3D effect.
- Personal touch: Write names or little holiday wishes on the pots.
Educational Benefits
This fun activity is more than just a craft, it helps children:
- Practice fine motor skills and precision
- Explore patterns and symmetry
- Express creativity and color choices
- Build confidence through making something beautiful
More Christmas Craft Fun
Looking for more inspiration? Try these festive favorites next:
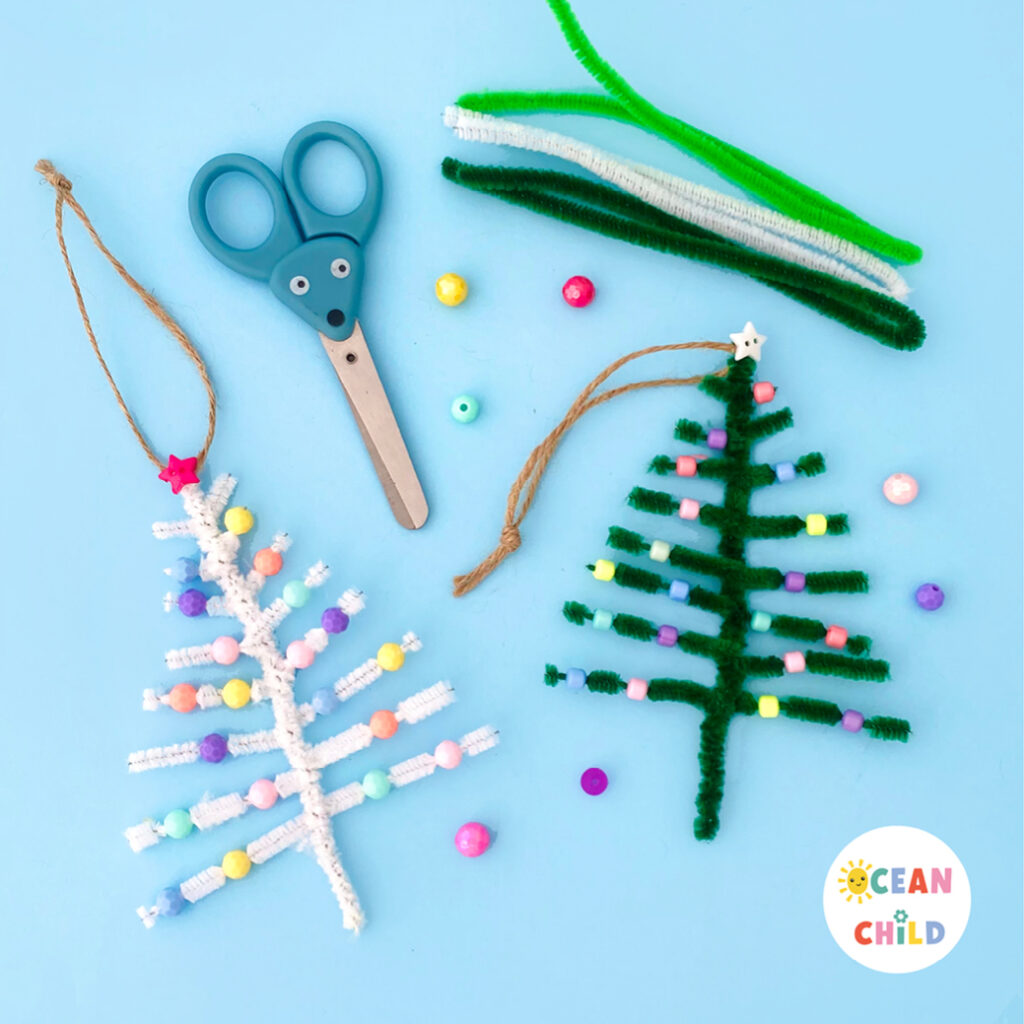
- Easy Pipe Cleaner Christmas Tree Ornament: colorful and quick!
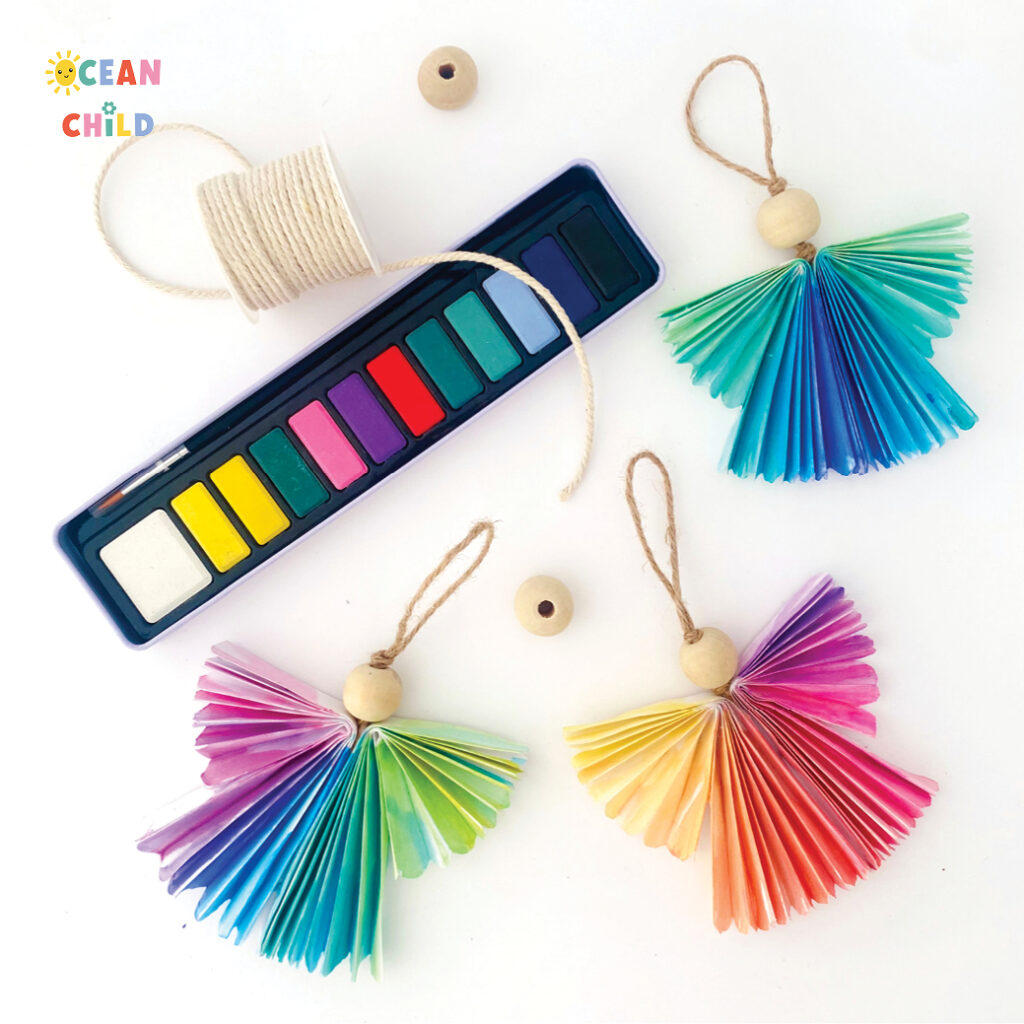
- Paper Angel Craft for Kids: They make a perfect handmade gift!
- 29 Easy Christmas Crafts for Kids: the ultimate list of creative holiday fun for kids.
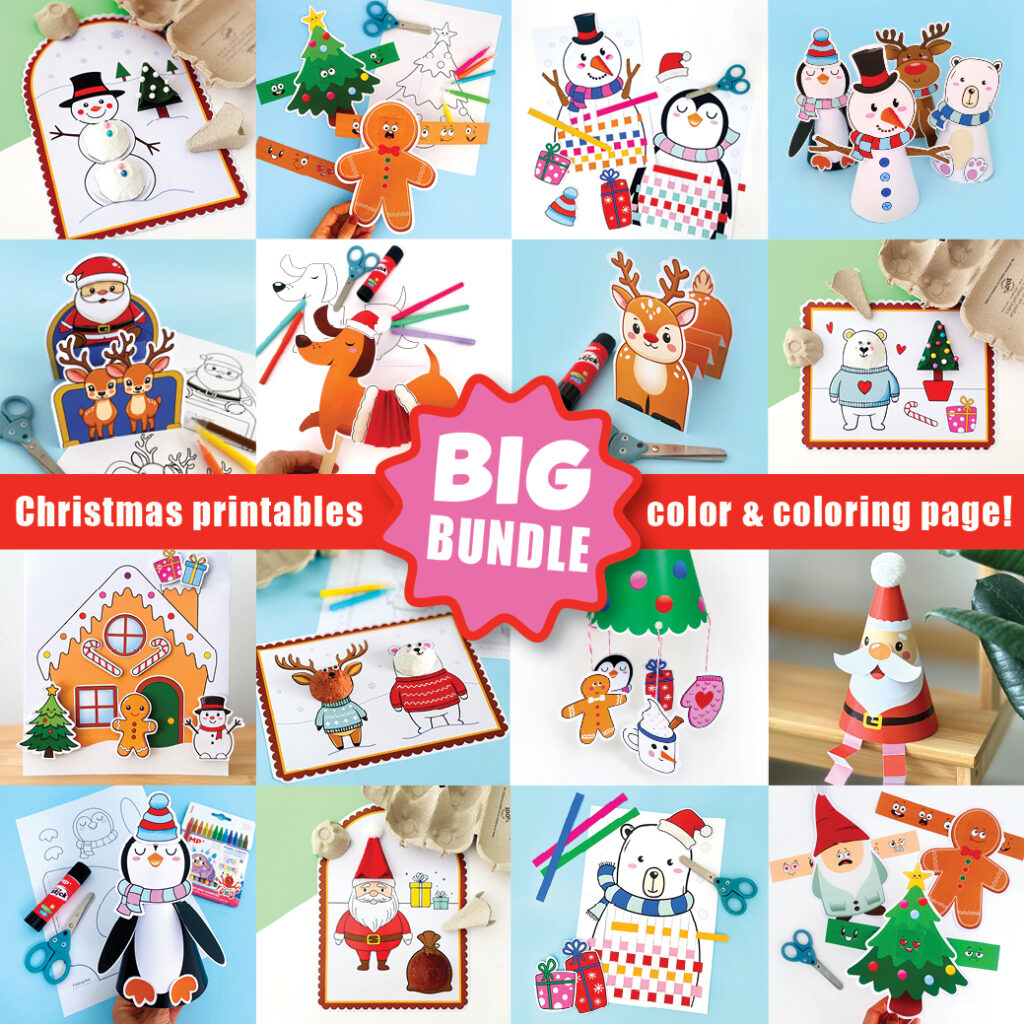
- BIG Christmas Craft Printable Bundle: packed with fun Christmas and winter crafts and coloring templates. This bundle of low-prep projects is perfect for both the classroom and home, helping spark imagination and joyful learning all season long. Find it now on Teachers Pay Teachers or in our Etsy craft printables shop. See graphic below for included printables!
Final Thoughts
Crafting together is one of the most magical parts of the holiday season. Whether it’s the laughter, the tiny gluey fingers, or the pride on your child’s face when they show off their handmade tree, it all adds up to something special.
Enjoy creating, experimenting, and making memories with this easy paper Christmas tree craft for kids.
Tag your creations with #OceanChildCrafts, we’d love to see your festive masterpieces!
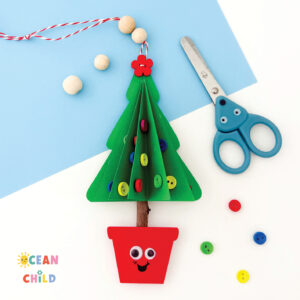 How to Make a 3D Paper Christmas Tree Ornament (Free Printable for Kids)
 Easy & Fun Origami Paper Fish Craft for Kids With YouTube Tutorial
 Egg Carton Christmas Craft for Kids: Make a 3D Santa and Winter Frames
 Recycle your Egg carton into a cute photo clip holder!


[…] Well done on this easy gingerbread man craft activity! If you enjoyed this Christmas activity, you might also like these cheerful paper Christmas trees created with only one origami paper. […]