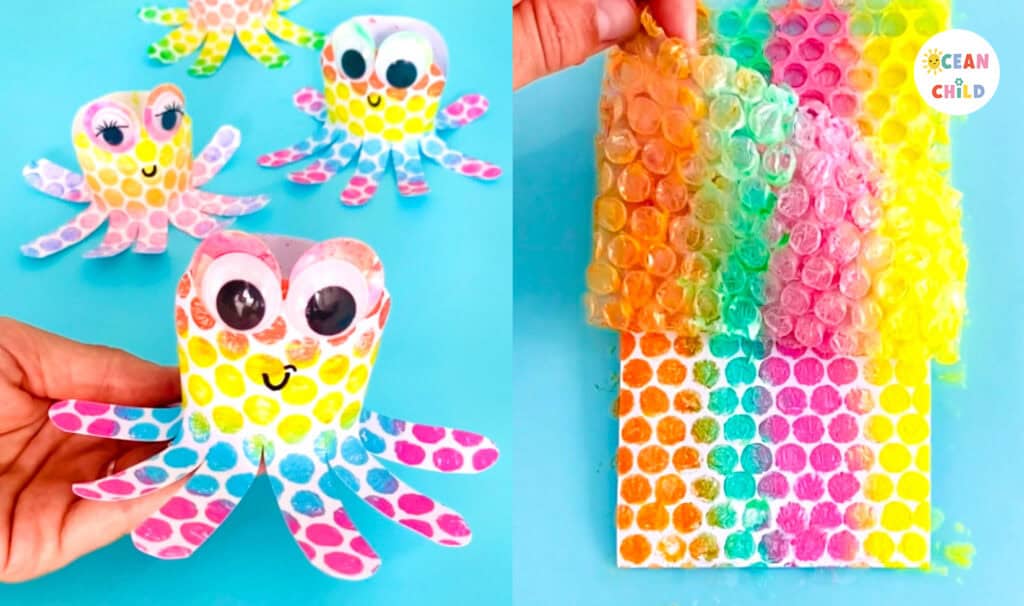
Colorful bubble wrap print octopus craft!
Try out this rainbow octopus craft made with bubble wrap foil. These rainbow octopuses are the perfect ocean-themed Summer craft project for kids. Take some paper and paint outside and have fun in the garden. Whether you´re looking for an ocean-themed craft, a colorful summer craft, or a way to introduce your kid to printmaking, this craft is perfect. Read along to see the craft supply list and step-by-step instructions for the craft.
Printmaking with bubble wrap foil
Have you ever experienced the joy of printmaking with bubble foil? It’s not just fun and easy for kids, but it’s also incredibly addictive. Once you start, you won´t want to stop; even I, as an adult, find it hard to resist!
Introducing printmaking to your kids or students opens up a world of artistic exploration and creativity. This simple technique uses bubble wrap foil and paint. Kids can experiment with different colors and create interesting patterns, developing fine motor skills, critical thinking, and self-expression.
By using this site, you agree to our privacy policy and terms of use. This article contains affiliate links. Please read our full disclosure here.
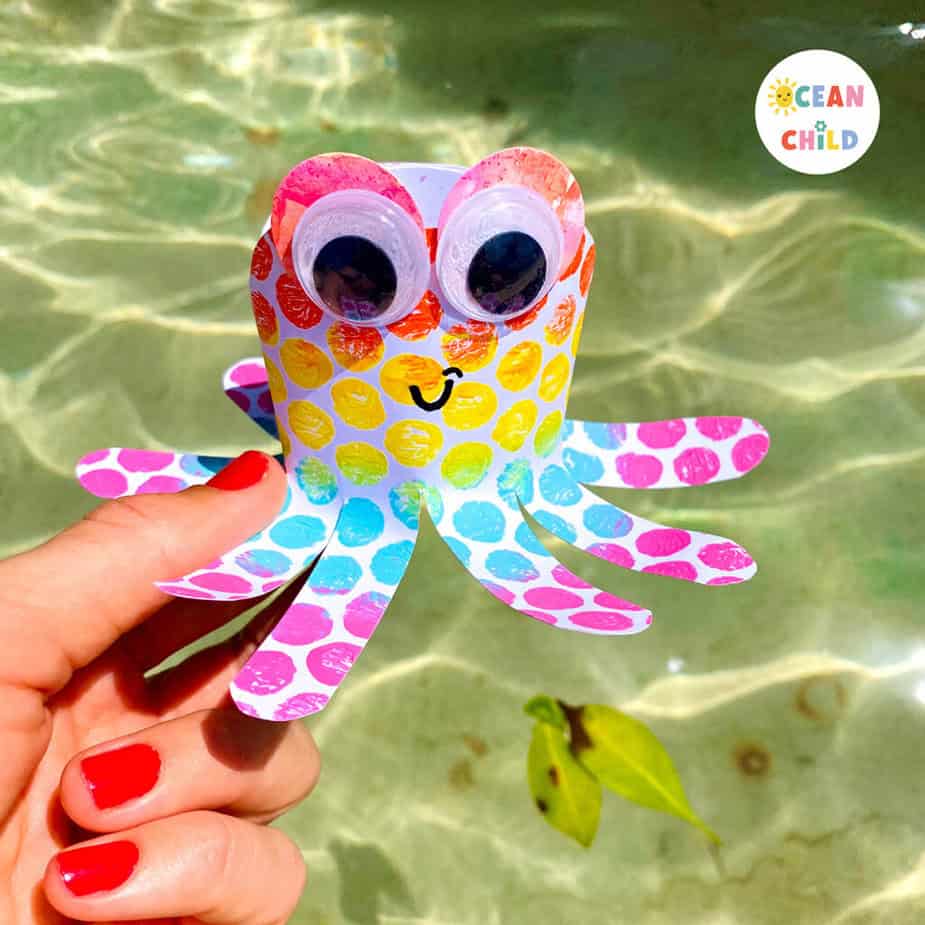
Printmaking with bubble wrap foil, octopus craft activity!
Craft supplies for a rainbow octopus craft
- Bubble wrap foil
- White paper, preferably a bit thicker
- Paint: washable tempera paint or acrylic paint (for older kids)
- Paint brush or sponge to apply paint
- Googly eyes
- Black marker or fine liner
- Scissors
- Glue stick
Colorful octopus craft with bubble wrap foil.
How to do bubble wrap printing with kids
Step 1: Let’s gather our craft supplies. For a mess-free experience, consider using placemats, old newspapers, or a tablecloth to protect your work surface. We’re all set!
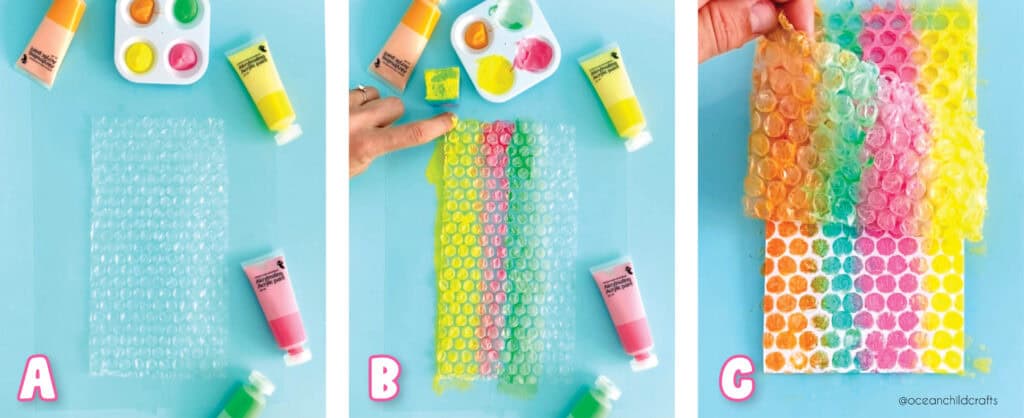
Step 2: We will start making bubble wrap prints. You need white paper 8 X 5 inches (12 X 20 CM). It can be a bit smaller or bigger, depending on how big you want your octopus to be. Make sure the bubble wrap sheet is bigger than your white paper. See picture A.
Step 3: Place your bubble wrap foil on the table. Tape the bubble wrap to the table or use double-sided tape to make it easier to apply the paint.
Step 4: Add the paint when your bubble wrap is secure. I recommend using an old cleaning sponge. This makes it very easy for kids to apply the paint evenly. See picture B.
Apply the paint to the bubble wrap and gently push the paint on the bubble wrap foil until the foil is nicely covered. Depending on the print you want to create, you can use one color paint or all rainbow colors.
Step 5: When your bubble wrap is covered with paint, place a white paper on top and gently press down on it. Press the paper on the bubble wrap and gently tap for about 25 seconds. Now, gently peel the paper away and admire your gorgeous print. See picture C. Now leave it to dry!
Rainbow octopus print kids craft
Step 6: Now that you´ve mastered the bubble wrap printing technique, the possibilities are endless! Try out some different prints by using different colors or patterns. Sometimes, it takes a try before you have the perfect print perfect for your octopus!
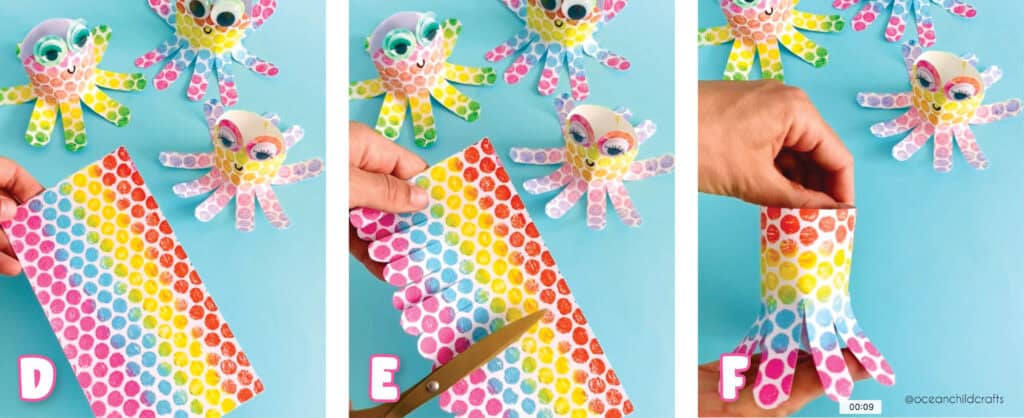
Step 7: Let´s turn the bubble wrap prints into colorful octopuses. Take your bubble wrap print; see picture D. We will cut the octopus’s tentacles. Lay your paper horizontally; we´re going to make cuts halfway up. Our paper was 12 CM high, so the cuts are about 6 CM high. Each tentacle is about 1,5 CM wide; you can measure it, but it is not necessary. Cut the tentacles as shown in picture E.
Step 8: We rounded the edges of our tentacles. See picture E. But this is not necessary.
Step 9: Make a paper roll by gluing the sides together. See picture F. If necessary, secure it with see-through tape.
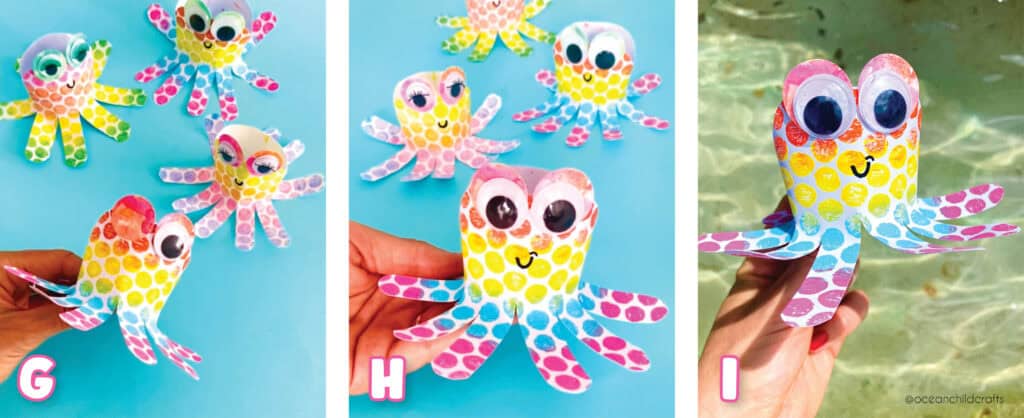
Cute ocean themed craft for kids!
Step 10: Add some big googly eyes on top. We first glued the googly eyes on a round piece of paper (see picture G).
Step 11: Now, you can smile with a black Sharpie or fine liner.
Did you enjoy making this octopus craft? Our blog has a lot more ocean-themed crafts for kids! How about these colorful manta rays or these amazing paper fish? They´re so easy and fun to craft with only a few basic craft supplies.
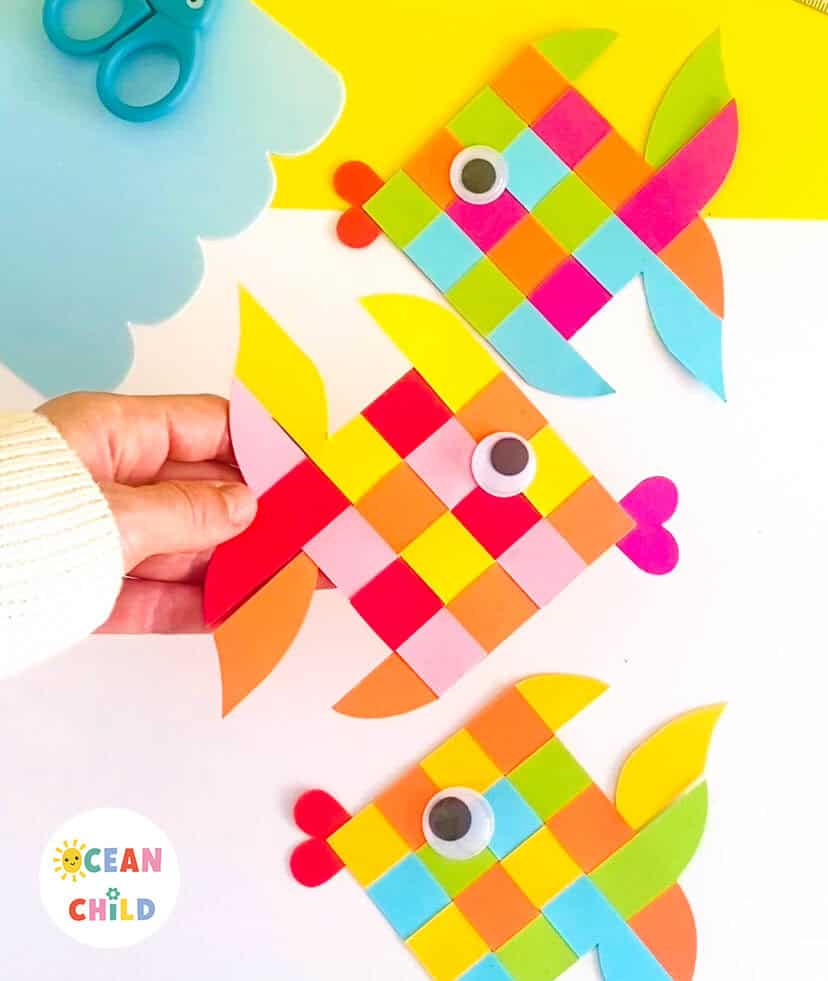
Colorful paper fish craft Summer
 Paper Cone Animals: Easy 3D Animal Crafts with Templates
 The Ultimate Bundle of Printable Christmas Crafts for Kids (100+ Festive Pages!)
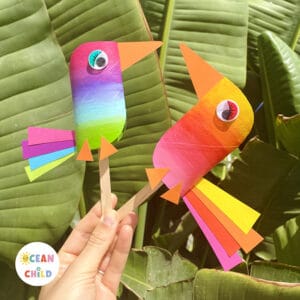 Colorful Paper Roll Bird Puppet Craft for Kids
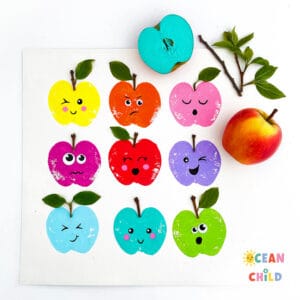 Rainbow apple stamps DIY craft activity


[…] Octopus Craft with Bubble Wrap Printing […]