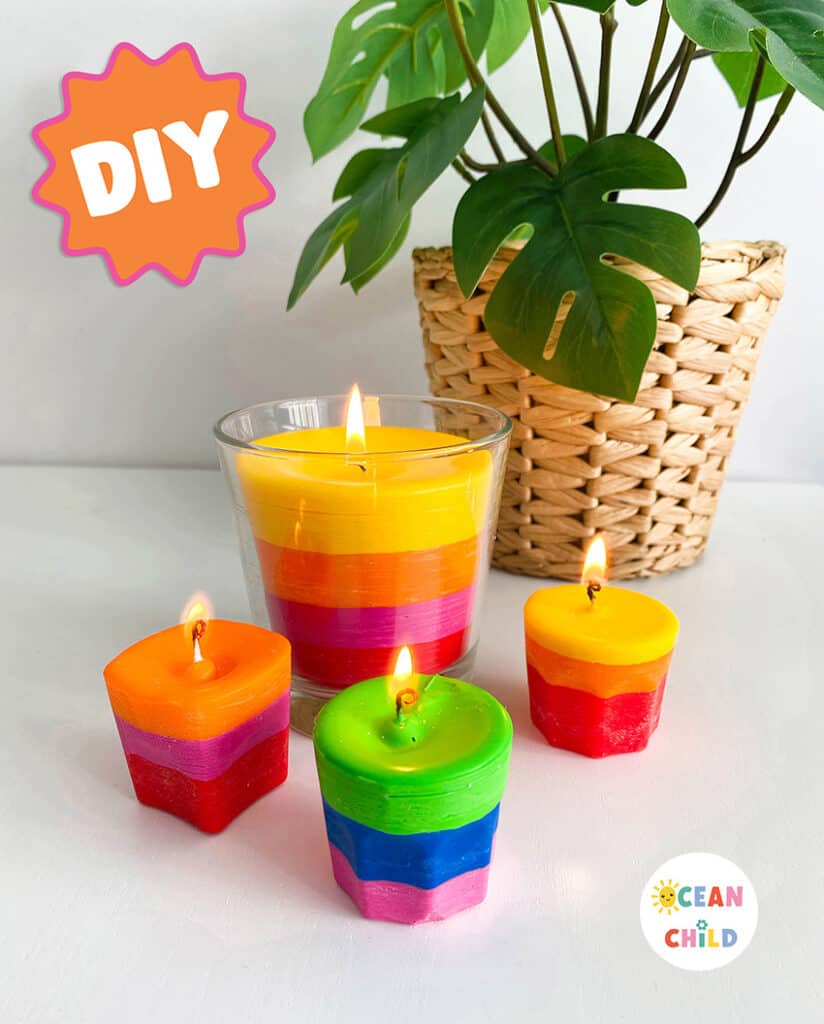
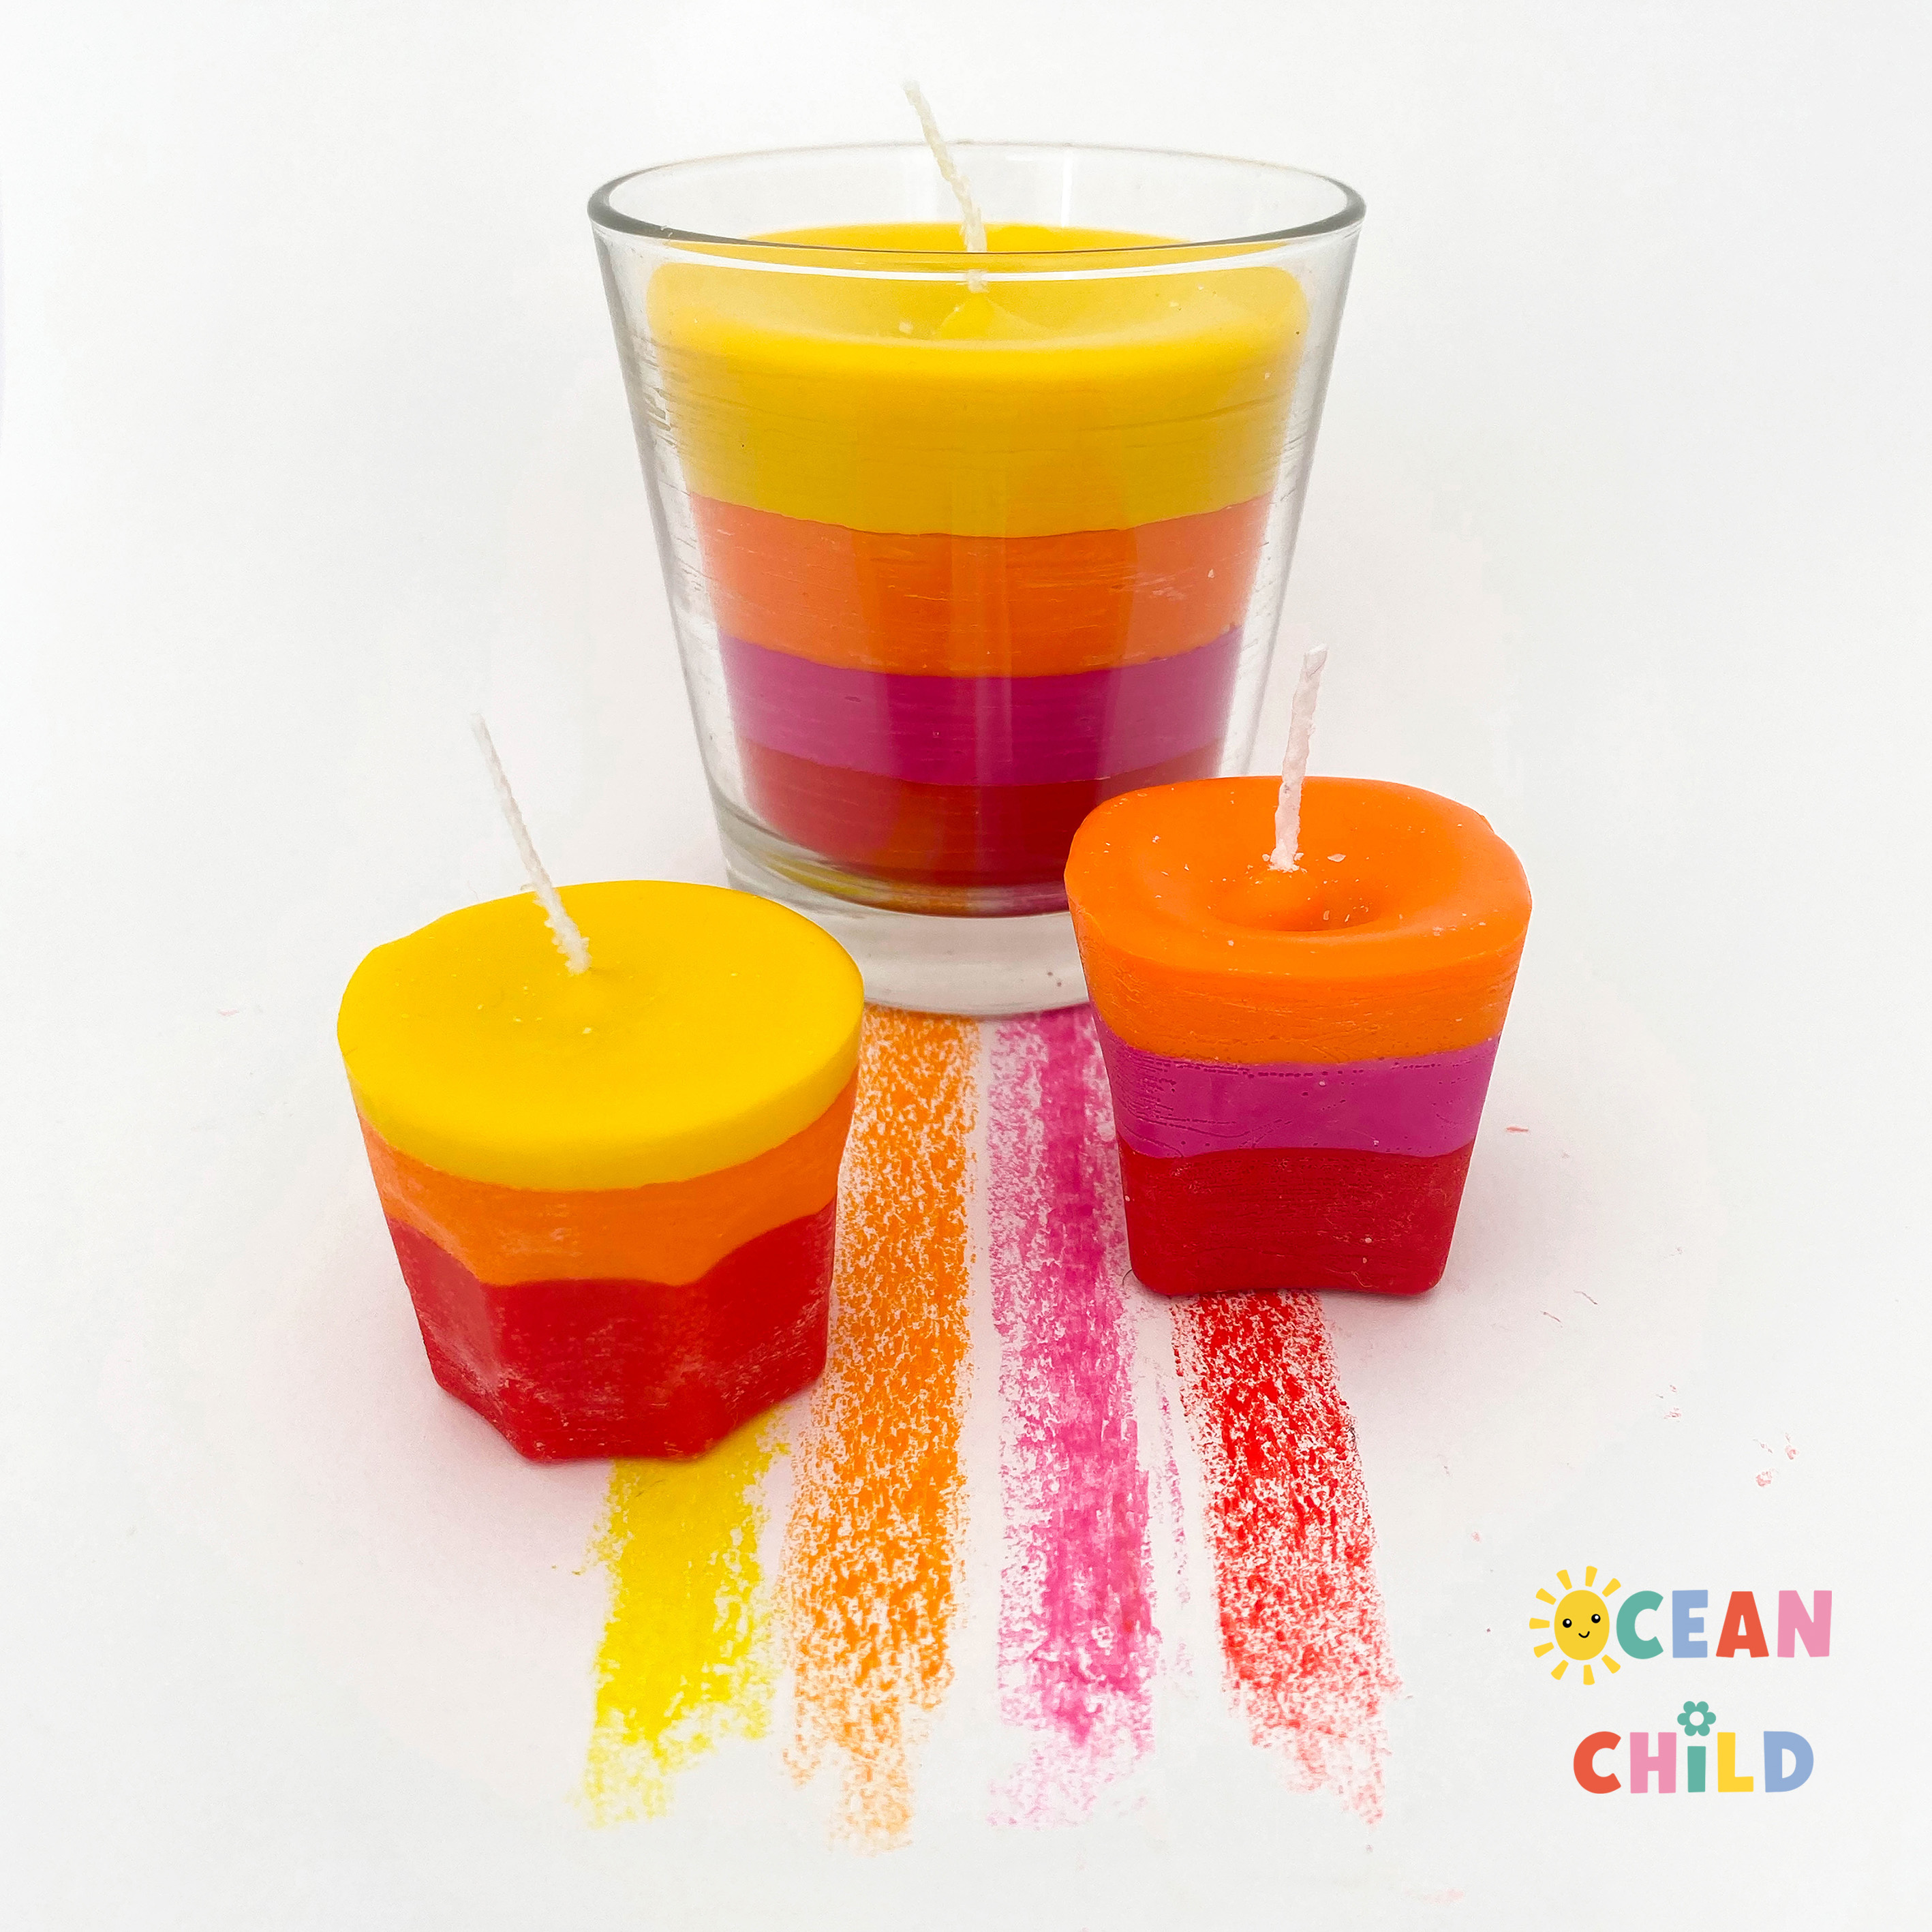
Homemade crayon candles
DIY Crayon Candles: Colorful Homemade Gift Idea for Kids and Families
Who knew broken crayons could turn into something so beautiful? These DIY crayon candles are a fun, colorful, and easy project to make at home. Perfect for kids (with a little adult help), these candles make a great homemade gift idea for Mother’s Day, teachers, or anyone who could use a cheerful, handmade surprise!
It’s a simple weekend activity that brings out creativity, teaches a bit of patience, and fills your home with cozy candlelight and color. Whether you make rainbow layers or mix shades for a tie-dye effect, each candle turns out completely unique, just like your little artist!
By using this site, you agree to our terms of use. This article contains affiliate links; read our full discloser here.
Why You’ll Love This Crayon Candle Craft
This craft is more than just melting crayons, it’s a fun hands-on learning activity that kids and adults can enjoy together. Here’s why you’ll love it:
-
Creative and eco-friendly: A great way to reuse old or broken crayons instead of throwing them away.
-
Colorful and customizable: Mix, match, or layer colors to make your own rainbow candle designs.
-
Perfect for gifting: These bright little candles make thoughtful DIY presents for family and friends.
-
Fun for all ages: With adult supervision, kids can safely participate in every step — from peeling crayons to choosing color combinations.
This project takes a few hours (mainly cooling time), making it a perfect cozy weekend or rainy-day activity.
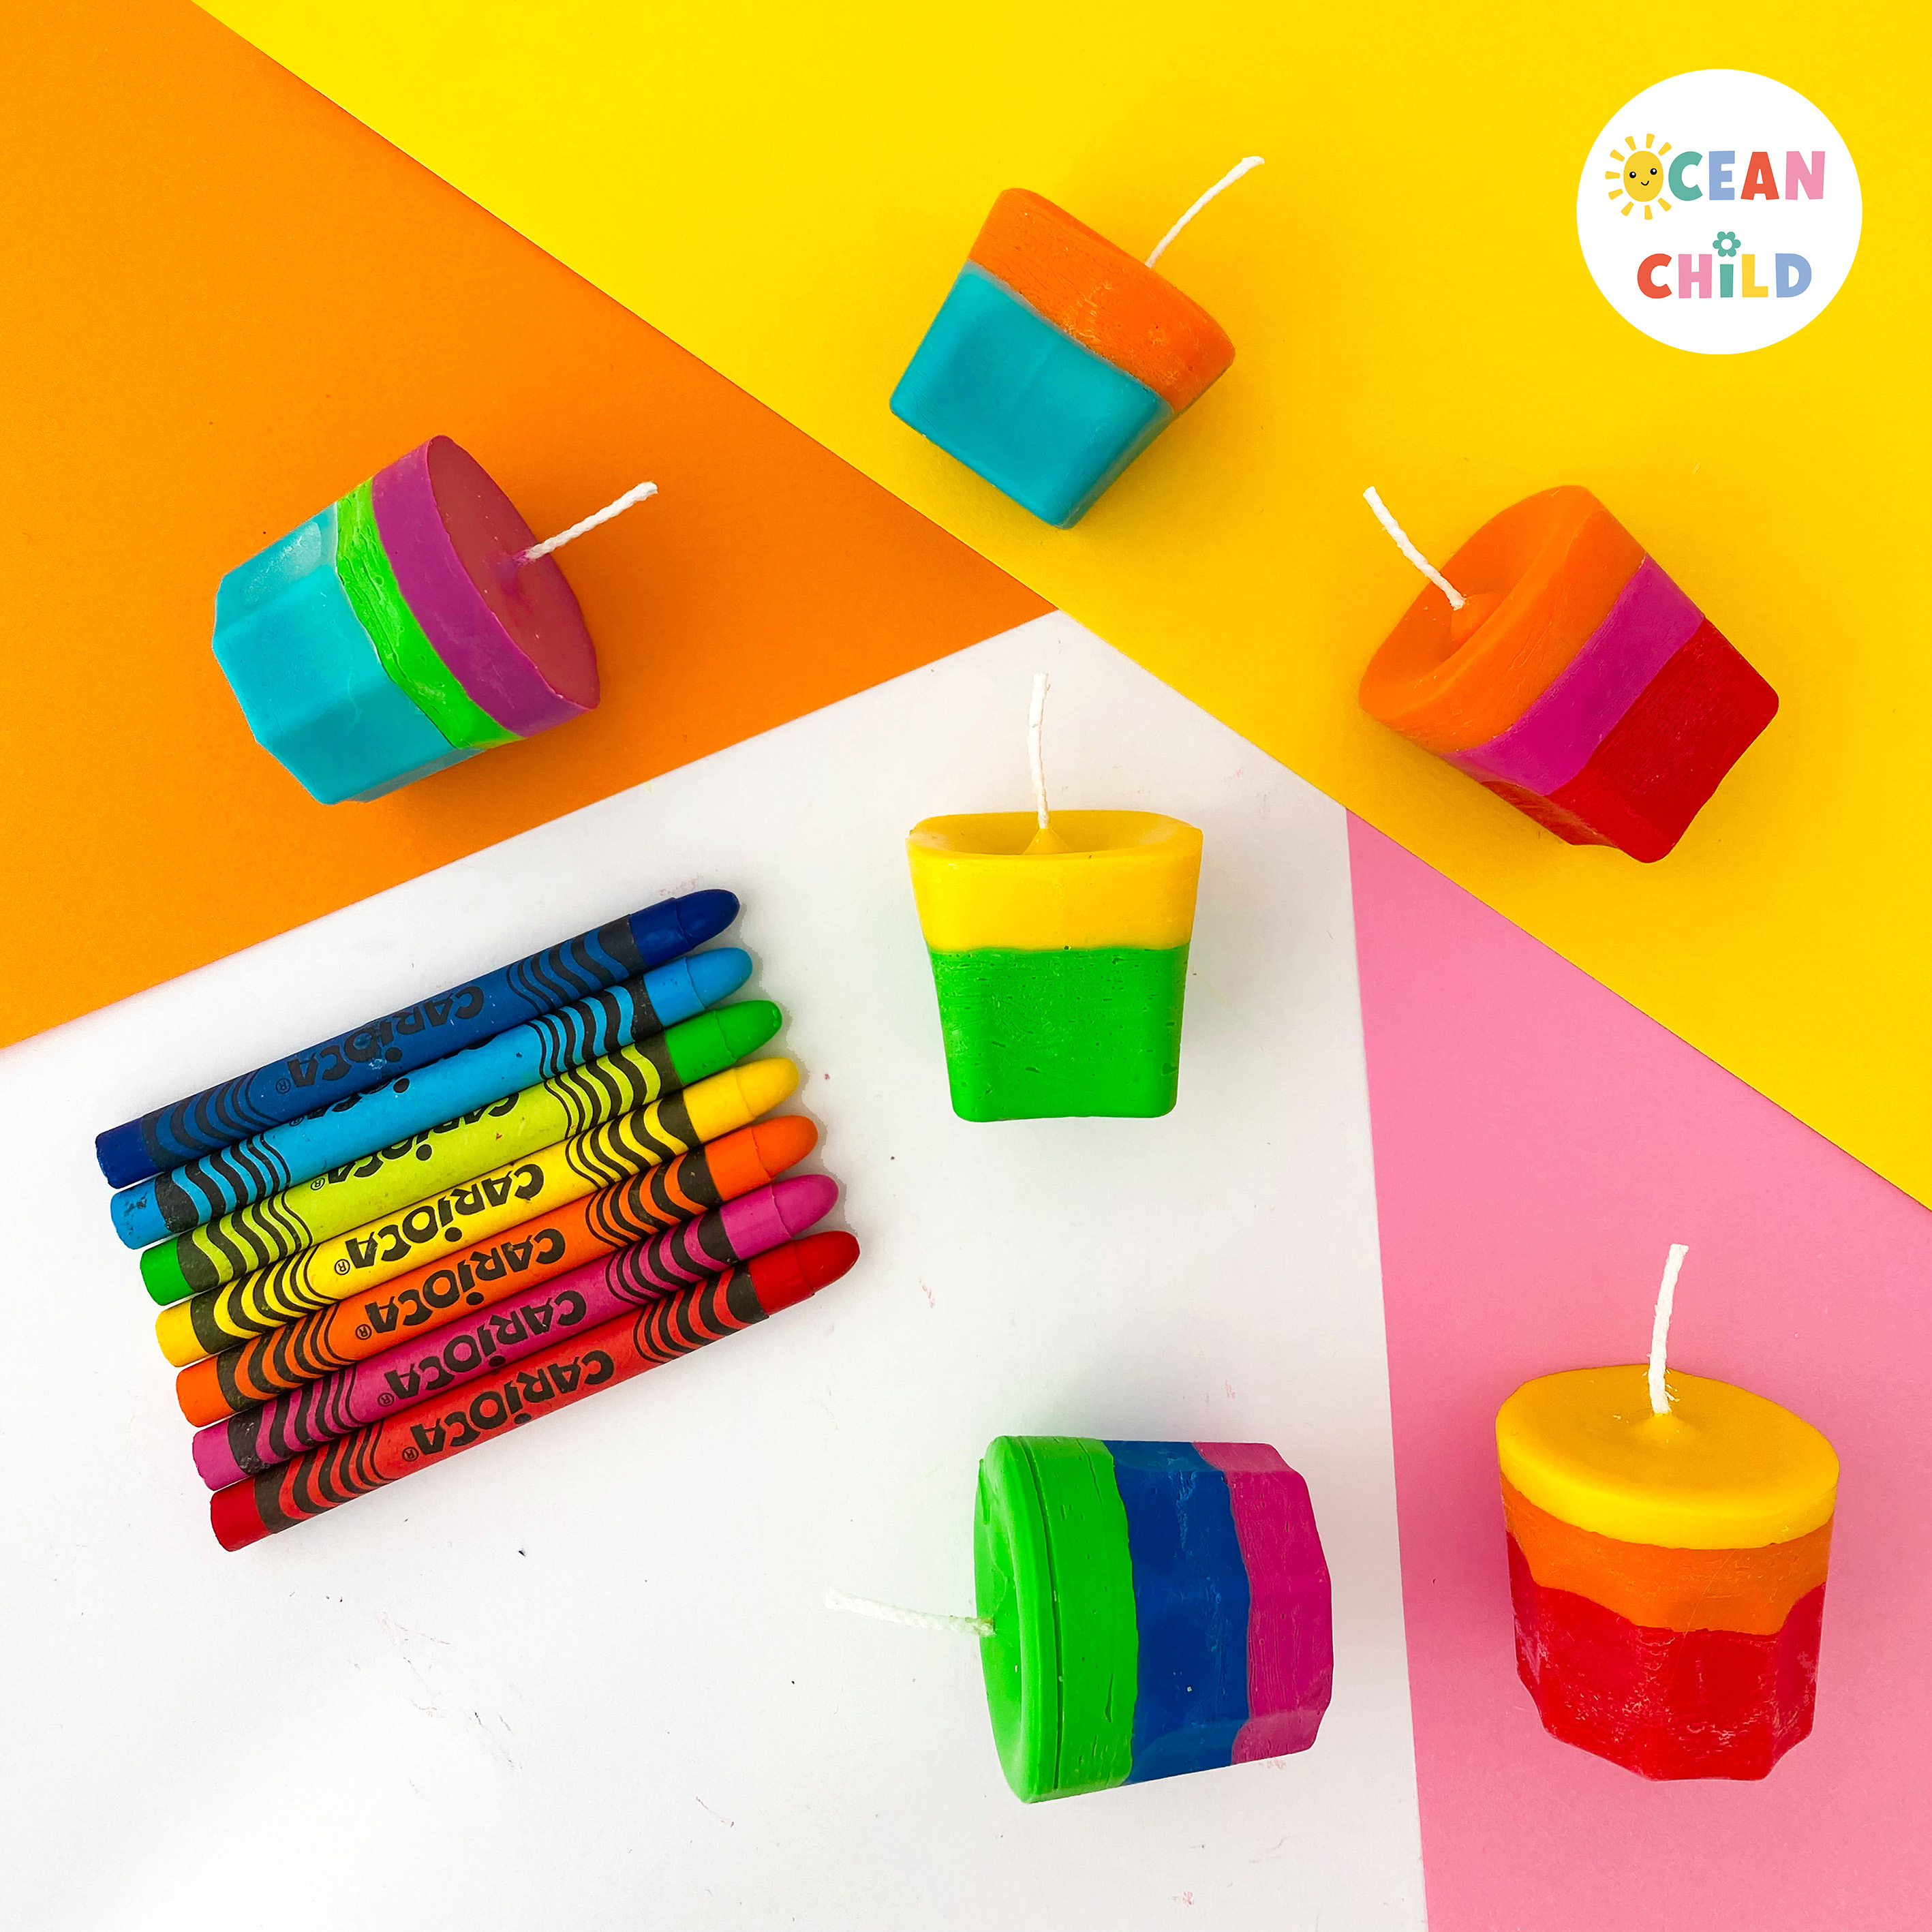
Crayon candles created with an ice cube mold
Craft Supplies You’ll Need
To make your homemade crayon candles, gather the following materials:
-
Old or new wax crayons (avoid oil-based crayons)
-
Paper cups for mixing colors
-
Ice cube mold or small glass containers
-
White candle wax or plain white candles (for blending)
-
Candle wicks or recycled wicks from old candles
-
Coconut oil (optional, helps with smoother texture)
-
Spoon or popsicle stick for stirring
-
Skewer, pencil or cardboard to hold the wick in place
-
Bowl for melting wax
-
Microwave, stove, or oven (any will work for melting)
Safety First: Crafting with Hot Wax
Working with melted wax can be perfectly safe if done carefully, but it’s essential to take a few precautions, especially when crafting with children. With these simple steps below, you’ll keep crafting fun and safe for everyone.
-
Adult supervision is essential: Always handle the heating and pouring of hot wax yourself. Kids can help with safe steps like peeling crayons, stirring cooled mixtures, and choosing colors.
-
Protect your workspace: Cover your table with parchment paper or newspaper to prevent burns or spills.
-
Use heatproof containers: Only melt wax in glass or metal bowls that can handle high temperatures. Avoid plastic.
-
Keep sleeves rolled up and hair tied back: This prevents accidental contact with hot wax or flame.
-
Never leave melting wax unattended: Stay close to the stove or microwave while heating.
-
Allow candles to cool completely: Before removing them from molds or lighting them.
Step-by-Step Instructions: How to Make Candles with Crayons
Step 1: Prepare your materials
Gather all your supplies and set up a clean workspace. Protect your table with newspaper or parchment paper in case of spills.
Step 2: Melt the white wax
Fill a pot with water and place a heatproof bowl inside (a double boiler method). Add your white wax or plain candles to the bowl and let it melt slowly over medium heat. Once melted, keep the water warm so the wax stays liquid.
Step 3: Peel the crayon wrappers
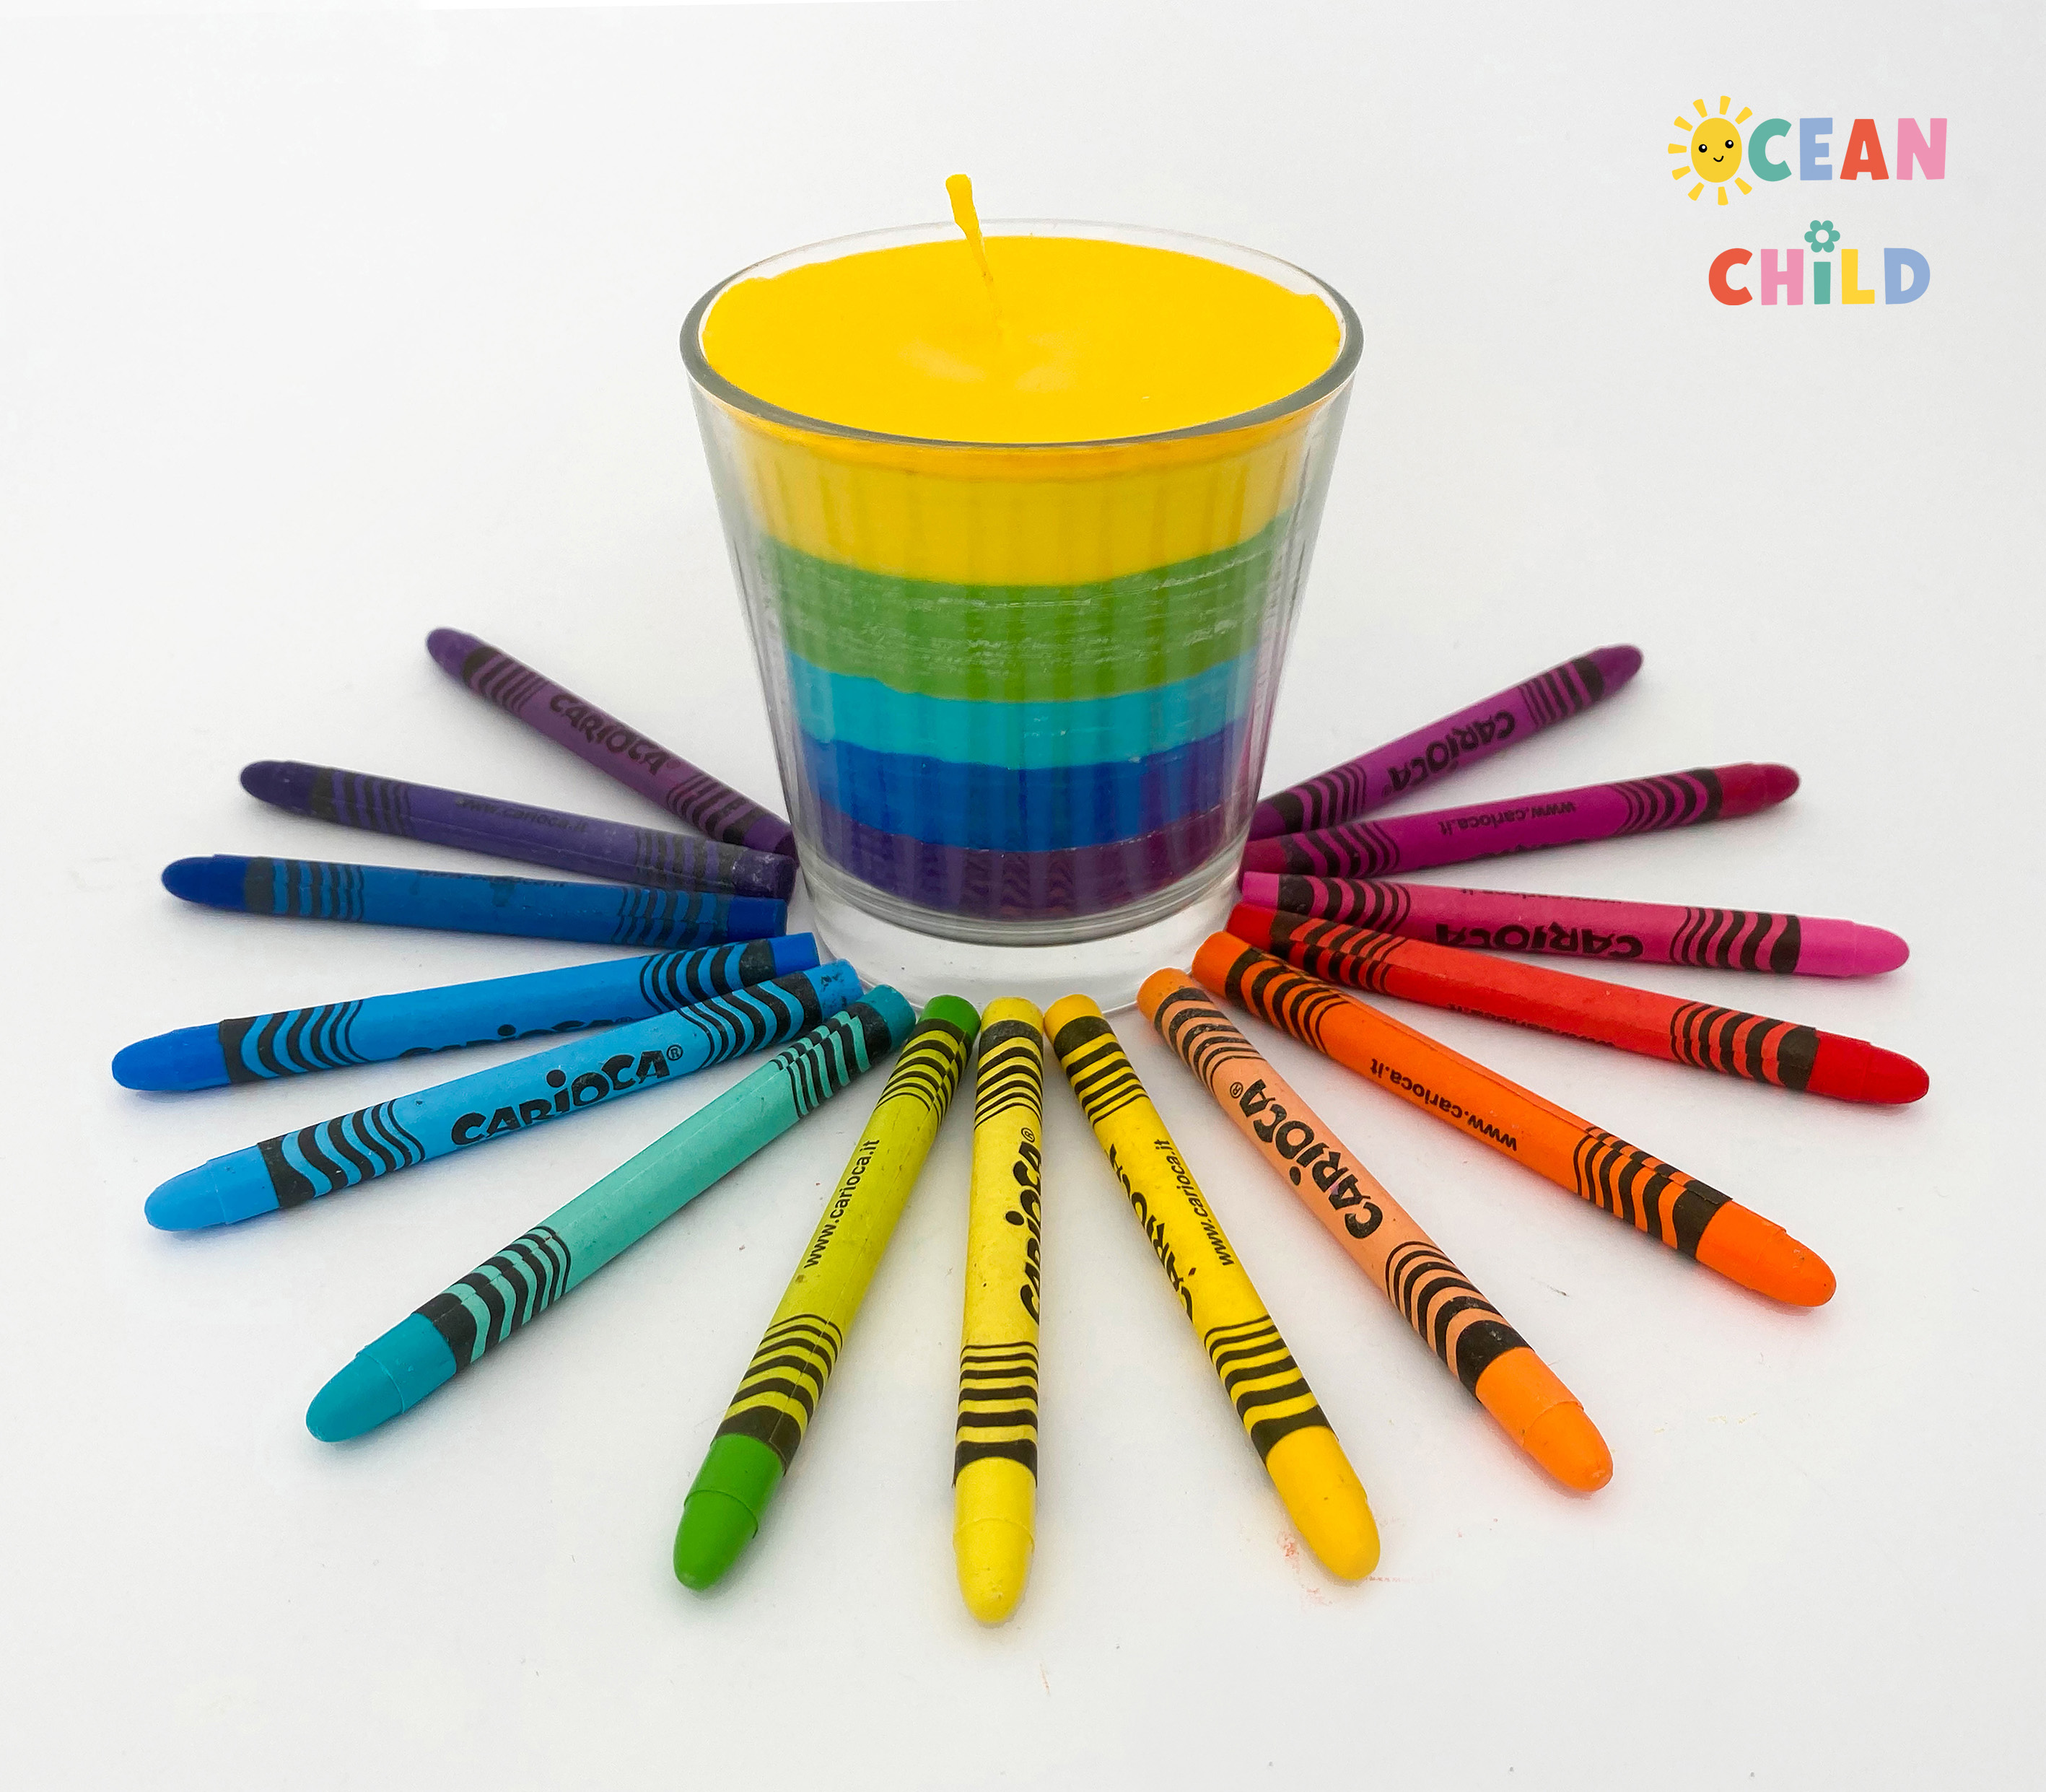
Soak the crayons in warm water for about 10 minutes to loosen the paper labels. Once peeled, break them into small pieces for easier melting. Make sure you´re using wax crayons.
Step 4: Mix your colors
Place crayon pieces in paper cups, one color per cup if you want neat layers, or mix shades together for fun effects. Add about a teaspoon of coconut oil to each cup (optional) and stir.

Step-by-step craft instructions for crayon candles
Step 5: Prepare your candle mold
If you’re using a glass, center your wick inside and secure it with a small piece of cardboard with a tiny hole to keep the wick upright. For smaller candles made in ice cube molds, insert short wicks before pouring the wax and use skewers to hold them in place. See images 5, 6, 7, and 8 below for reference.
Molds tip: You can use molds in different shapes and sizes: the larger the mold, the bigger your candle will be. For example, you can opt for a simple rectangular mold for a classic look or choose a fun, playful mold shape for a more creative design. You also can choose heart-shaped molds for Valentine’s Day activity. Just make sure the bottom is flat so your candle stands evenly. We also recommend using silicone molds, as they make it much easier to remove the candles once they’ve cooled.
Step 6: Melt the crayon wax
Heat one paper cup of crayon wax in the microwave for about 1 minute. Stir and heat again in 30-second intervals until fully melted. (If using the oven or stove, use heatproof containers and handle with care.)
Step 7: Combine with white wax
Add a few spoonfuls of melted white wax from your bowl to each crayon cup. This helps the crayons burn better and gives a more consistent texture. Stir well.
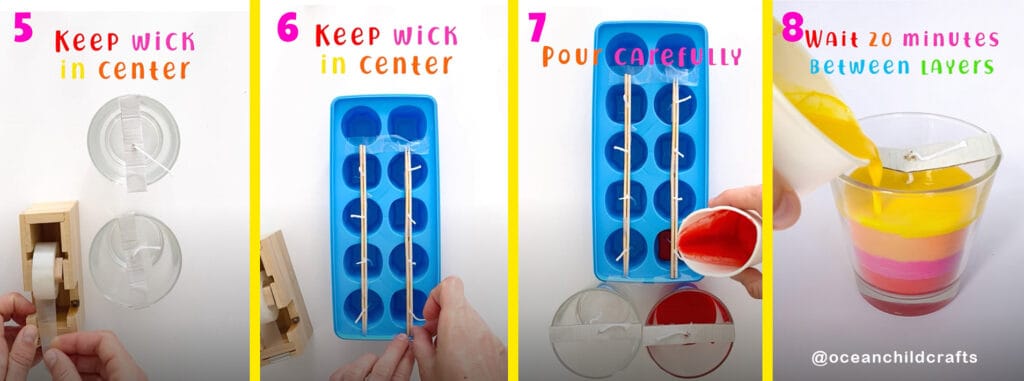
Step-by-step craft instructions for crayon candles
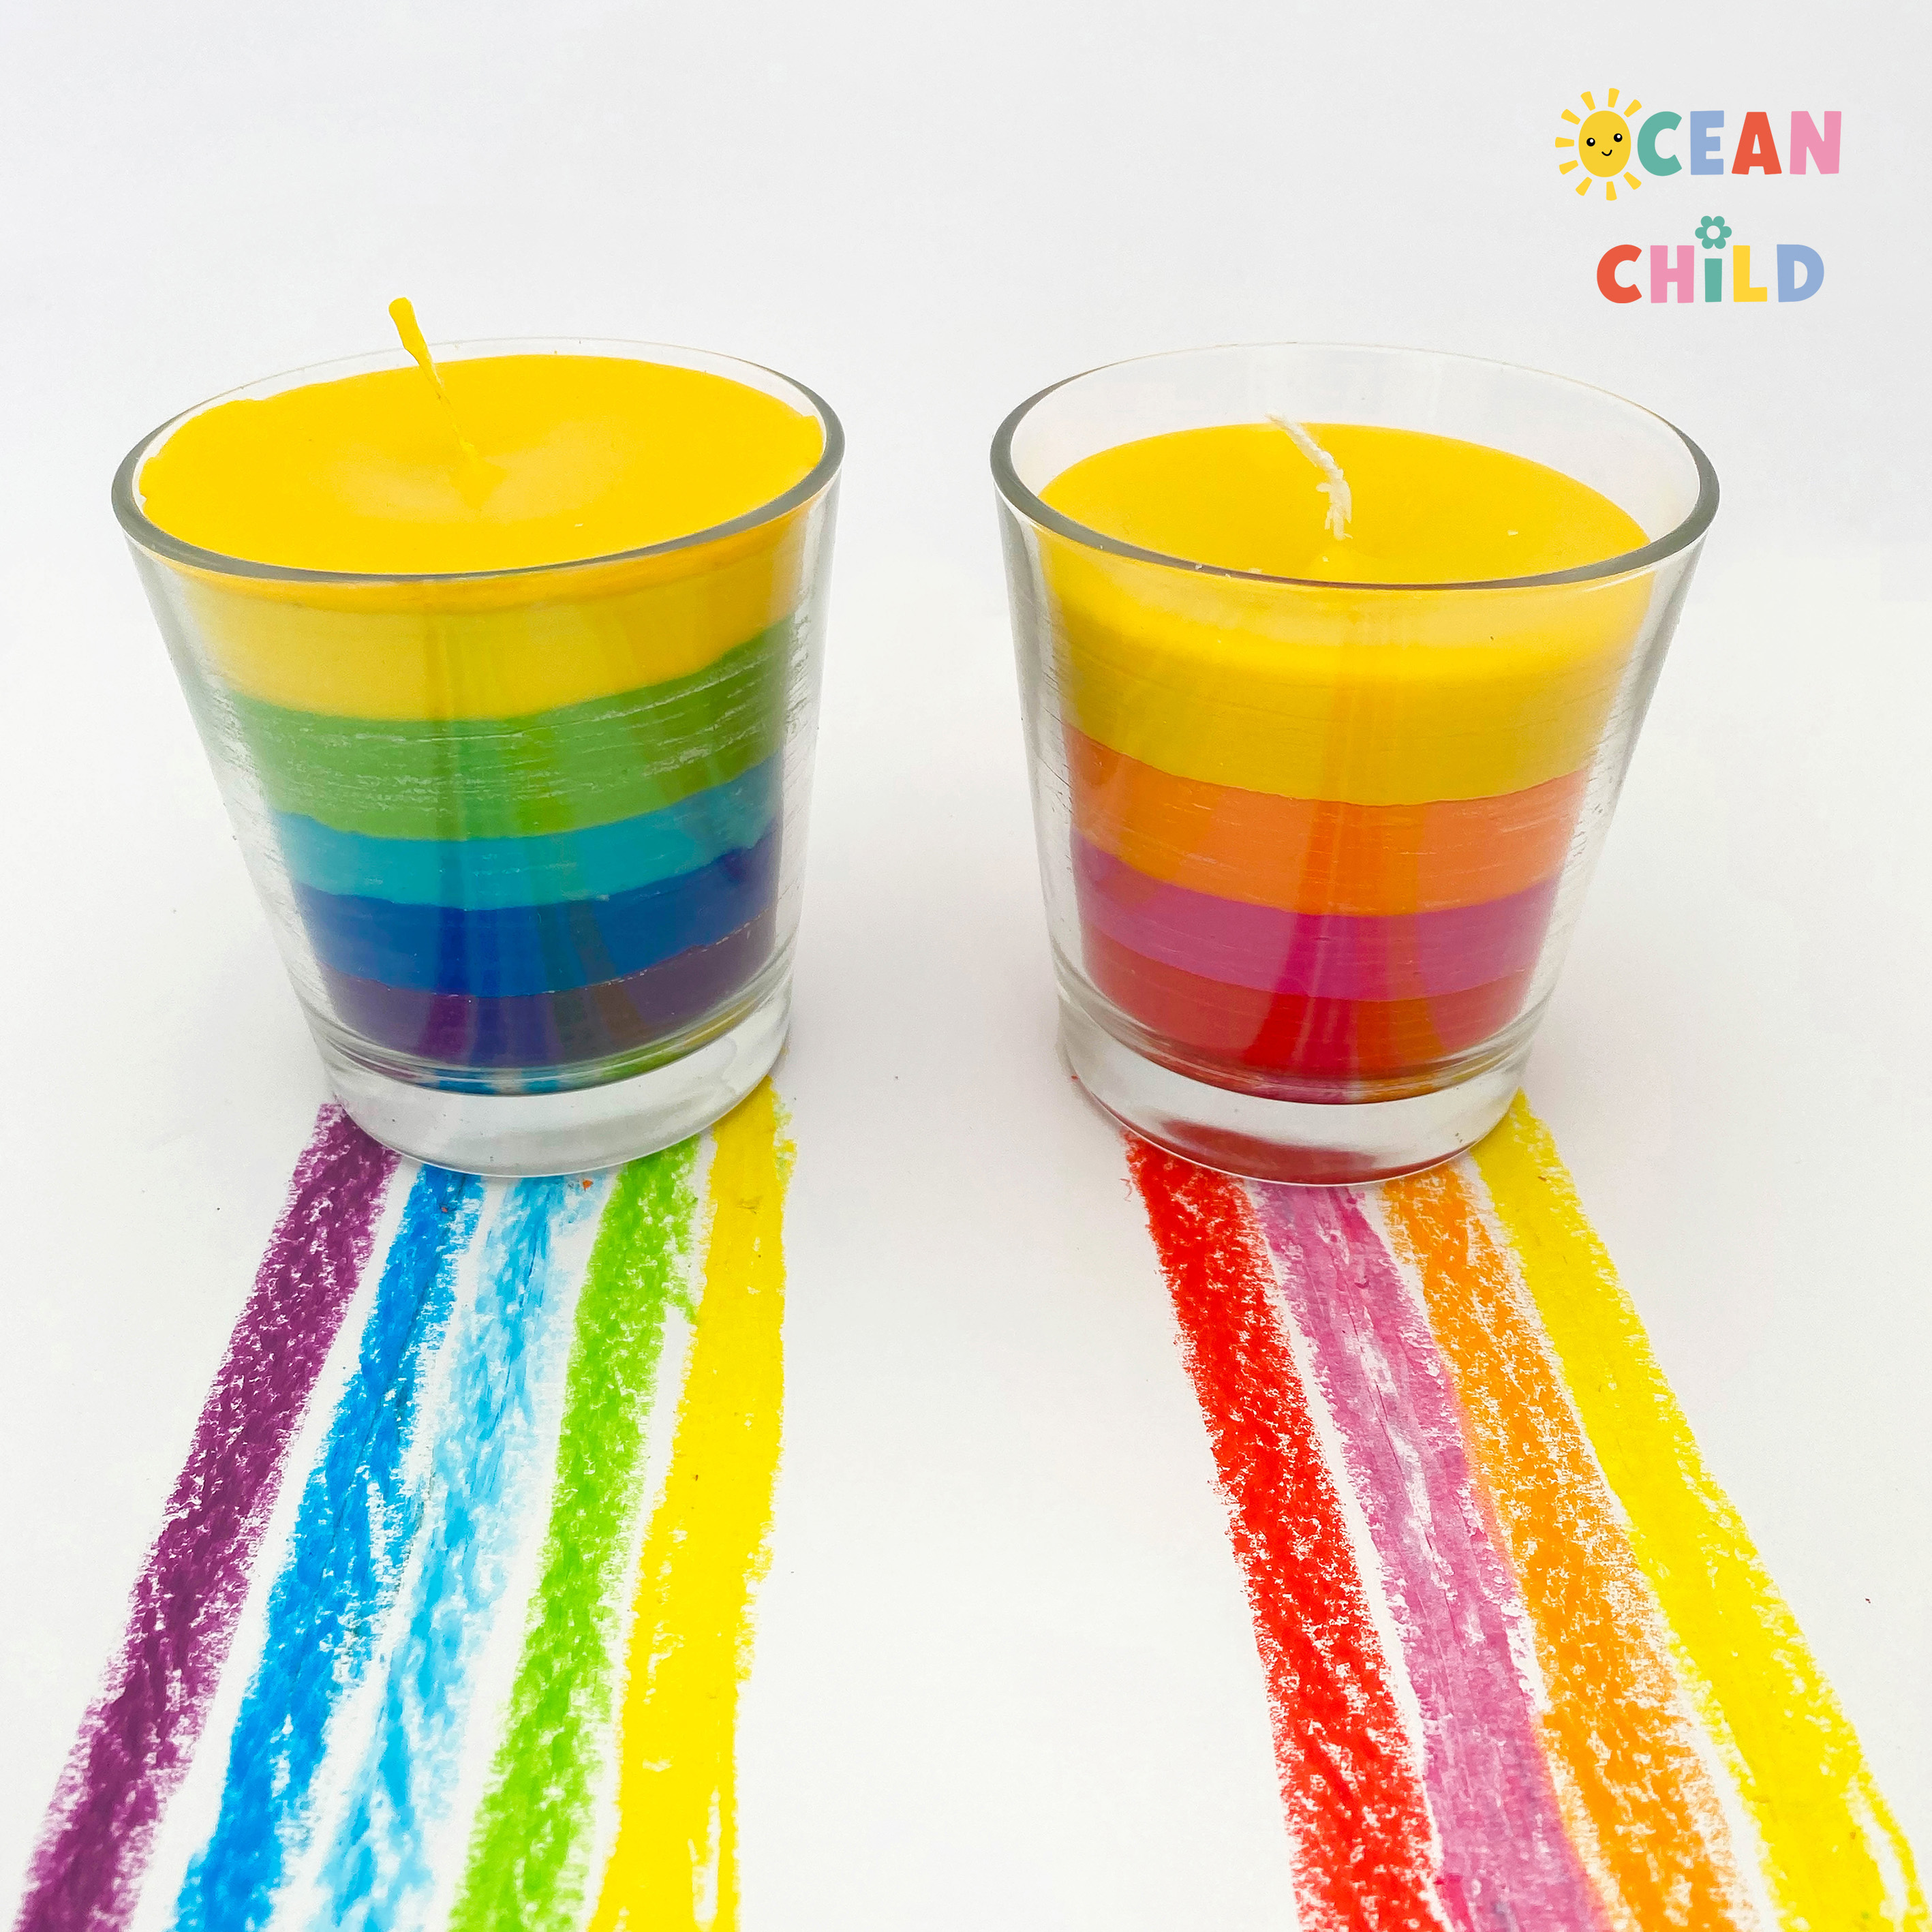
Step 8: Pour your first layer
Slowly pour a small amount of colored wax into your mold or class. Let it cool for 20–30 minutes before adding another layer of color. For a tie-dye effect, wait only 5 minutes so the colors gently swirl together.
Step 9: Keep layering
Repeat with your remaining colors, letting each layer set before pouring the next. This is the most relaxing part, watch your candle turn into a rainbow!
Step 10: Cool and remove
Once all layers are poured, let the candles cool completely for about an hour. Carefully remove from the mold or leave in the glass container. Trim the wick to about 1 cm.

How to make candles out of wax crayons
Tips for Success
- Please don’t skip the white wax; it really helps your crayon candles burn evenly.
- Want pastel candles? Add more white wax to each mix.
- Gift idea: Wrap your mini candles with twine and a tag that says “Made with love and crayons.”
Why This Project Is Great for Kids
This craft teaches patience and color mixing while giving kids a sense of accomplishment. Watching their layered candle take shape, one bright stripe at a time, is pure magic! Plus, the result is a handmade keepsake they can proudly gift to someone special.
It’s also a wonderful sensory experience, from peeling crayons and stirring colors to seeing wax transform into something totally new.
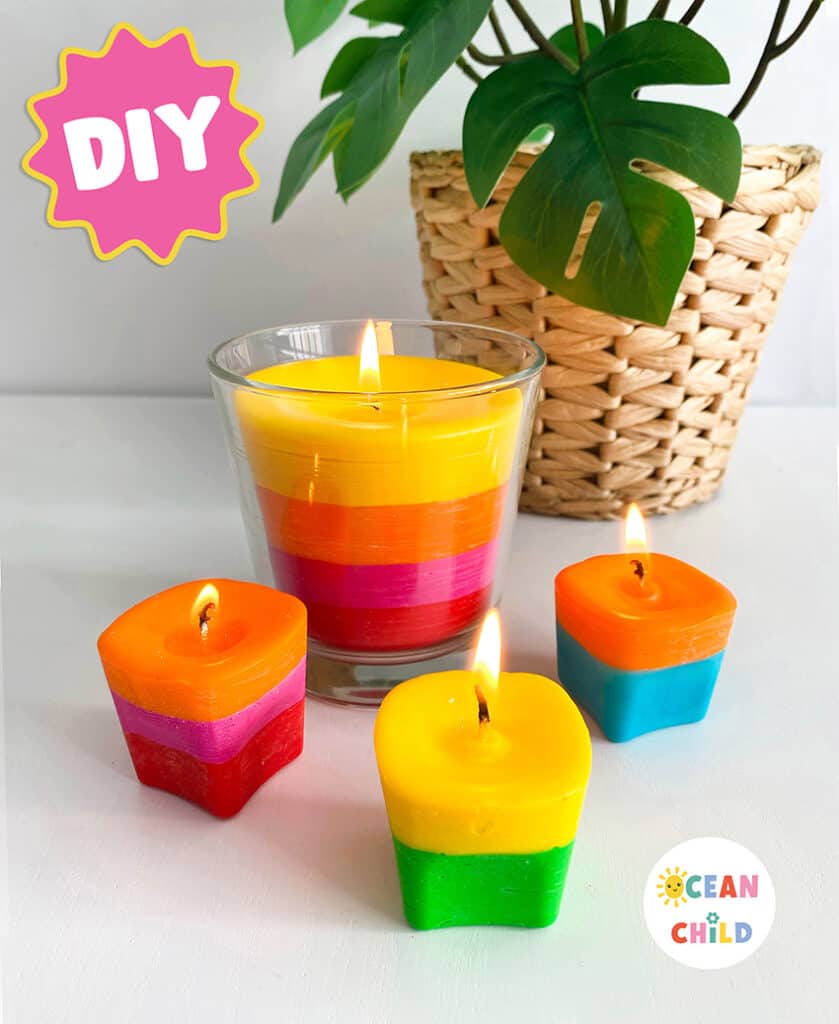
A Thoughtful Handmade Gift Idea
These colorful crayon candles make such a sweet and personal homemade gift for family, friends, or teachers. Kids will love creating something they can proudly give; it’s thoughtful, creative, and great for the holiday season or birthdays. The mini candles made in ice cube molds are especially adorable for small gifts or party favors, while the larger glass candles make lovely presents for grandparents or neighbors. You can even wrap your candles with a ribbon and add a handwritten tag that says “Made with love and crayons.” It’s a simple way to share creativity and brighten someone’s day.
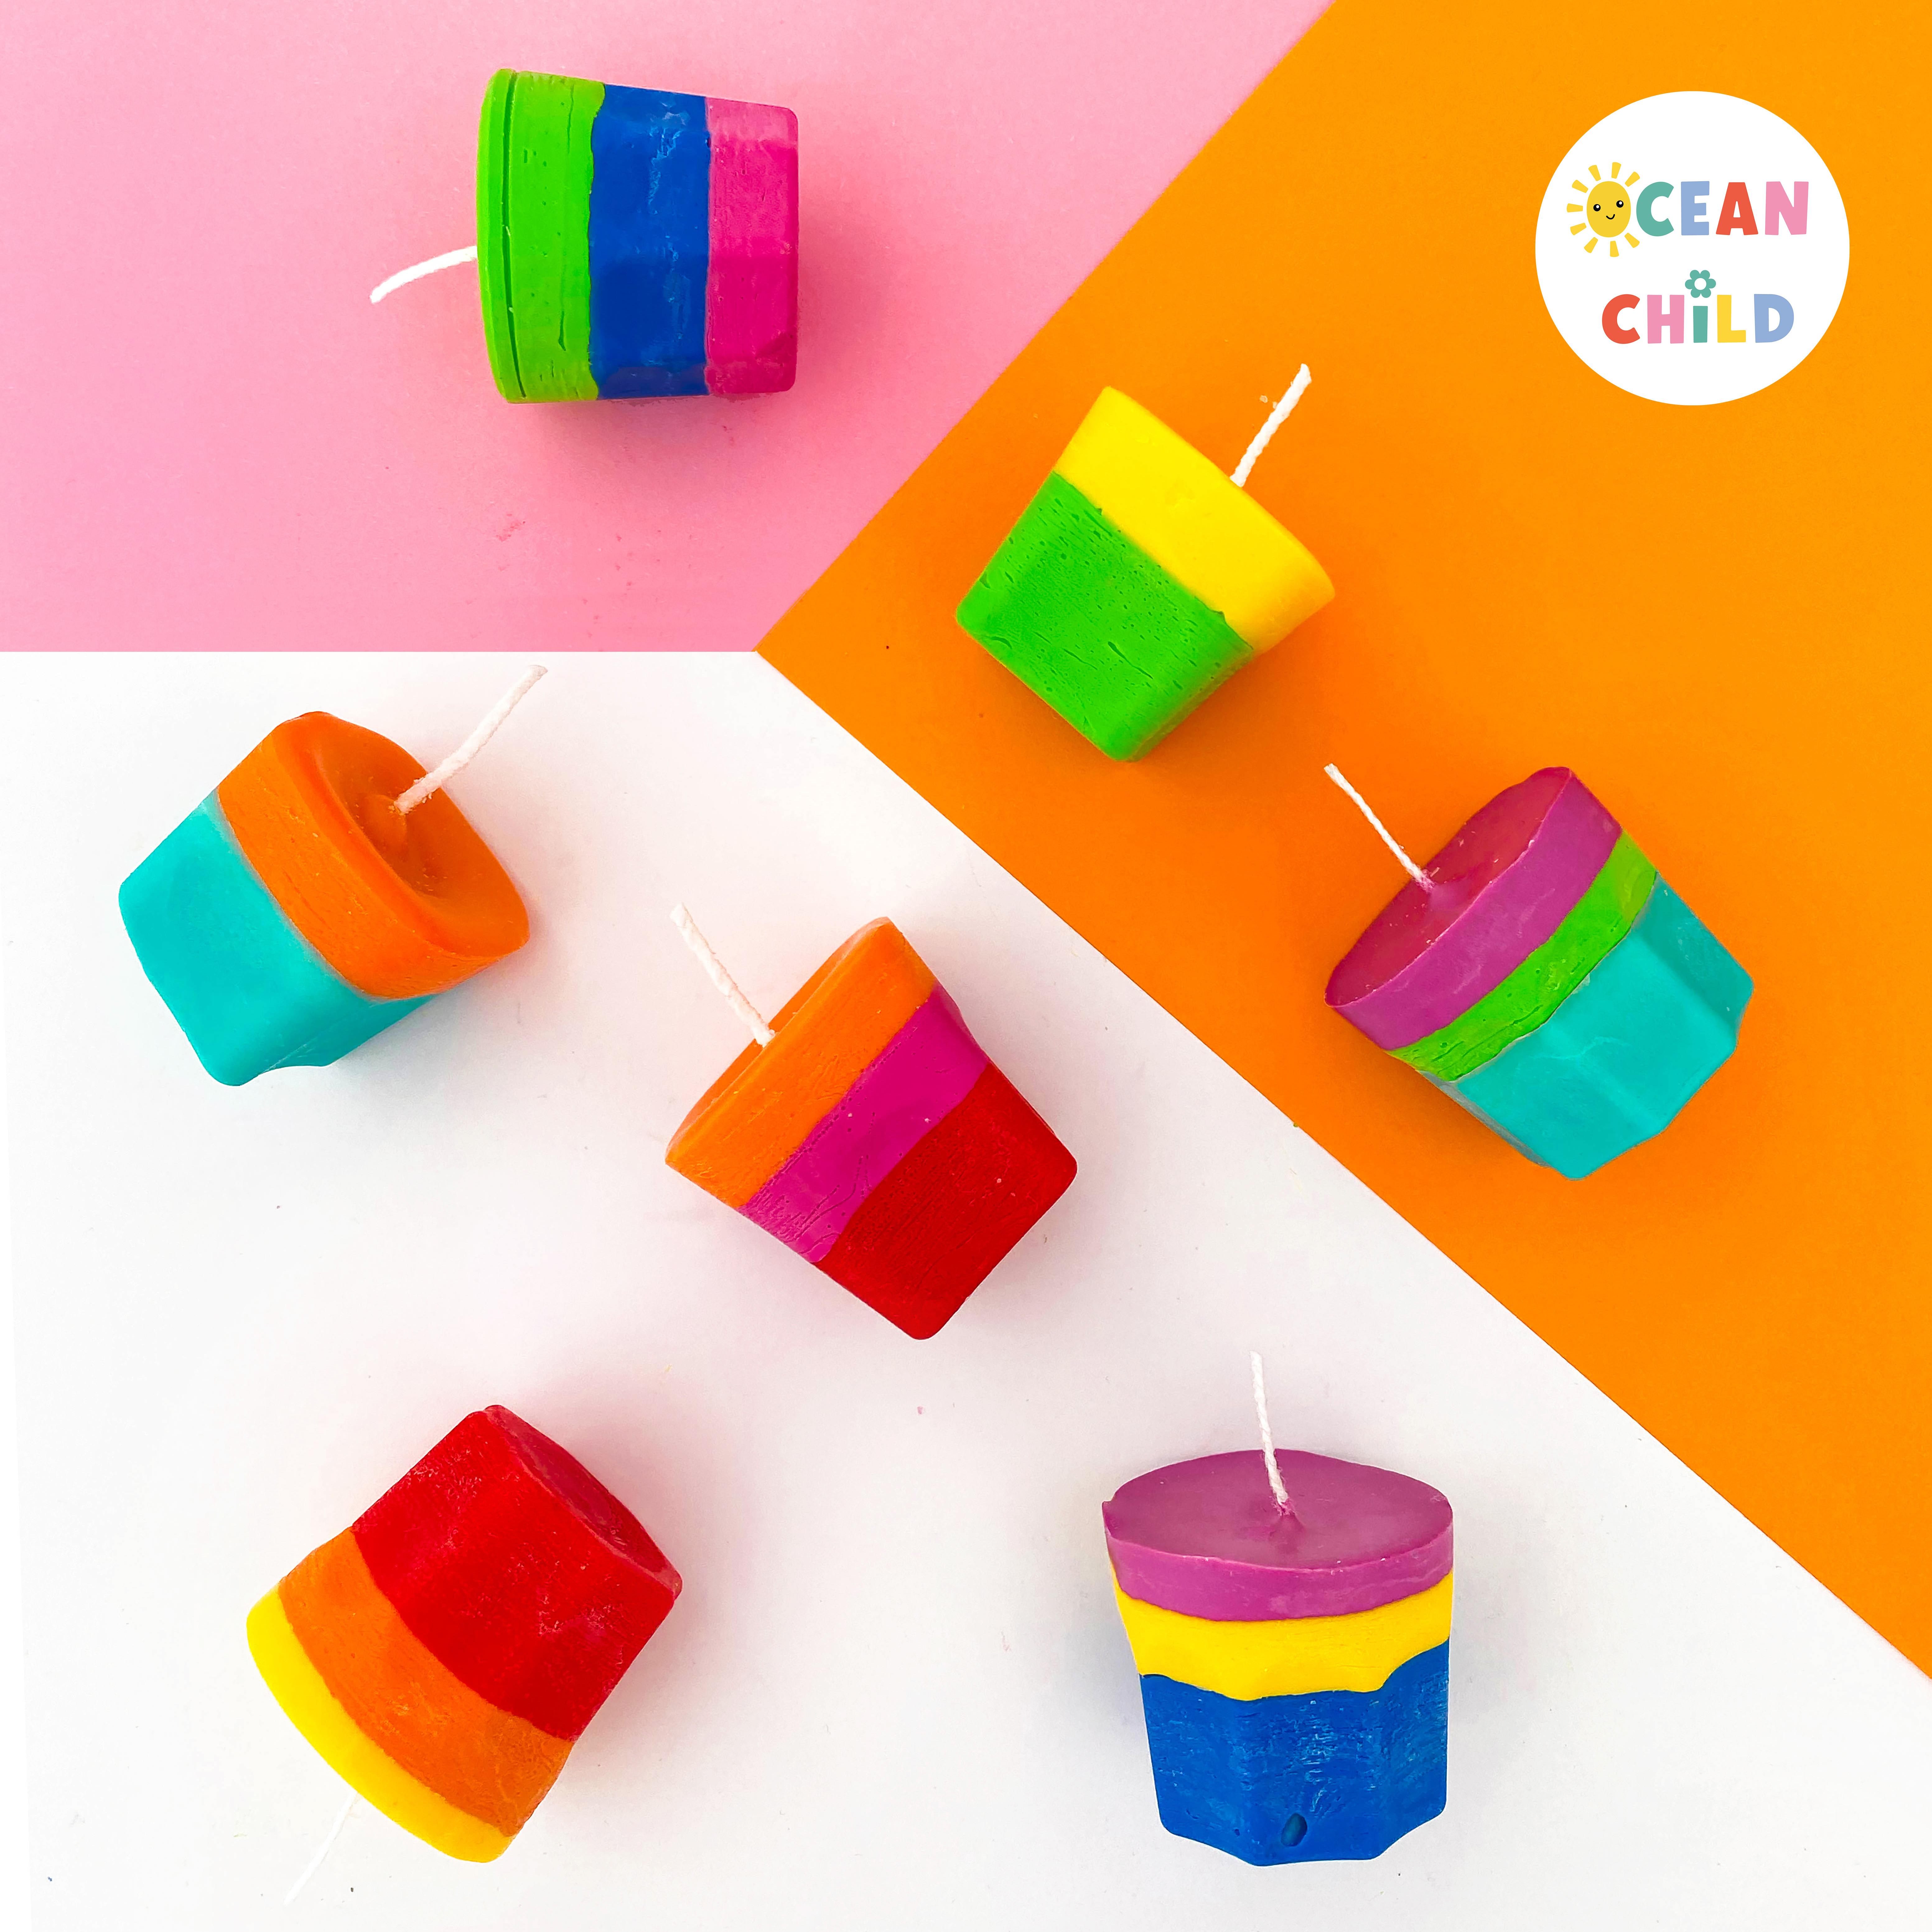
DIY home decor crayon candles
More Christmas Craft Fun
Looking for more inspiration? Try these festive favorites next:
- 29 Easy Christmas Crafts for Kids: the ultimate list of creative holiday fun for kids!
- Easy Pipe Cleaner Christmas Tree Ornament: colorful and quick!
- Paper Angel Craft for Kids: They make a perfect handmade gift!
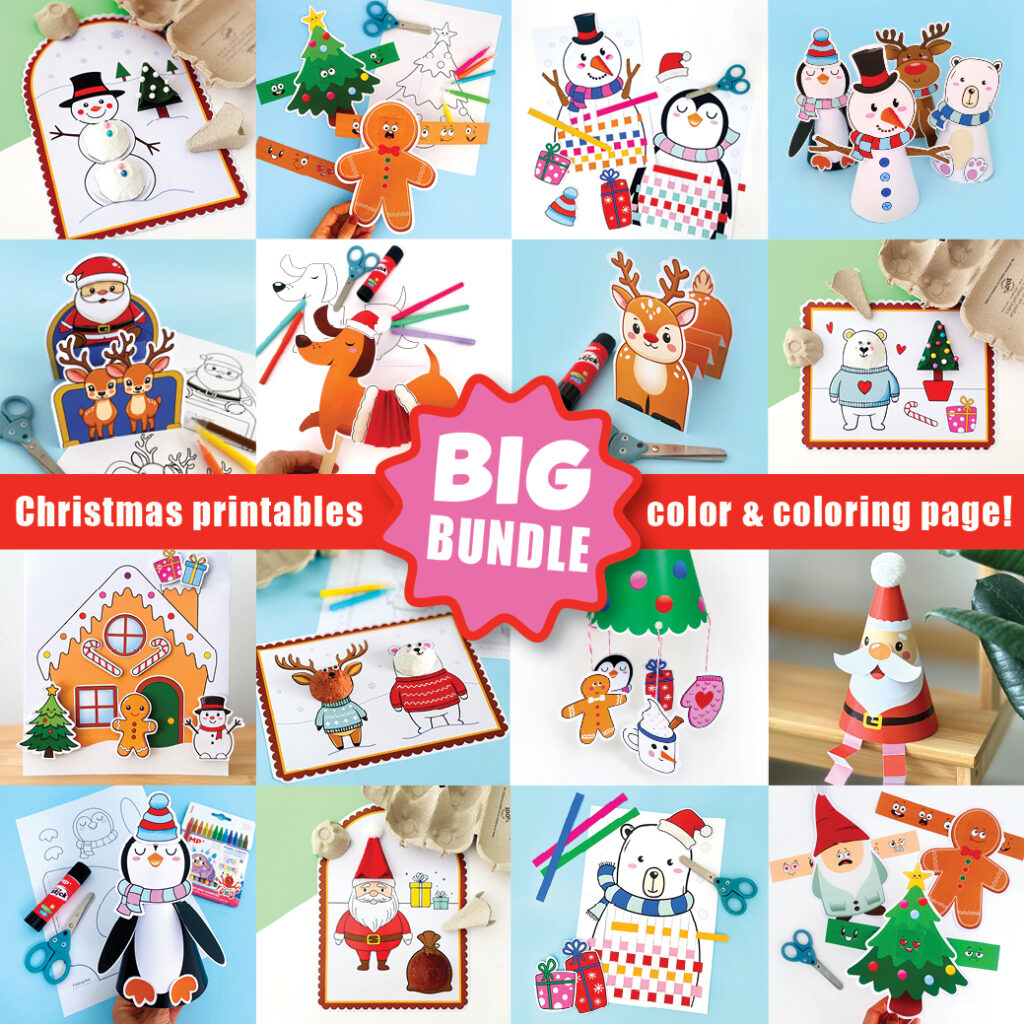
- BIG Christmas Craft Printable Bundle: packed with fun Christmas and winter crafts and coloring templates. This bundle of low-prep projects is perfect for both the classroom and home, helping spark imagination and joyful learning throughout the entire season. Find it now on Teachers Pay Teachers or in our Etsy craft printables shop. See graphic below for included printables!
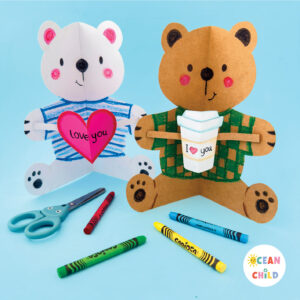 Bear Pop-Up Card for Kids – Easy Valentine’s and Mother’s Day Craft
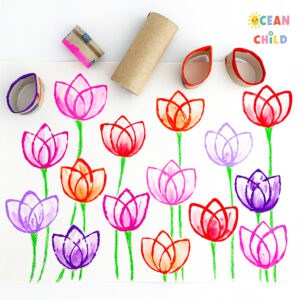 Beautiful DIY Paper Roll Flower Stamps: A Fun Craft for All Ages!
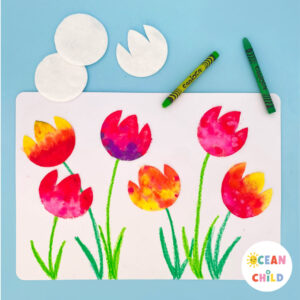 Easy tulip craft activity, perfect for Mother’s Day!
 DIY potato stamp cactus cards or gift tags!


Leave a Reply