Spring is here, and it’s the perfect time to create a unique and easy tulip craft with kids. This fun spring-season art activity will sure brighten your day! Turn simple bamboo forks into charming tulips for a fun DIY project that kids will love. This craft is not only enjoyable but also makes a perfect DIY gift for Mother’s Day, Grandparent’s Day, or even Valentine’s Day.
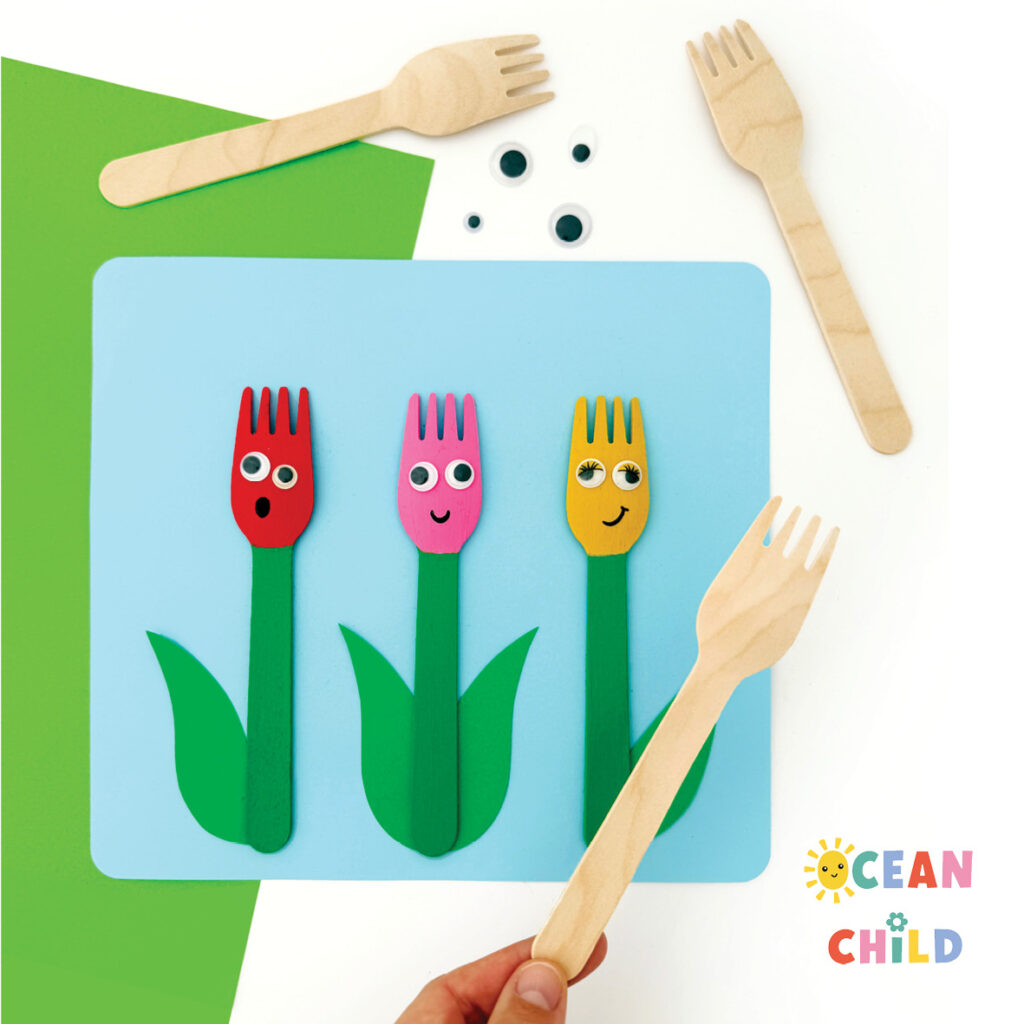
Turn a bamboo fork into cute tulips!
With just a few basic supplies and a splash of imagination, you can create colorful and expressive tulips that add a unique flair to your cards. Cardstock, paint, and forks to resemble your tulips. I recommend using bamboo forks as they are very easy to paint and have a great tulip shade.
So, let’s gather our materials and dive into this whimsical springtime project!
By using this site, you agree to our terms of use. This article contains affiliate links; read our full discloser here.
-
- Easy Tulip Craft for Kids
-
- Kids Craft Activity Spring
Easy Tulip Craft Supplies
- Bamboo forks, see an example here
- For acrylic paint, we used Amsterdam Acrylics
- Black marker and/or fine liner
- Googly eyes
- Blue paper for the background
- Green paper for the leaves
- Scissor
- Glue
Easy Tulip Craft With Bamboo Forks
How To Make create colorful tulip cards with kidsEasy DIY Tulips with Bamboo Forks
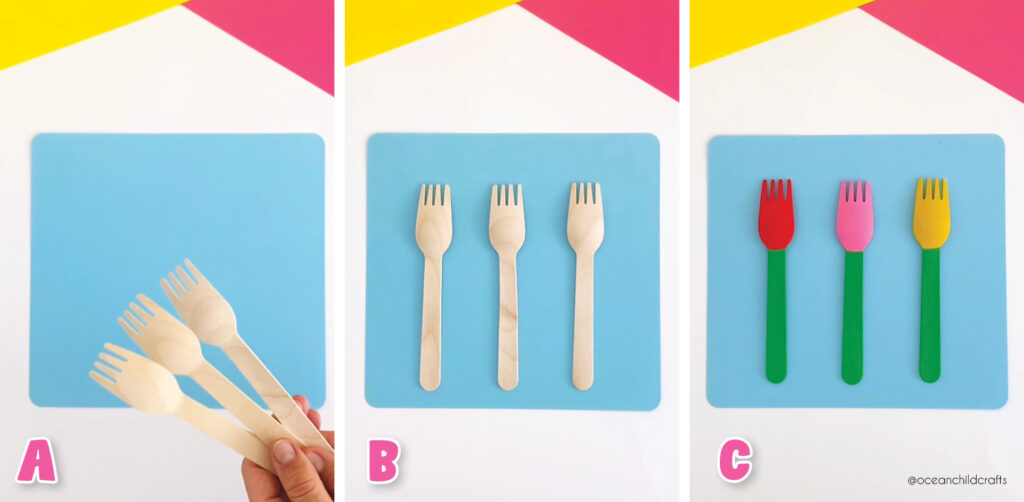
Step 1: Gather the craft supplies. I suggest using bamboo forks, as they have the perfect shape and are very easy to paint.
Step 2: Begin by painting the stems of your flowers or forks in green and allow the paint to dry. Once the paint is dry, choose the colors for your tulips. I selected red, pink, and yellow;
see pictures B and C for reference. We used acrylic paint from Amsterdam Acrylics because it provides great coverage; however, if you are working with young children, I recommend using washable paint, such as…
-
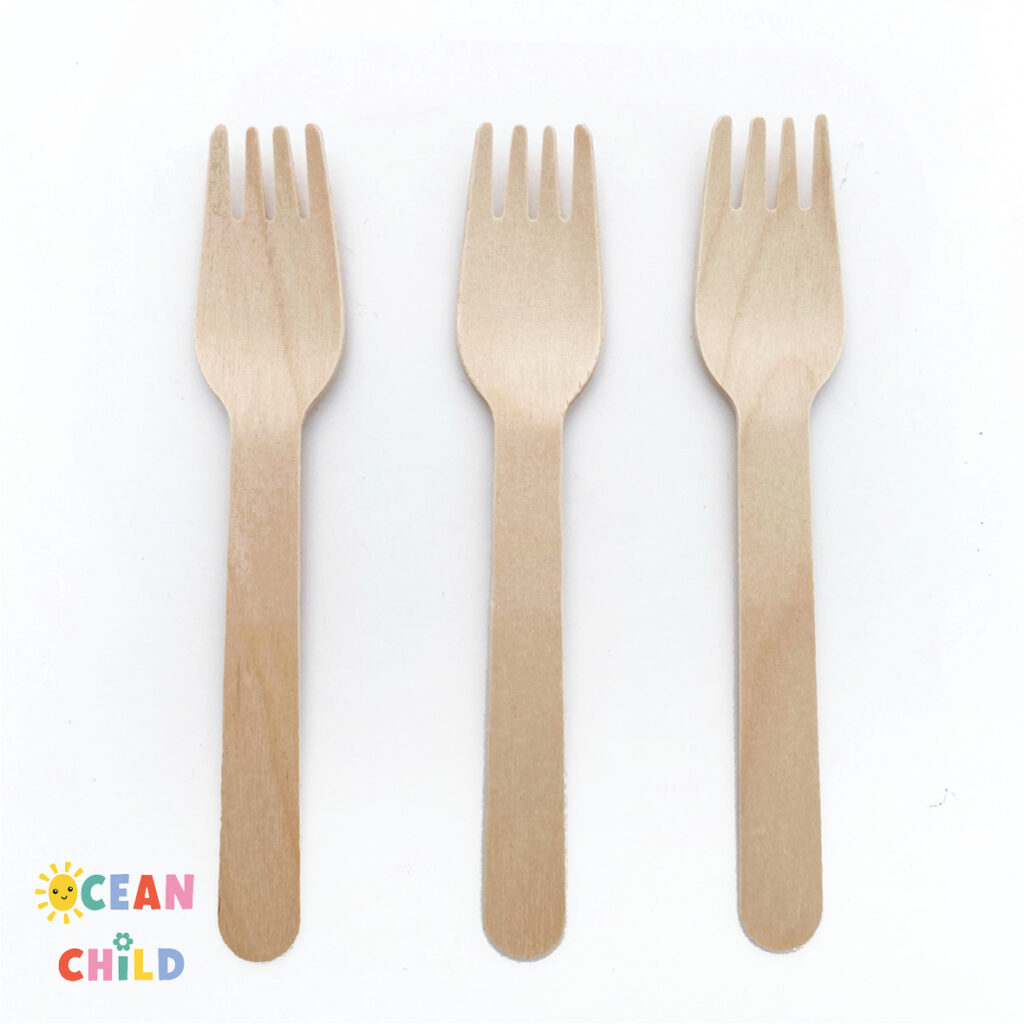
- Use bamboo forks for your tulips
-
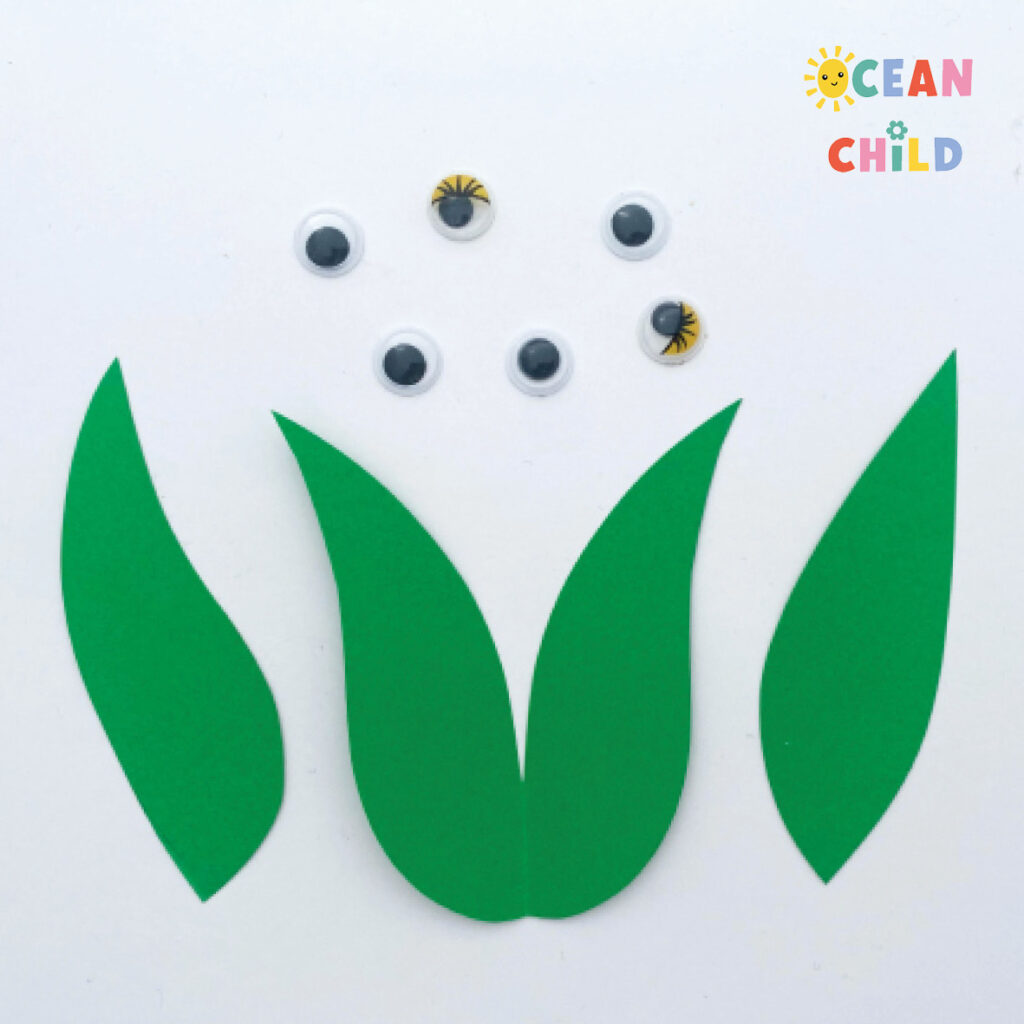
- Cut your tulip leaves from green paper
-

- Paint your forks in bright colors
Step 3: Allow the green paint to dry. In the meantime, you can start cutting out leaves from green paper. To make your artwork more playful, you can experiment with the leaves. Give one tulip one leaf and another tulip two leaves. You can also vary the size and shades of green for added interest. If you don’t have green paper use paint instead.
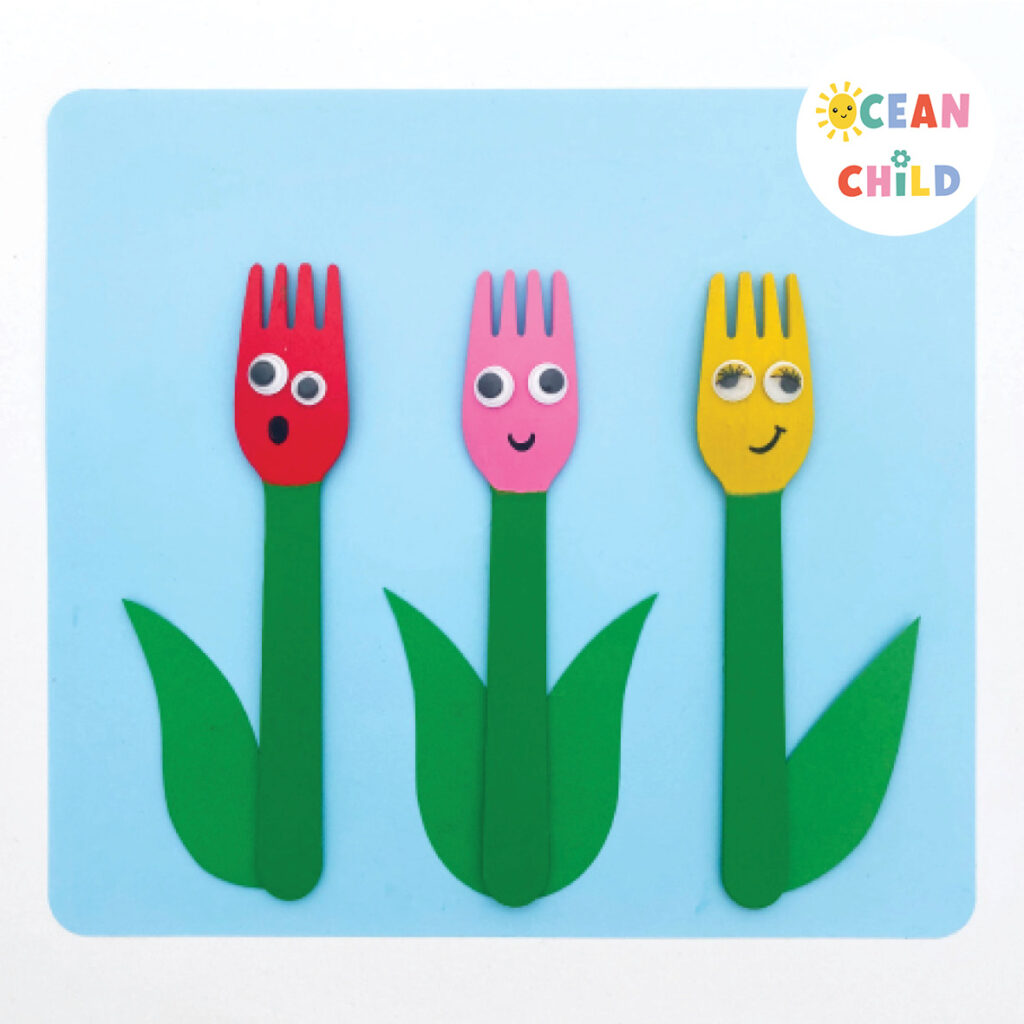
Step 4: Prepare your backdrop. I used blue paper measuring 21 cm by 21 cm, but you can also paint the background for your tulips, for a playful effect.
Step 5: Glue the green leaves on the backside of your fork/tulip.
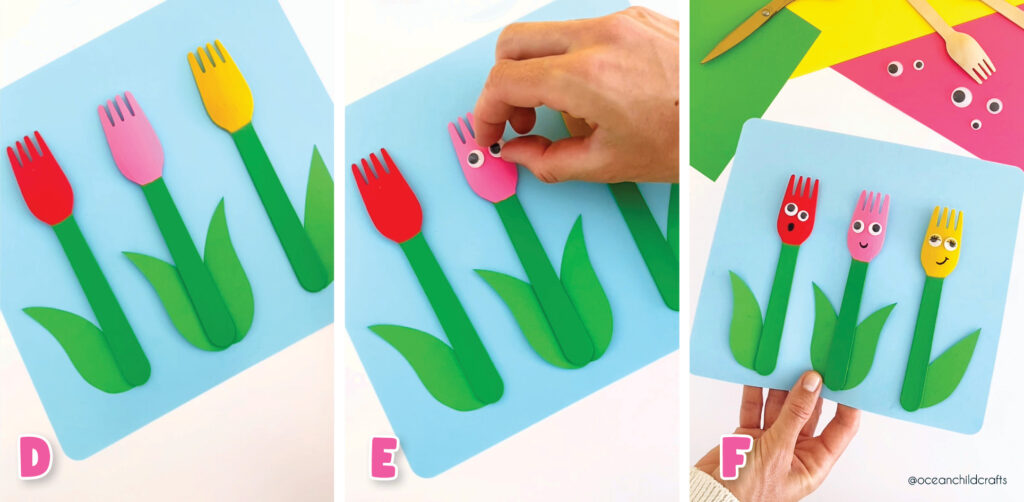
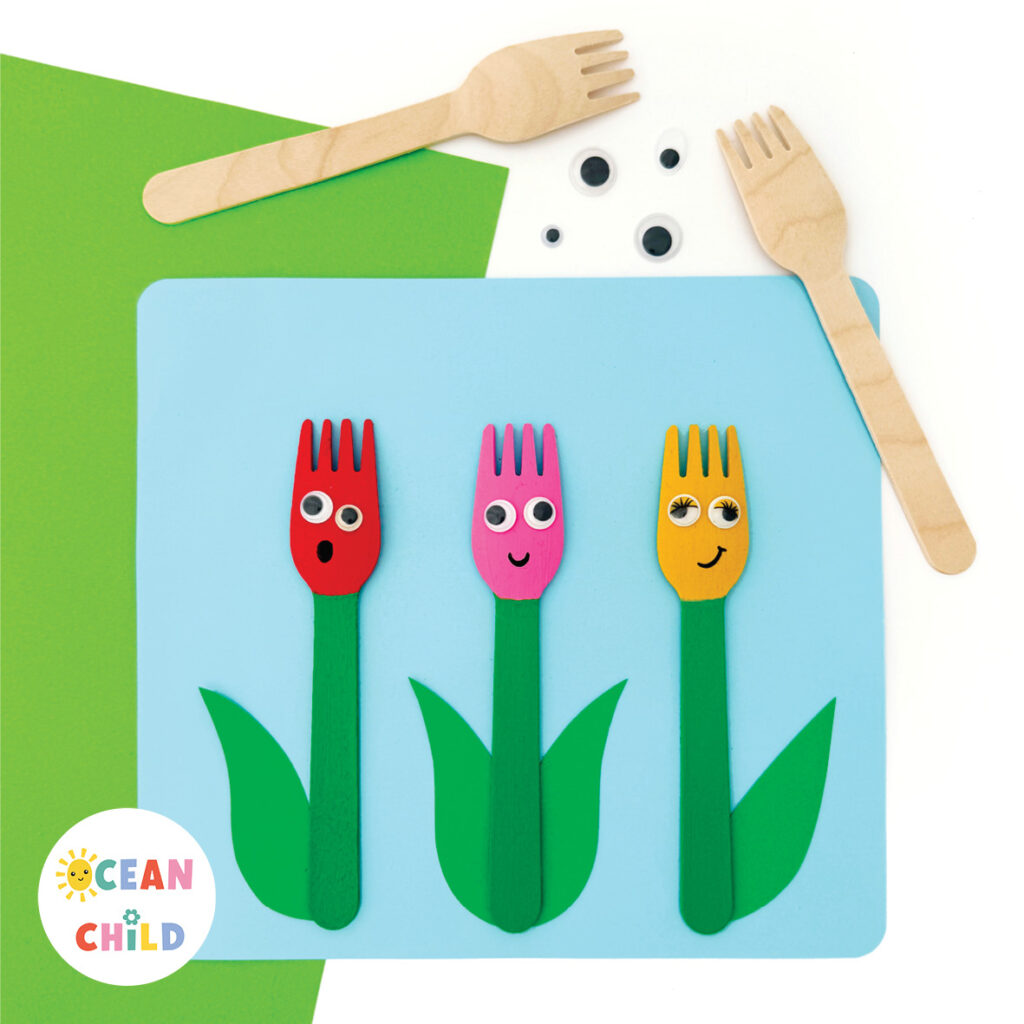
Give your DIY tulips a cute expression
Step 6: Give your fork or tulips silly facial expressions. Make each tulip look slightly different; this adds some playfulness to your artwork. You can also use googly eyes.
Step 7: Finally, you can attach your tulips onto a blue background (or any other color you prefer) to create a greeting card for a loved one. You might want to add extra details like grass, clouds, or a heartfelt message.
-
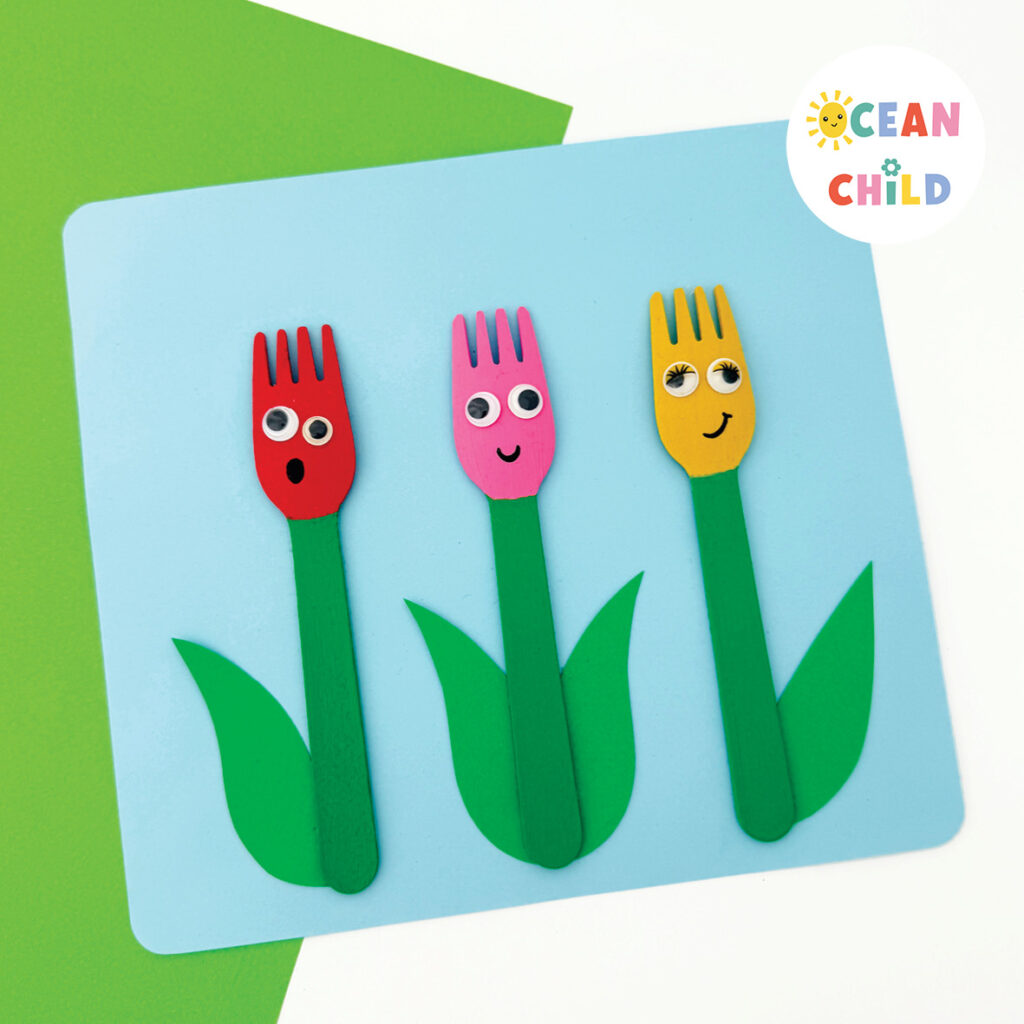
- Perfect Mother’s Day craft
-

- Make a DIY tulip card for a loved one
Great job creating this easy tulip craft. Are you ready for another fun flower activity? Try out these pretty flowers on a straw!
Or try paper roll flower stamping with your kids, an easy way to make wrapping paper or greeting cards.
 31 Fun Christmas Crafts for Kids, Easy DIY Holiday Projects
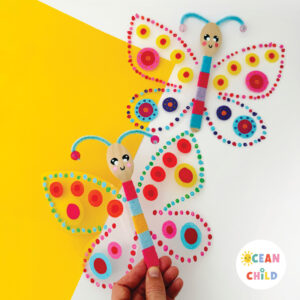 Make Colorful Butterfly Puppets with Flapping Wings for Kids!
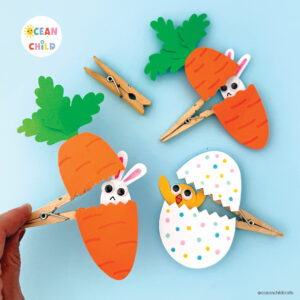 Paper Easter Egg And Carrot Surprise Craft With FREE Printable!
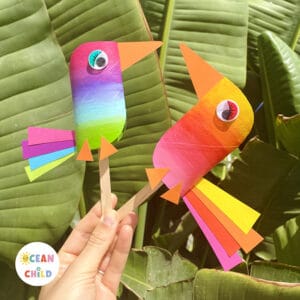 Colorful Paper Roll Bird Puppet Craft for Kids


[…] Or try out these easy bamboo fork tulips; they make a great greeting card! […]