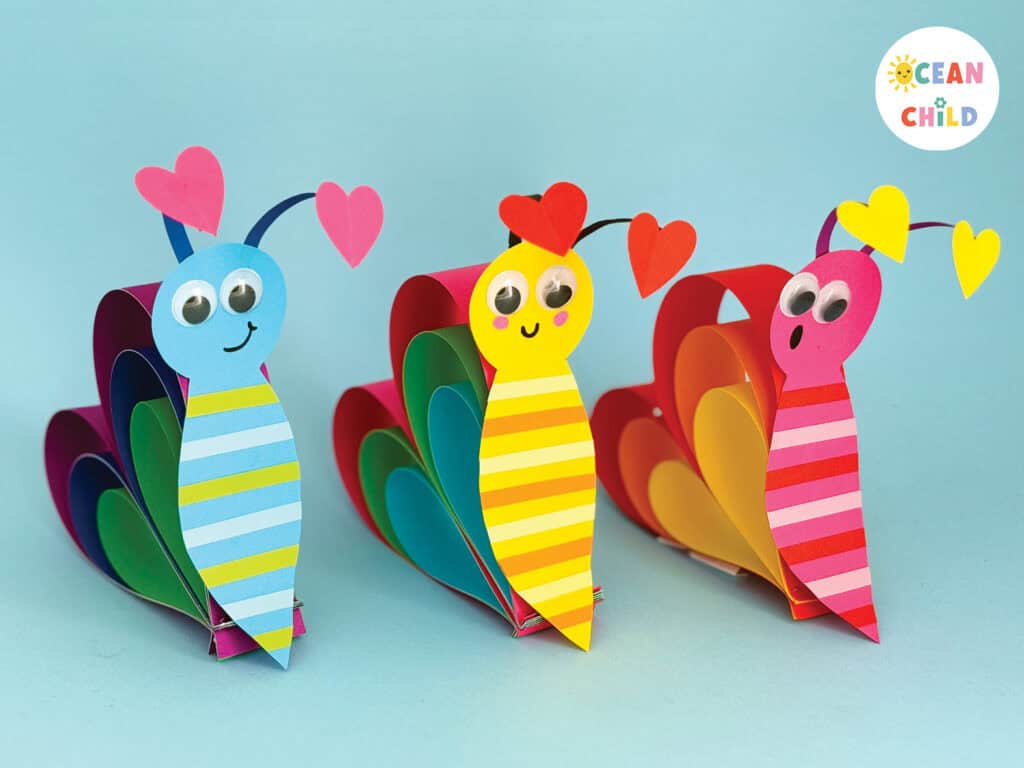
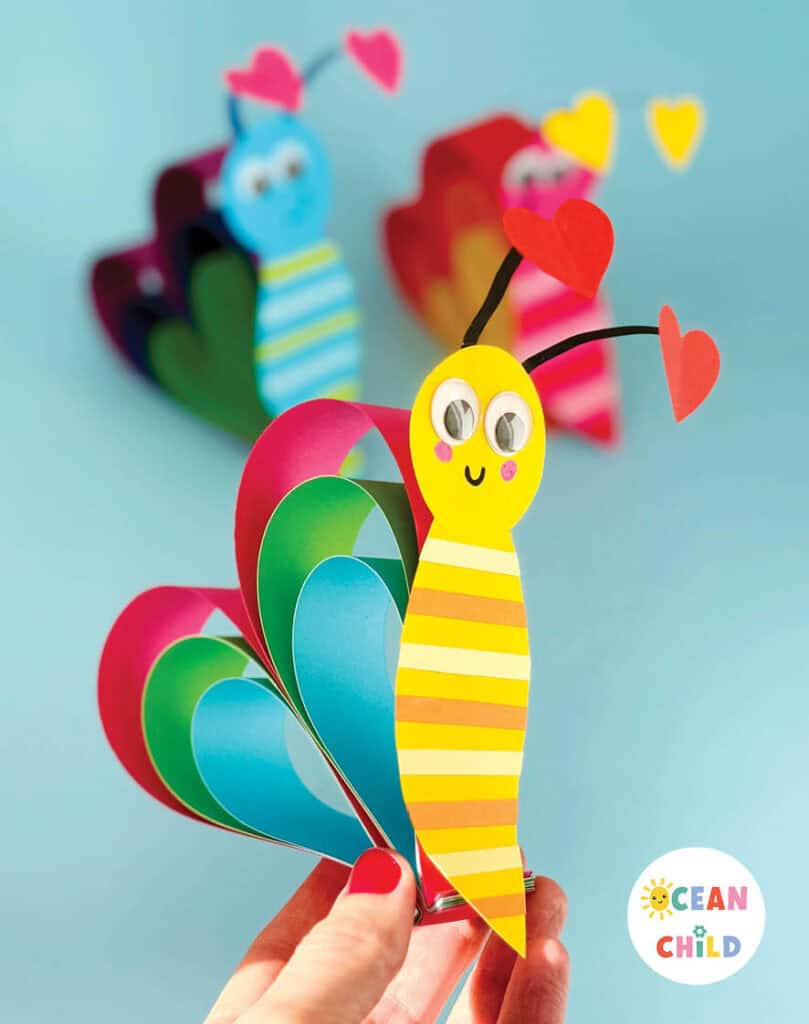
Here’s a simple paper butterfly craft that requires just a few basic supplies: colored paper, a glue stick, and scissors.
If you’re seeking a colorful spring activity to do with the kids, try making these beautiful butterflies! We’ve created a FREE craft template that you can download to make the crafting process even easier. There’s no need for measuring—just cut and trace the shapes onto colored paper. You can also use the template as a coloring page; just color, cut, and glue the pieces together!
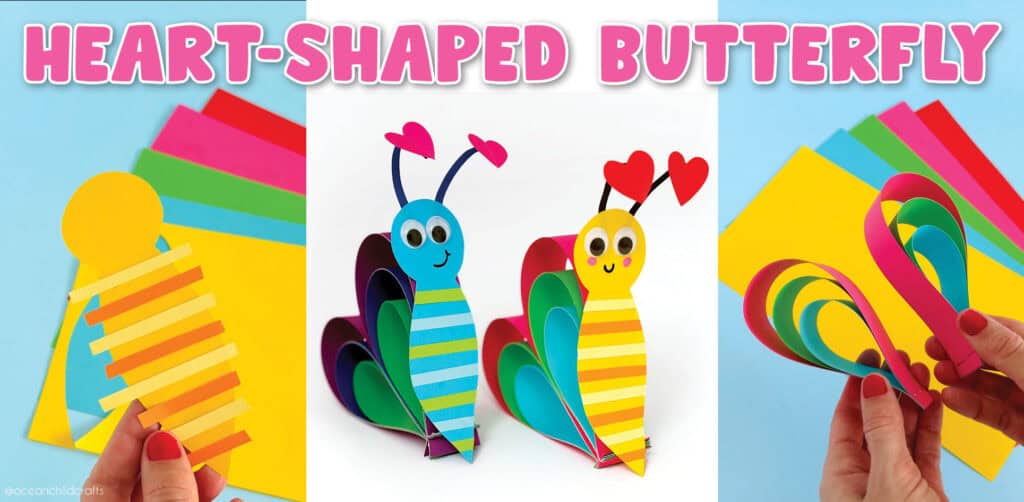
These butterflies feature lovely heart-shaped wings, making them perfect for celebrations like Valentine’s Day or Mother’s Day. Kids can choose their favorite colors and personalize their butterflies, making each one unique.
By using this site, you agree to our privacy policy and terms of use. This article contains affiliate links. Please read our full disclosure here.
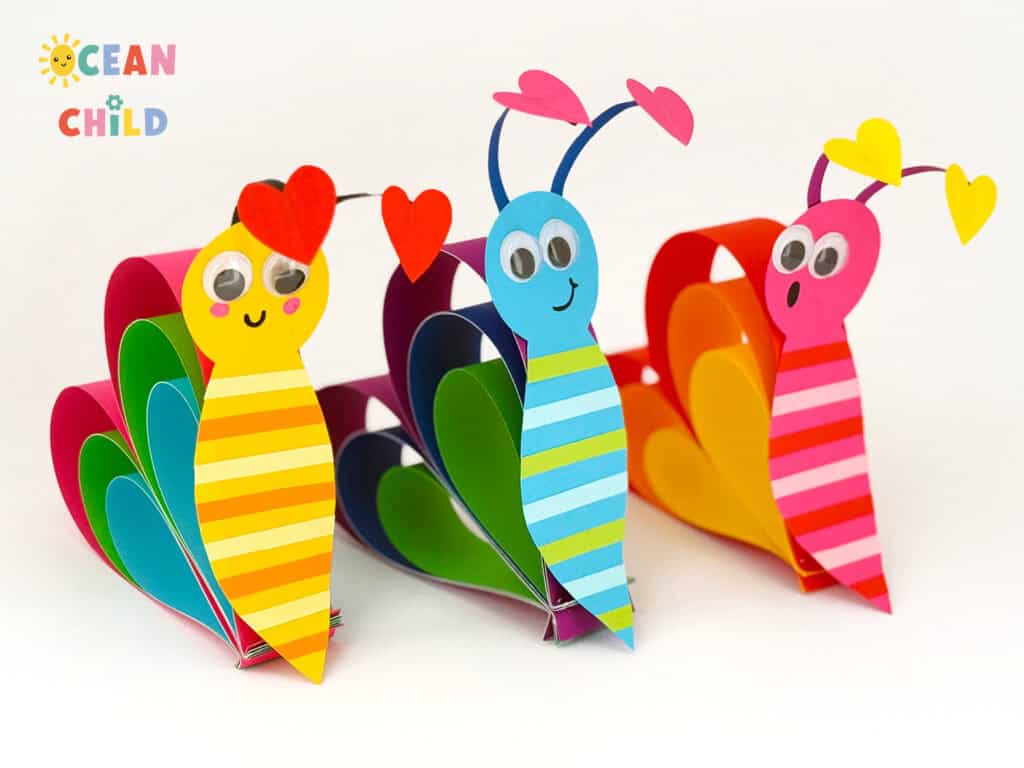
Colorful Butterflies
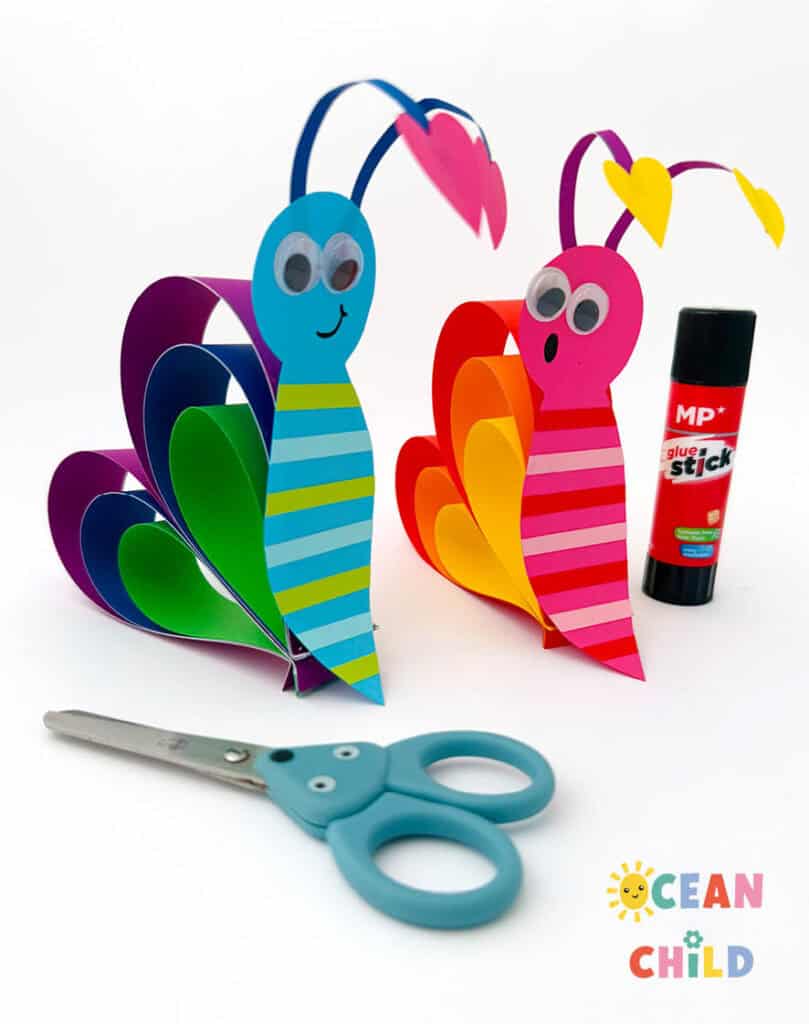
Craft Supplies For Easy Paper Butterfly Craft:
- Free butterfly craft template (optional)
- Colored paper, preferably cardstock
- Scissor
- Glue stick
- Stapler
- Black marker or fine liner
- Googly eyes (optional)
Butterfly Craft Instructions

Step By Step Craft Instruction
How To Craft A Butterfly With Heart-shaped Wings:
Step 1: Gather the craft supplies listed above and choose the colors for your paper butterfly. We have created a free butterfly craft template to make the process easier. You can print the template, cut it out, and trace it onto colored paper. Alternatively, you can use the template as a coloring page and let your child color the butterfly.
Step 2: To create the butterfly’s wings, you will need six paper strokes in three different sizes (2 of each size).
- The first two strokes should be 3X27 CM.
- The second two strokes should be 3X22 CM.
- The third set of strokes should be 3X 17 CM.
Cut out your six strokes in total. For reference, please see pictures A and B. To make this process easier, we have provided a printable template with the exact sizes; you can download the printable here.
Easy Paper Art Activity
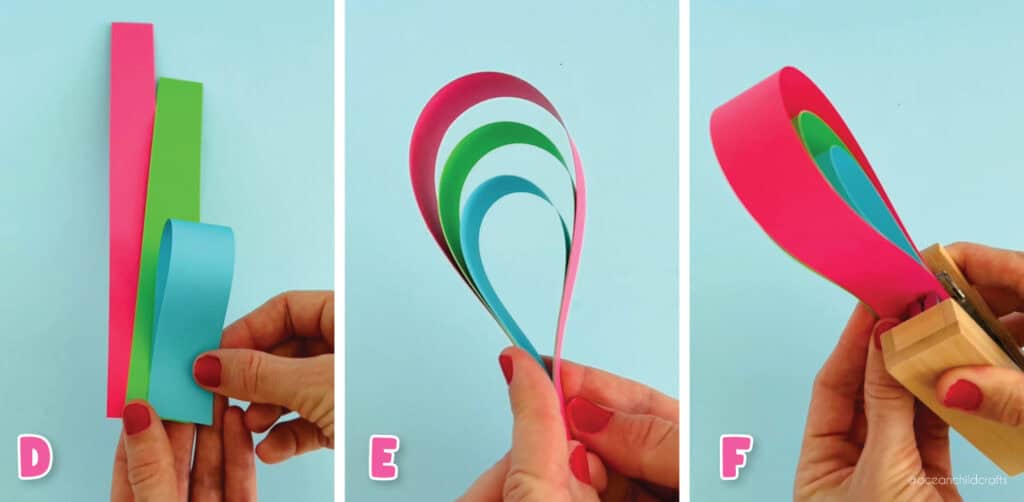
Step 3: Stack the three strokes of different sizes on top of each other, with the largest stroke at the back and the smallest stroke in the front. Ensure that all strokes are aligned at the bottom.
Next, bend the first stroke as shown in picture D. Then, bend the second stroke over the first stroke, followed by bending the third stroke over the second. For reference, please see pictures C, D, and E.
Finally, secure the strokes in place with a staple, as demonstrated in picture F.
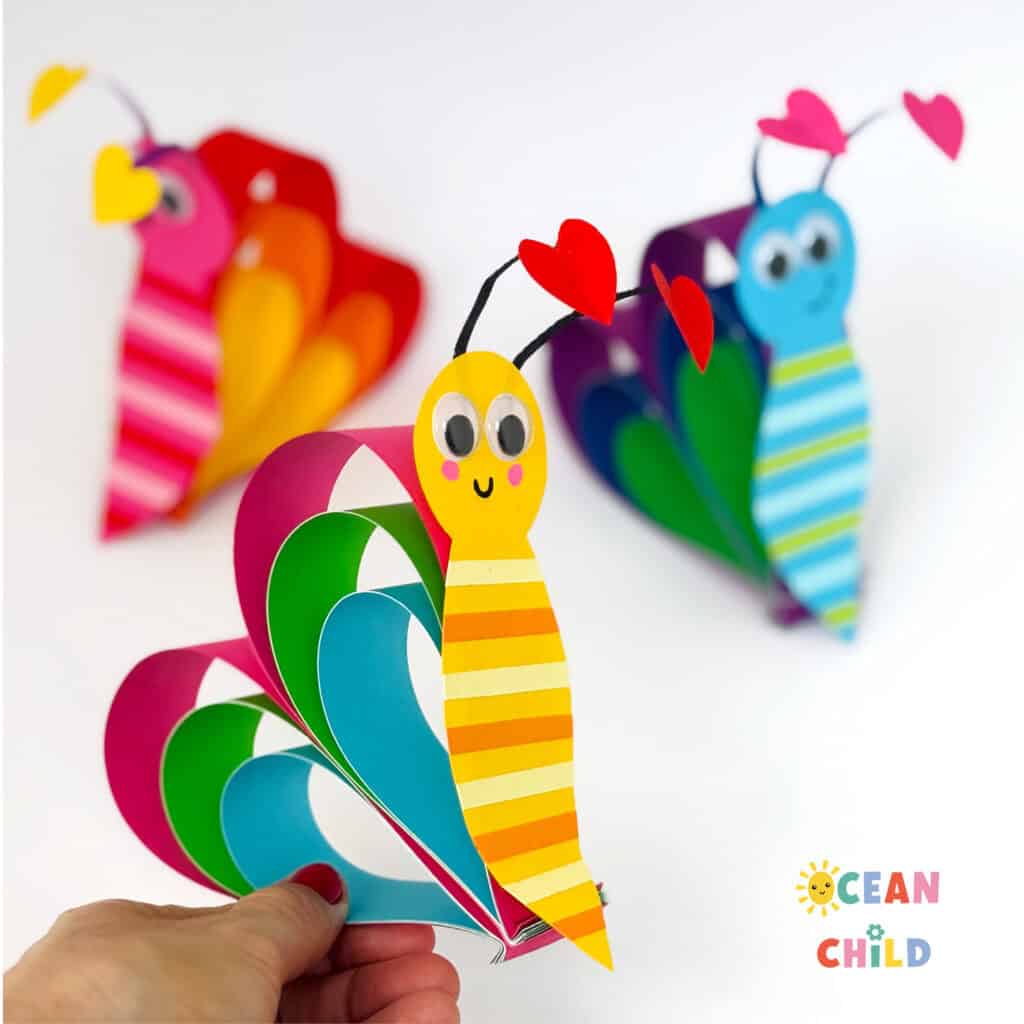
Step 4: Replace this step with the second set of strokes. Now, staple the strokes on top of each other to form a heart shape. As you can see in pictures G and H, these are your butterfly wings.
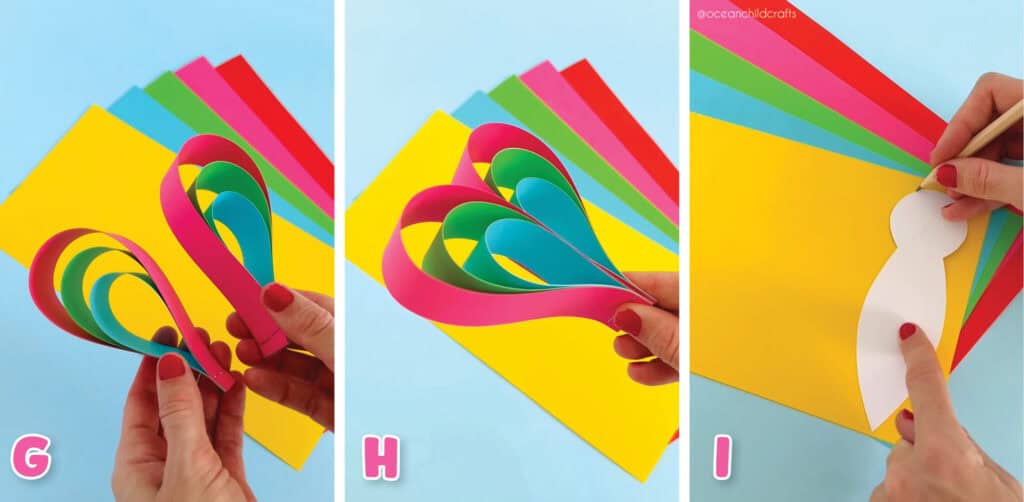
Heart Shaped Butterfy Wings
Step 5: Let’s create the body of the butterfly! If you need precise measurements, you can use the free template.
The head of the butterfly should be round with a diameter of 4.5 cm. The total length of the body, including the head, is 14 cm. See picture I.
Fun Family Craft Idea
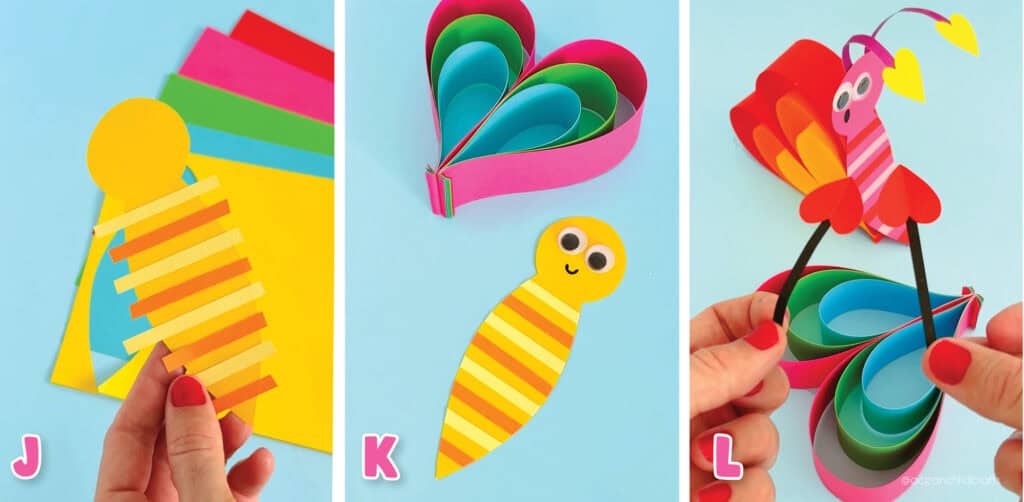
Step 6: We decorated our butterfly using paper strips measuring 0.5 cm wide. Simply cut some strips and glue them onto the body, as shown in picture J. You can use single-colored strips, two-tone strips, or even a rainbow of colors. After you’ve glued all the strips onto your butterfly, you can trim the edges to give it a neat appearance, as seen in picture K.
Step 7: Give your paper butterfly a cute face with a happy smile, two eyes, and a bit of blush on the cheeks. We used googly eyes for our butterfly, but this is optional.
Colorful Paper Craft Spring Season
Step 8: Give your butterfly two heart-shaped feelers. See picture L. You can cut them yourself or use the butterfly craft template! Glue the feelers on the backside of your butterfly head.
Step 9: Time to assemble your paper butterfly! Lay the heart-shaped wings on the table with the point facing sideways, and glue the body on the side. Refer to the sample pictures for guidance.
-
- Colorful Paper Craft For Spring
-
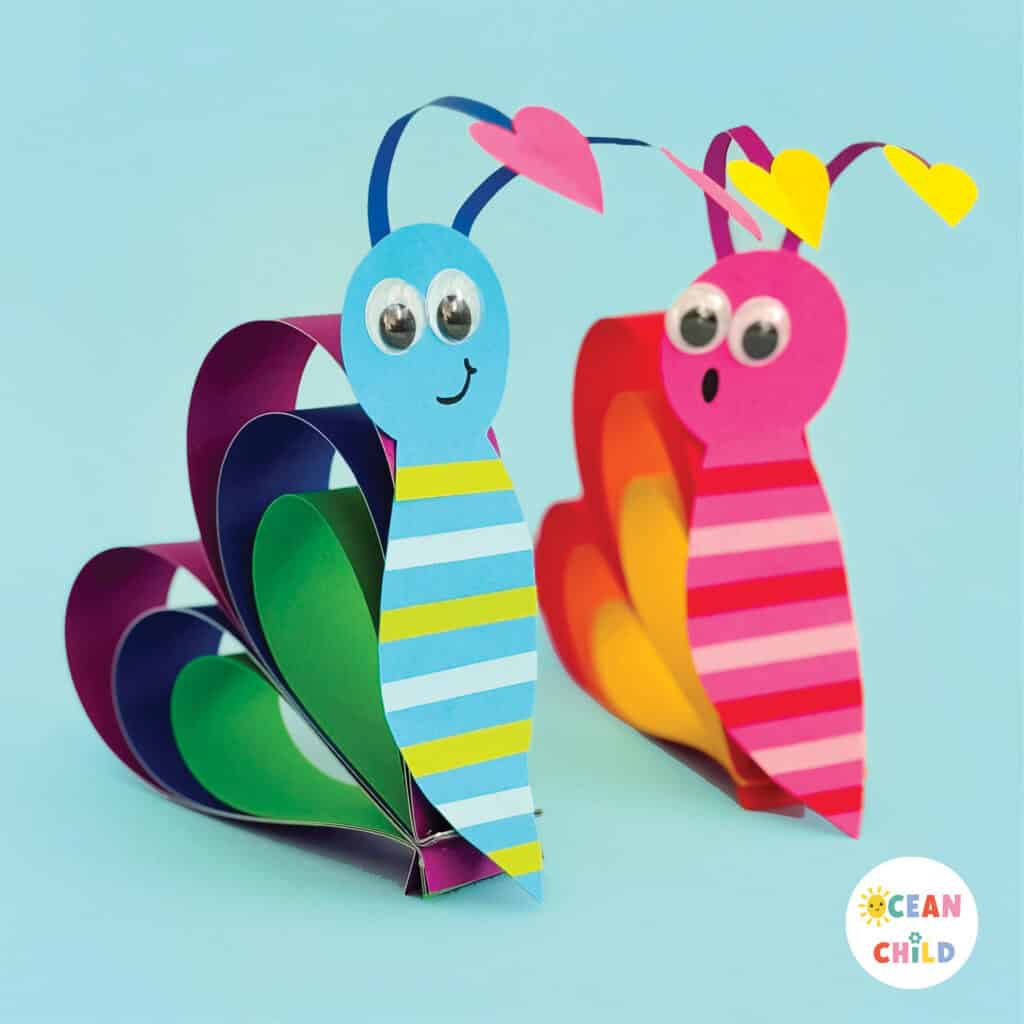
- Heart-shaped butterflies
Great job! Wasn’t that easy? If you’d like, you can create another paper butterfly in a different color. Or, you could write a sweet note and gift your heart-shaped butterfly to a loved one.
Still craving more butterfly crafts? You’re in luck because we have a variety of colorful butterfly projects for you! One of our most popular crafts features a butterfly with vibrant rainbow wings, and it’s a wonderful way to transform an old artwork into a beautiful creation.
You might also enjoy trying out our butterfly stamping activity. It’s easy to do and super cute! Using a peanut for the body is a perfect way to create unique butterflies.
-
- Spring Butterfly Craft
-
- Spring activity for kids
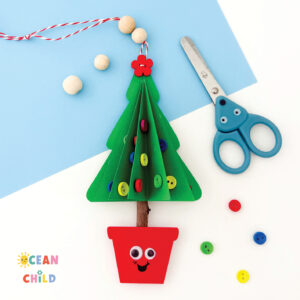 How to Make a 3D Paper Christmas Tree Ornament (Free Printable for Kids)
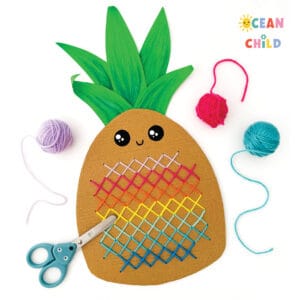 Teach Kids to Stitch with This Cute Pineapple Cross-Stitch Craft (Free Pattern)
 Fun Spring Bunny Craft With Flapping Ears And Free Template
 Easy Paper Fox Craft for Kids | Printable Fall & Woodland Animal Activity


Leave a Reply