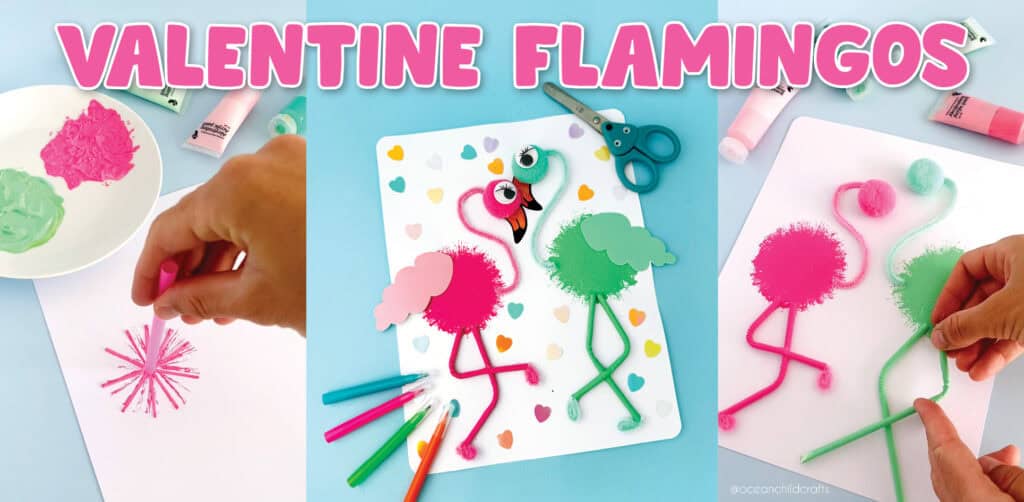
Celebrate Valentine’s Day with a fun DIY Flamingo craft! Valentine’s Day is about spreading love, and what better way to celebrate than by engaging in a fun Valentine’s DIY Project with your kids? Let’s craft some adorable flamingos that symbolize affection and joy. These DIY Valentine’s cards can be used to brighten up your home or to give as heartfelt gifts.
Flamingos are stunning and graceful birds that serve as excellent inspiration for craft projects. Their striking pink feathers and elegance make them an inspiring subject for craft projects, especially around Valentine’s Day.
DIY Flamingo Craft Instructions
Create Love with Crafty Flamingos
We created this DIY flamingo craft using a simple straw to stamp the body, an easy process that produces beautiful results. Combining different craft materials adds an interesting touch to the project. For our flamingo, we used paint for the body, paper for the wings, a fluffy pompom for the head, and a straw for the legs. The kids enjoyed this mixed-media Valentine’s craft activity. Seeing their excitement as they crafted something special for the people they care about was heartwarming.
So gather your supplies, roll up your sleeves, and get ready to create some love-filled masterpieces. Happy crafting and Happy Valentine’s Day!
By using this site, you agree to our privacy policy and terms of use. This article contains affiliate links. Please read our full disclosure here.
To start this fabulous DIY flamingo project, gather the following materials:
- Straws
- Pompoms, from 1 inch/2.5 CM
- Pipe Cleaners, pastel color
- Cardstock
- Paint, we used acrylic Paint
- Glue
- Scissor
- Gooly eyes (optional)
DIY project for Valentines Day
Step-by-Step Instructions on Creating DIY Flamingos for Valentine’s Day
Step 1: Gather the craft supplies listed above. To create your DIY flamingo, we start with a sheet of white paper and cut it into a square measuring 21 cm by 21 cm. The paper size can be adjusted according to your preferences.
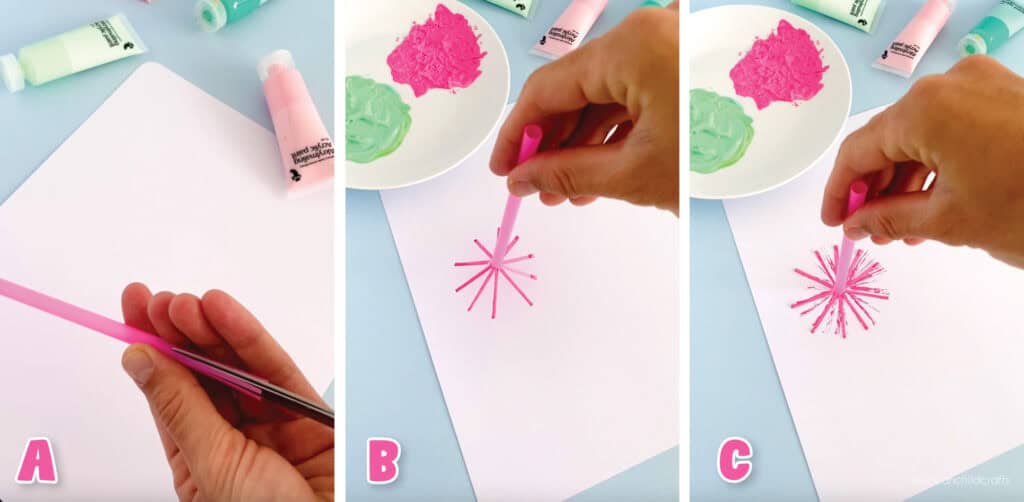
Step 2: To create a fluffy circle body for our flamingos, we will make a stamp using a straw. Start by taking a straw and making small cuts from the top, about 2 cm deep. Refer to pictures A, B, and C for guidance. The deeper the cuts, the larger the stamp will be. You can use either a plastic or paper straw.
Step 3: If you’d like, you can start by tracing a round object on your paper to determine the size of your flamingo’s body. Next, select a paint color and create your stamp, as demonstrated in pictures B, C, and D. It’s a good idea to practice on a piece of scrap paper first. We used
pink and green to make our flamingos. Allow the paint to dry completely before proceeding.
Stamp Flamingos With a Straw
Tip: Try to select a paint color that matches your pipe cleaners.
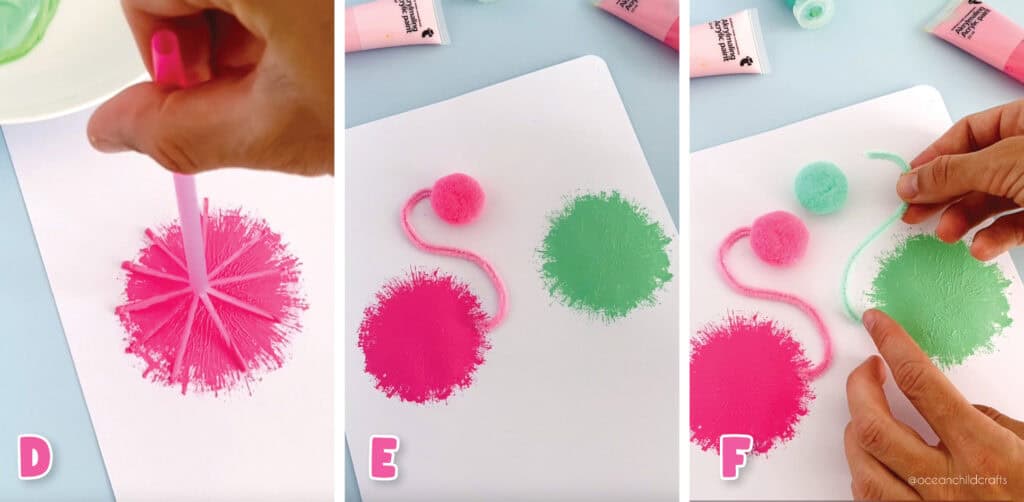
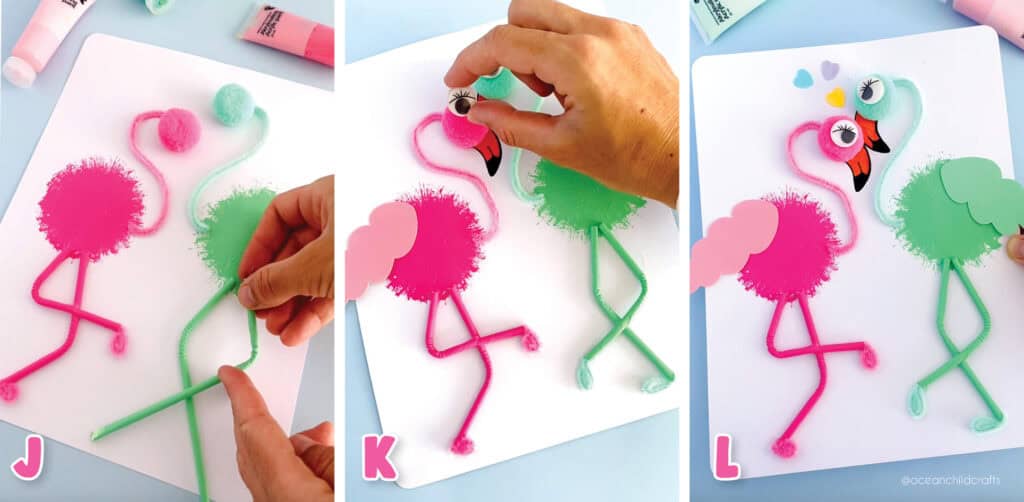
Step 4: Now, give your flamingo a fluffy pompom head. Make sure your pompom is a bit bigger; our pompom is about 1 inch (2.5 CM). Position it about 5-6 cm above the body to leave enough space for the pipe cleaner neck. For reference, see pictures E and F.
Step 5: Flamingos are famous for their elegant long necks. To create this feature, we’ll be using a pipe cleaner. We used pastel-colored pipe cleaners to match our paint color. Start by bending the pipe cleaner into an S-shape. Next, attach the head to the body as demonstrated in pictures E and F. You can use regular school glue or hot glue for a secure bond.
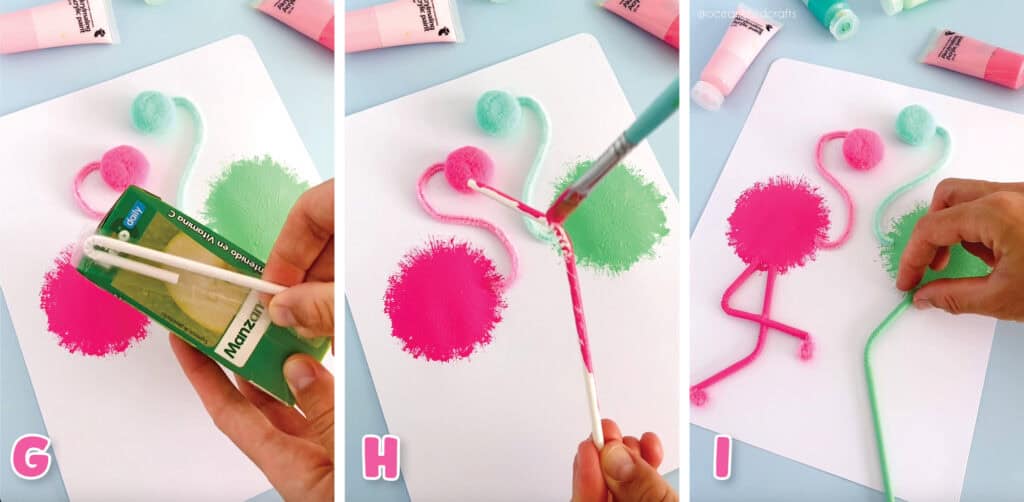
Step 6: It’s time to create the long, slender legs of the flamingo. For this, we used a straw—either a plastic or a paper straw will work. We chose paper straws from drink boxes because they are the perfect size, and you can easily paint them to match the color of your flamingo. Please refer to pictures G, H, I, and J for guidance.
Valentine Love Birds Craft
Step 7: To create the small flamingo feet, we used a leftover section of the pipe cleaner from the flamingo’s neck. Simply cut a small piece about 3 cm long. Fold the piece in half and bend it slightly. Then, insert the two ends into the straw, as shown in picture K.
Step 8: To create a colorful wing for your flamingo, start by cutting out an oval shape, making the ends a bit pointy. Alternatively, you can draw a wing that resembles a fluffy cloud, similar to the style we used. For visual guidance, refer to pictures K and L.
Flamingo Craft Project Classroom
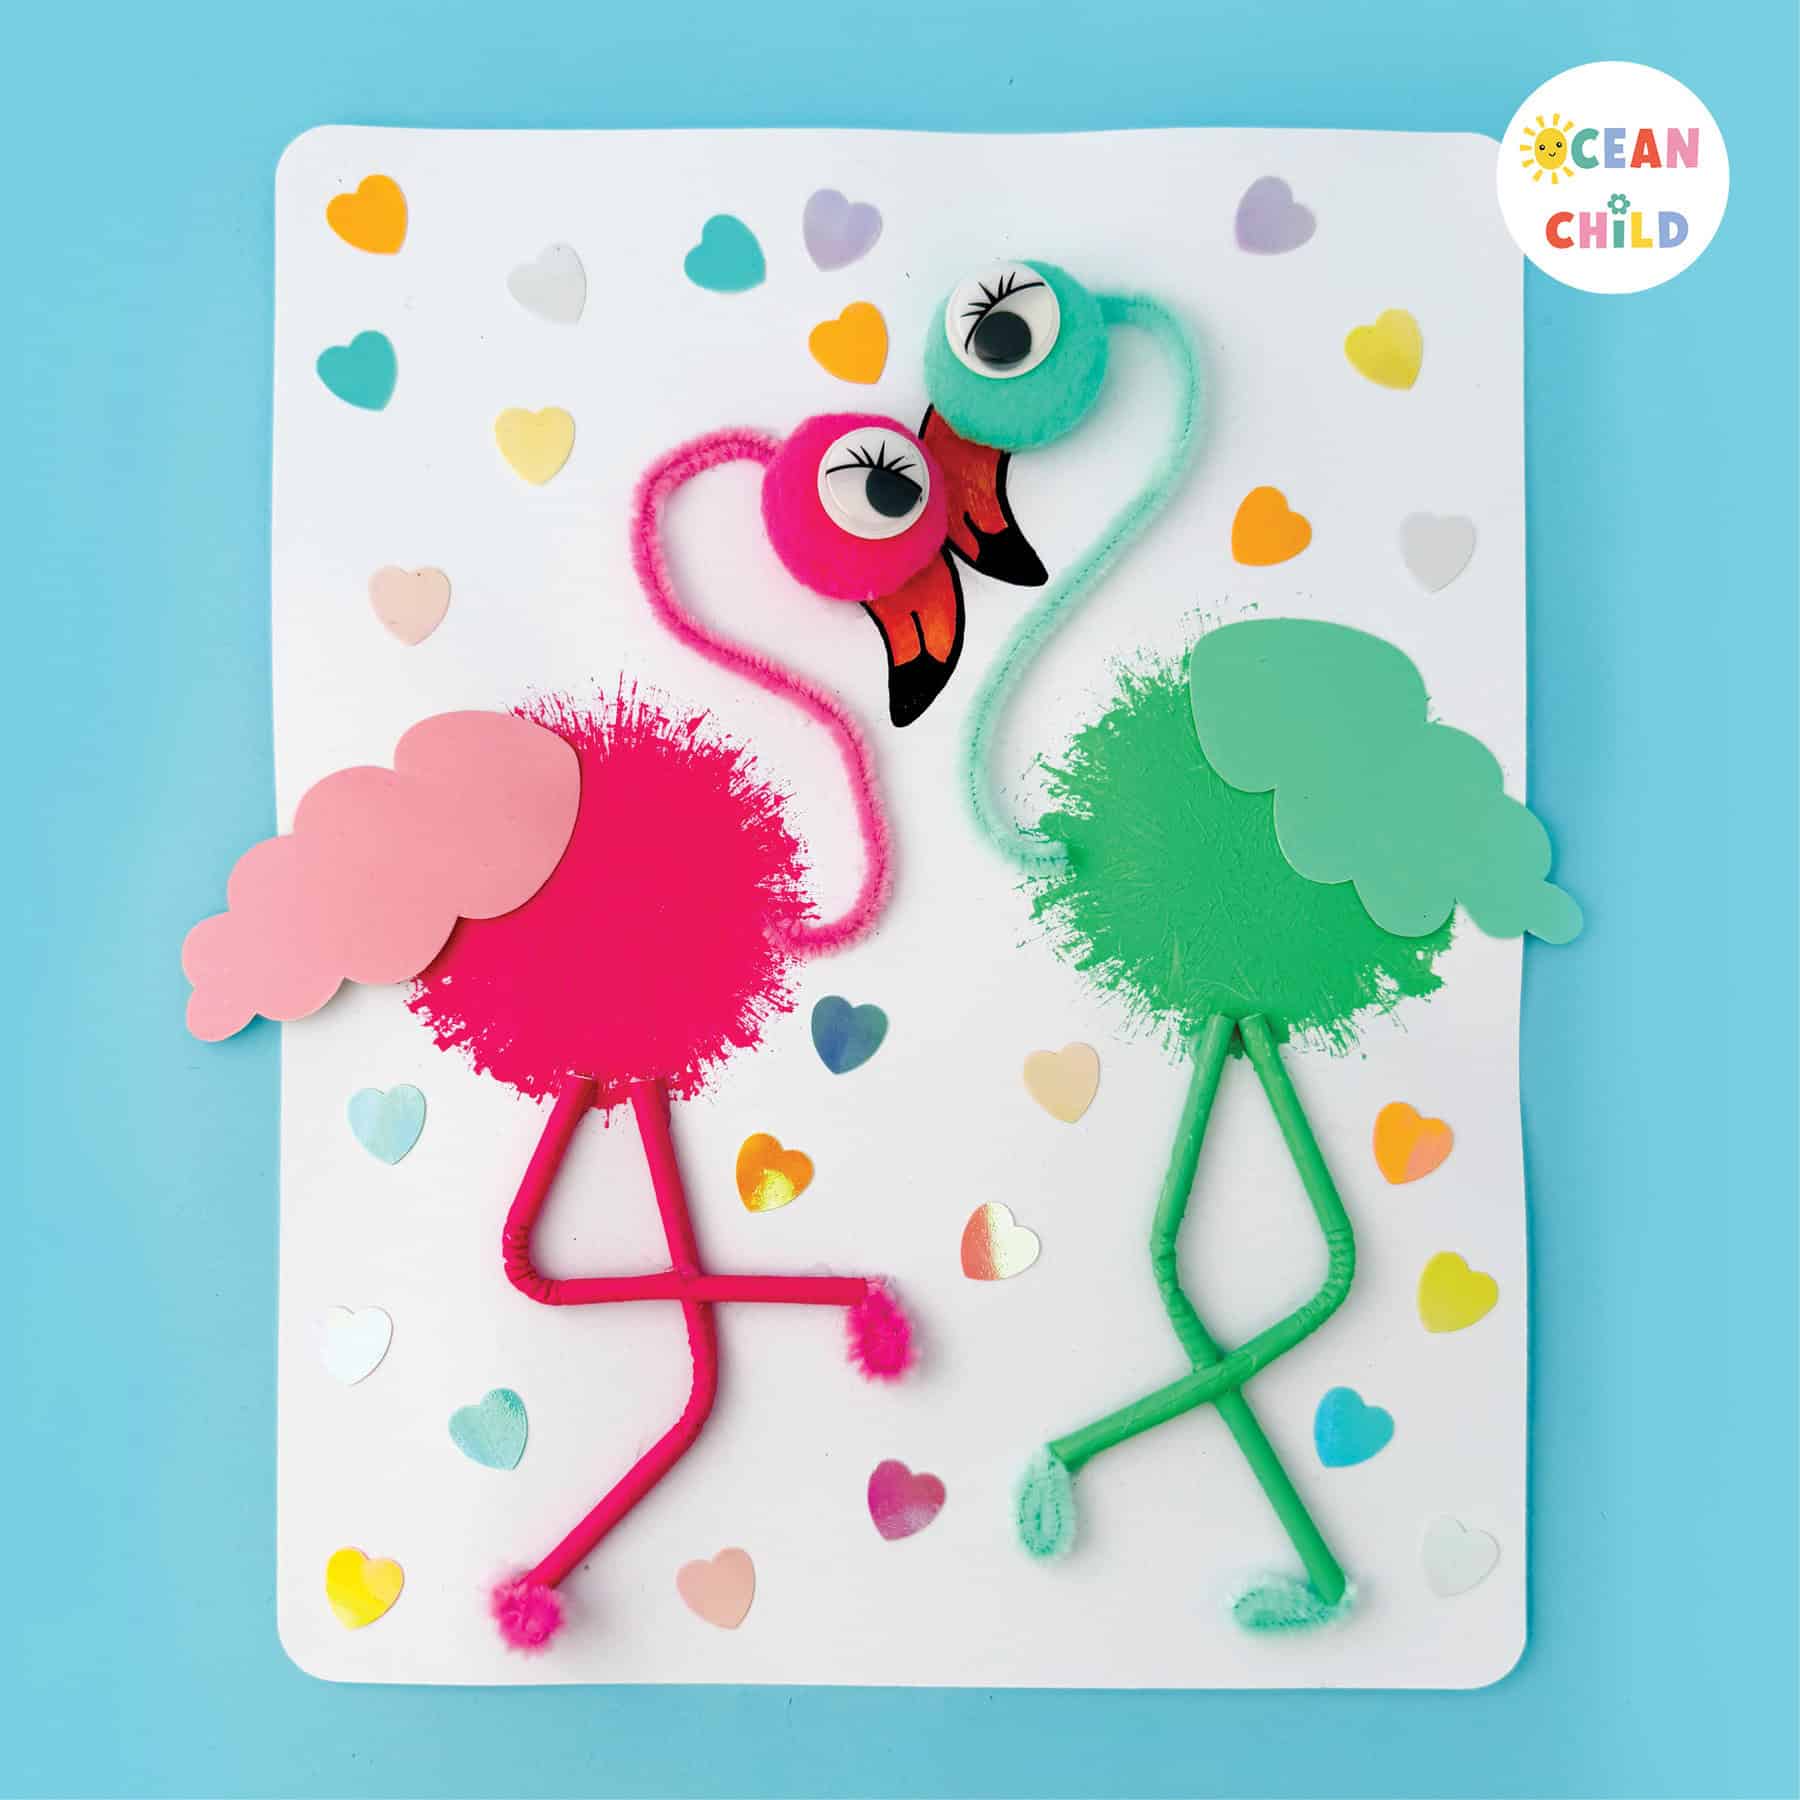
Step 9: To complete our flamingo, we need to add a big orange beak. You can create this beak using colored paper or simply draw it with a marker or Sharpie. Additionally, we gave our flamingo a googly eye with lovely eyelashes. If you don’t have a googly eye at home, you can substitute it with a bead or a button.
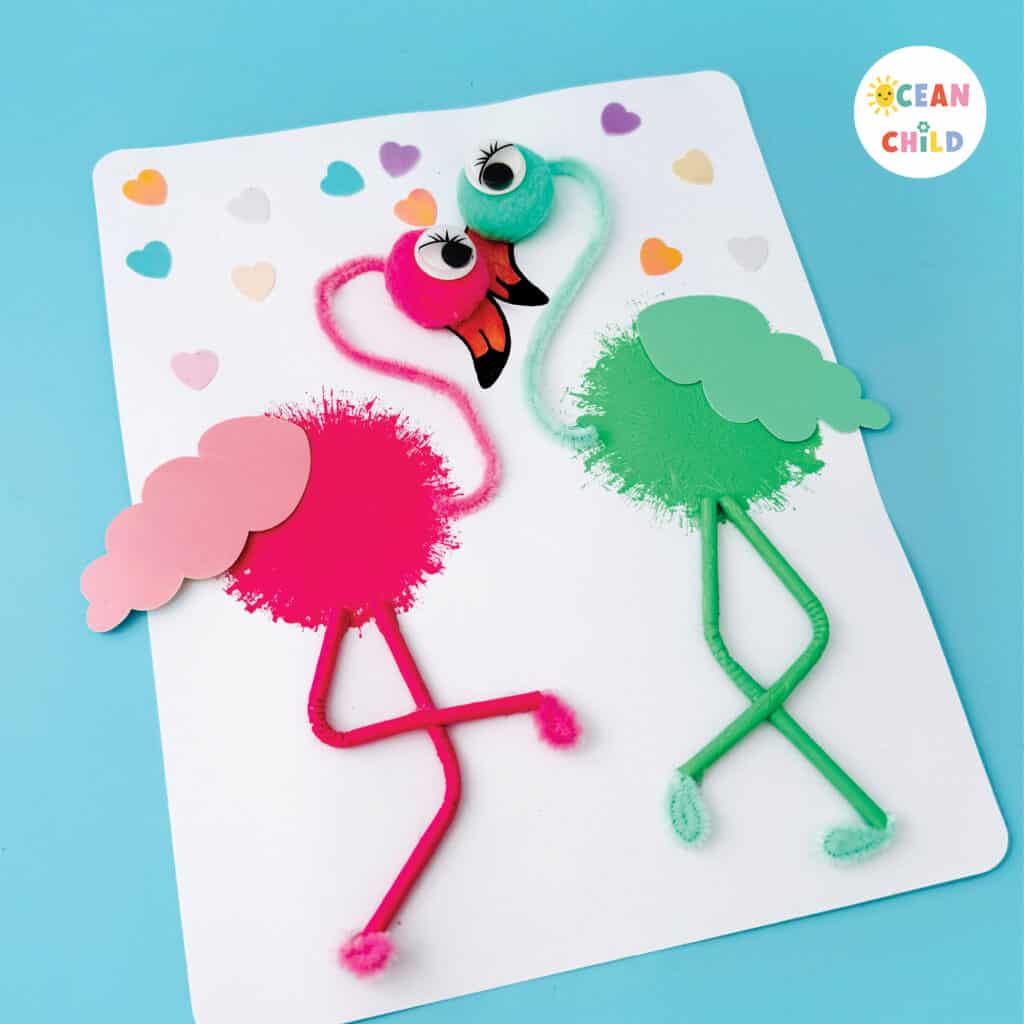
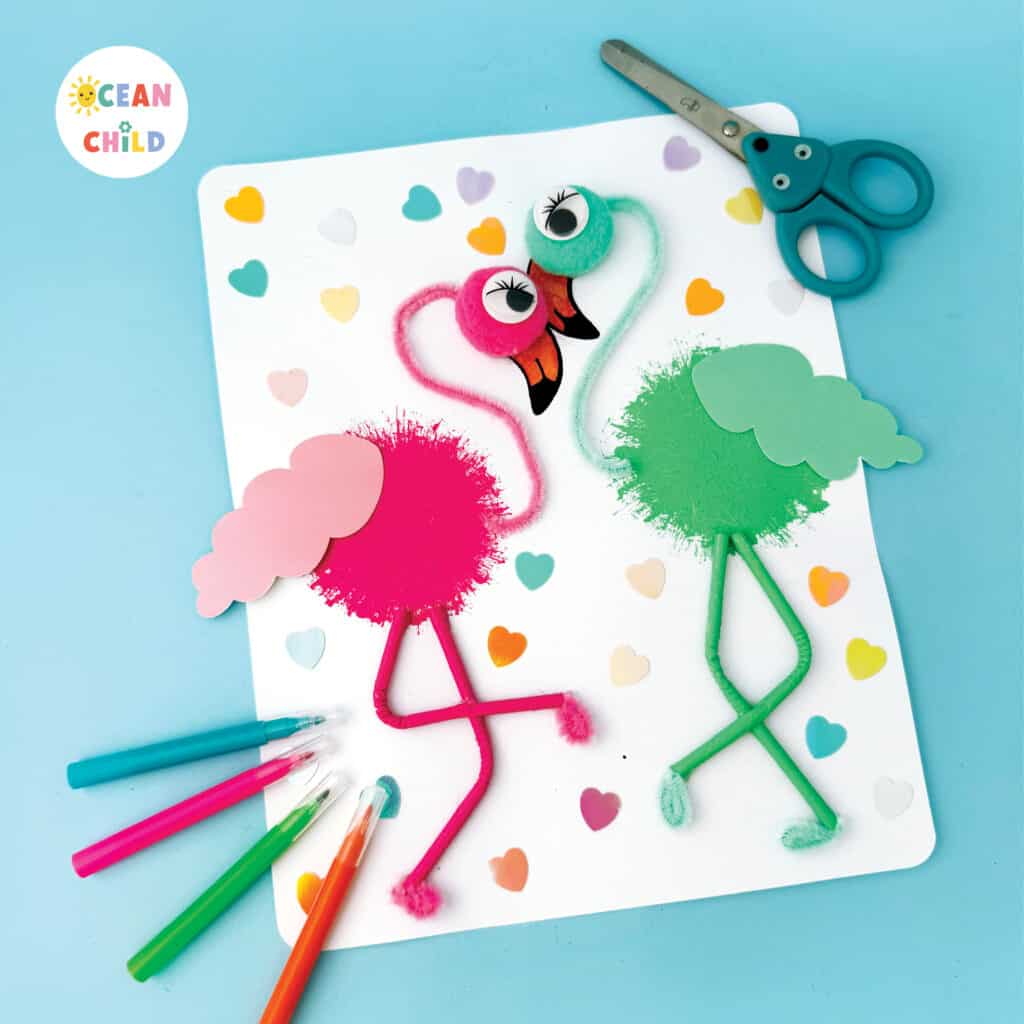
Step 10: Great job on the Valentine flamingo craft idea! We made two flamingos facing each other. If you’d like, you can add a second flamingo by mirroring its features. We also included some shiny heart shapes as decorations to complete the Valentine’s artwork. You can find them on Amazon right here!
Did you enjoy crafting this DIY flamingo project? Then you might enjoy this adorable Love Bug Valentine´s Day Craft.
- Flamingo Craft for Valentine Day
- DIY Valentine Flamingos
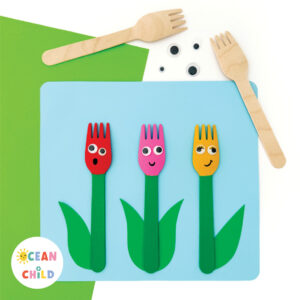 Easy Tulip Craft Project: Make Unique Greeting Cards
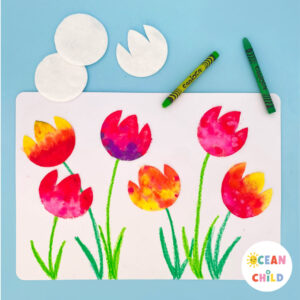 Easy tulip craft activity, perfect for Mother’s Day!
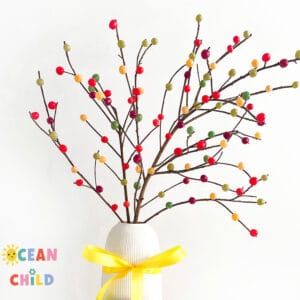 Jellybean tree craft for Easter and spring season!
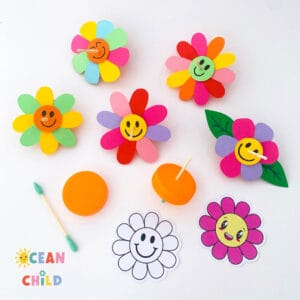 Easy DIY spinning tops with flower design, recycle craft with free printable!


[…] colorful chick painting activity! If you enjoyed this straw-stamping project, be sure to check out our unique straw-stamped flamingos. They make for a fun craft during the summer or around Valentine’s Day. Additionally, if […]