One of our most popular crafts is this colorful butterfly craft with rainbow wings. Let your child experiment with watercolors and witness the transformation of their artwork into a beautiful, bold butterfly. It´s a great craft project for the Spring season, and you can create it at home or in a classroom setting, as you only need a few basic craft supplies. Read along to see the craft supply list and the step-by-step craft instructions.
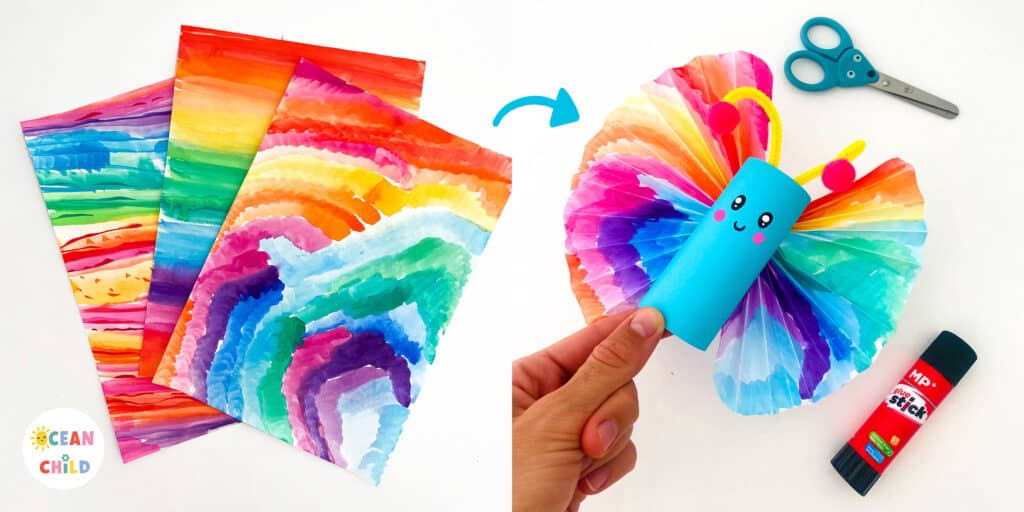
Turn your old artwork into a beautiful rainbow butterfly.
Why you should create this colorful butterfly
We love this rainbow butterfly craft as it´s a great way to recycle your kids’ old artwork and turn it into stunning butterfly wings. We all love our kids’ drawings and would like to keep everything, but it’s just not realistic. This is a great way to reuse that pile of old drawings you don´t want to throw out. You can do this craft project together, and your child will feel accomplished as you turn their old artwork into stunning butterfly wings.
For the butterfly’s body, we used a simple paper roll, which we all have at home. We gave our butterfly a blue body, as it matched the wings. However, you can also use contrasting colors like dark blue or black to make the wings pop even more.
By using this site, you agree to our privacy policy and terms of use. This article contains affiliate links. Please read our full disclosure here.
The craft supplies you need for this rainbow butterfly
As we said before, one of the best things about this craft is that it only requires basic craft supplies. You can use old drawings for the wings. If you don´t have certain supplies at home, just be creative and look for alternatives.
Craft supplies:
- White paper
- Watercolors
- Pencil
- Colored paper
- Paper roll
- Pipe cleaner
- Pompoms or beads
- Scissors
- Glue
- Tape
Recycle your child’s artwork into a butterfly
How to create a colorful butterfly craft?
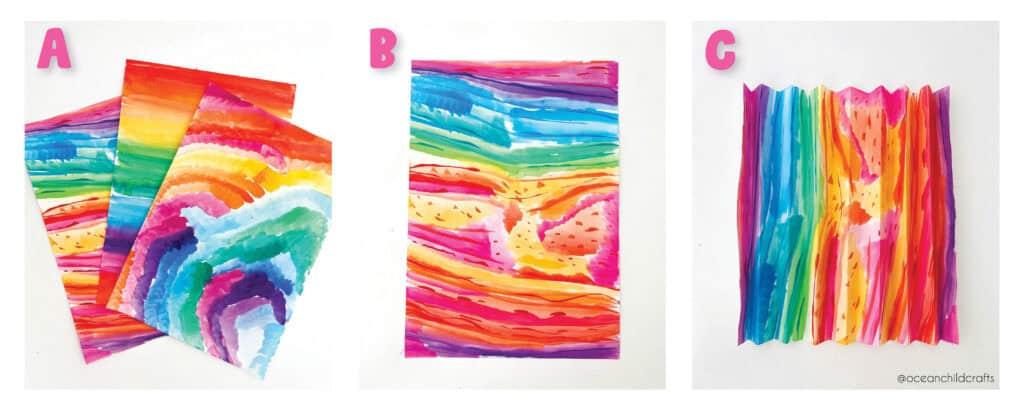
Step 1: Gather the craft supplies above. If you recycle an old drawing for the wings, you don´t need all the craft supplies above; you only need colored paper, a paper roll, scissors, and tape. Then, you can go to step 3.
Step 2: Let’s make the colorful artwork for the butterfly wings. Let’s start with white paper and watercolors and let your child experiment freely. The good thing is that it doesn´t have to be pretty; colorful is the goal here. I often give kids a watercolor palette with only popping colors.
Watercolor palettes are one of my favorite craft supplies for kids. Encourage them to use light colors only. You want to avoid dark colors like brown and black as much as possible. I also try to encourage children to cover the entire page. Let the artwork dry before you go to the next step.
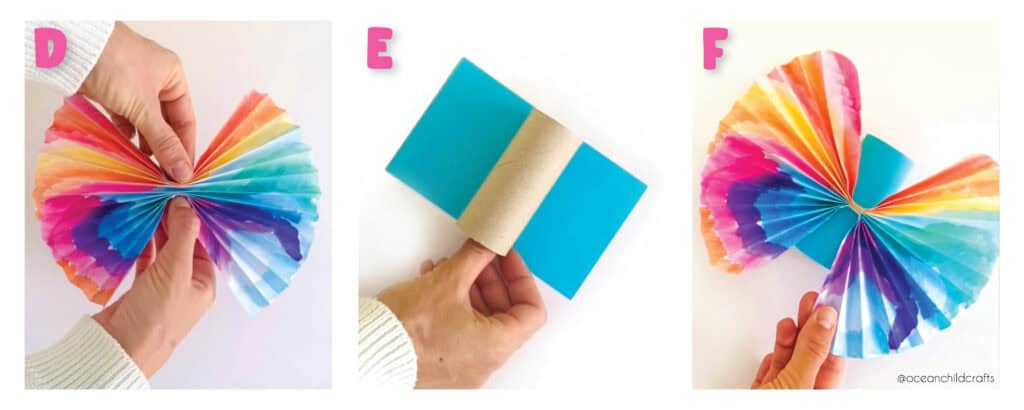
Step 3: We will turn our artwork into butterfly wings by making paper fans. To start, lay your paper vertically in front of you (see picture B), start at one end, and fold about 1 inch of paper. Next, turn the paper over to the white-back side and fold another inch. Now, turn to the colorful side and fold another inch up. Repeat until the entire paper has been folded and you have an accordion structure. See picture C.
How to create a colorful spring butterfly
Step 4: Now find the middle of your accordion (see picture D). Your colorful accordion should already look like butterfly wings! Now, secure the middle with a piece of tape. If you want, you can round the corners of your wings with a scissor, as you can see in picture F.
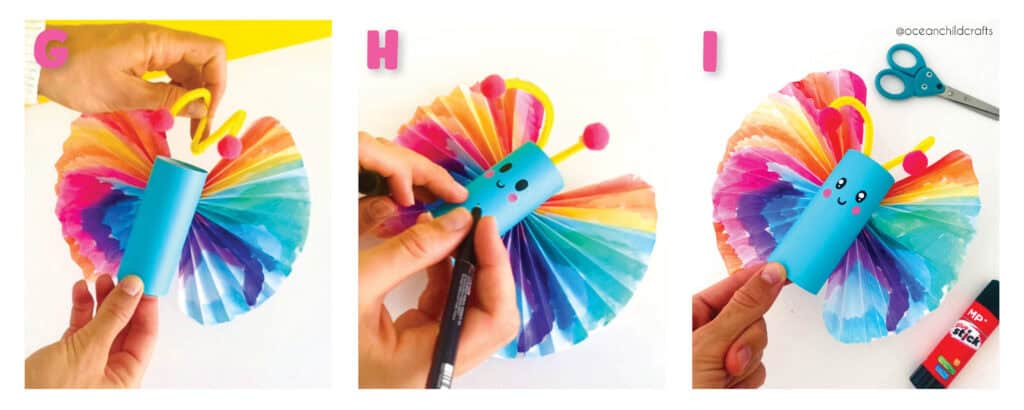
Step 5: It´s time to create the butterfly’s body using a simple paper roll. We gave our butterfly a blue body, which matches nicely with the blue color in the wings. You can choose any color you like for the wings. You can also use contrasting colors like dark blue to make the butterfly wings pop even more. Our blue paper was 9.5X12 CM (3.6 X 4.7 inches), but this depends on the size of your paper roll. Roll the paper around the paper roll and secure the ends with glue or clear tape. See picture H.
Step 6: Attach the wings to the back of the paper roll (see picture F.). You can use hot glue or clear tape.
Step-by-step colorful butterfly craft
Step 7: We created the butterfly’s feelers using a pipe cleaner and pompoms. You can use beads instead of pompoms, colored paper, or sticks for the feelers. See what you can find at home or in the classroom.
We secured the pipe cleaners with hot glue on the inside of the paper roll. If you don´t have hot glue, you can use clear tape. See picture G.
Step 8: The last step in this colorful butterfly craft is to give your butterfly a cute face with a fine black liner or marker. We also gave our butterfly rosy cheeks, as shown in pictures H and I above.
Did you enjoy creating this colorful butterfly craft?
Our blog has many more butterfly craft ideas. One of our favorites is this paper roll butterfly windsock or these. easy butterflies created with peanuts.
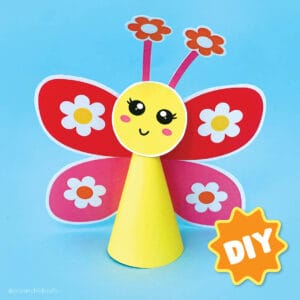
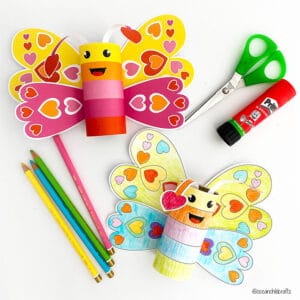
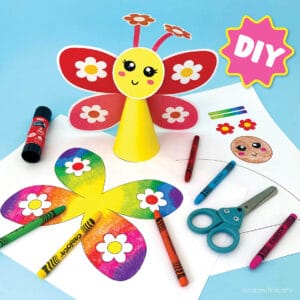
If you like to keep it accessible and low-prep, try one of our butterfly craft printables. We have this beautiful paper cone butterfly craft with flower wings or these paper roll butterflies with heart-shaped wings, perfect for Valentine´s Day!
- Colorful butterfly craft template
- Butterfly craft printable for kids
- DIY Butterfly craft printable
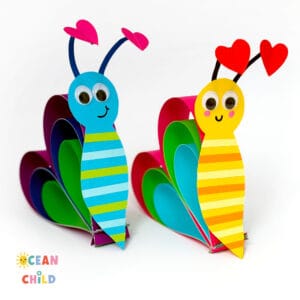 Easy Paper Butterfly Craft for Kids: With Free Template!
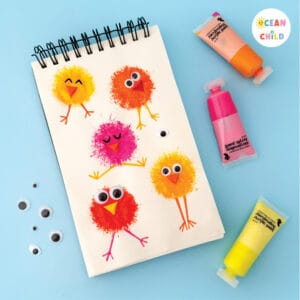 Hop into Spring: Fun and Easy Straw Print Chick Painting for Easter
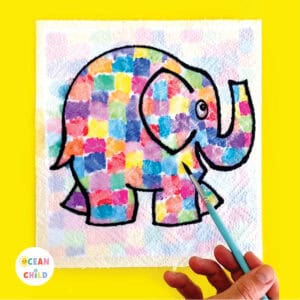 Easy And Magical Elmer The Elephant Craft Activity
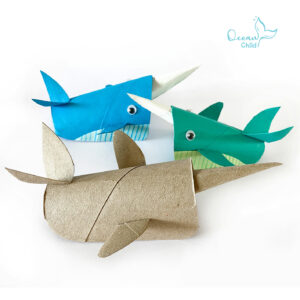 Easy paper roll whale and narwhale craft


[…] we have a variety of colorful butterfly projects for you! One of our most popular crafts features a butterfly with vibrant rainbow wings, and it’s a wonderful way to transform an old artwork into a beautiful […]