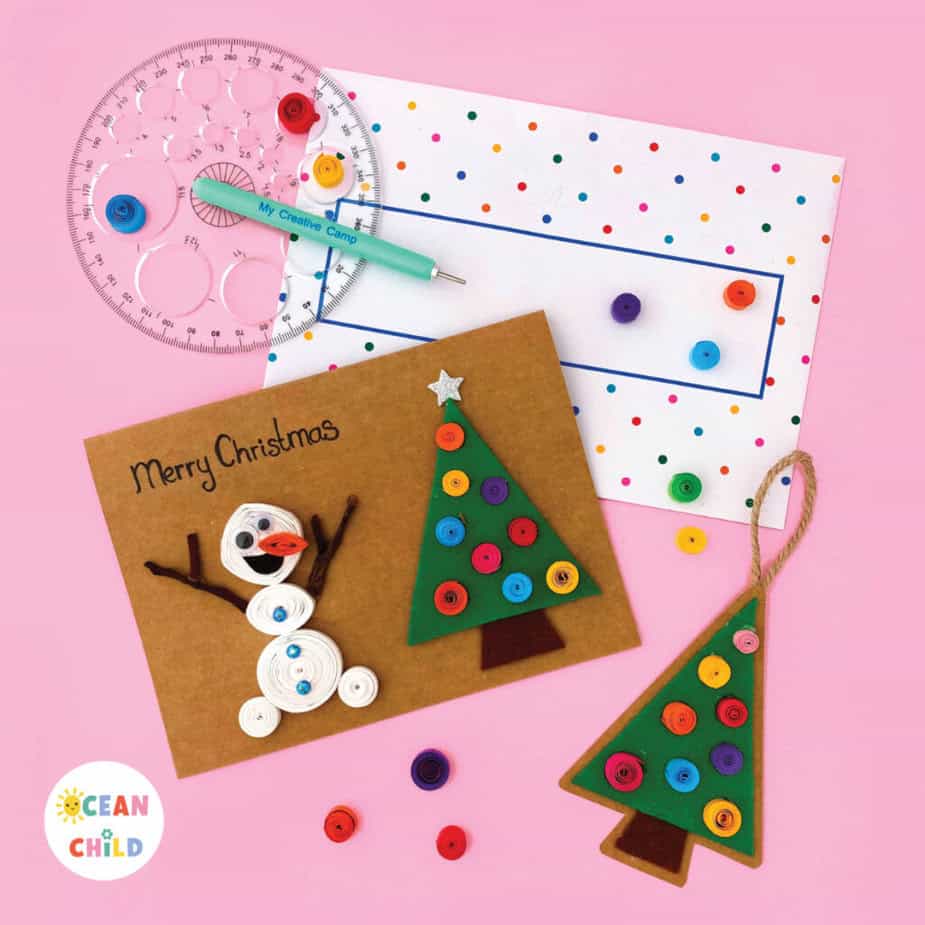
DIY Paper Quilling Christmas Tree Ornaments for Kids. Looking for a colorful and creative Christmas craft that kids will love? These paper quilling Christmas tree ornaments are an easy, festive activity that combines art, patience, and imagination. Using simple supplies, kids can roll and twist paper into tiny ornaments that transform into beautiful, handmade decorations, perfect for hanging on the tree, attaching to gifts, or creating personalized Christmas cards.
Paper quilling is a wonderful craft suitable for both children and adults. It strengthens fine motor skills, encourages creativity, and offers a mindful way to slow down and enjoy the moment, something we can all use during the busy holiday season!
This simple project is suitable for children ages 8 and up, but with supervision, even younger kids can enjoy helping. It’s an excellent indoor activity for classrooms, family craft time, or weekend projects leading up to the Christmas season.
By using this site, you agree to our privacy policy and terms of use. This article contains affiliate links. Please read our full disclosure here.
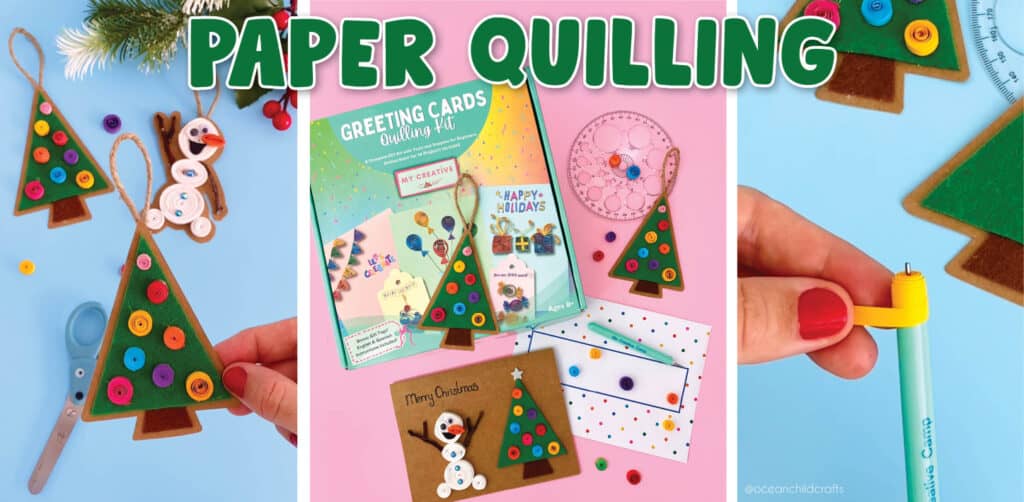
Easy paper quilling Christmas tree ornaments
Why You’ll Love This Christmas Craft
-
Colorful and festive: Every tree looks unique with its bright paper coils and handmade charm.
-
Skill-building: Perfect for developing focus, patience, and hand-eye coordination.
-
Low-prep: You only need a few materials, no expensive supplies or fancy tools required.
-
Versatile: Use your creations as ornaments, greeting cards, or gift tags.
-
Mindful and relaxing: Quilling is a calming, screen-free activity for all ages.
-
Meaningful gifts: Handmade decorations make thoughtful keepsakes for family and friends.
-

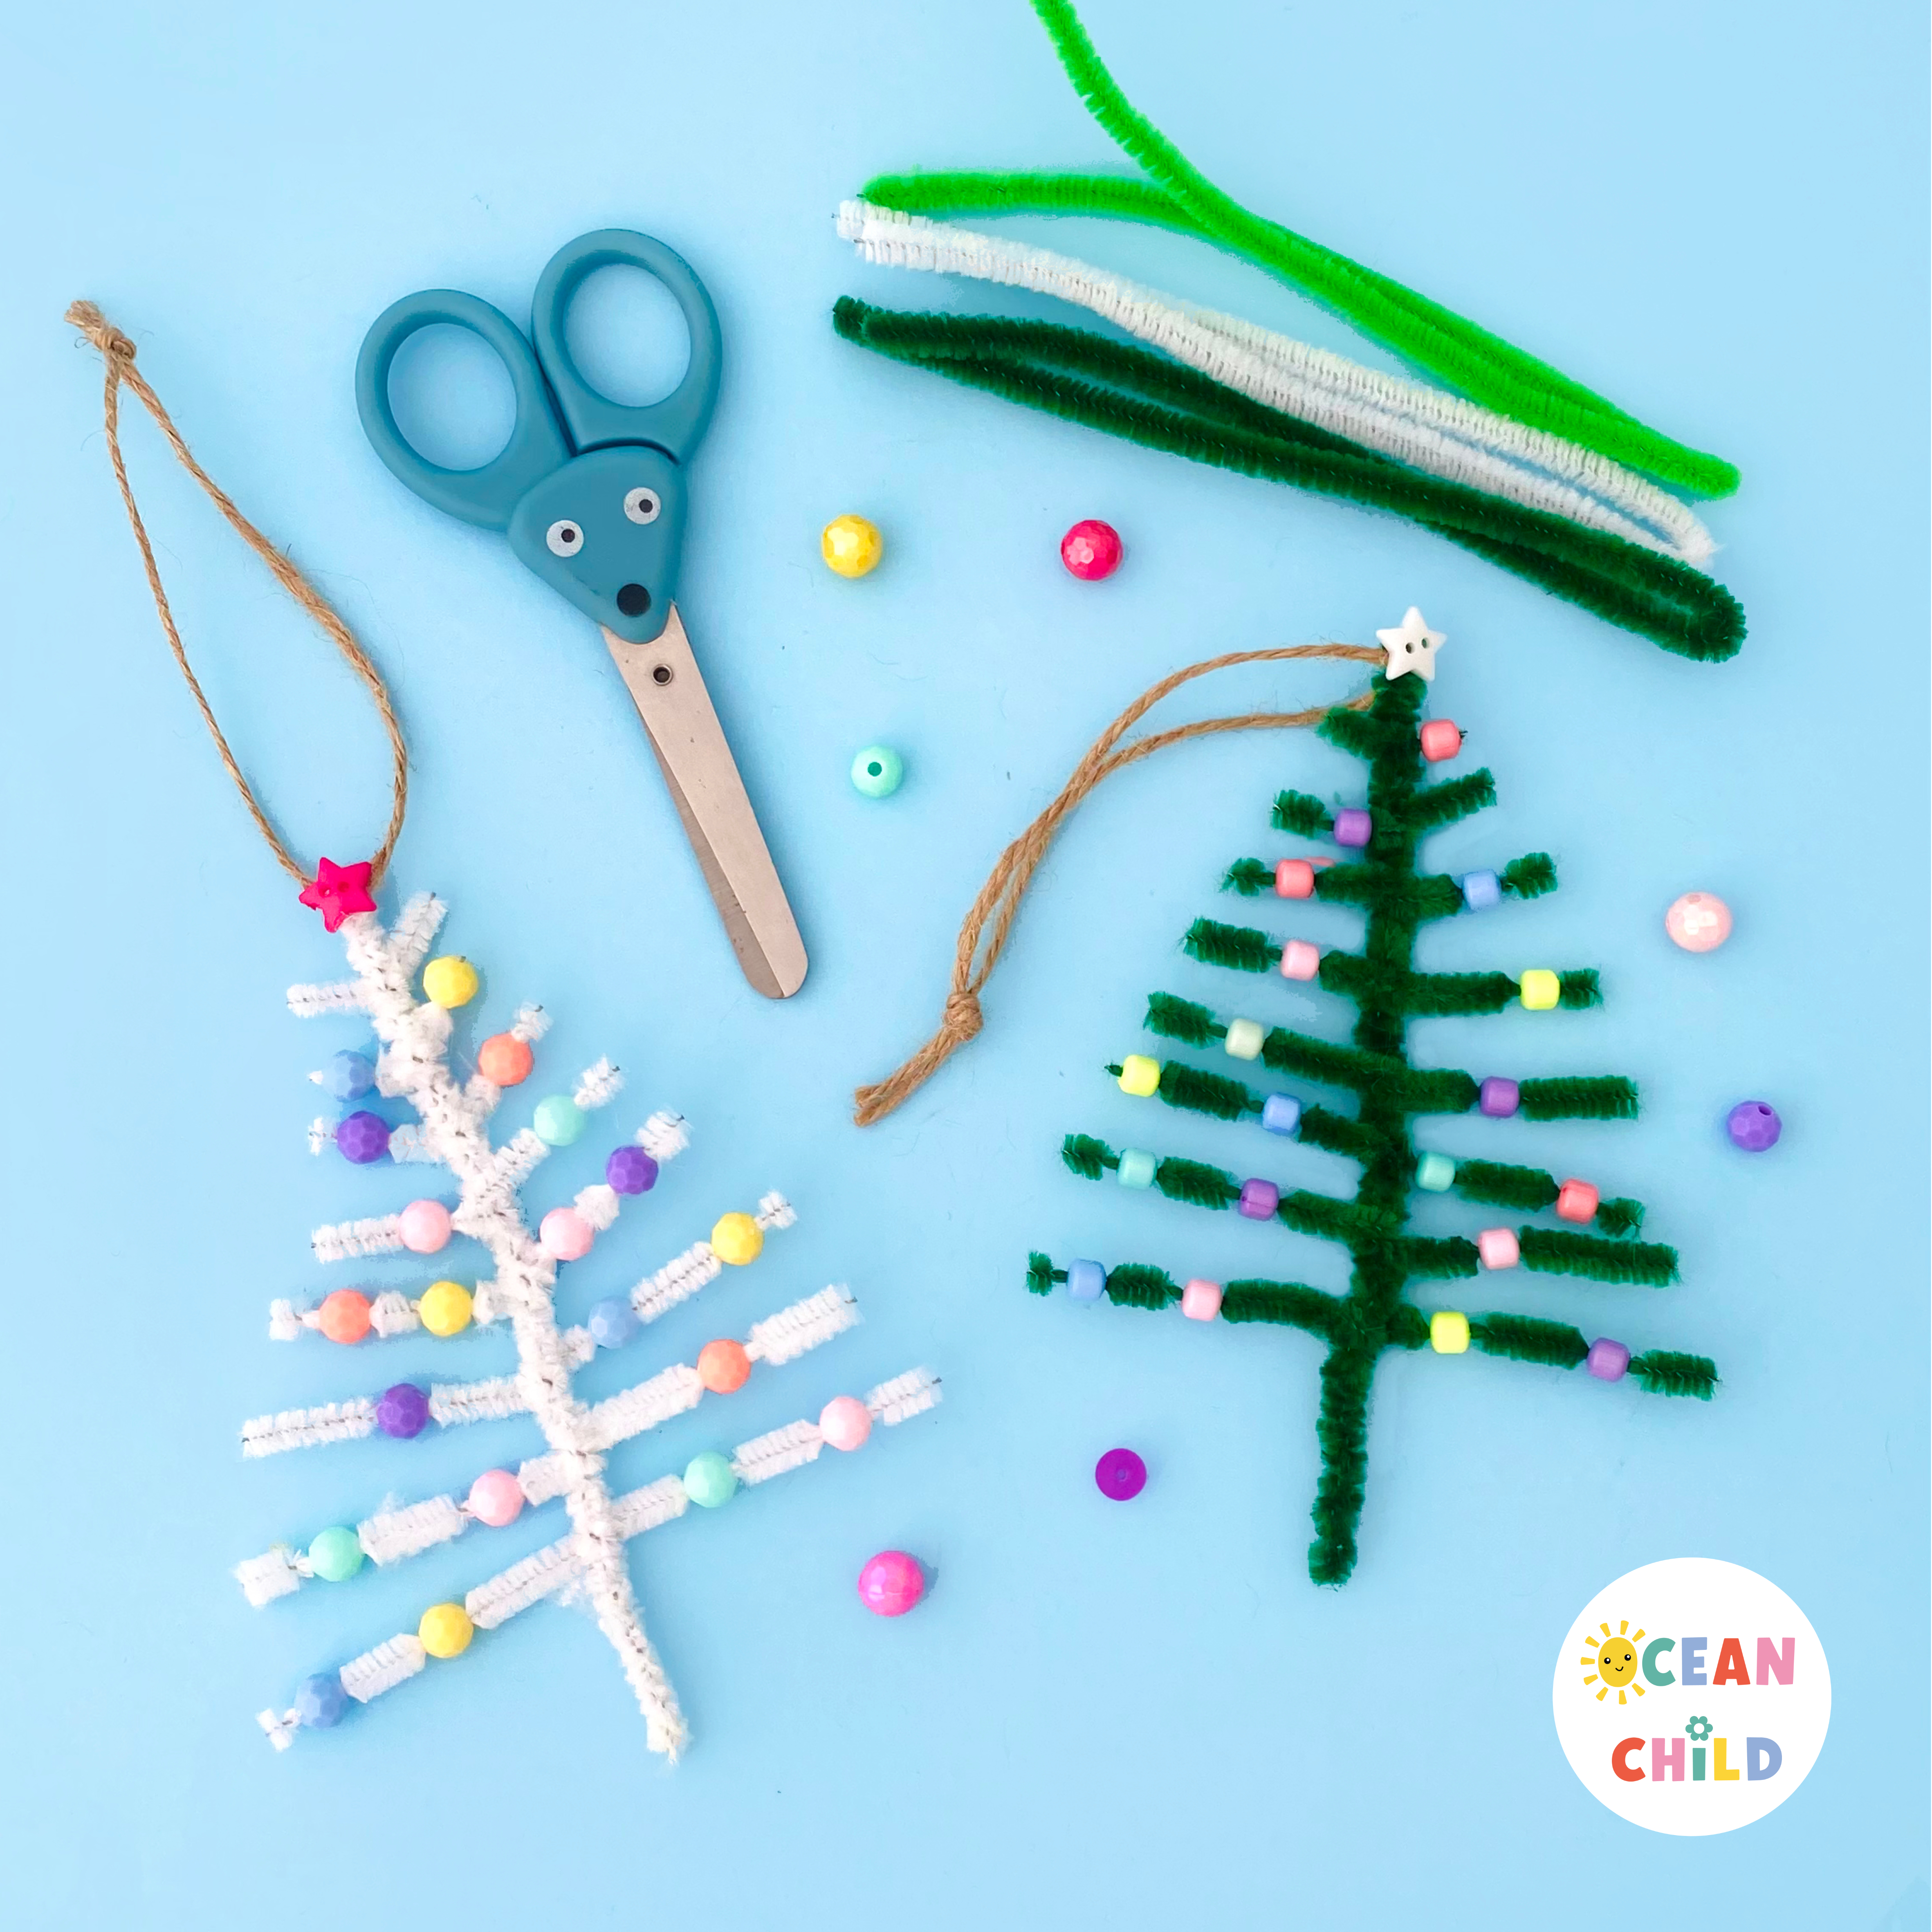
- DIY Colorful Christmas Tree Ornements
-
- Paper Quilling For Kids
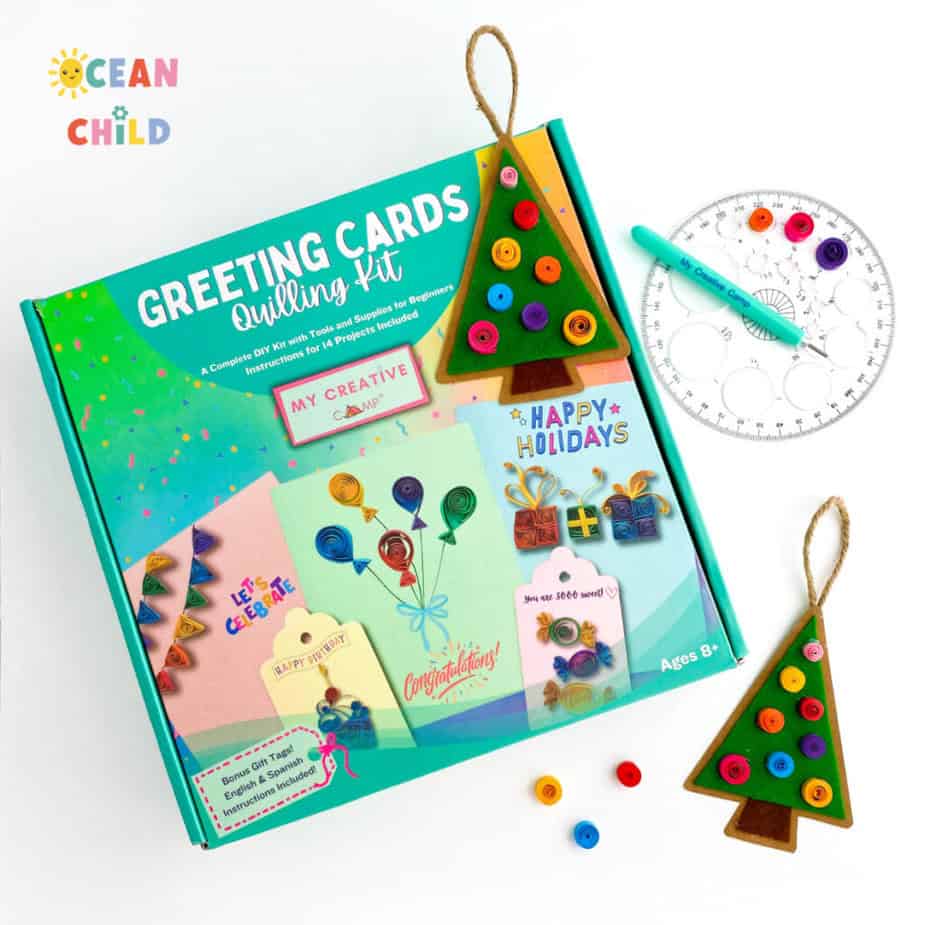
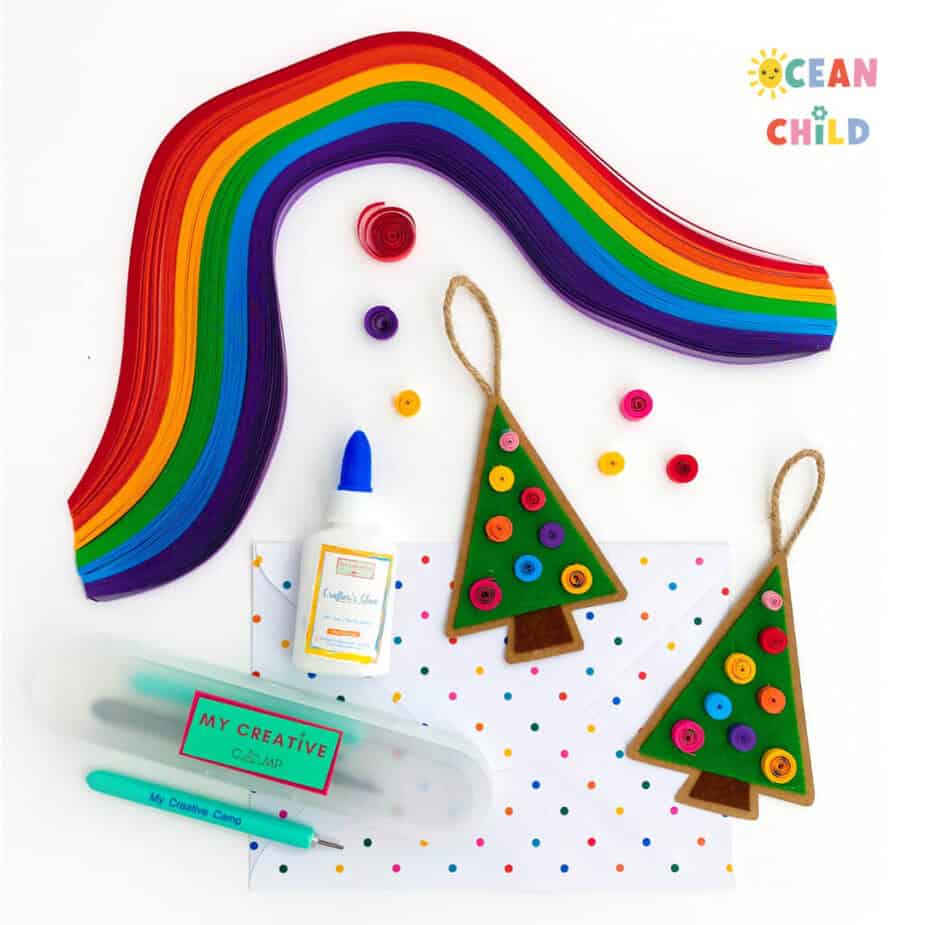
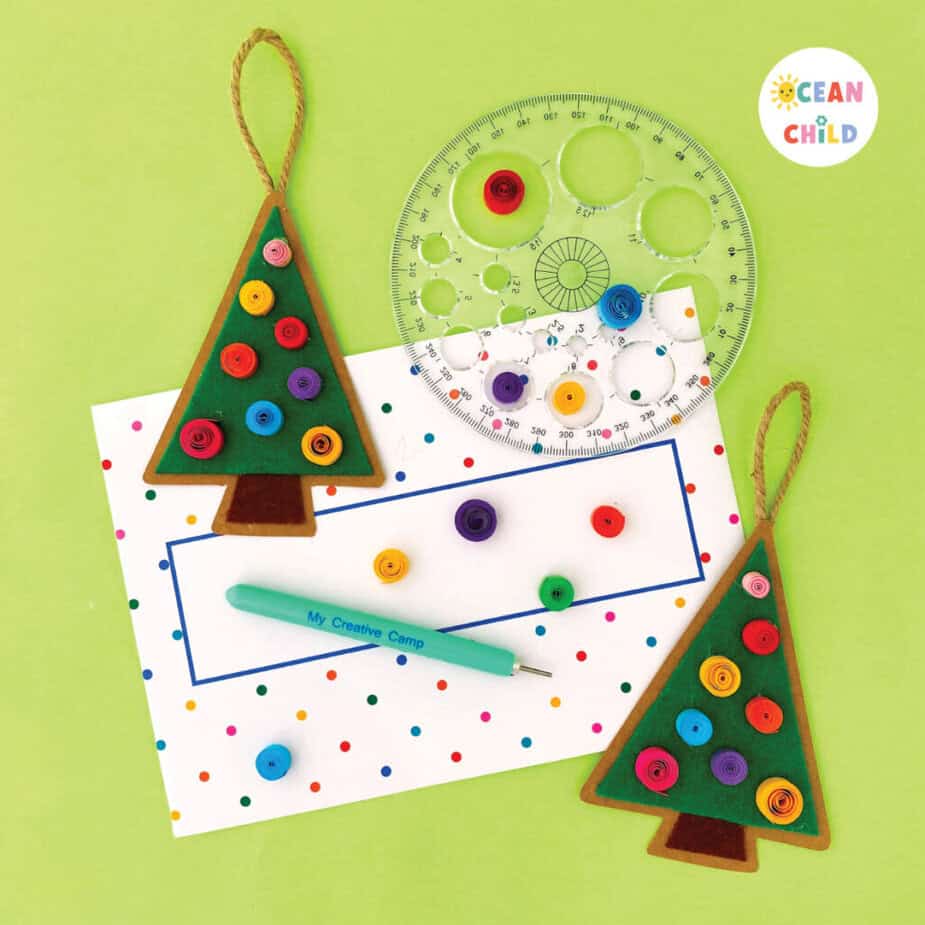
DIY Paper Quilling Christmas Ornament Craft Supplies
You can easily gather these supplies at home or use a paper quilling starter kit (like the one from My Creative Camp), which includes colorful strips, tools, glue, and blank cards, ideal for beginners.
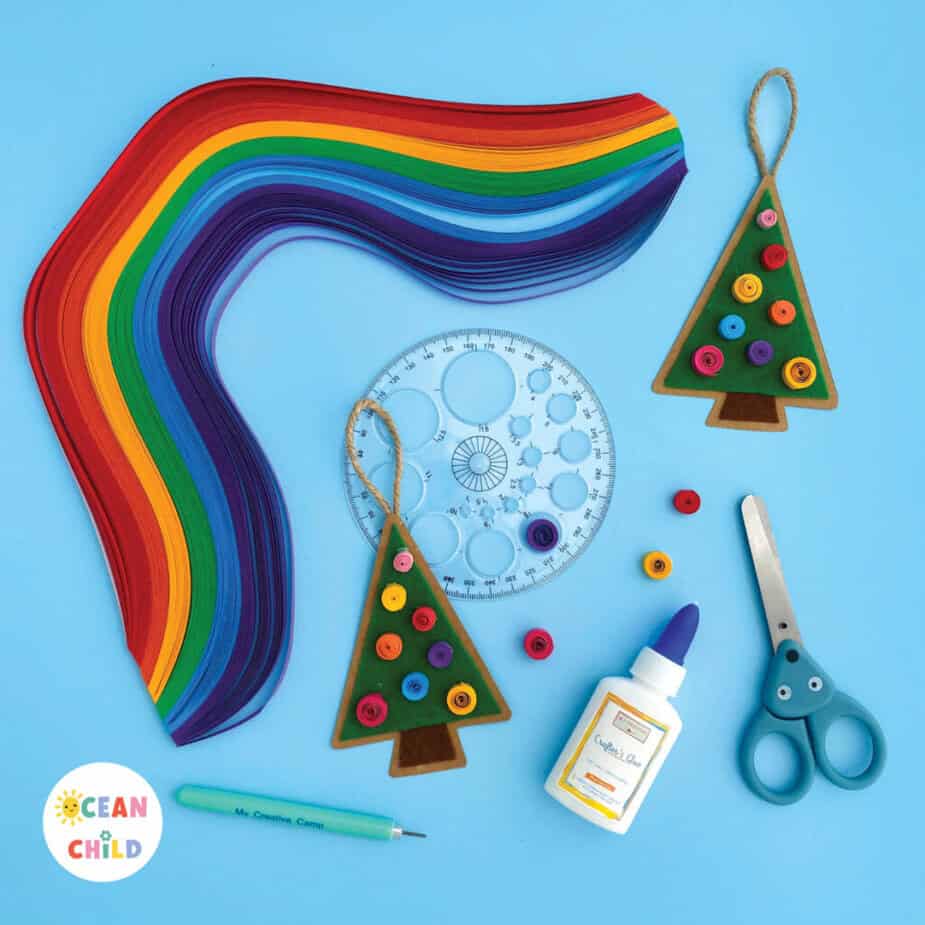
You’ll need:
-
Green and brown felt fabric (or colored paper)
-
Quilling tool (or a toothpick)
-
Glue
-
Scissors
-
Twine or string
Step-by-step Guide to Make Christmas Ornaments
Craft Instructions for DIY Christmas Tree Ornaments
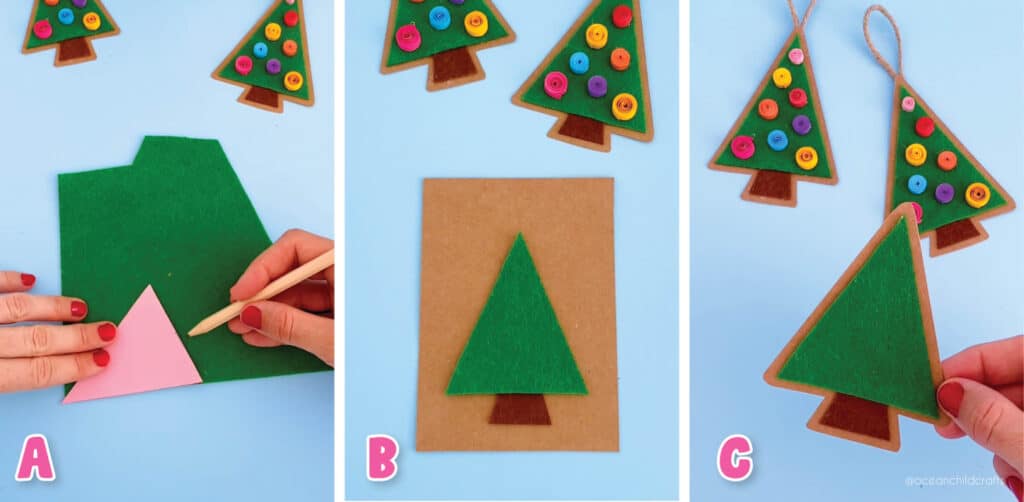
Step 1: Create Your Christmas Tree Shape
Start by cutting a triangle from green felt (approximately 7 cm wide and 9 cm tall). This will form your Christmas tree. Then, cut a small square or rectangle (about 2.5 x 2.5 cm) for the trunk from brown felt or paper.
If you don’t have felt, green and brown paper work just as well!
Step 2: Assemble Your Tree Base
Glue the felt tree and trunk onto a piece of cardstock. Craft paper makes a nice background, but feel free to experiment with colors. Once the glue dries, carefully cut around the tree, leaving a small border for a clean finish.
Making homemade Christmas Gifts With Paper Quilling
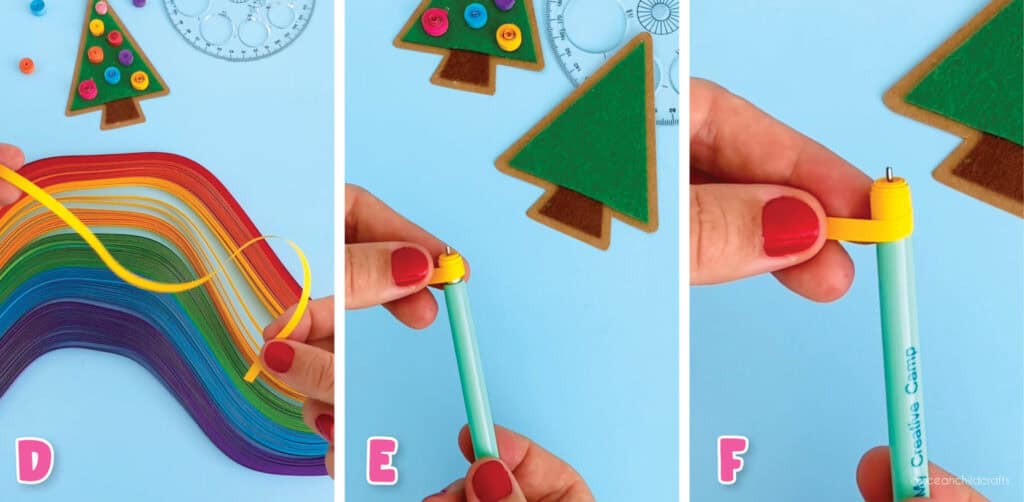
Step 3: Prepare the Quilling Strips
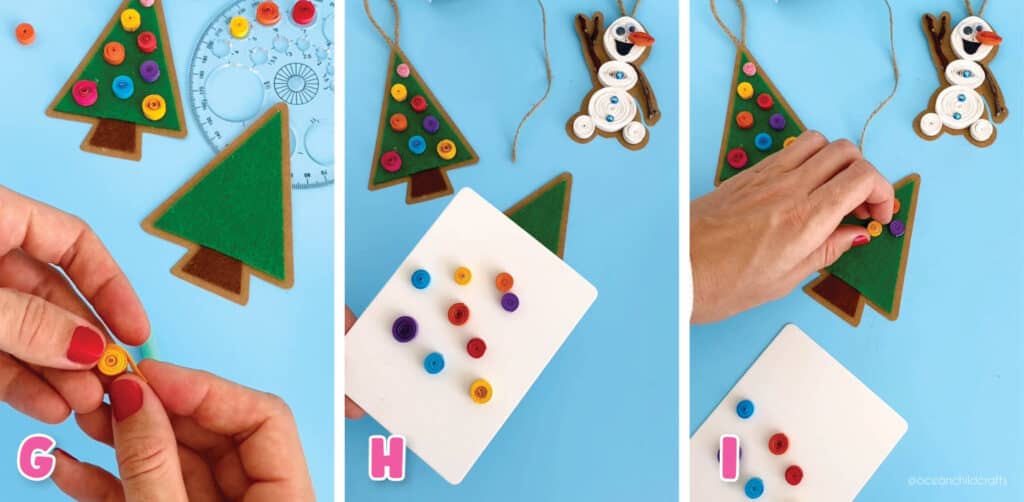
Take your quilling paper strips, they should be about 45 cm long and 0.5 cm wide and start rolling! Use a quilling tool (or a toothpick) to roll the paper tightly into small coils. When you reach the end, secure it with a tiny dot of glue.
Make several in different colors and sizes. Longer strips will make bigger circles, while shorter ones will make smaller ones. Aim for 8–10 per tree for a full, festive look.
Step 4: Decorate Your Christmas Tree
Now it’s time to decorate! Arrange your colorful paper coils on the tree. Place larger ones toward the bottom and smaller ones near the top to give your tree a natural look.
When you’re happy with the layout, glue them down. If you’re working with felt, hot glue will hold best.
You can also add small rhinestones or glitter dots for a bit of Christmas sparkle.
Creative Ways To Use Paper Quilling In Holiday Crafts
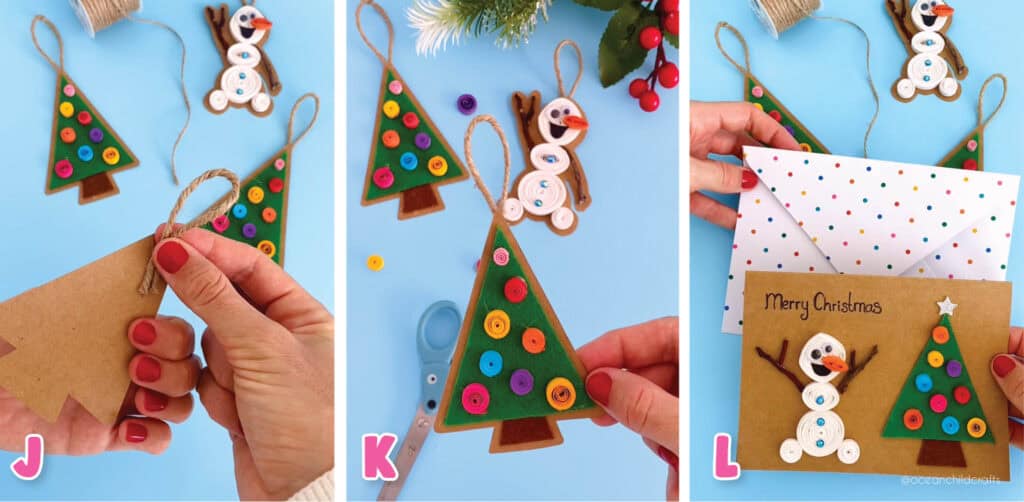
Step 5: Turn It into an Ornament or Card
Flip your tree over and glue a loop of twine to the back to hang it on your Christmas tree.
Alternatively, glue your finished tree onto a greeting card or gift tag for a lovely handmade touch.
Step 6: Share and Display Your Work
Once your ornaments are dry, hang them proudly on the tree, give them as gifts, or use them to decorate wrapped presents. Handmade crafts always bring a special touch of love to the holiday season.
DIY Paper Quilling Craft Ideas
Why Paper Quilling Is Great for Kids
Paper quilling is so much more than just a craft, it’s a wonderful way for kids to slow down, get creative, and make something they can truly be proud of. As they roll and shape each little piece of paper, they’re not only having fun but also building fine motor skills, focus, and patience without even realizing it.
It’s a lovely project to do together as a family too. Gather around the table, chat, laugh, and enjoy the process, because half the magic of crafting is in those shared moments. These little trees aren’t just crafts, they’re handmade memories you’ll treasure year after year.
-
- Paper Quilling With Kids
-
- Christmas Tree Ornaments
-
- Easy Ornament Craft Activity
-
- Christmas Tree Ornament Craft
More Fun Christmas Crafts
Want to keep the creativity going? Check out our post featuring 29 fun and easy Christmas crafts for kids, filled with joyful ideas for every age group.
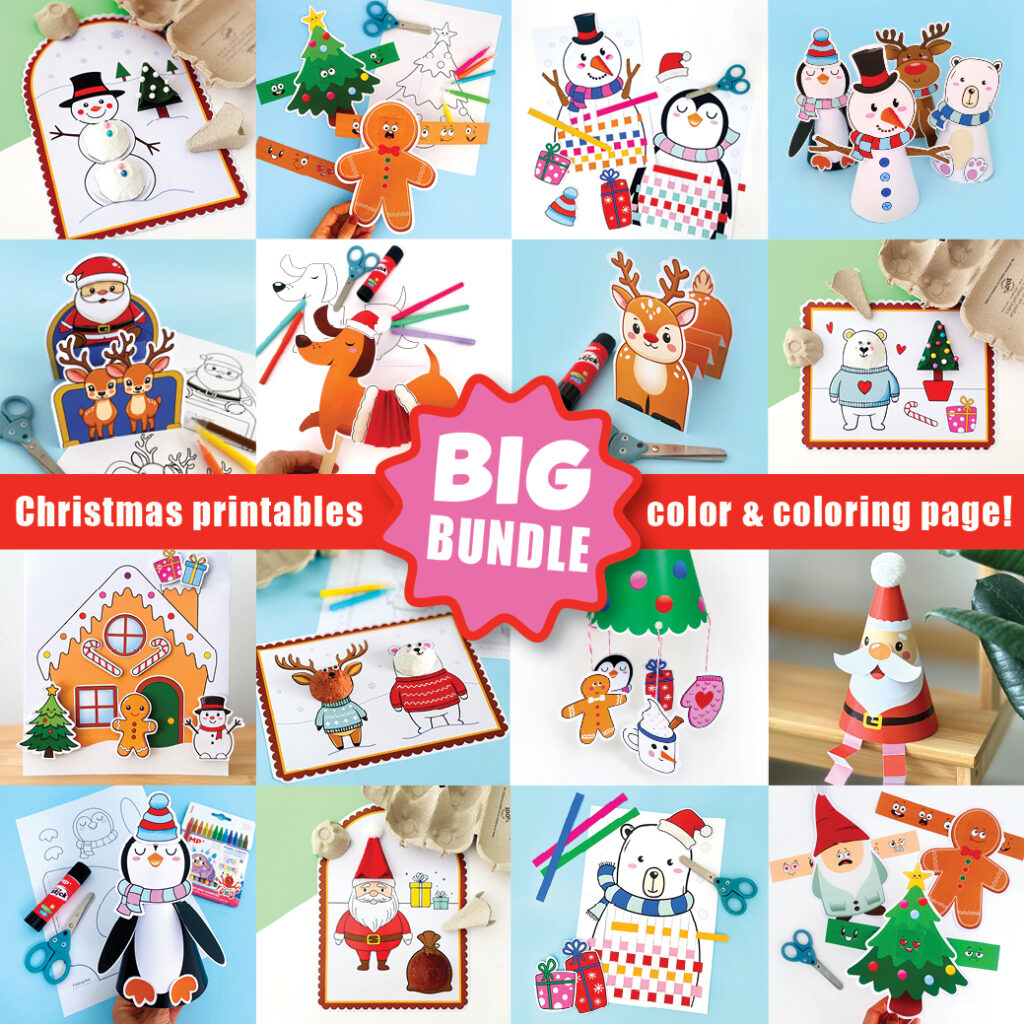
TIP: Looking for ready-to-print Christmas activities that make crafting simple and fun? Don’t miss our BIG Christmas Craft Printable Bundle, designed for kids ages 5–8. Inside, you’ll find festive templates, coloring pages, and easy craft projects that are perfect for classrooms or cozy days at home.
Everything is low-prep and ready to go, just print, cut, and start creating. See the graphic below for a sneak peek of the included crafts. Find it now on Teachers Pay Teachers or in our Etsy craft printables shop, and bring a little extra magic to your holiday season.
Enjoy crafting, and have a wonderful Christmas!
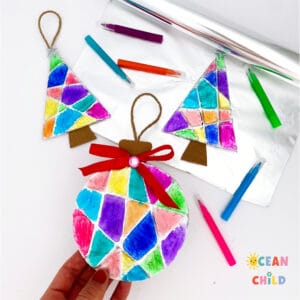 Foil Coloring: Create Beautiful Aluminum Foil Christmas Ornaments with Kids!
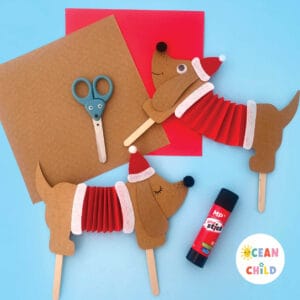 Easy Dancing Christmas Dog Paper Craft for Kids
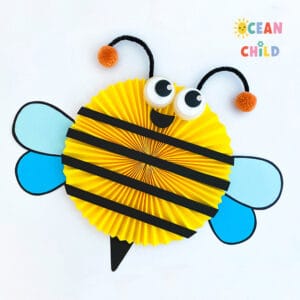 Cute paper bee craft activity!
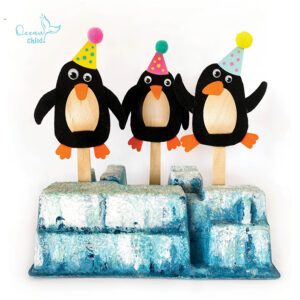 Penguin spoon puppet, winter kids craft!


[…] Green yarn […]