Do you have a small plastic bottle or paper roll at home? Please don’t throw them out yet but turn them into an upcycled airplane craft with a rotating propeller. This fun craft comes with a free printable/template to make crafting easier for you. We will use a craft knife, a nail, and a glue gun for this craft, so make sure you supervise and help your kids at all times. Let’s gather the supplies below and create this super fun airplane craft. Enjoy!
By using this site, you agree to our terms of use. This article contains affiliate links; read our full discloser here.
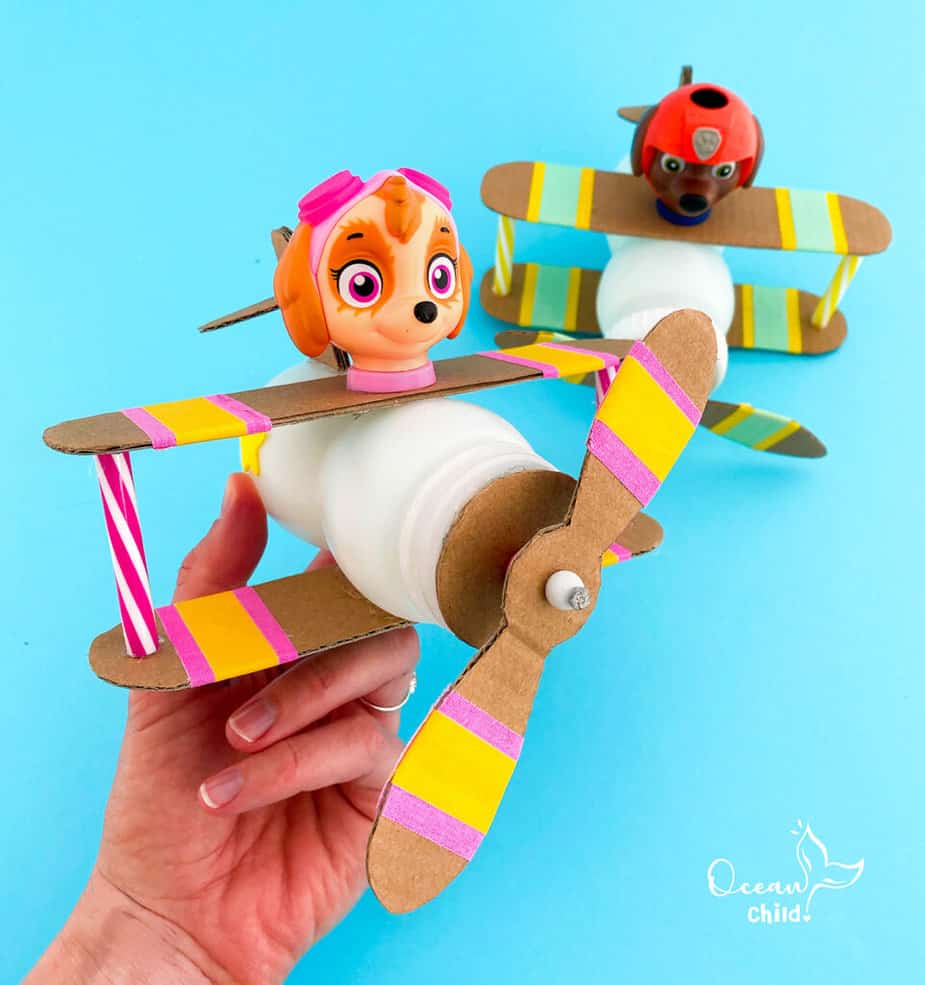
Recycle your bottle or paper roll in an airplane
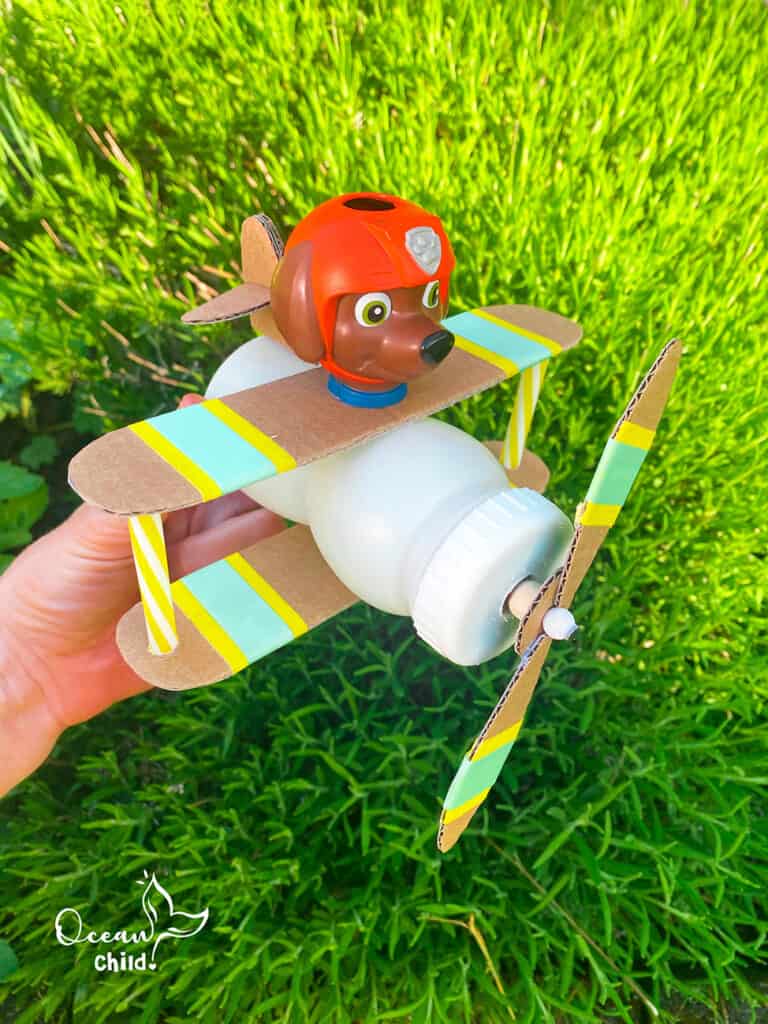
Paw patrol airplane craft for k”>
Craft Supplies airplane craft
- Airplane template
- Cardboard
- A small plastic bottle (or paper roll will do too)
- A paper or plastic straw
- Nail
- Three small beads
- Colored washi tape (or paint/stickers to decorate your airplane).
- Glue and hot glue (glue gun)
- Scissor
- Craft knife
- Pencil
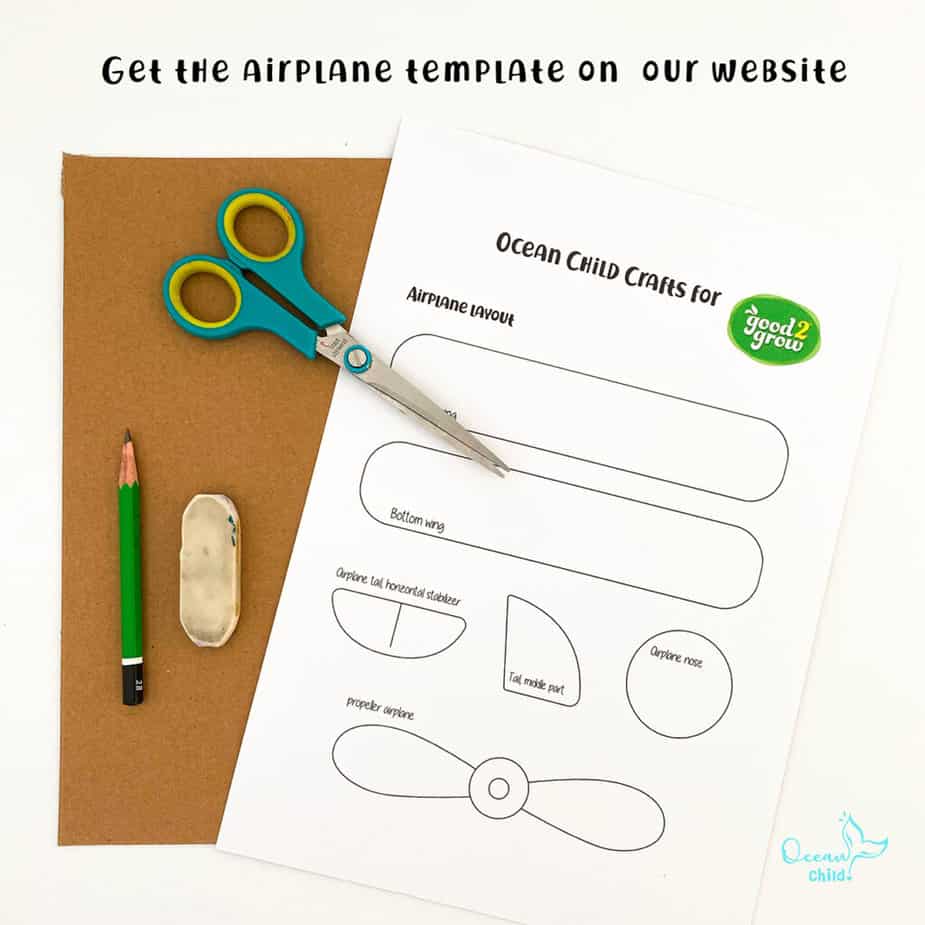 Airplane craft for kids, with free craft printable
Step-by-step instructions
Step 1: Print the printable/template and gather all the above craft supplies. I recommend printing the printable on thicker paper, so it’s easier to trace the shapes on cardboard.
Step 2: Cut out all seven pieces on the airplane template.
Step 3: Take a piece of cardboard and lay all the pieces on top, ensuring they have enough space. Trace each piece with a pencil.
Step 4: Cut out all the airplane pieces you have drawn on the cardboard. If you do it correctly, you end with seven cardboard airplane pieces.
Step 5: Let’s start with gluing the airplane’s tail. For this, you’ll need the three most minor cardboard pieces. Glue the two similar pieces to each other, with the pretty cardboard site out. This is the middle part of the tail. Cut the moon-shaped piece in half or make a cut in the middle and slide it on the central part of the tail. Give your airplane tail some time to dry.
Step 6: Now, we’re going to create the propeller. This is the most challenging part. You will need a nail and two big enough beads for the propeller to fit the pin/nail. We also used a hole puncher and a glue gun to create the propeller.
You can use your nails as a base. It would be best if you preferably had a nail with a big nail plate so the beads don’t slip off. Mine didn’t have that, so I glued a small beat against the top of the nail to ensure my propeller didn’t slip off the nail. Watch the Youtube video.
Step 7: Take your cardboard propeller and make a hole with a hole puncher in the middle circle. Put some glue around the hole and glue a beat against it, so your propeller can rotate around the nail.
Step 8: Take the nose of the airplane (the cardboard circle) and poke the nail with the propeller through the middle. Against the back side of the nose, you glue the last beat. This bead secures the nail and pin together, so use enough hot glue to glue them all together. But leave enough space in front for the propeller to rotate.
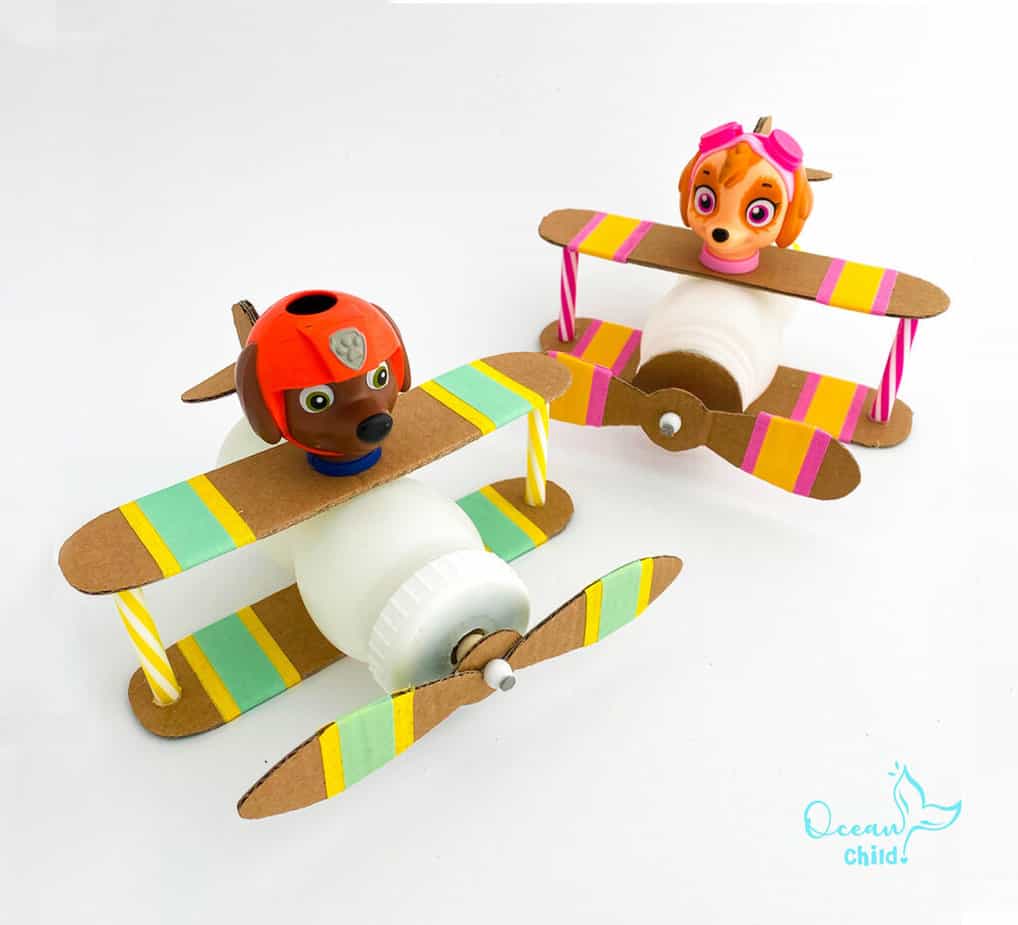
Upcycled airplane craft activity for kids
Step 9: Take the wrapping of the bottle so you end up with a clean white bottle. Feel free to decorate the bottle/airplane belly.
Step 10: glue the nose/propeller on the clean white bottle. Make sure your propeller works before clueing it on the bottle.
Step 11: We used colorful washi tape to decorate the airplane’s wings. But you can also decorate the wings with paint, markers, or stickers. Use your creativity!
Step 12: Glue the top and bottom wings on your plane and glue the tail on the back of your airplane. I recommend using hot glue to make sure it sticks well.
Step 13: Last but not least, glue your favorite character on top of your airplane. We split the character from the bottle cap, but this was very tricky, so I recommend clueing on the entire lid.
Step 14: Try out your airplane and have lots of fun!
Great job creating this upcycled airplane craft. Now let´s try this upcycled Volkswagen van craft activity from a tin can. This fantastic craft comes with a free art printable as well.
Check out the blog post favorites for more information about our favorite craft supplies and stores. And don’t forget to subscribe to our YouTube channel for step-by-step craft instructions!
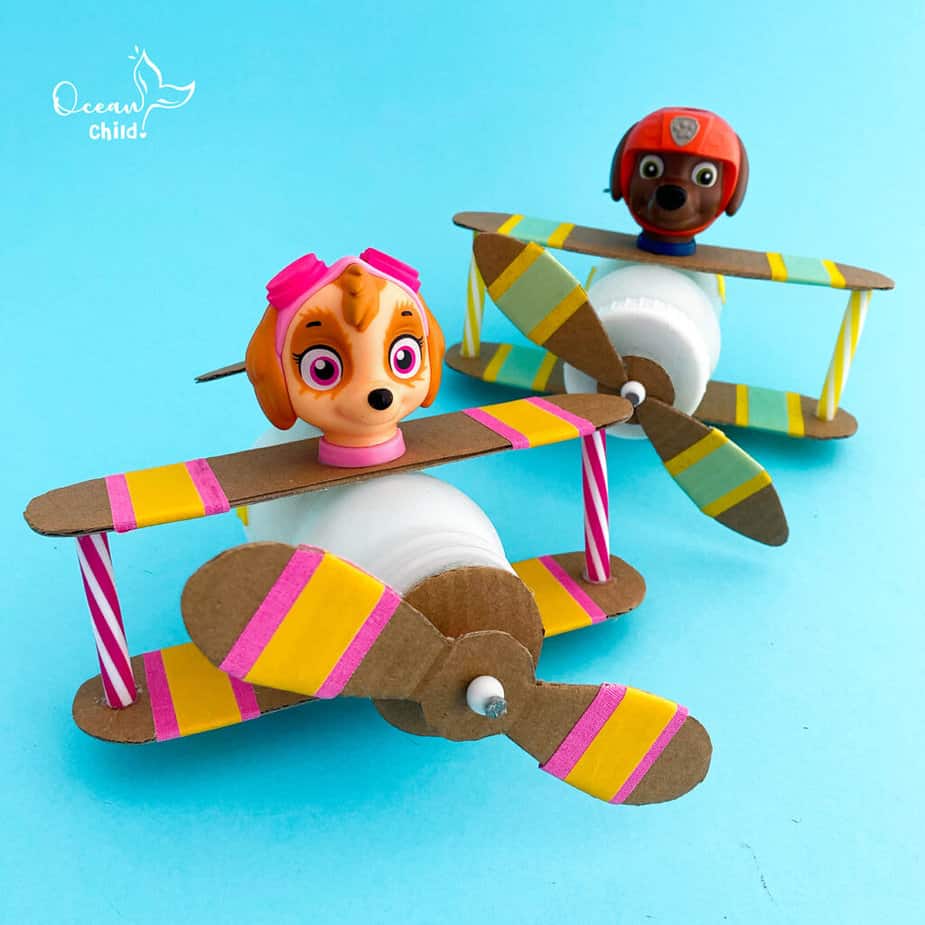
Recycled airplane craft for kids, with free art printable
 How to Make a 3D Paper Christmas Tree Ornament (Free Printable for Kids)
 Woodland Animal Craft for Kids, Hedgehog & Squirrel with Fall Leaves
 Easy Paper Butterfly Craft for Kids: With Free Template!
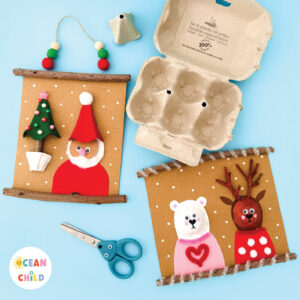 Egg Carton Christmas Craft for Kids: Make a 3D Santa and Winter Frames


Leave a Reply