
Step-by-Step Instructions on How to Make Watercolor Manta Rays
Step 1: Prepare Your Painting Area
Set up your materials and protect your surface. We recommend watercolor palettes for kids, they’re mess-free, easy to use, and perfect for vibrant color play. Use watercolor paper for best results, but thick white paper also works. Lightly wet the entire sheet with clean water. This helps the paint spread beautifully and creates those dreamy watercolor blends.
Step 2: Start Painting!
Give each child a piece of paper and let them paint it using ocean-inspired colors like blue, turquoise, green and purple. Encourage them to mix shades by using more or less water and to fill the whole page. Let their creativity flow! See picture below.
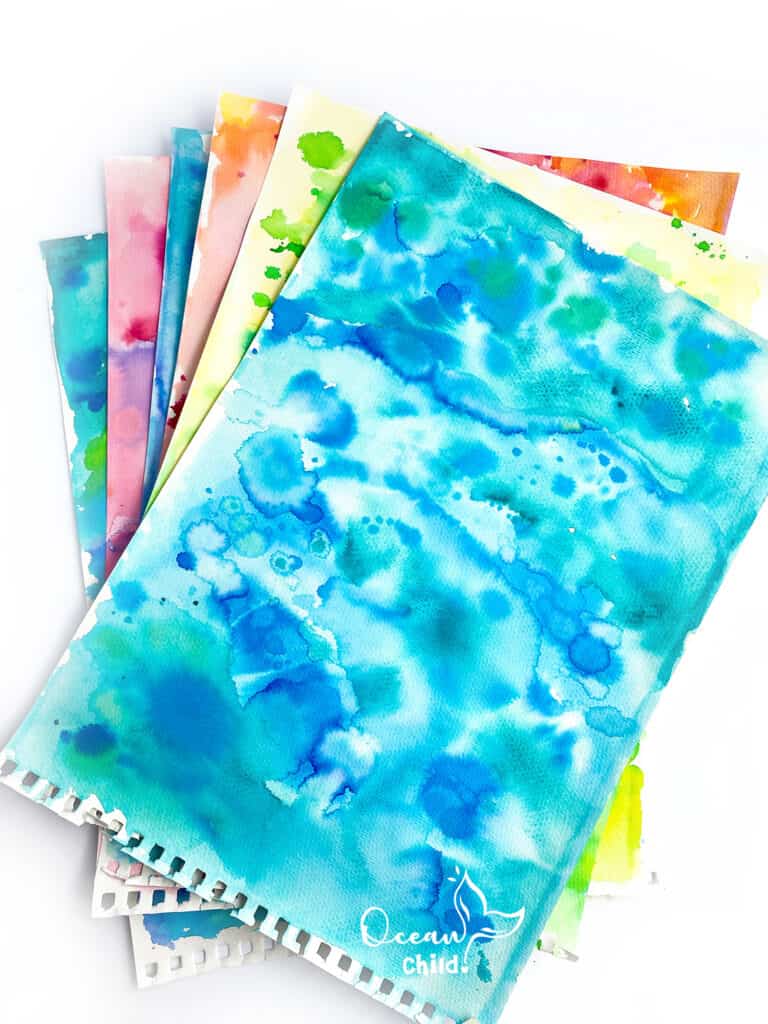
Step 3: Create a Manta Ray Template
While the painted paper dries, sketch a simple manta ray shape on scrap paper. Once you’re happy with the shape, cut it out to use as a stencil.
Step 4: Trace and Cut Out Your Manta Rays
Turn the dry watercolor paper over and trace the manta ray stencil on the white side. Then carefully cut out your painted manta ray shapes.
Step 5: Add the Tail
Cut a long, curvy tail out of cardstock or leftover painted paper and set it aside.
Step 6: Make the Paper Roll Body
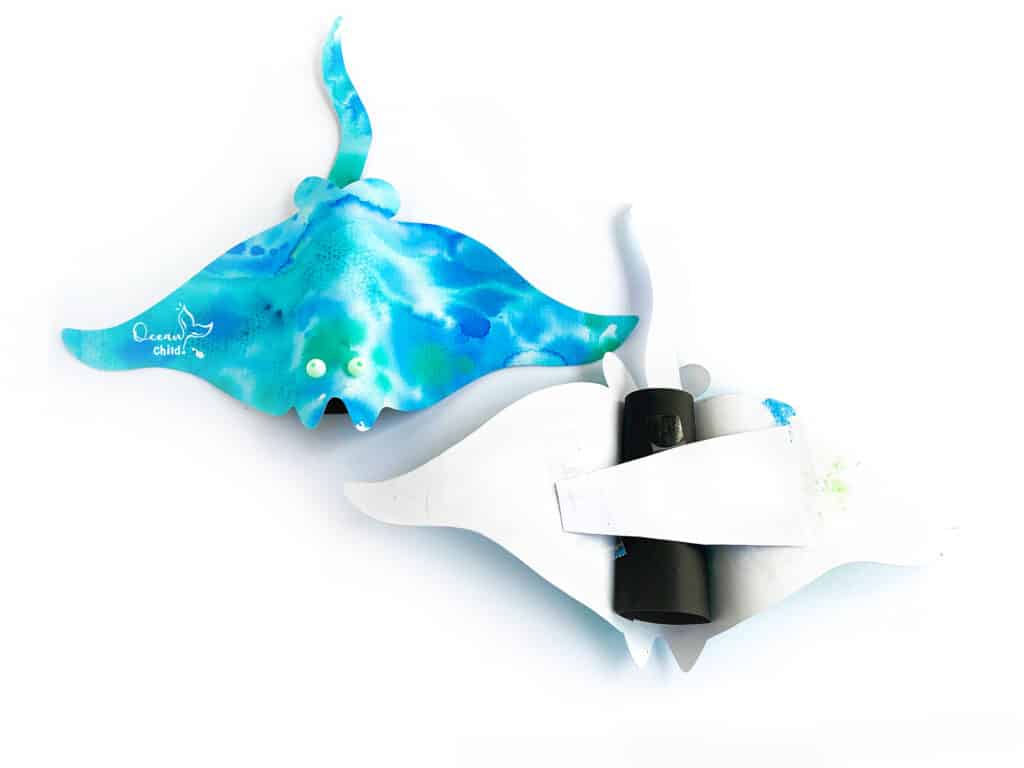
Roll a small tube from black cardstock (or use a trimmed toilet paper roll). A cone shape works well too. This will lift your manta ray’s body and give it a 3D look.
Step 7: Assemble Your Manta Ray
Glue or tape the paper roll under the center of your manta ray. Then attach the tail to the back of the roll so it flows behind.
Step 8: Add Eyes
Glue two round beads, googly eyes, or sequins on top to complete your manta ray’s face.
Step 9: Let It Dry and Display
Once everything is dry, your watercolor ocean animal is ready to display! These look amazing as part of an under-the-sea classroom display or on a bedroom wall.
Step 10: Clean Up Together
Crafting is a great time to teach kids responsibility. Encourage them to help clean up their space it builds good habits and keeps things fun!
More Ocean-Themed Crafts for Kids
Enjoyed making your watercolor manta ray? Keep the ocean adventure going with these fun and creative sea animal crafts for kids, perfect for a variety of ages:
Looking for even more inspiration? Browse our Craft Favorites to discover our go-to supplies and creative ideas for your next hands-on project!
Fun Ocean Craft Printables For Kids
Ocean-Themed Craft Printables, Ready to Use and Fun to Make!
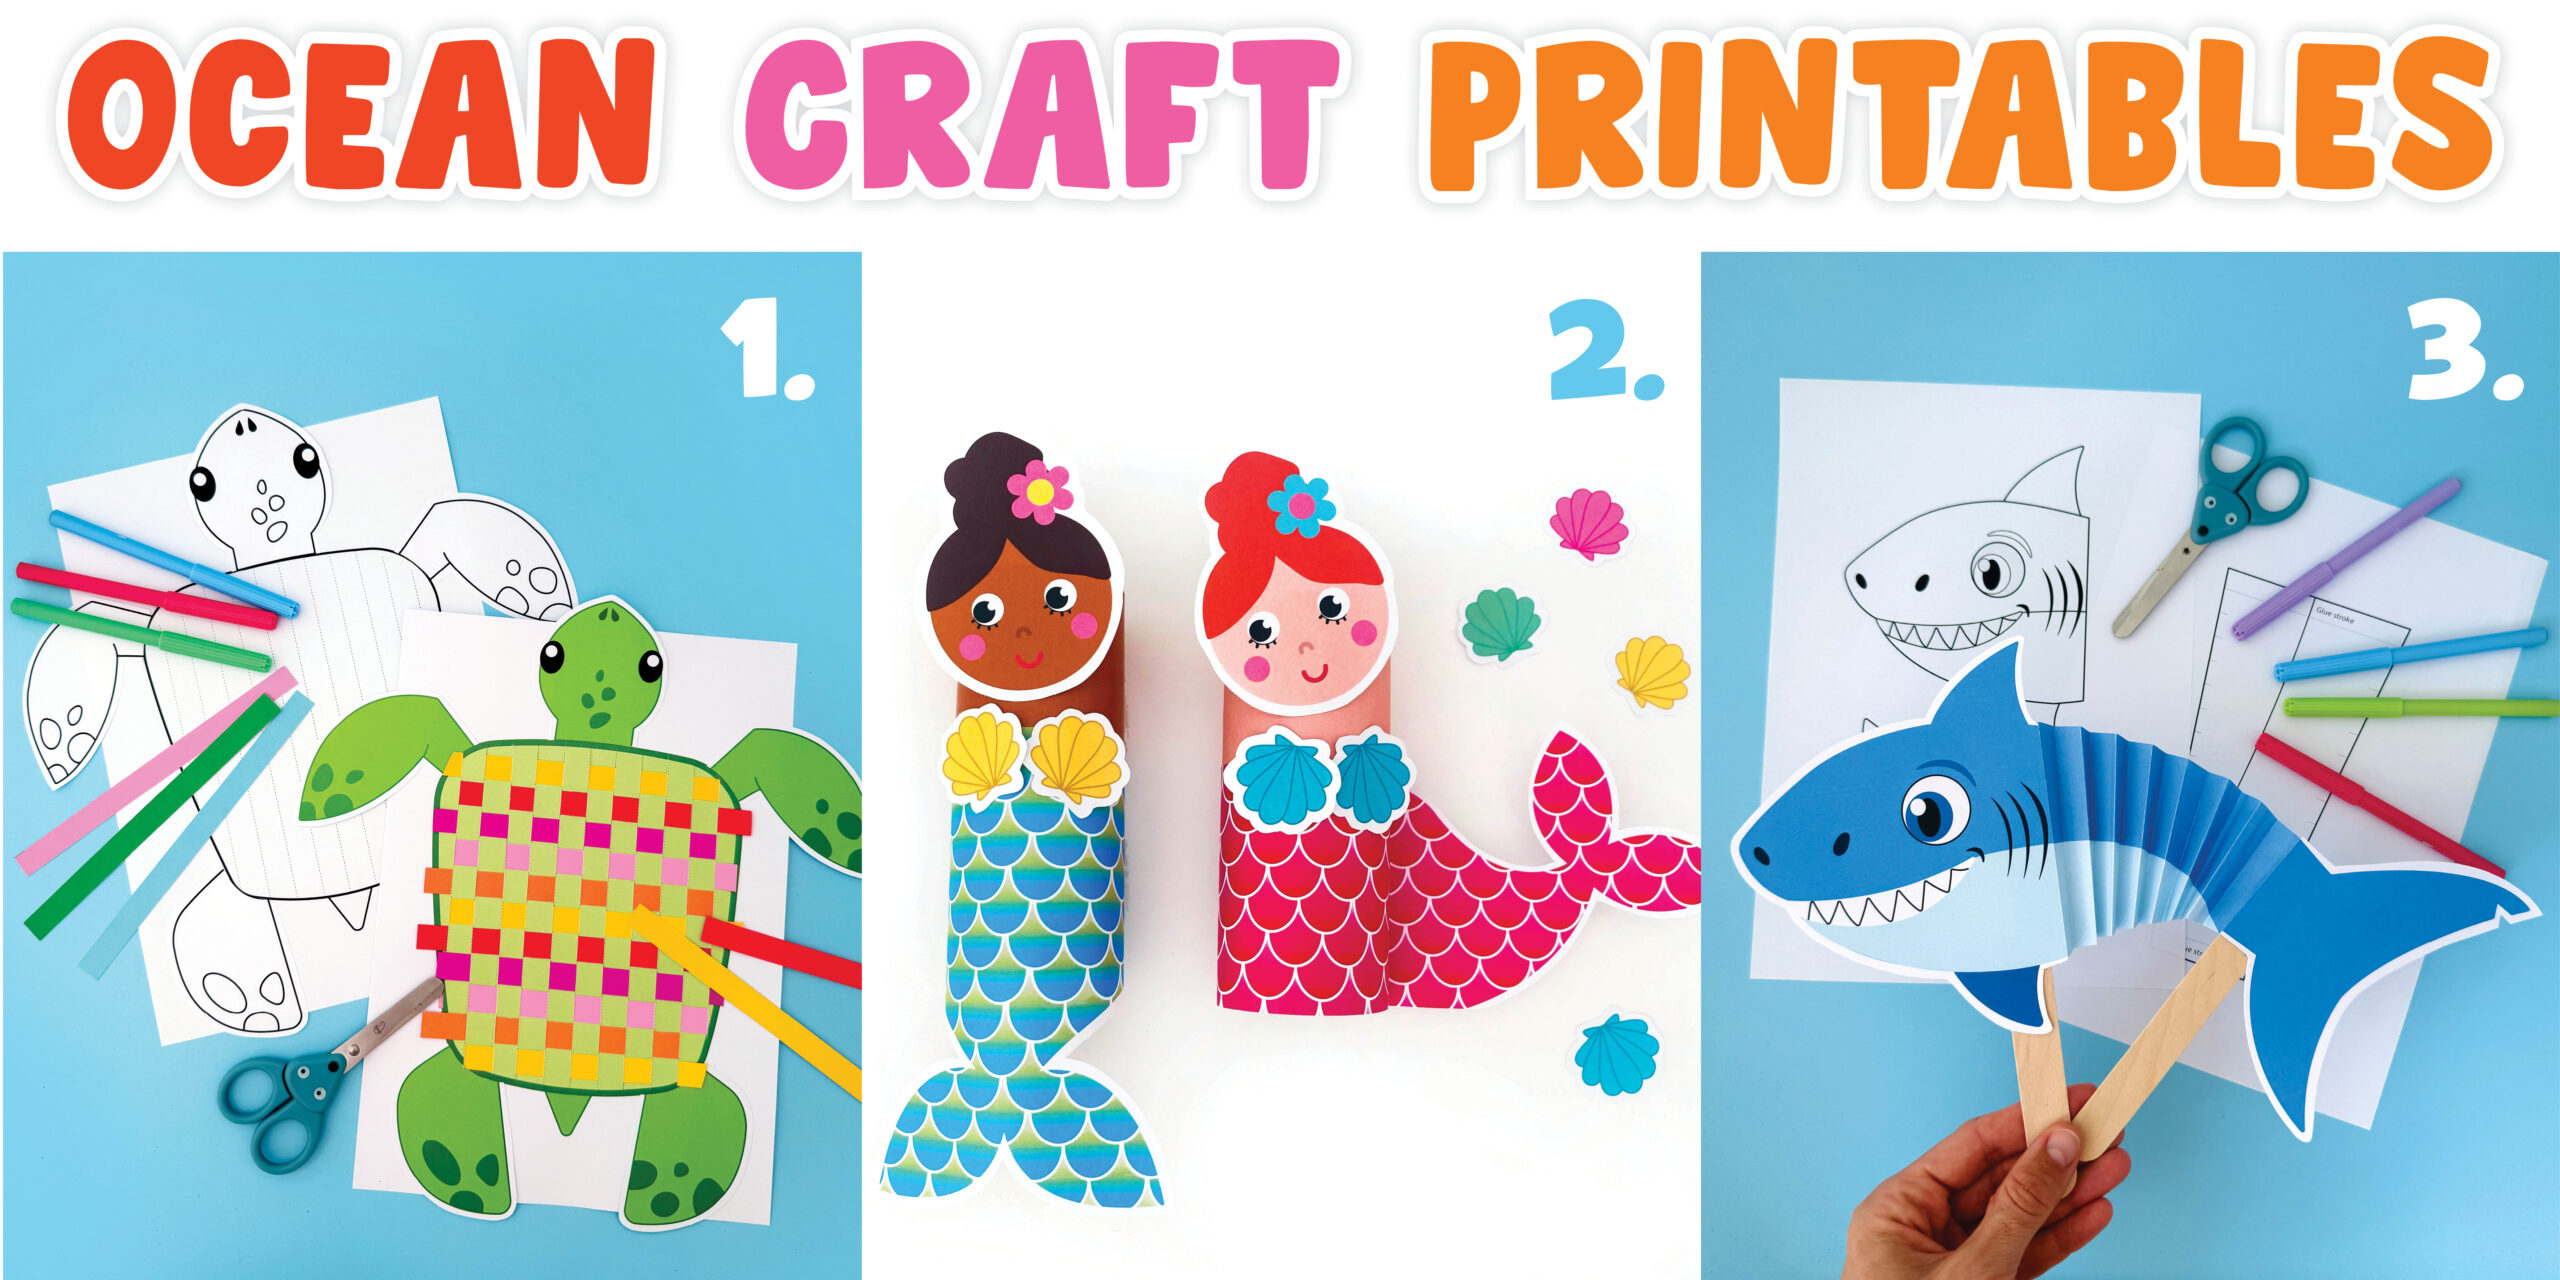
Short on prep time? We’ve got you covered! Our printable ocean craft packs are designed to make creative time simple, fun, and stress-free. Each pack comes in both full color and black-and-white coloring page versions, so kids can customize their creations and add their own flair.
Here are a few of our most-loved ocean printables, you can purchase them on our website, Etsy Store and Teachers Pay Teachers:
- Sea Turtle Shell Weaving – A perfect blend of fine motor skills and creative play.
-
BIG Mermaid Puppet Bundle – A magical favorite packed with movement and sparkle!
-
Swimming Shark Puppet – Always a hit with shark fans and full of ocean action.
Whether you’re a parent, teacher, or homeschooler, these print-and-go craft kits are perfect for engaging little learners in a creative underwater adventure!
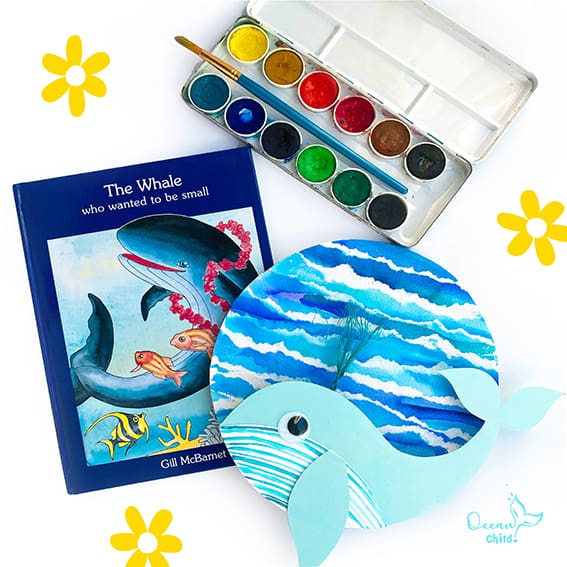 Watercolor Whale Craft For Kids With Free Printable Template
 Teach Kids to Stitch with This Cute Pineapple Cross-Stitch Craft (Free Pattern)
 Easy & Fun Origami Paper Fish Craft for Kids With YouTube Tutorial


[…] Great job! Now try out a different color combination so your fish has a friend. Or give these watercolour manta rays a try. […]