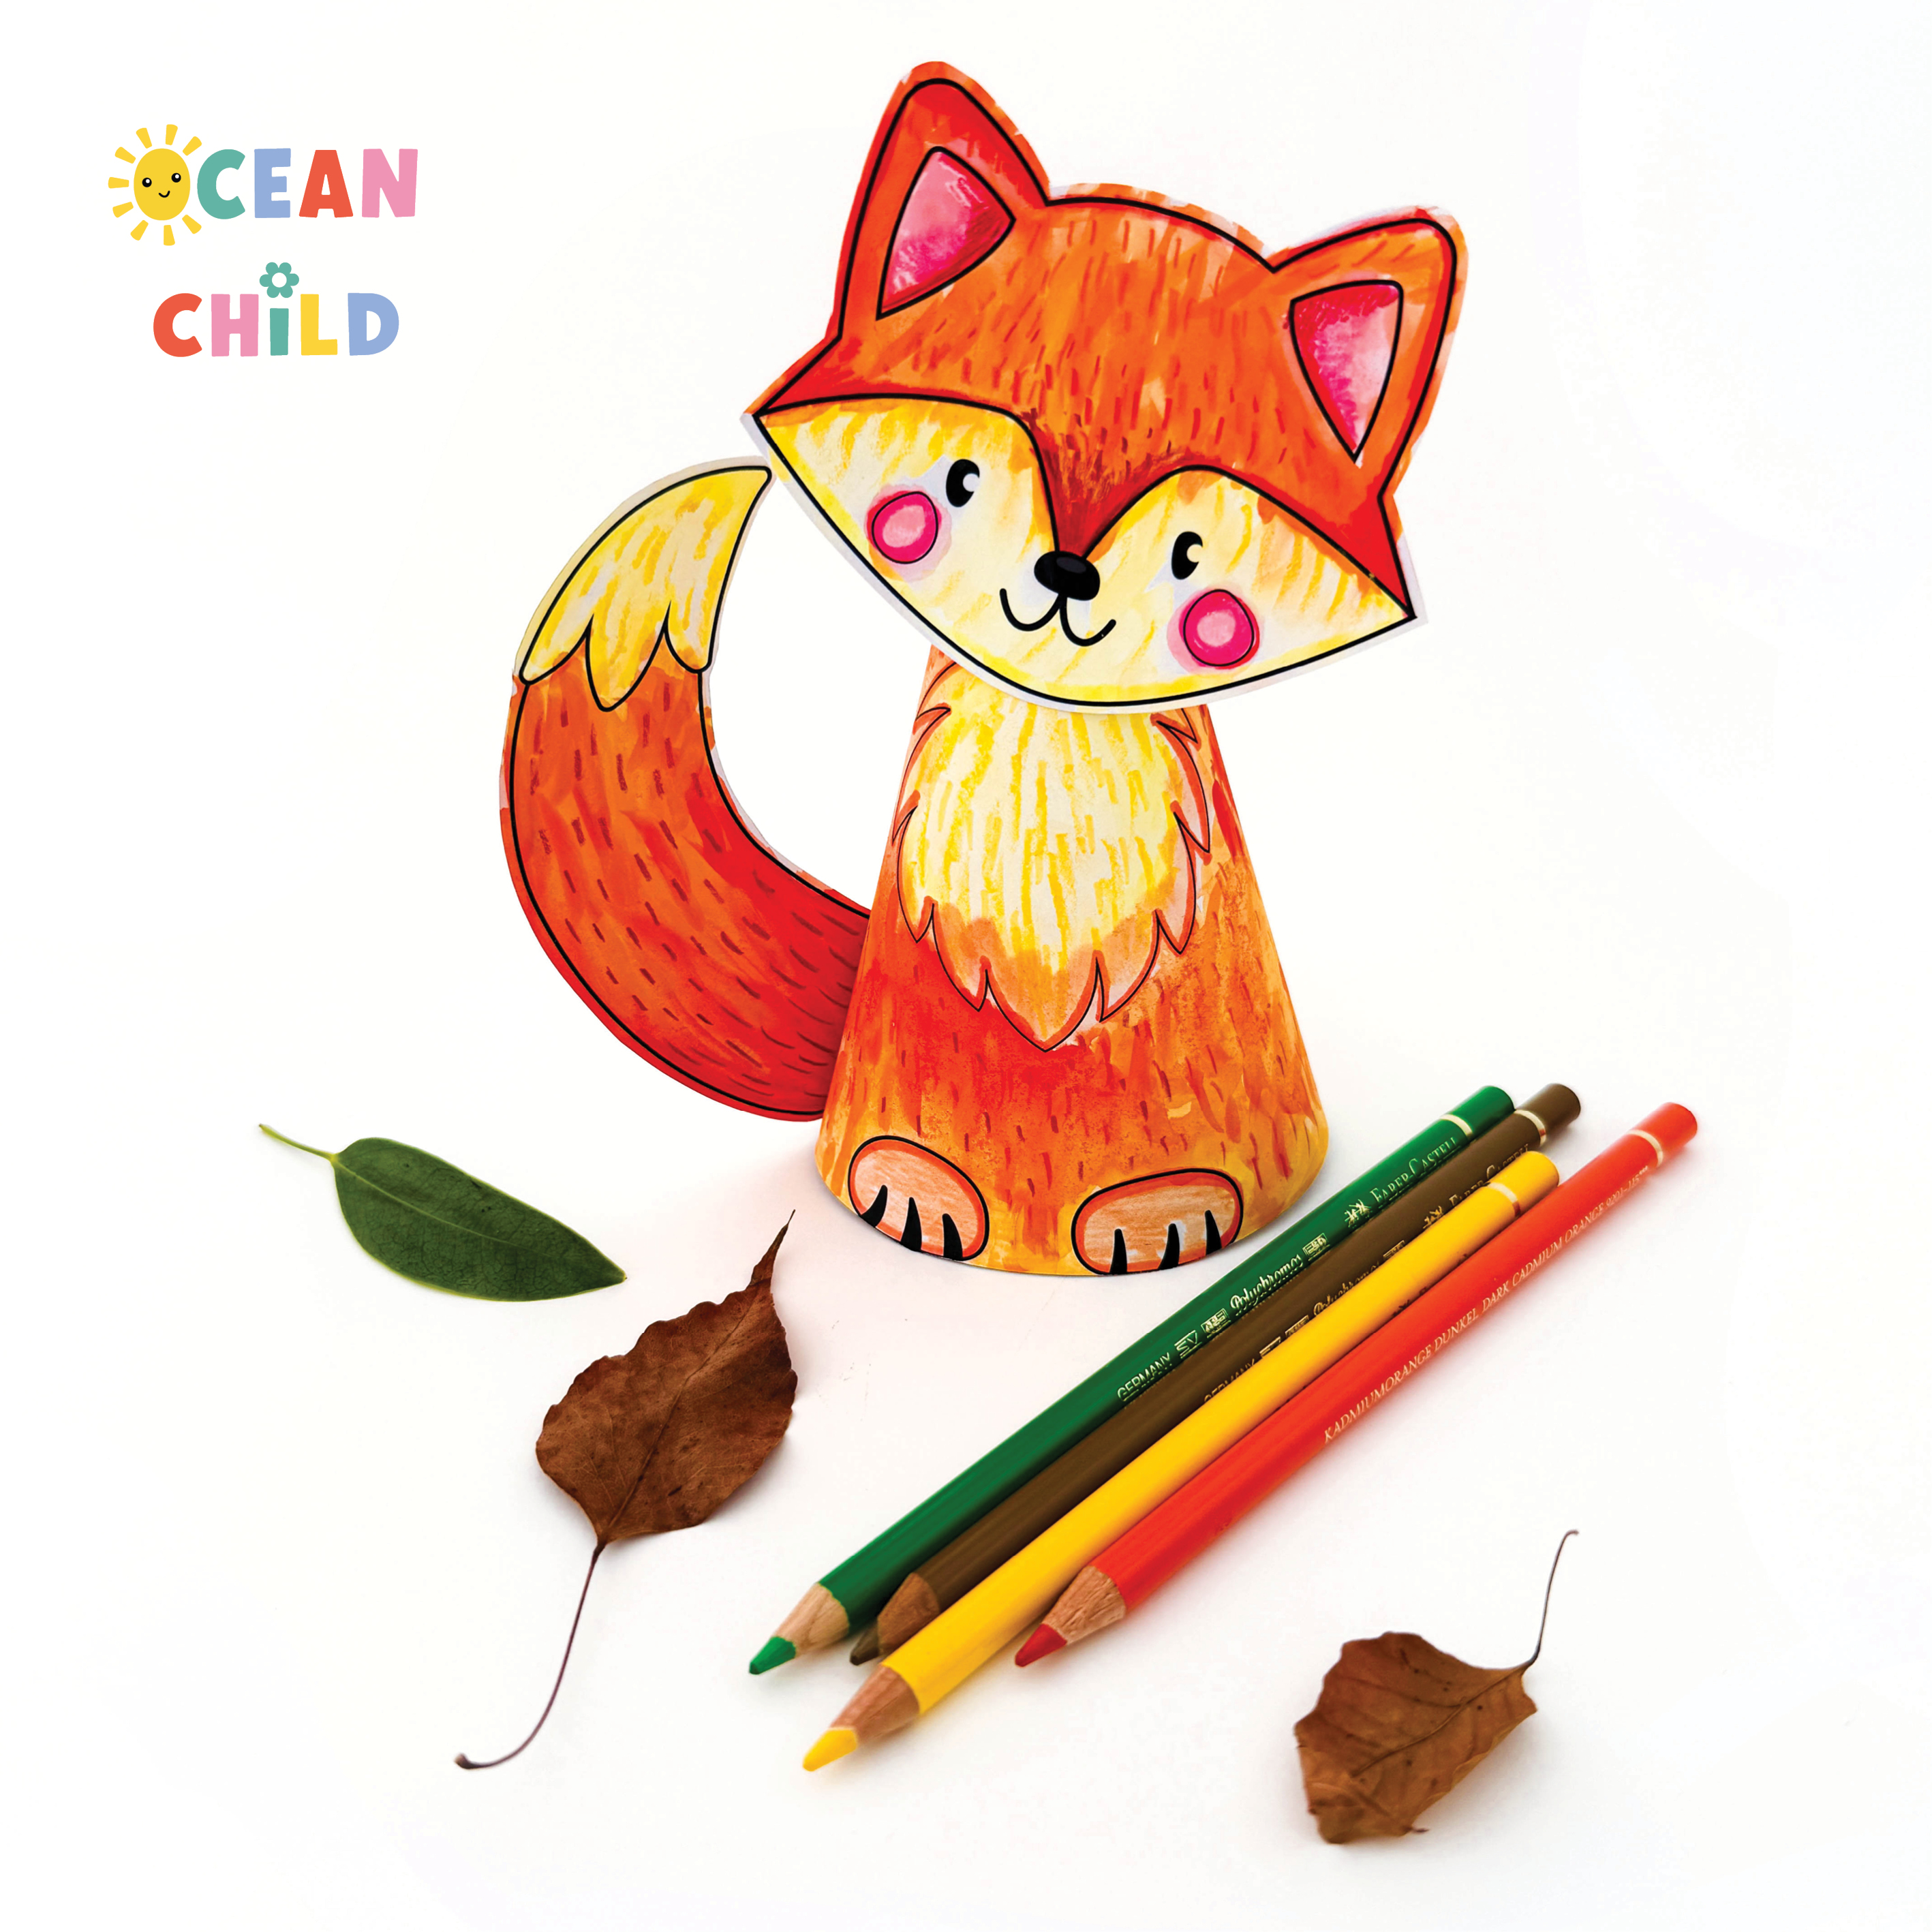
Paper fox craft with printable template. There’s something so cozy about fall crafts, the warm colors, crunchy leaves, and the chance to slow down and get creative with your little ones around the kitchen table. If you’re looking for a fun and easy autumn craft for kids, this one’s for you!
This paper fox craft is one of my all-time favorites because it’s simple enough for preschoolers, engaging for elementary kids, and flexible to make with either our printable template or completely from scratch using paper and real fall leaves.
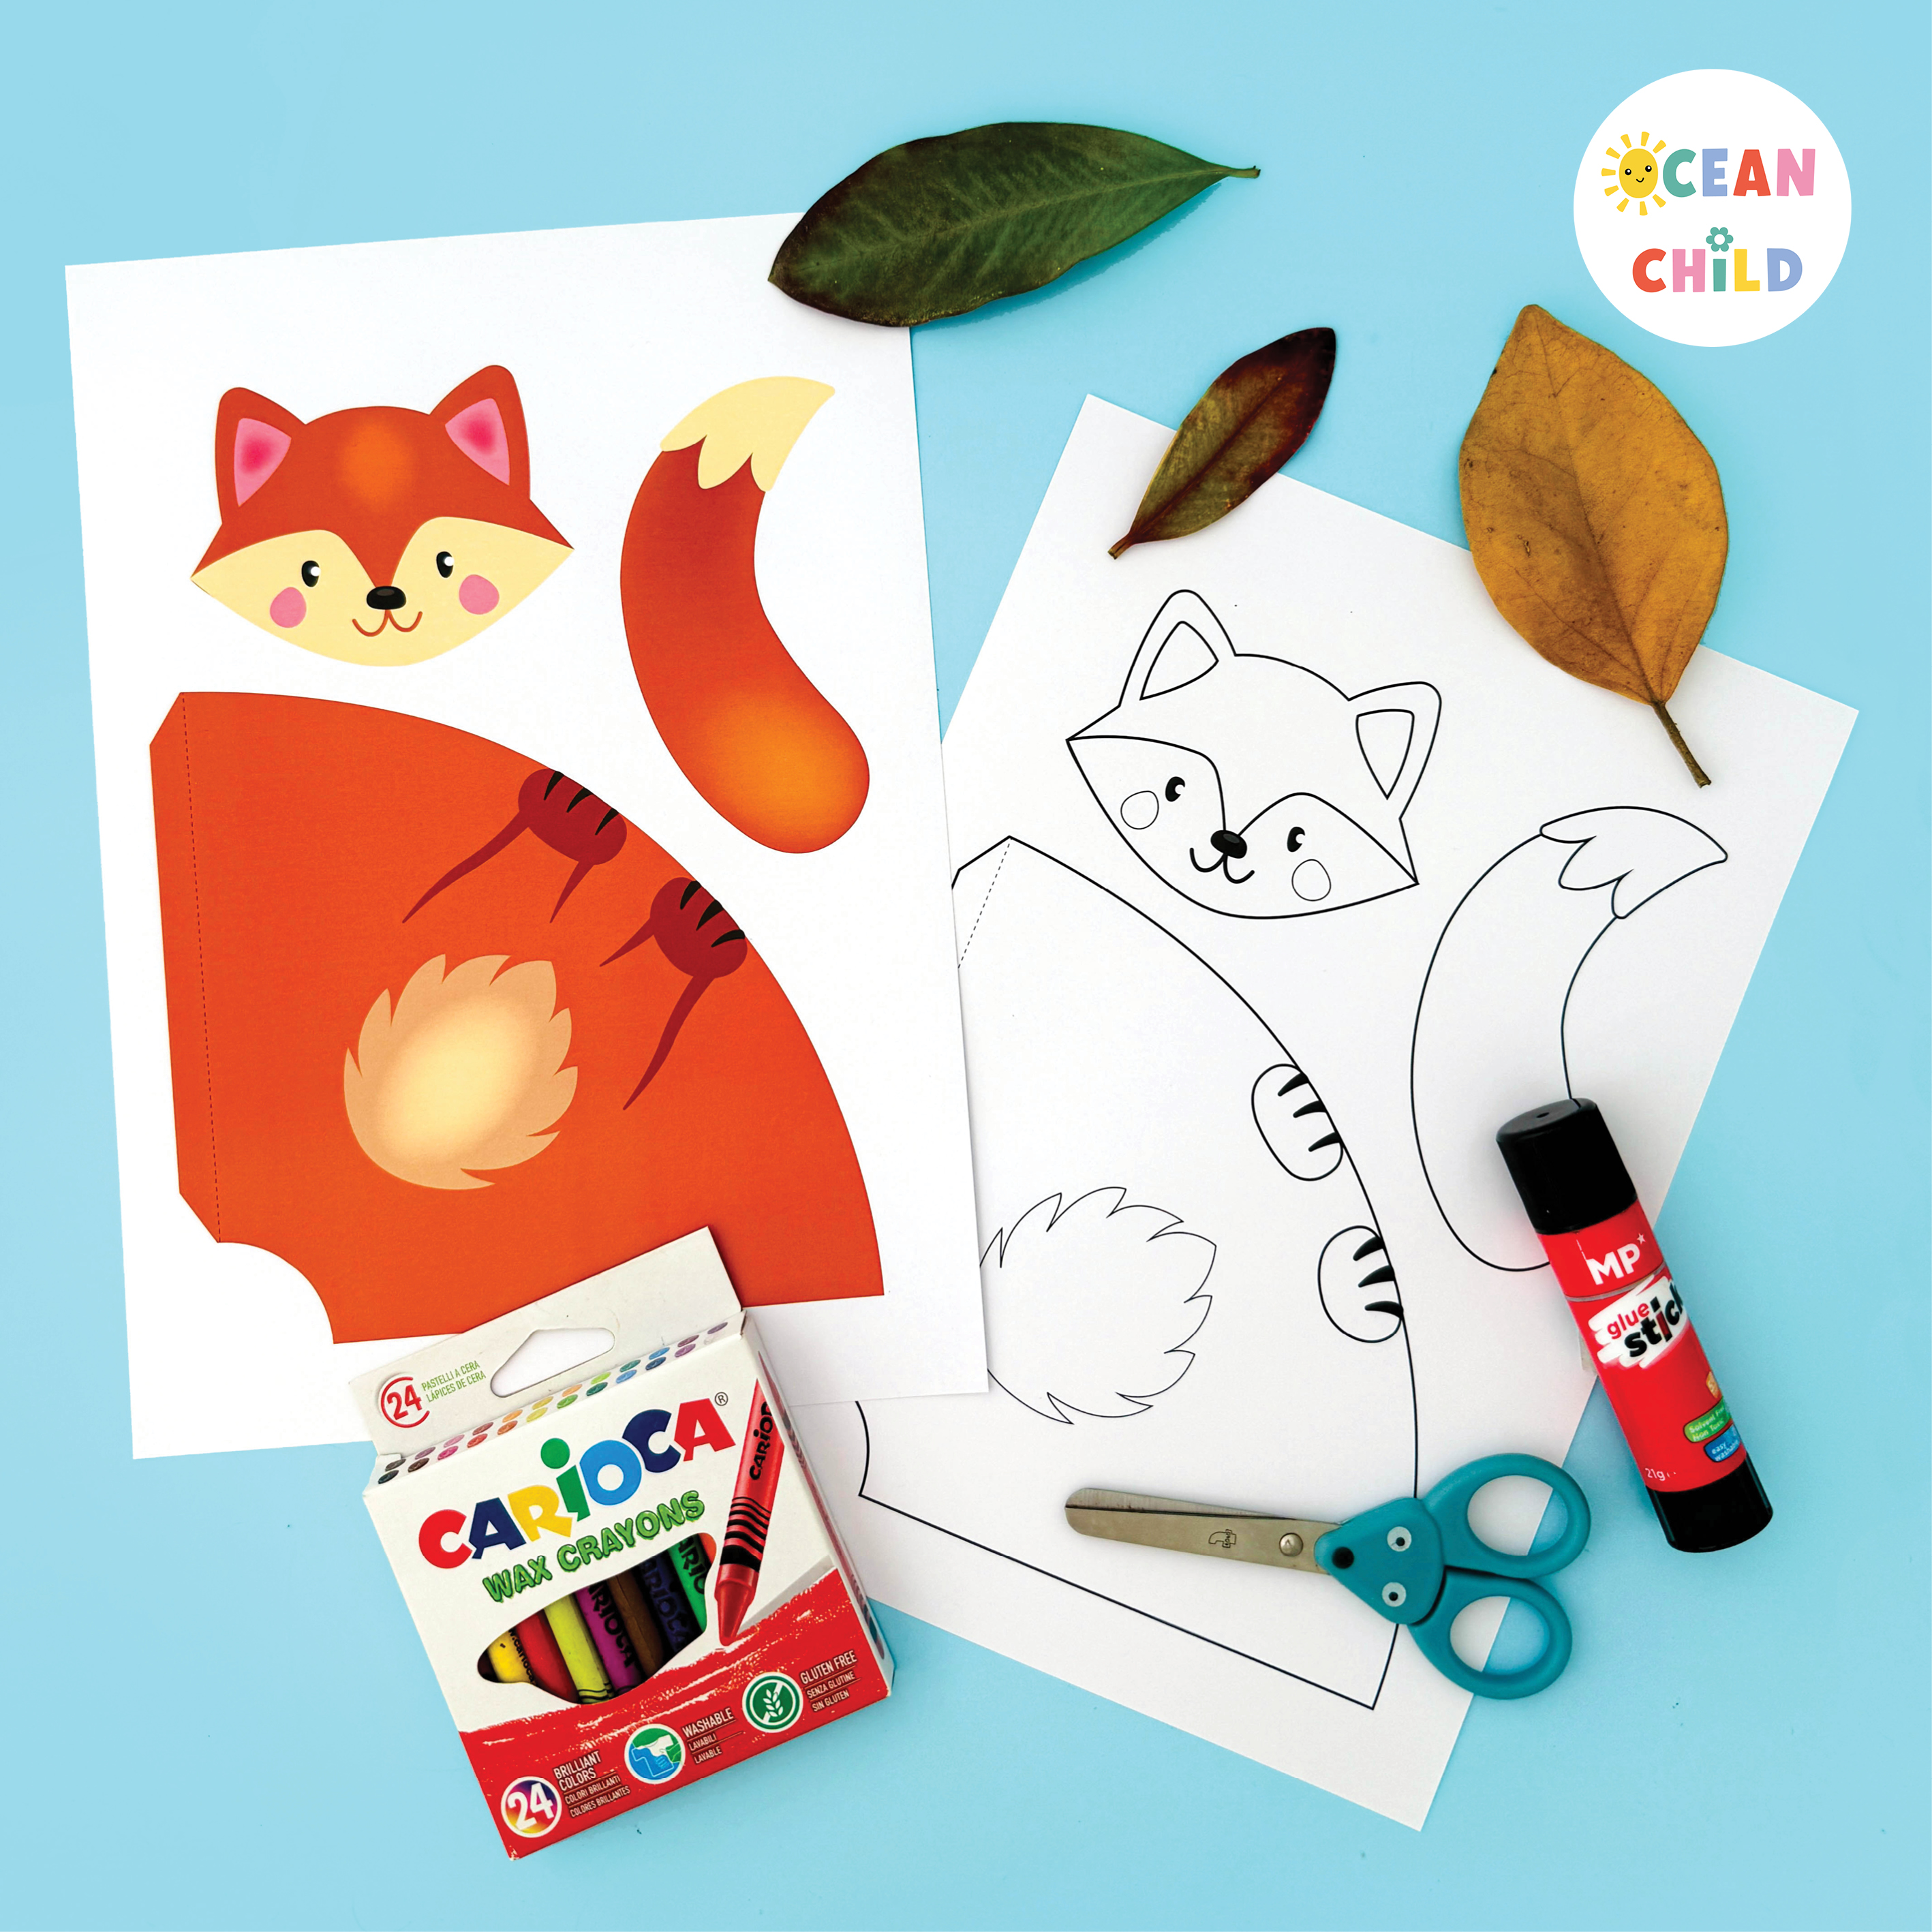
You can grab the fox printable in our printable Etsy store or Teachers Pay Teachers shop. Each set includes both a full-color version and a coloring page template.
Teachers love it because it’s low-prep (print and go!), and parents love it because it’s screen-free, seasonal, and absolutely adorable when displayed on a shelf, bulletin board, or classroom windowsill.
By using this site, you agree to our terms of use. This article contains affiliate links; read our full disclosure here.
-
- Paper fox craft for Fall
-

- Easy fall craft for kids
What You’ll Need to Make a Paper Fox Craft
If you’re using the printable:
- Fox craft printable (colored version + coloring page)
- Printer + white cardstock or heavy paper
- Scissors
- Glue stick (or school glue)
- Coloring supplies: crayons, markers, colored pencils, or paints
Optional extras:
- Real fall leaves (dried & flat)
- Tissue paper or crepe paper (if leaves aren’t available)
- Tape for extra sturdiness
If you’re crafting from scratch:
- Orange, cream, black, and pink paper
- Pencil and ruler (to trace the cone shape)
- Same scissors, glue, and coloring supplies as above
-
- Craft a Fox
-
- Printable Craft
How to Make the Fox Cone Craft
Option A: With the Printable (Quick & Easy)
- Print Your Fox
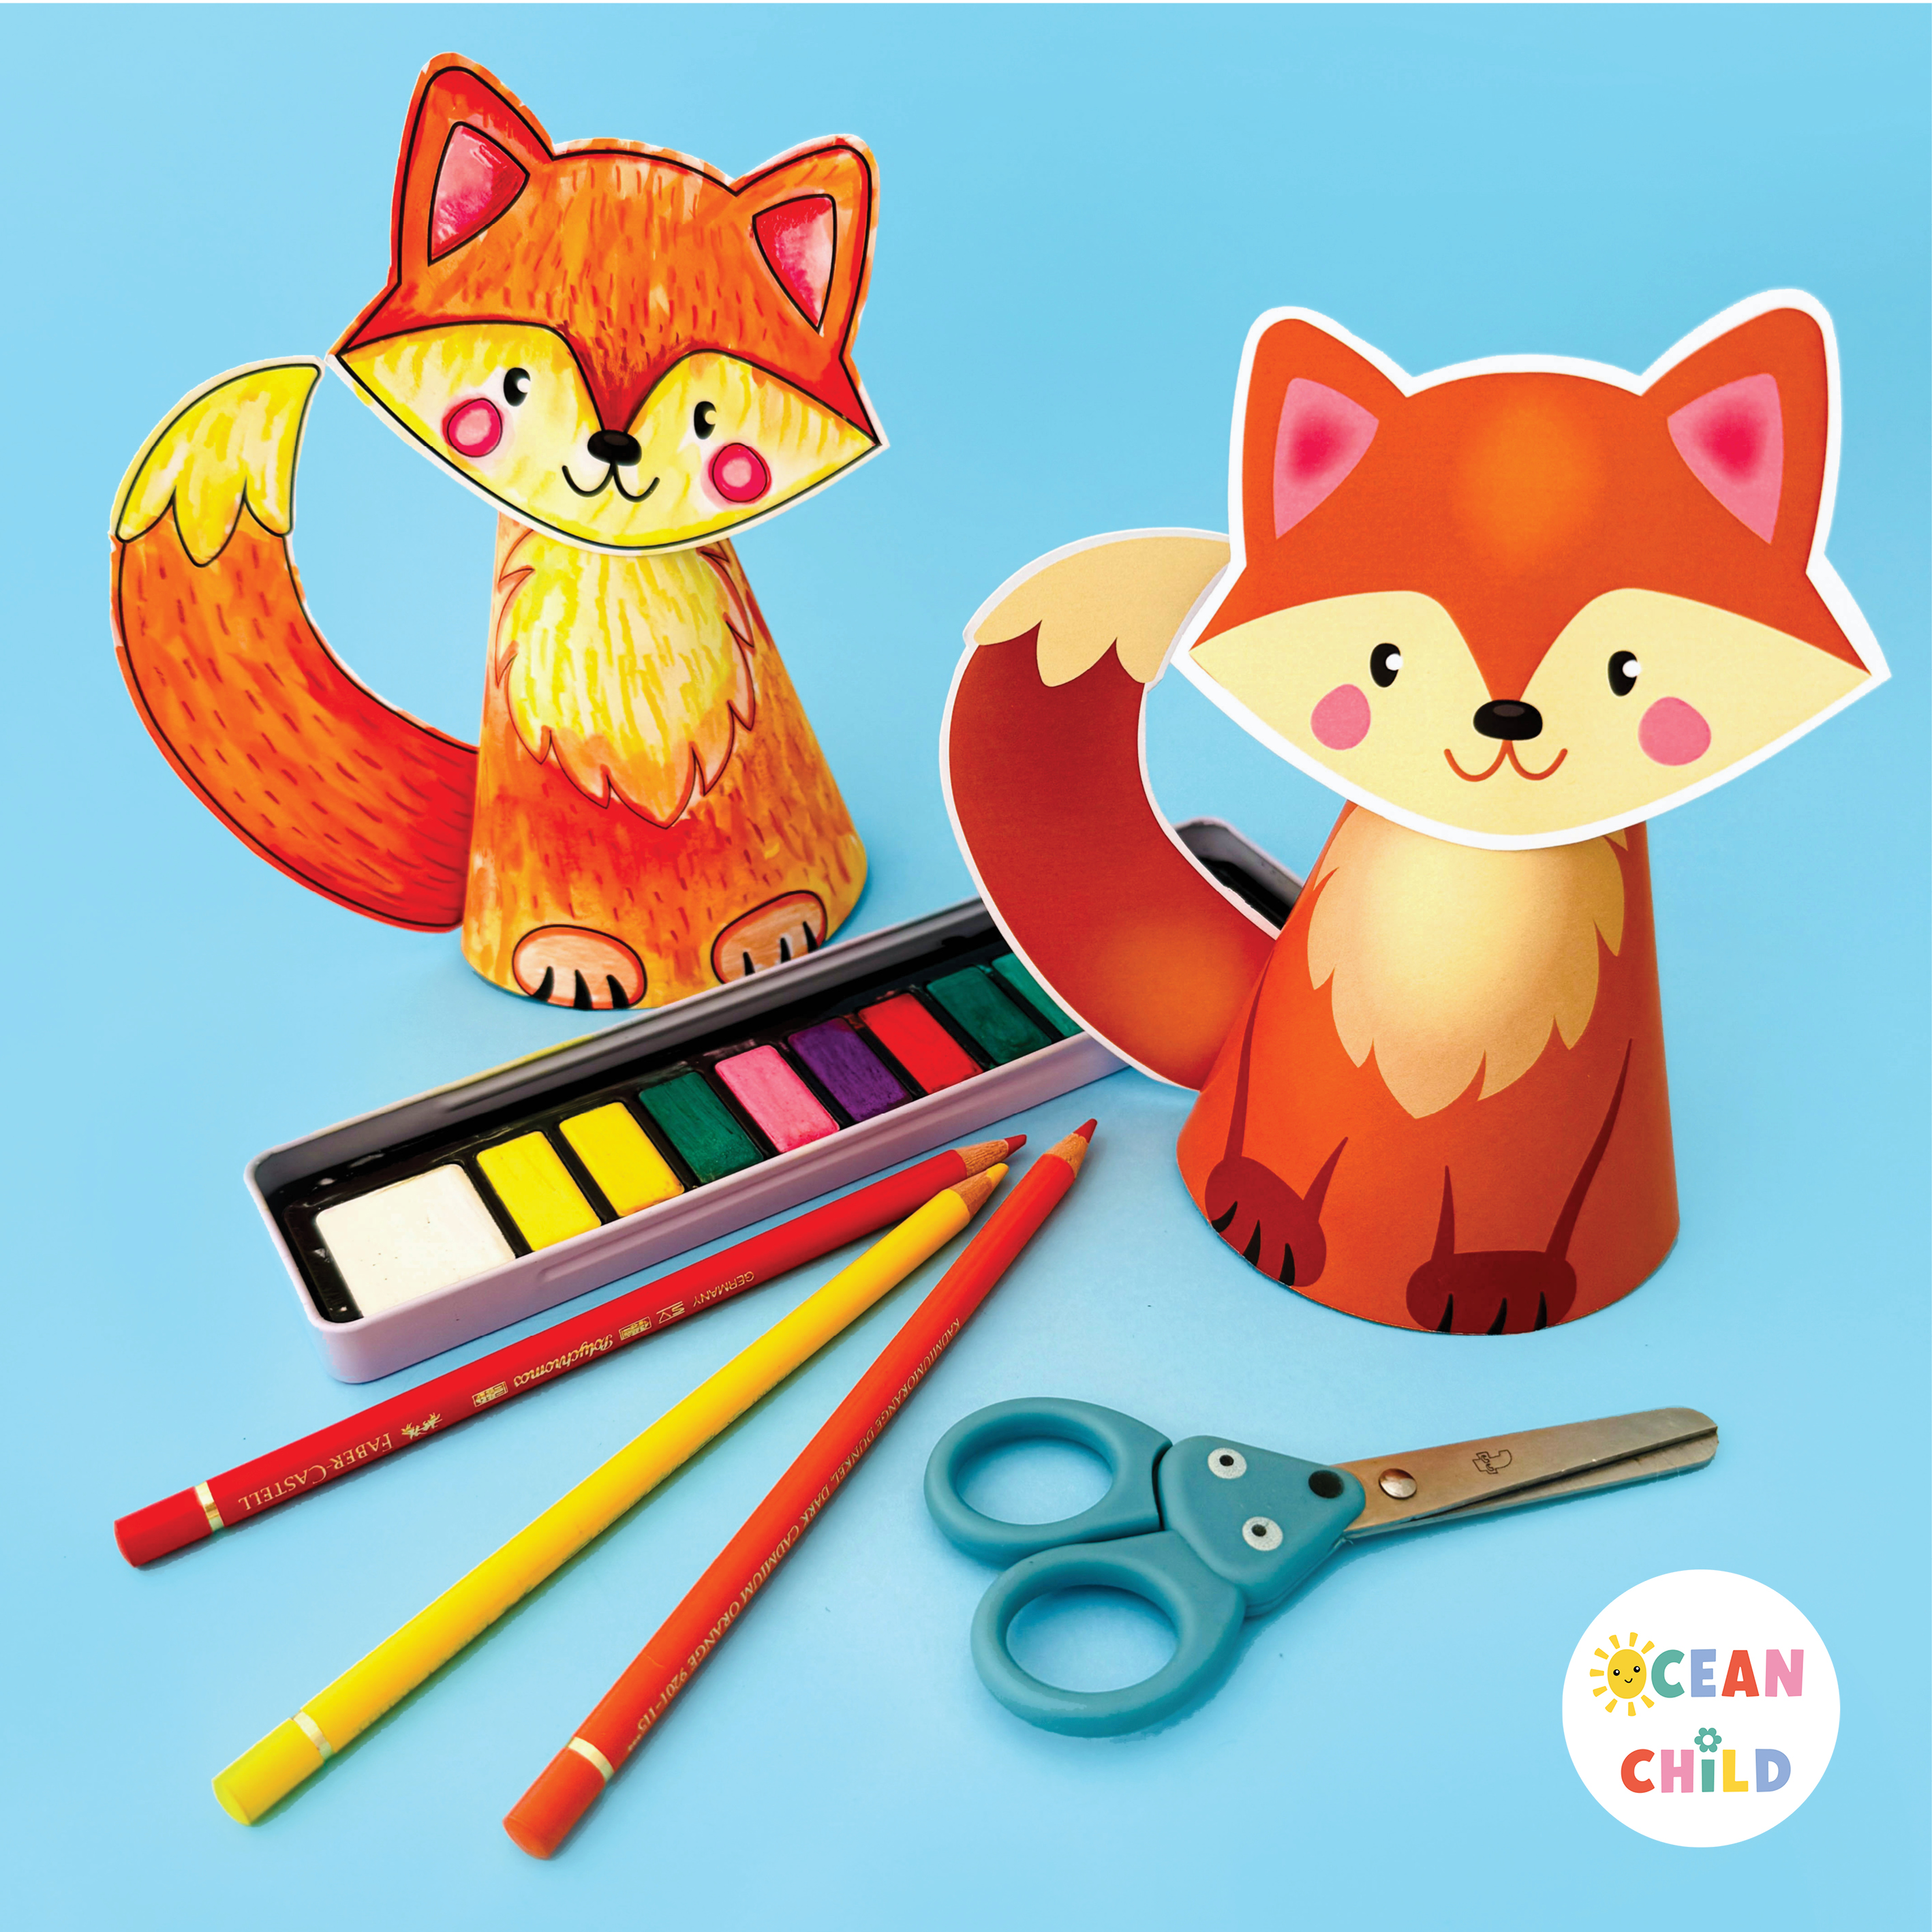
Choose the ready-to-color version or the already-colored template and print on cardstock. Cardstock makes the fox sturdy and easier for little hands to glue and hold, but regular paper works too. - Add Some Color (if needed)
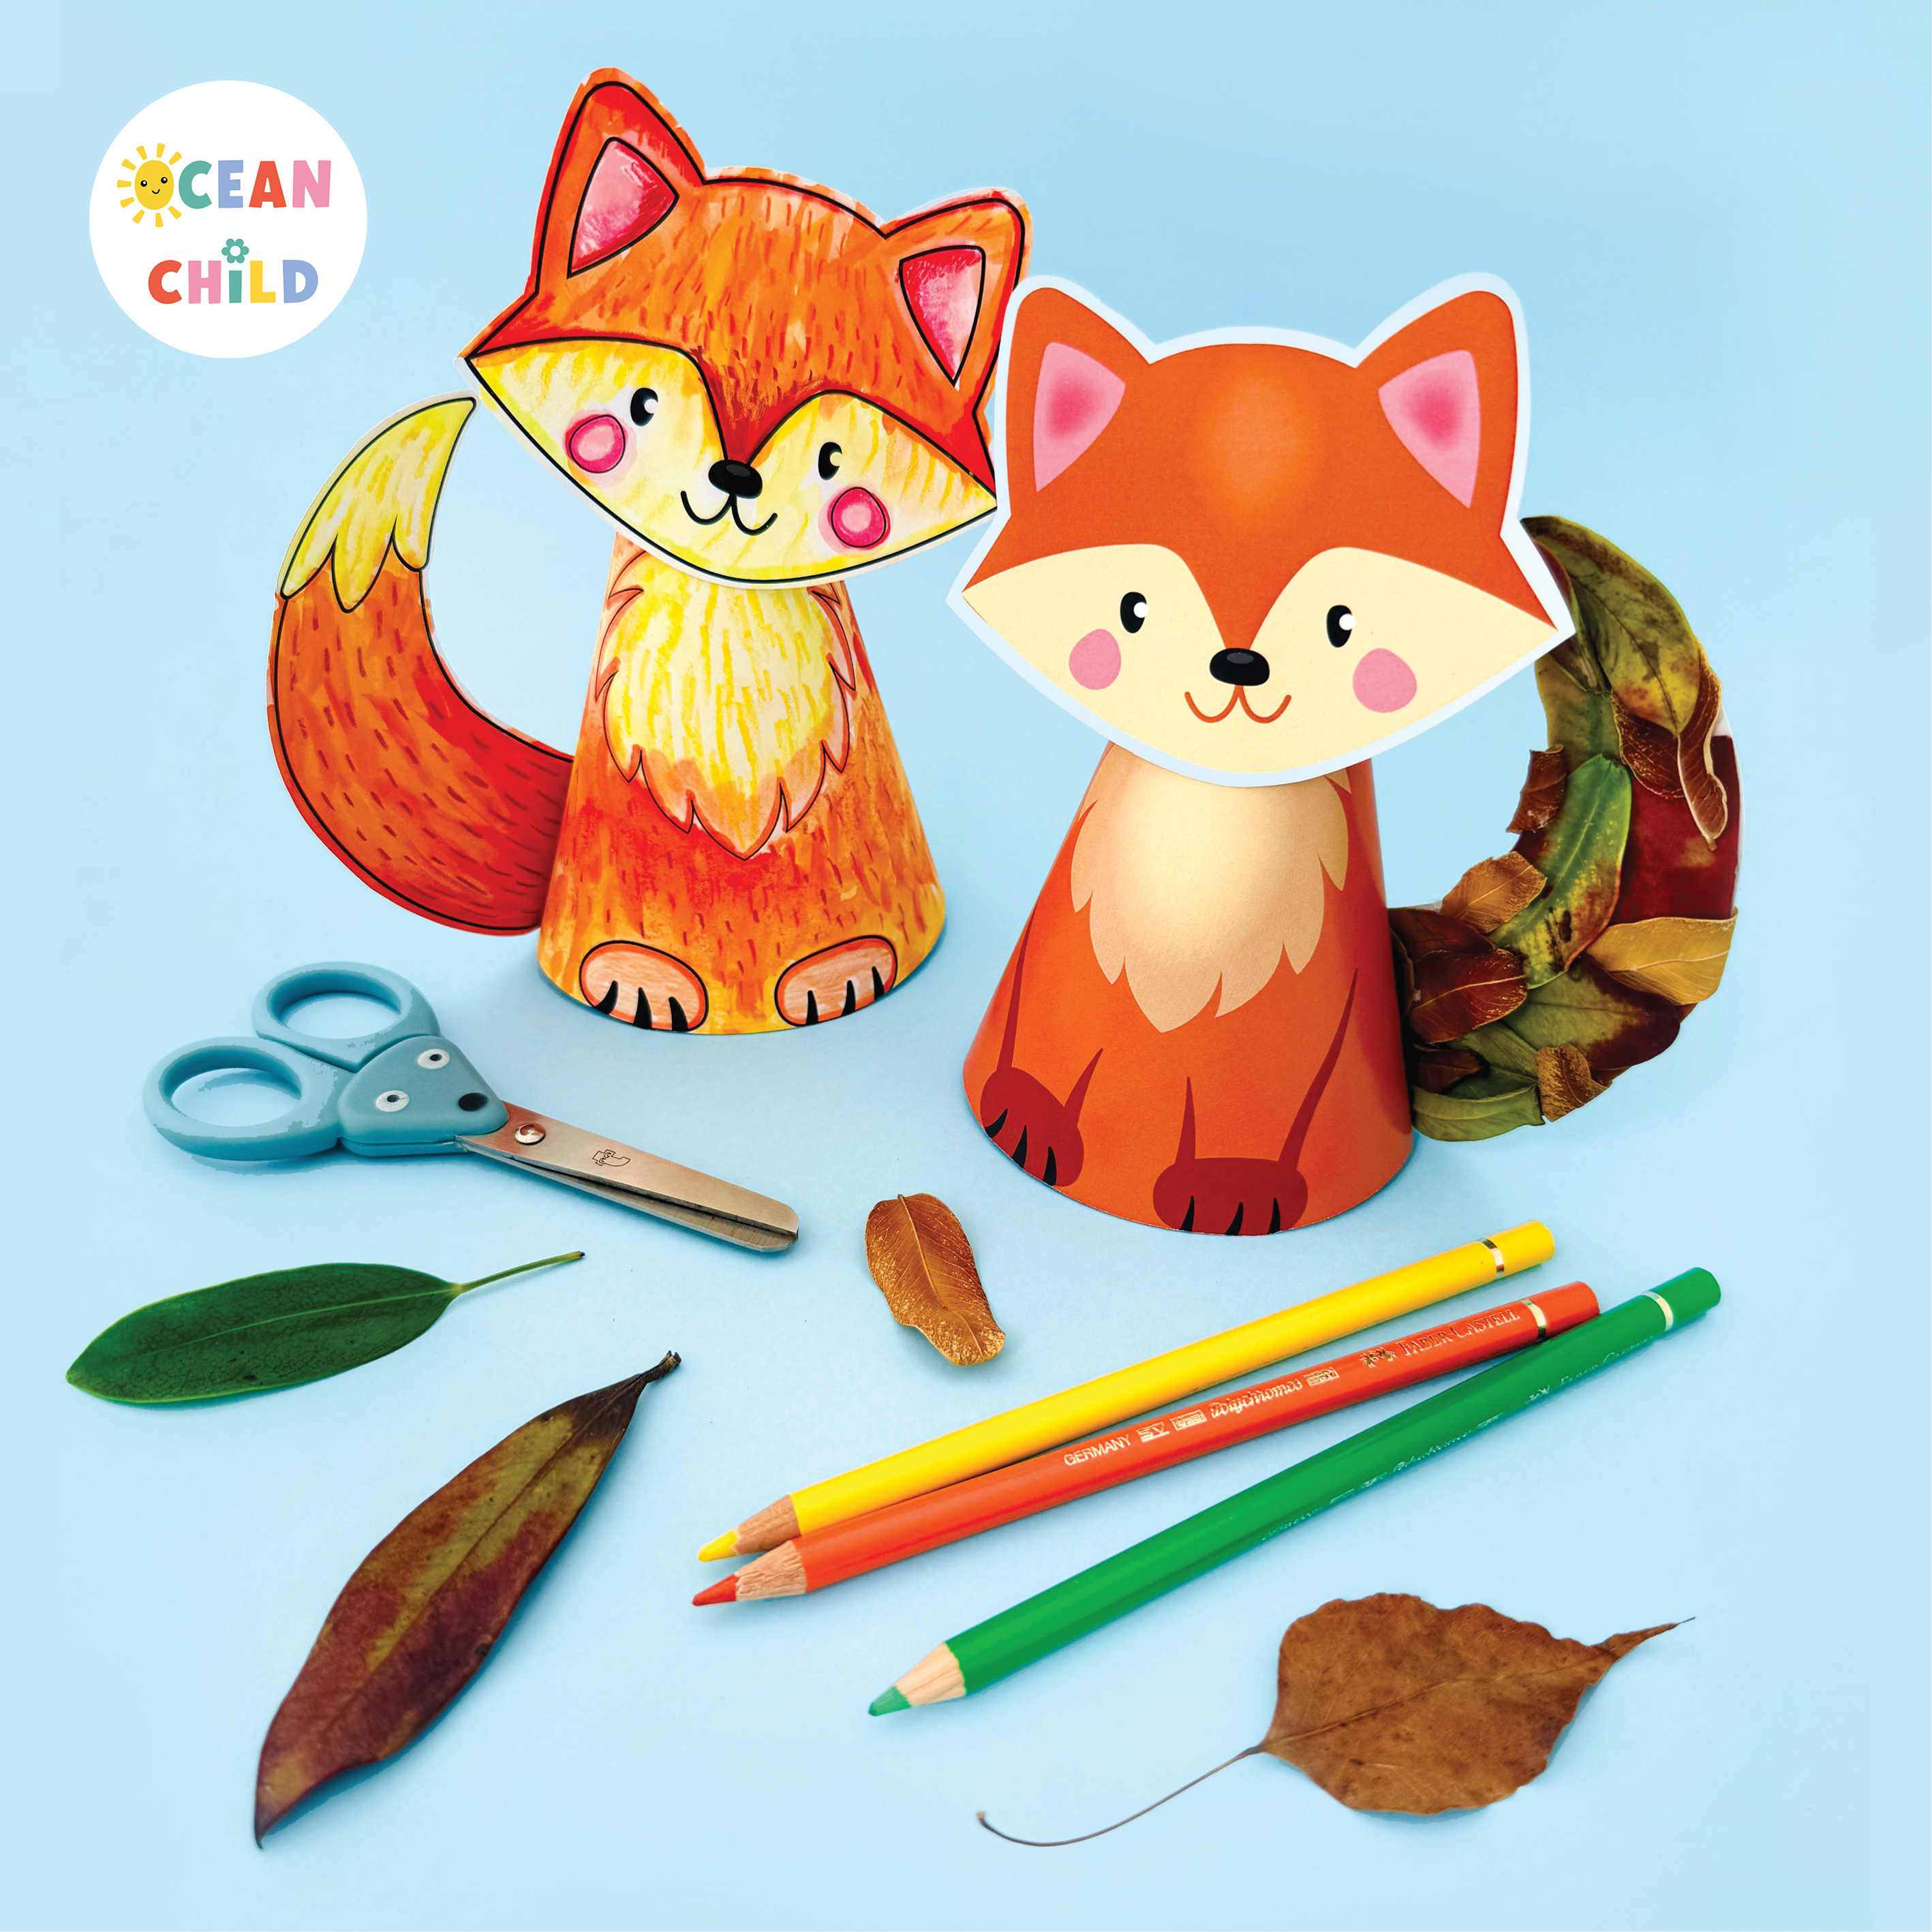
If you picked the coloring page, this is where the fun begins! Use fall colors: reds, oranges, browns, yellows, even some greens. Try mixing materials: watercolor for a soft base, then add fur-like texture with colored pencils or crayons once it’s dry. - Cut Out the Pieces
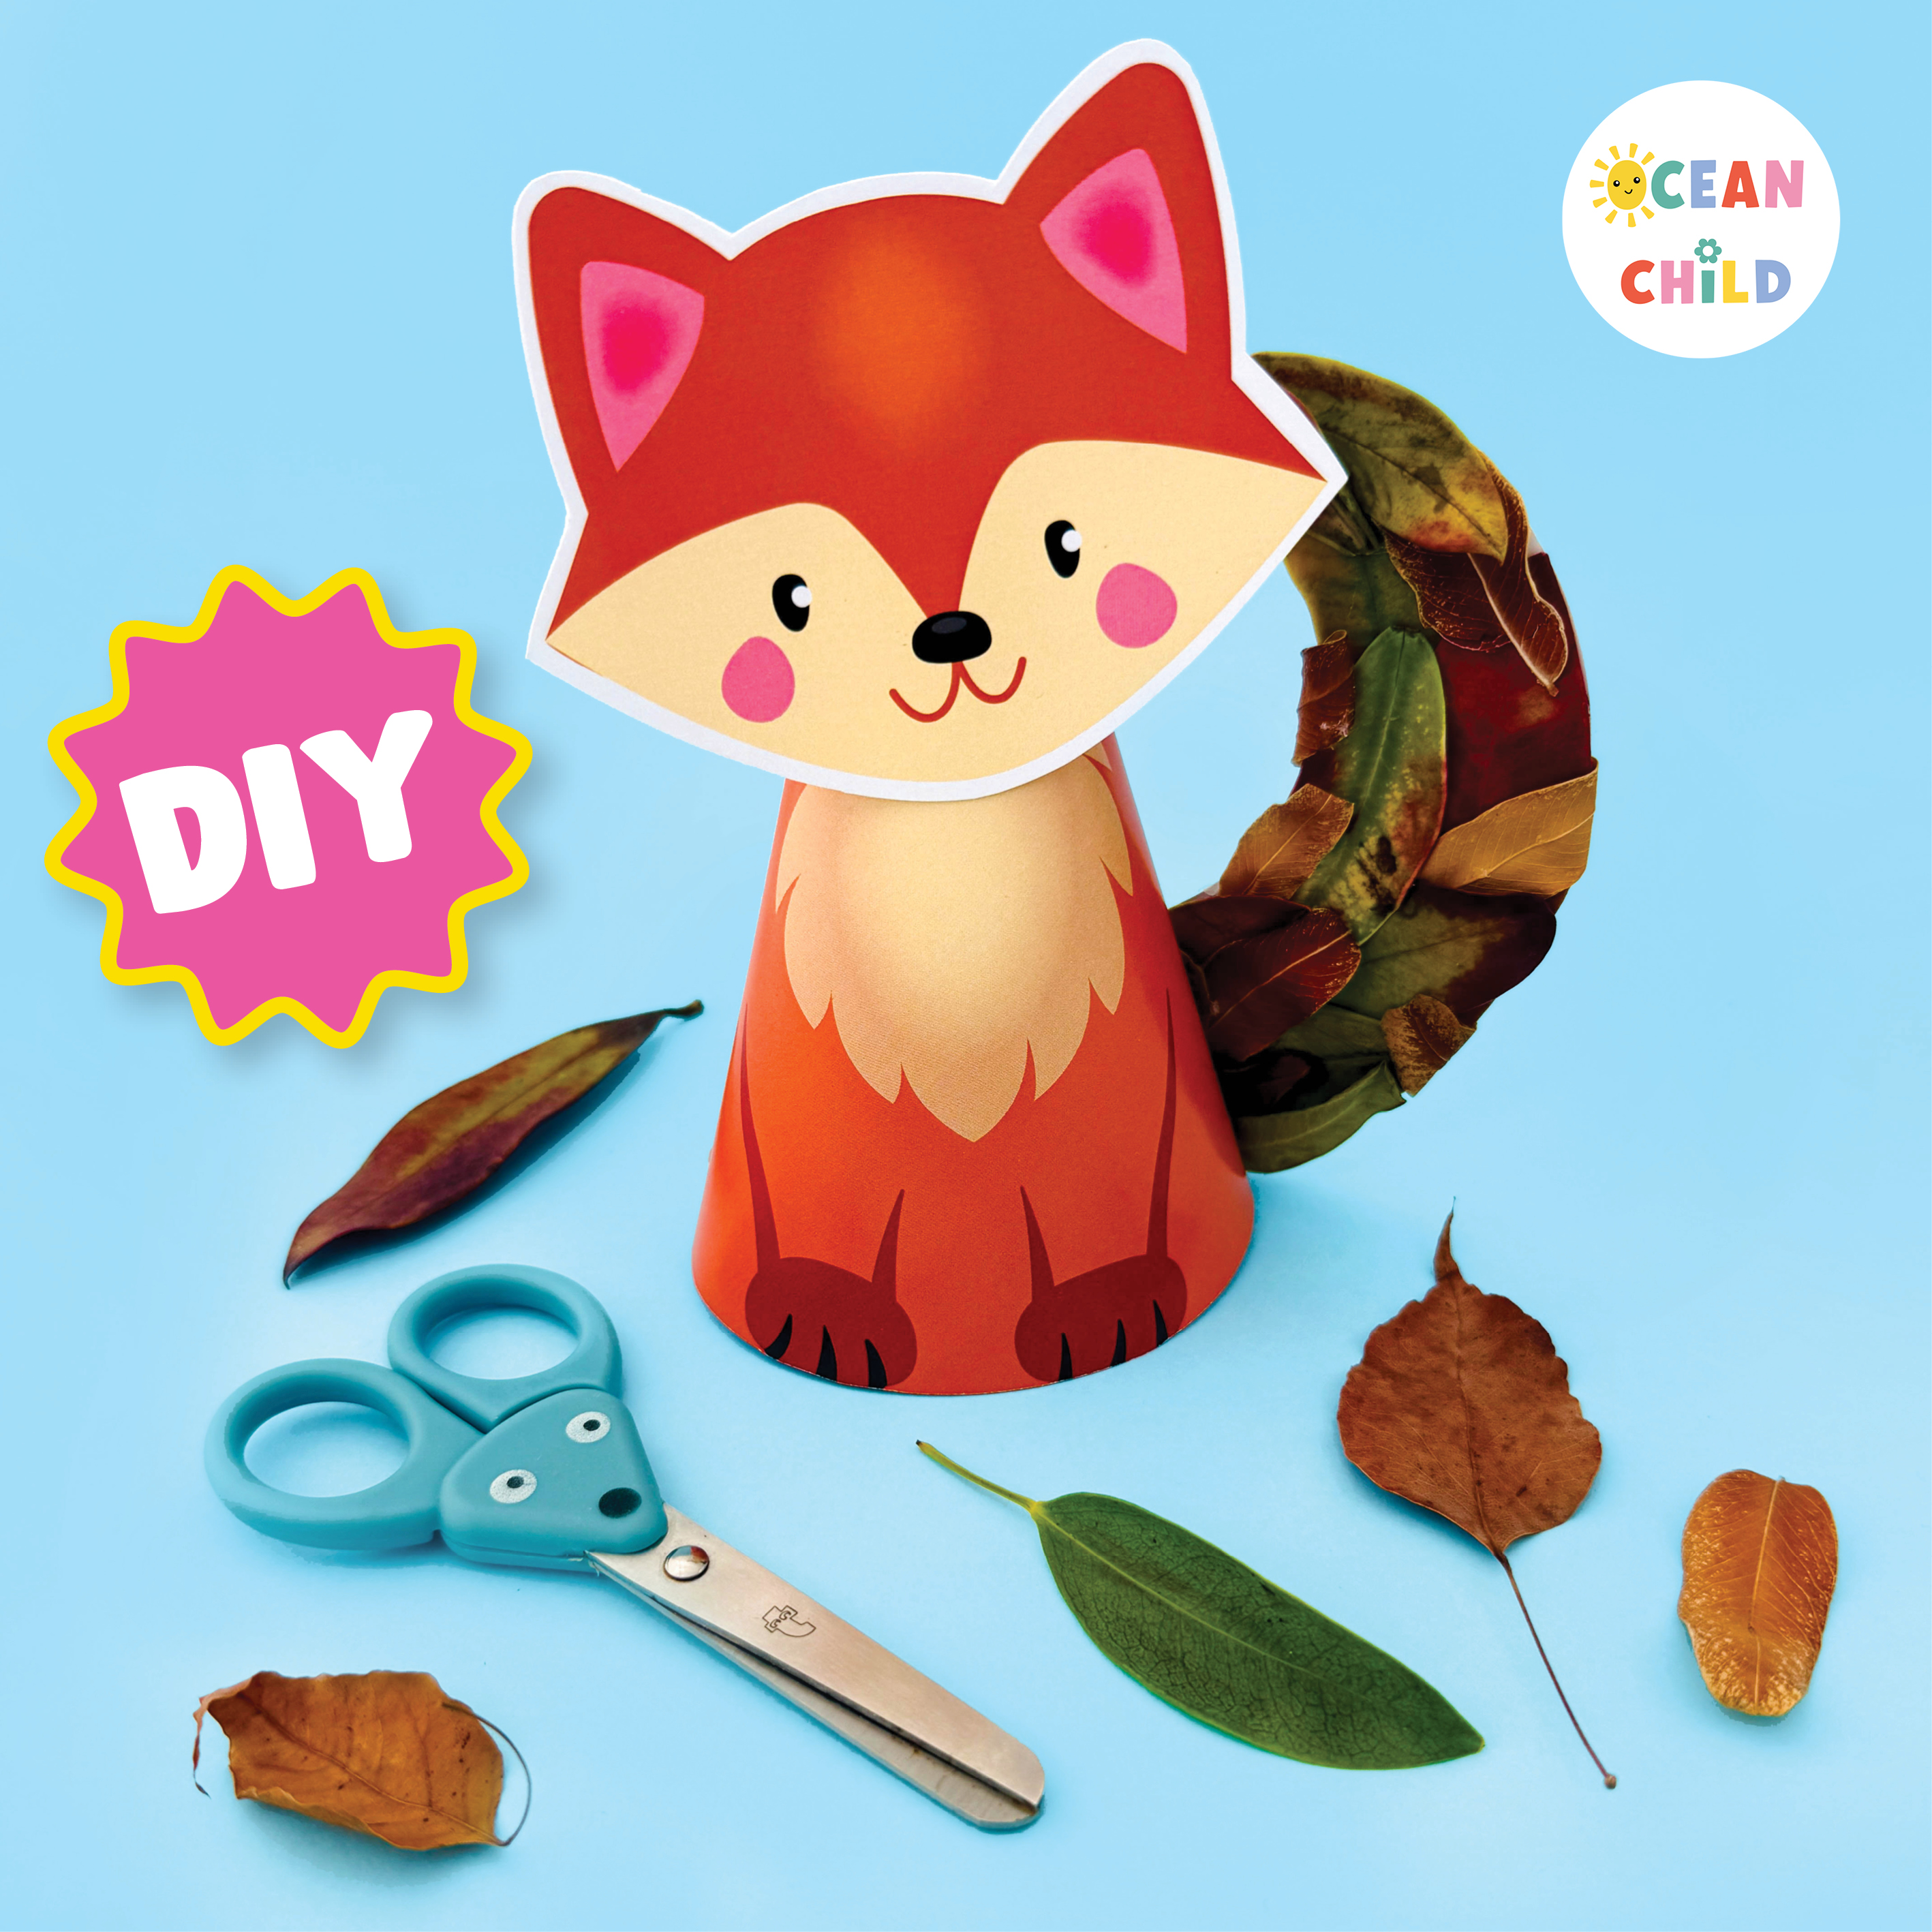
Carefully cut out the fox pieces: body/cone, head and tail. You can cut right along the lines or leave a little white border. - Build the Cone
Roll the cone shape into a point and glue along the flap. It should stand upright. Glue the fox’s head on top and the tail at the back or side. (Tip: a little piece of tape inside helps the cone keep its shape.) - Make a Leafy Tail (optional & super fun!)
Want to take it up a notch? Use real fall leaves! If the leaves are small, glue them right onto the tail template. If they’re big, tear them into “confetti” and sprinkle them over a glued surface. Once dry, cut out the tail and attach it, your fox now has a nature-inspired tail that’s one-of-a-kind!
Option B: From Scratch (No Printer? No Problem!)
- Make the Cone Body
Grab a plate (around 30 cm across works well, but any size will do, the bigger the plate, the bigger your fox!). Trace a circle onto orange or brown paper, then cut out about one-third of the circle. Roll it into a cone shape and glue the edge down so it holds. - Add the Face & Chest
Draw a sweet little fox face on matching paper. Don’t forget the eyes (you can even use googly eyes if you have them!), a tiny black nose, and pink inner ears. Glue the face to the top of the cone. Also, draw a round chest; you can take a lighter shade of paper (yellow or pink). - Create the Tail
Cut a large curved tail from orange or brown paper, and glue on a cream-colored tip. Use a pencil, marker, or crayon to add furry lines for texture. Glue the tail to the back of your cone. - Add Details
Now give your fox some character! Draw on paws, whiskers, or extra fur marks. Short little strokes with crayons or markers make the fox look fluffy and cozy. - Optional Nature Twist
Take your fox outdoors! Collect real fall leaves and use them to make a tail instead of paper. Kids love this part, it’s like a mini treasure hunt. You can glue whole leaves on the tail template, or crumble them into “leaf confetti” and sprinkle them on your paper tail.
![]()
-
- Paper fox craft template
-
- Woodland Paper Craft
![]()
Why Parents & Teachers Love This Craft
- Low-prep: Just print and gather supplies.
- Great for groups: Perfect for classrooms, homeschool, playdates, or after-school clubs.
- Flexible: Works with the printable OR just construction paper.
- Educational: Kids practice fine motor skills, sequencing, creativity, and even get a little nature connection if they use leaves.
- Adorable results: These foxes look fantastic on windowsills, bookshelves, or bulletin boards.
Classroom Tips
- Print on cardstock so the cones stand tall on display tables.
- Pre-cut younger children’s fox pieces for smoother assembly.
- For older kids, challenge them to design their own woodland animals (raccoon, owl, hedgehog, deer).
- Pair it with a woodland storytime (like The Mitten or The Gruffalo) for a cozy fall theme.
FAQs
Do I need special paper?
No, regular printer paper works fine, but cardstock makes the fox stronger and longer-lasting.
Can I print on A4 instead of US Letter?
Yes, just click “fit to page” when printing.
Can kids do it alone?
Younger kids may need help with cutting and rolling the cone, but older kids can manage most of it independently.
Get Your Fall Fox Craft Printable
Save time and skip the measuring! Grab the Fox Cone Craft Printable (includes both color-your-own and ready-to-use colored fox), perfect for parents, teachers, and homeschoolers. You can grab the fox printable in our printable Etsy store or Teachers Pay Teachers shop.
![]()
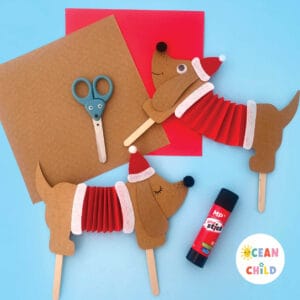 Easy Dancing Christmas Dog Paper Craft for Kids
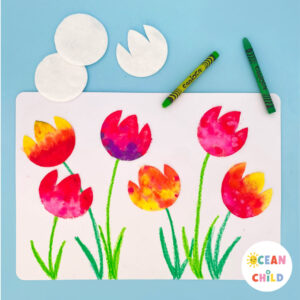 Easy tulip craft activity, perfect for Mother’s Day!
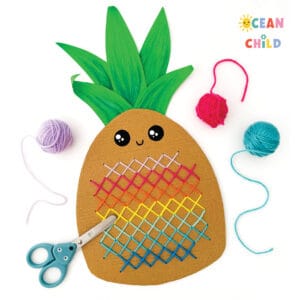 Teach Kids to Stitch with This Cute Pineapple Cross-Stitch Craft (Free Pattern)
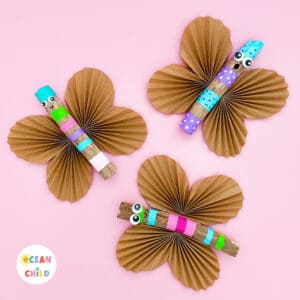 Butterfly stick craft for kids


Leave a Reply