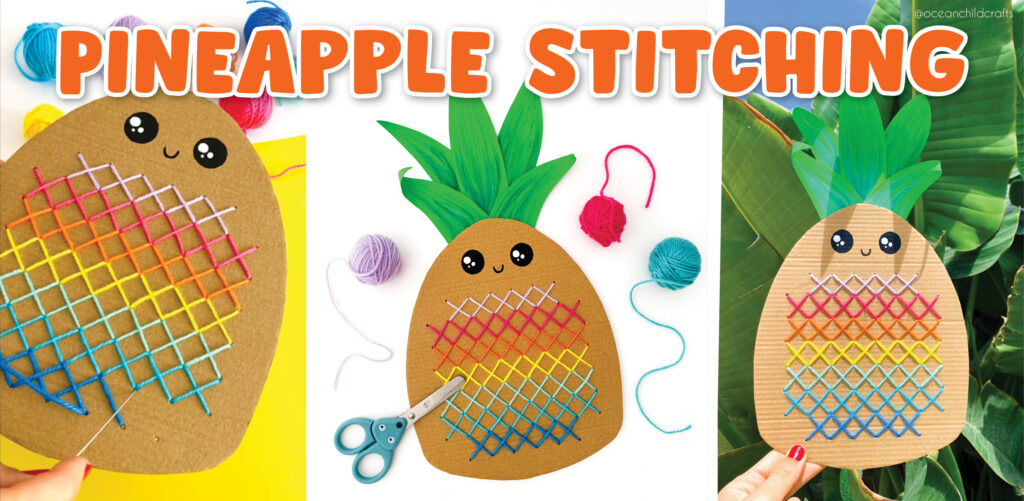
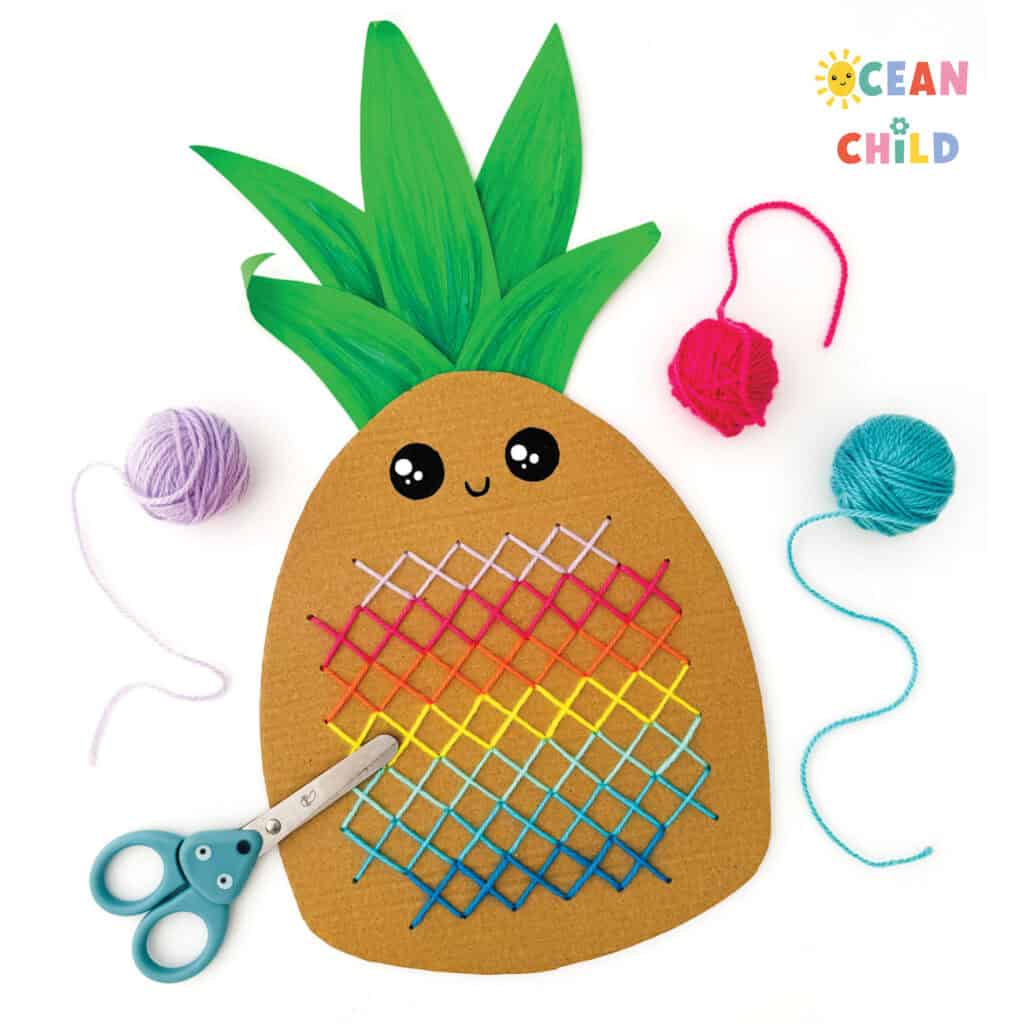
Looking for a fun and colorful cross-stitch craft for kids? This easy rainbow stitching pineapple project is a fantastic way to introduce children to the basics of cross-stitching, all while making something bright, cheerful, and totally adorable!
There’s something about pineapples that makes them perfect for crafting. Their unique shape and textured surface makes them perfect for all kinds of creative fun, painting, stamping, paper crafts, and stitching!
In this DIY project, we combine simple cross-stitch techniques with rainbow yarn colors to create a pineapple that looks just as sweet as the real thing.
By using this site, you agree to our terms of use. This article contains affiliate links; read our full discloser here.
Why Cross-Stitching Is a Great Craft for Kids
Cross-stitch for kids is more than just a creative outlet, it’s also an excellent way to build fine motor skills, focus, patience, and hand-eye coordination. It encourages children to slow down, concentrate, and enjoy a relaxing, screen-free activity.
Best of all? It’s incredibly satisfying! Watching a pineapple pattern come to life stitch by stitch gives kids a real sense of accomplishment.
Free Printable Pineapple Stitching Template
To make this craft super simple, we’ve created a free printable template! It includes the pineapple shape and all the stitch hole placements, so you don’t have to worry about measuring or guessing. Just print it out, trace it onto cardboard, and you’re ready to go!
No Printer? No Problem!
If you don’t have a printer, you can still make this pineapple craft! Here’s what you need to know:
- Size: 23 cm tall × 19 cm wide (slightly oval shape)
- Hole spacing: Approximately 2 cm apart
- Stitch pattern: 8 holes across and 8 down (skip one stitch in each corner for cleaner edges)
- Total holes: 60
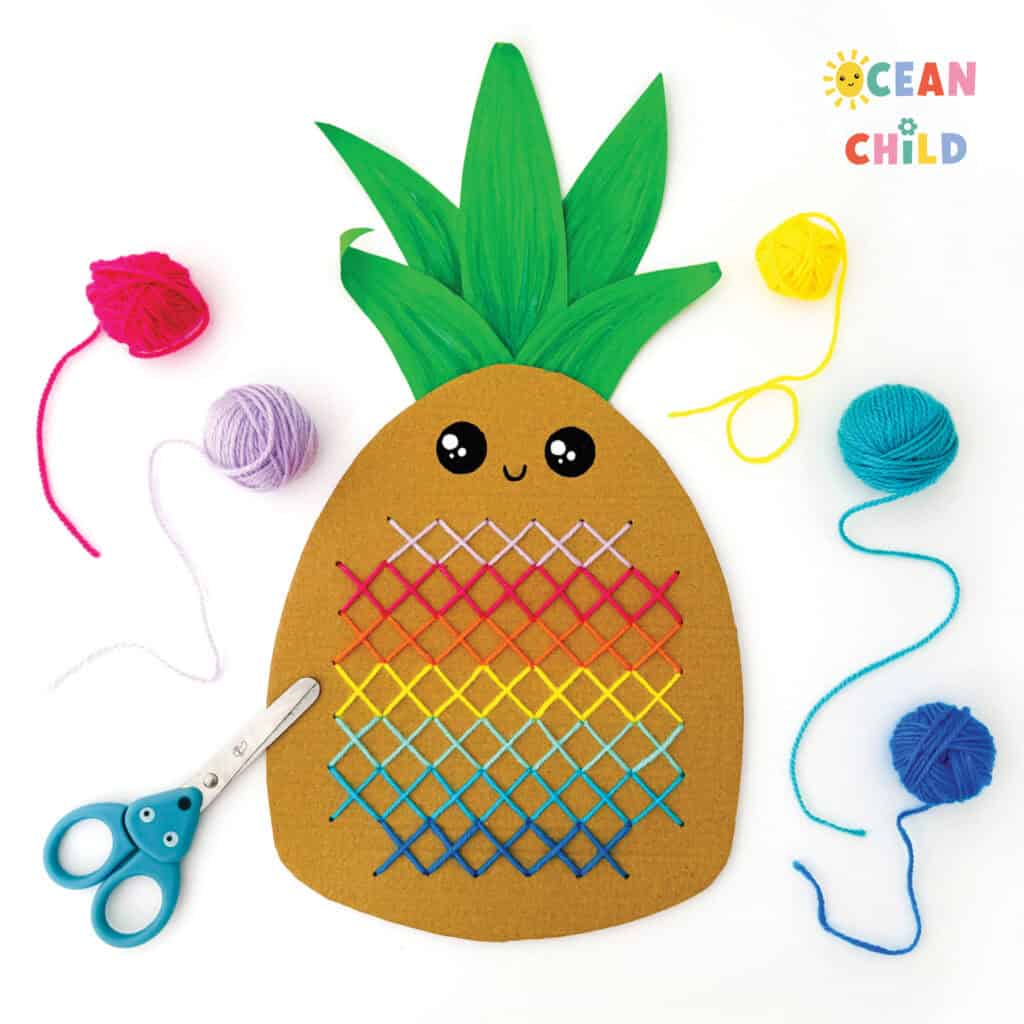
- Colors used: We used 7 rainbow colors, but you can choose your favorites!
Below, you’ll find a step-by-step guide to help you (and your little ones!) create this colorful, cross-stitched pineapple from start to finish. Let’s get stitching!
Materials Needed for the Pineapple Cross-Stitch Craft
Free pineapple printable template (optional but helpful!)
Sturdy cardboard (23 × 19 cm)
Colored yarn or embroidery thread (7 rainbow colors or any combo you like)
Green paper or printable leaves
Blunt tapestry needle (great for kids!)
Scissors
Black marker or googly eyes
Hole punch or sharp object (for making holes)
Step-by-Step: How to Make a Pineapple Cross-Stitch Craft
Step 1: Collect the materials
Start by collecting all the materials you’ll need for this fun pineapple-themed cross-stitch project. To make things easier, we’ve created a free printable template you can use. This template includes the pineapple shape along with clearly marked holes for cross-stitching, helping you create the perfect pineapple texture and structure with ease.
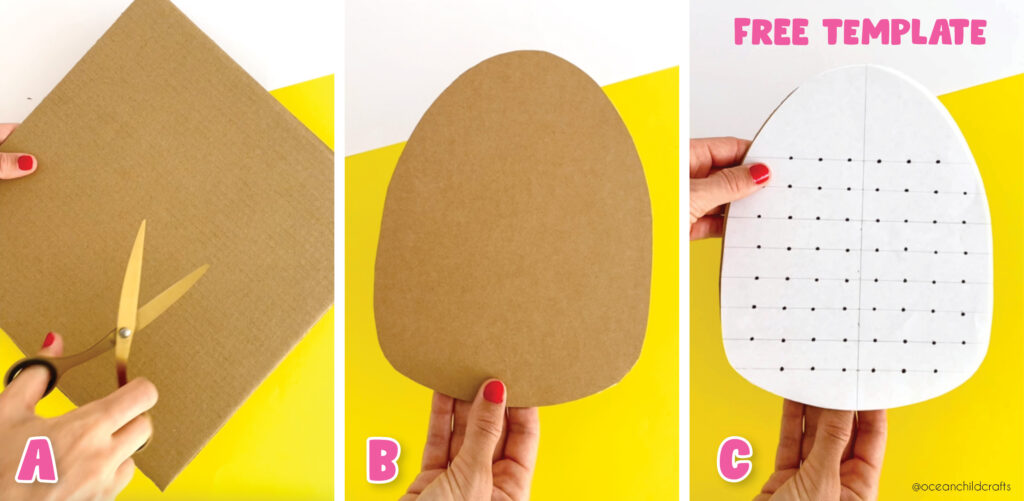
Step 2: Draw and Cut Out Your Pineapple Craft
On a piece of cardboard (23 x 19 cm), draw the shape of your pineapple. You can either trace the printable or draw it freehand. Once you’re happy with the shape, cut it out carefully.
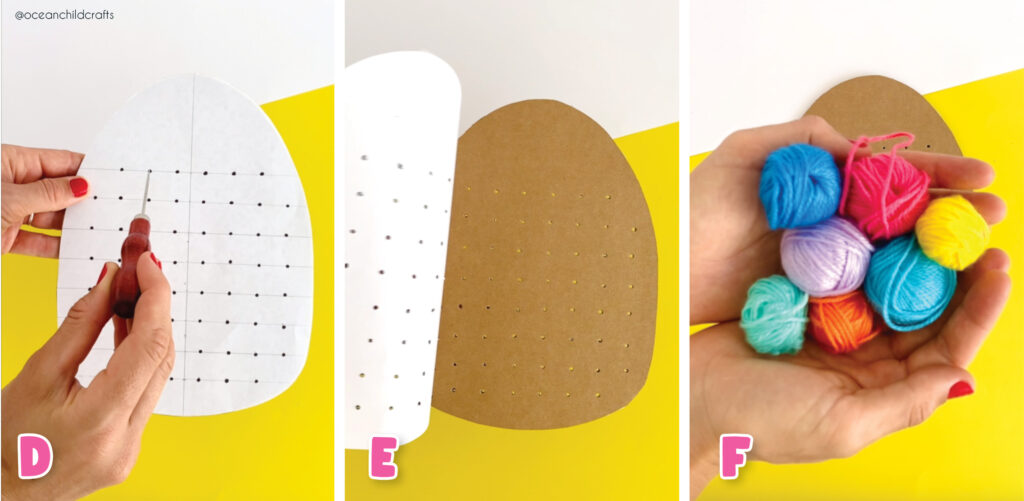
Step 3: Prepare the Pineapple for Stitching
Next, add the stitching holes. You’ll need to make 60 holes, spaced about 2 cm apart. Use the printable and reference image to help with hole placement.
To do this, place the printable over your cardboard cutout and use a hole punch or sharp object to make the holes. If your child is very young, it’s best to make the holes for them. Otherwise, supervise closely during this step to ensure safety.
Step 4: Choose Your Colors
Now it’s time to pick your thread or yarn colors! We used seven rainbow colors, but you can get creative and choose seven different shades or just two contrasting colors to create a fun striped pattern. Use whatever combination you like best! These packages with rainbow yarn are a great way to start, it also include a blunt needle, perfect for project like this.
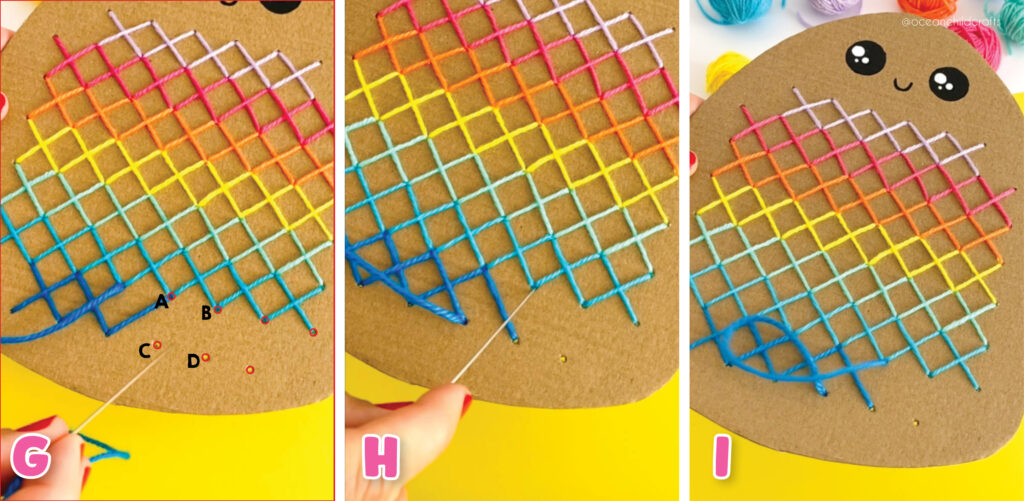
Step 5: Start Stitching
Begin at the top right corner of your pineapple. Choose your first color and cut a piece of yarn about 60–70 cm long. Thread it through a blunt (tapestry) needle, a safer option, especially for kids.
Start from the back side of your cardboard pineapple and tape the end of the yarn down to secure it.
Refer to Image G above:
To make your first cross-stitch craft, go from hole A to hole D. Your needle will now be on the back side again. Next, go through hole C, bringing the needle back to the front. To complete the cross, stitch from hole C to hole B (see Image H). That was your first stitch, well done! Now complete the firt row.
Step 6: Switch Colors and Continue Stitching
After completing the first row, switch to a new color for the next one. Start the same way as before, thread your yarn, secure it from the back, and begin stitching.
Continue working row by row, changing colors as desired. Keep stitching until your pineapple is fully filled and the diamond-shaped pattern becomes visible.

Step 7: Give Your Pineapple a Smile
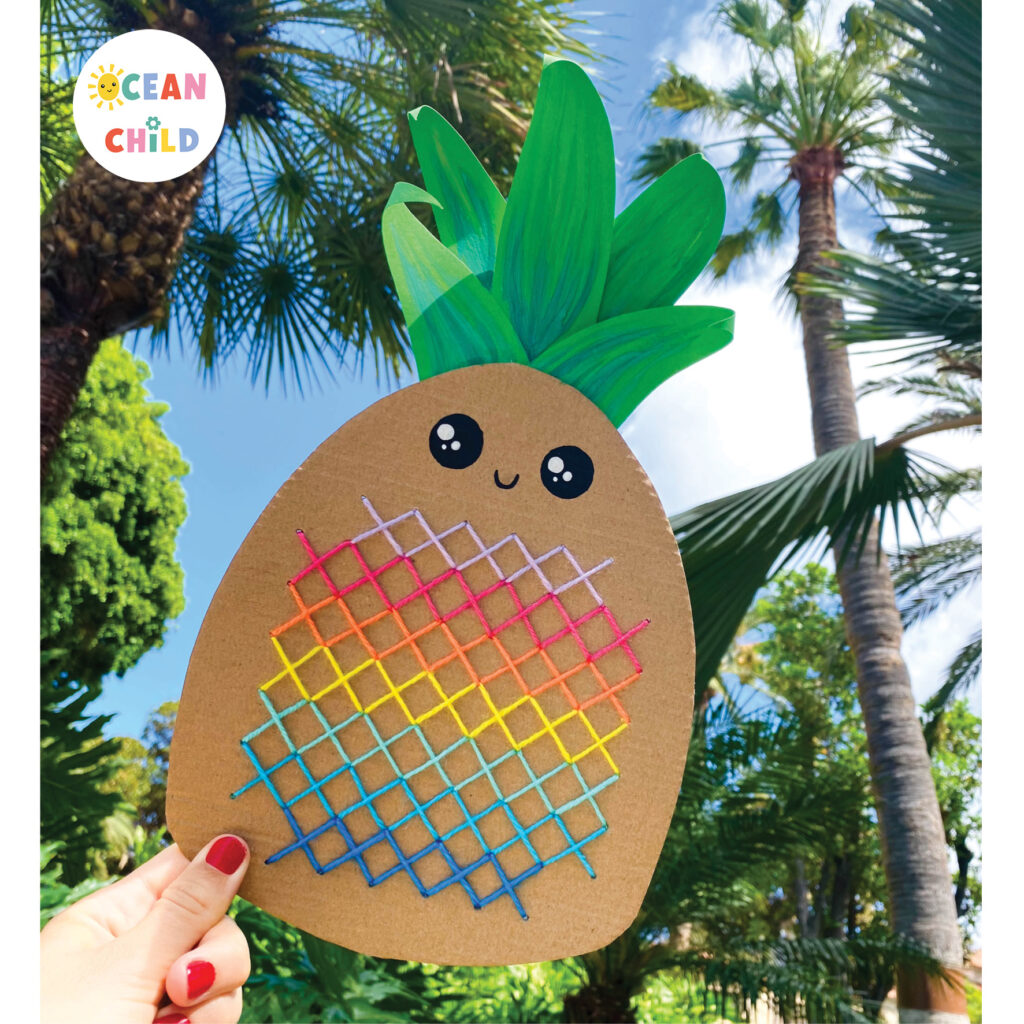
Great job on the stitching! Now it’s time to bring your pineapple to life with a cute face. We used a black marker to draw two adorable eyes and a cheerful smile, but feel free to get creative! You can also use googly eyes for a fun, playful look.
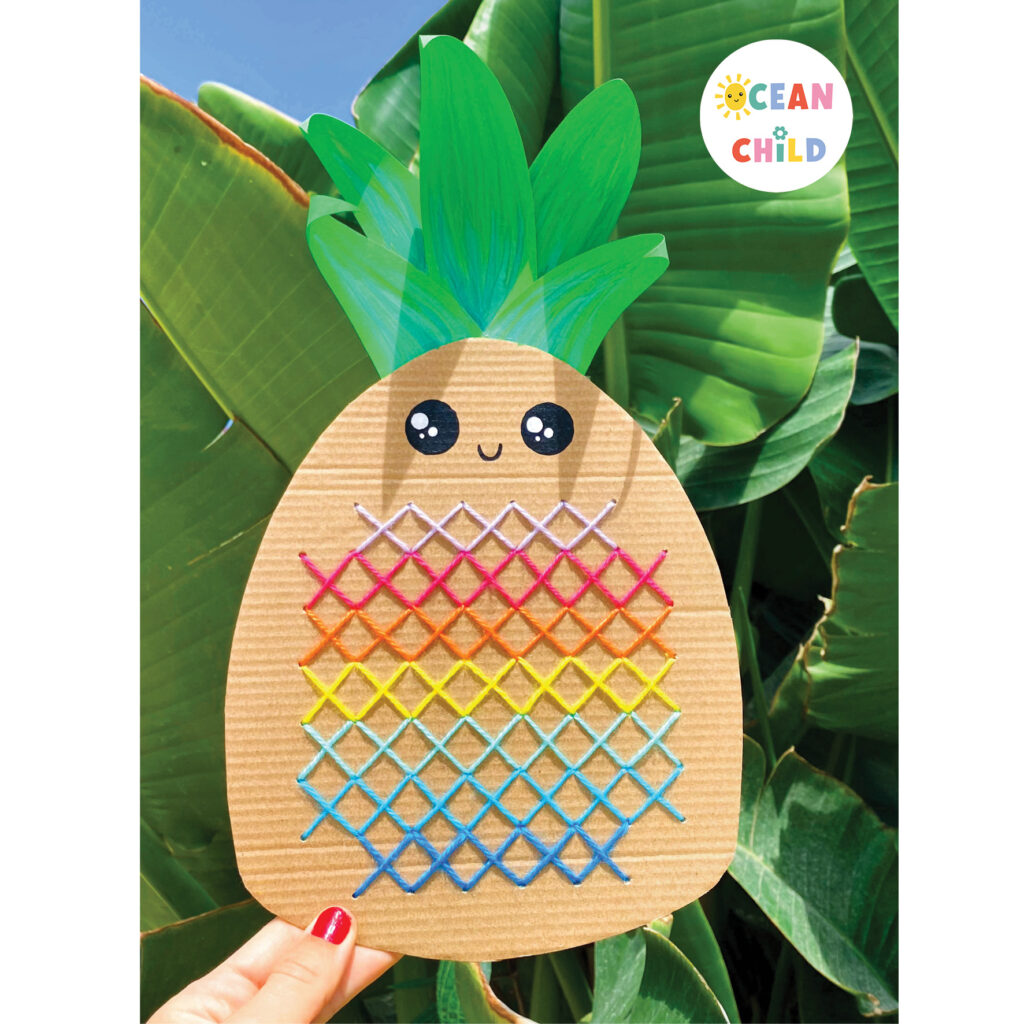
Step 8: Add the Pineapple Crown
Let’s finish it off with a green crown! You’ll find the leaf shapes on the second page of the printable, ready to cut out and color. Alternatively, you can trace them onto green paper.
To add more texture and realism, we used green paint, but markers or crayons work just as well. For a fun touch, we curled the ends of the leaves slightly to give them a playful, 3D effect.
Well done on this adorable cross-stitch craft. We have another fun pineapple themed craft project ready for you, what about these adorable pineapple planters? They make the perfect gift for a loved one!
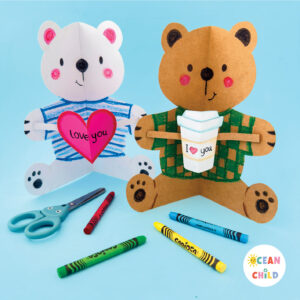 Bear Pop-Up Card for Kids – Easy Valentine’s and Mother’s Day Craft
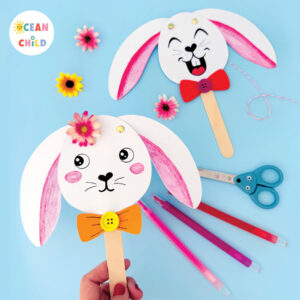 Fun Spring Bunny Craft With Flapping Ears And Free Template
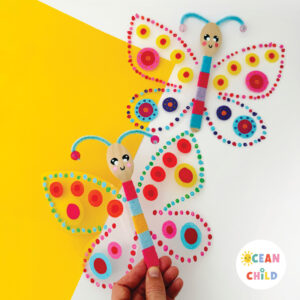 Make Colorful Butterfly Puppets with Flapping Wings for Kids!
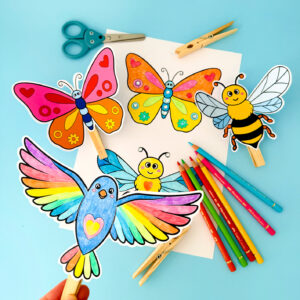 Bug Clothespin Craft with Flapping Wings for Kids


)
Leave a Reply