Easy paper Christmas Angel craft for kids. A sweet, colorful, and simple holiday craft to make together! There’s something magical about creating your own Christmas decorations, especially when little hands are helping. These easy paper Christmas angels are bright, joyful, and simple enough for kids to make with just a few supplies. Whether you’re crafting at home on a cozy winter afternoon or adding some holiday cheer to your classroom, this DIY angel ornament is sure to bring smiles.
Turn on your favorite Christmas carols, make a cup of hot chocolate, gather your supplies, and get ready for some festive fun!
By using this site, you agree to our privacy policy and terms of use. This article contains affiliate links. Please read our full disclosure here.
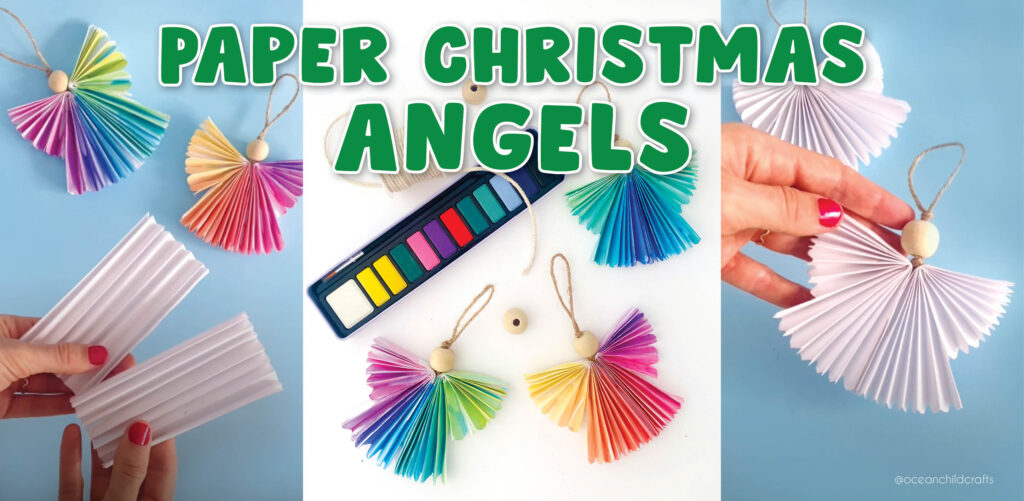
Why You’ll Love This Christmas Angel Craft
- Perfect for kids of all ages, simple folds, big results!
- Uses just paper, paint, and glue, budget-friendly and low-mess.
- A wonderful keepsake or handmade gift for grandparents and friends.
- Encourages creativity, patience, and fine motor skills.
- Beautiful as a Christmas tree ornament or a handmade holiday card decoration.
- Try out these Christmas ornaments with the kids!
- Color your paper Christmas angels with watercolours
Craft Supplies You’ll Need
Here’s what you’ll need to make your own watercolor paper angels:
- White printing paper (80 gsm) or square origami paper
- Watercolors, we used a watercolor palette; this works well with kids
- Wooden beads, about 1.5 cm (½ inch)
- Twine, for hanging
- Glue, glue stick and hot glue (or school glue for kids)
- Scissors
How to make a paper Christmas angel craft?
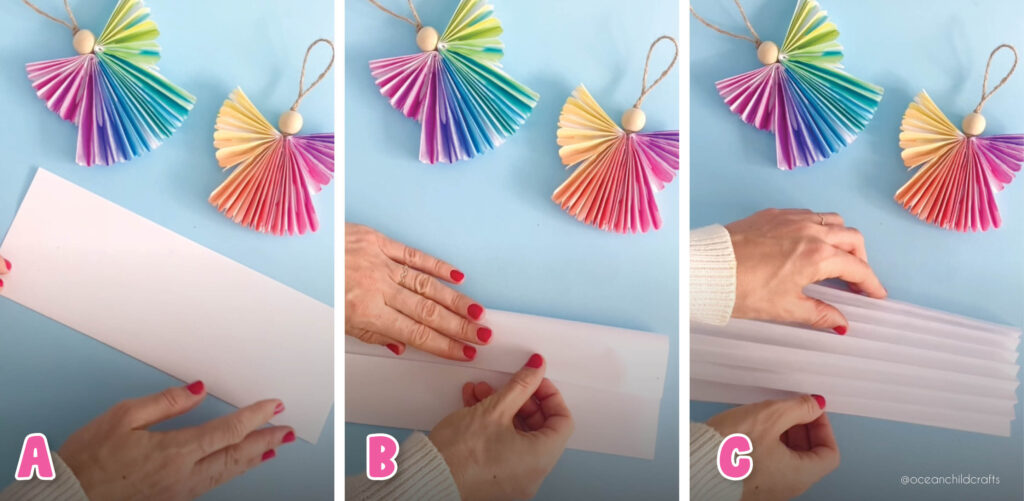
Fold your Christmas Angels with paper
Step 1: Fold Your Paper
Start with an A4 sheet of thin paper (80 grams printing paper) or origami paper, thinner paper is easier for kids to fold. Fold it in half along the long side, then unfold to create a crease in the middle. See image A above.
Step 2: Mark the Folds
Fold each side toward the center crease and unfold again. You’ll now have three fold lines along the long side. See image B above.
Step 3: Create a Paper Fan
Turn the paper into a fan by folding it in 1.5 cm (½ inch) sections, back and forth like an accordion. Repeat until the whole sheet is folded. See image C above.
Tip: Encourage kids to take their time here, this step helps with focus and hand-eye coordination!
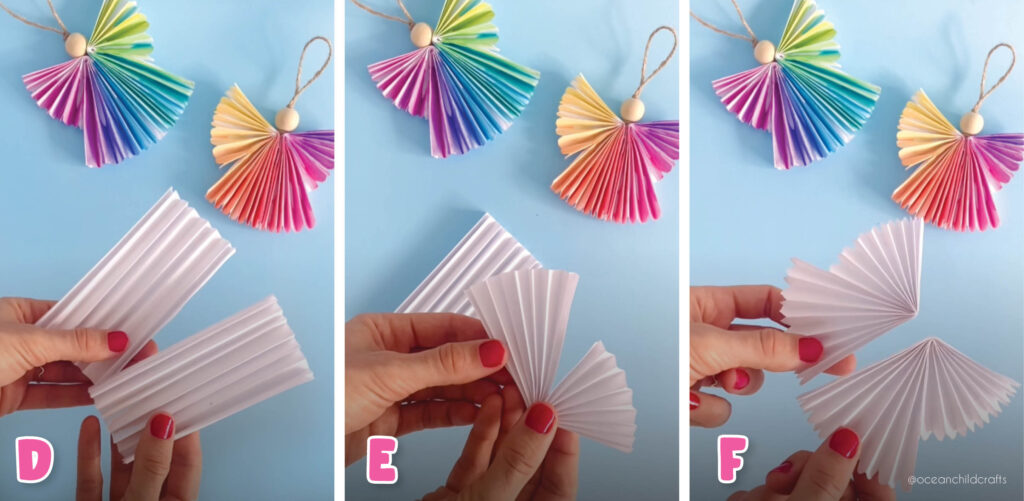
How to make Christmas angel ornaments
Step 4: Cut and Fold
Find the middle of your paper fan and cut it in half. Take one half and fold it again, about one-third of the way from the middle. Repeat with the other half, these will be your angel’s wings and dress. See images D, E and F above.
Step 5: Add the Bead Head and Twine
Cut a 30 cm (12 in) piece of twine and thread a wooden bead through the middle. Tie a knot under the bead to keep it in place. This will be your angel’s head and hanging loop. See images G and H below.
Step 6: Glue It Together
Glue the twine between the two halves of your paper fan. We used hot glue for a quick stick, but regular school glue works too. Hold it together for a few seconds until it sets.
Parent tip: Hot glue sets fast, but if kids are doing the gluing, school glue or tacky glue is safer.
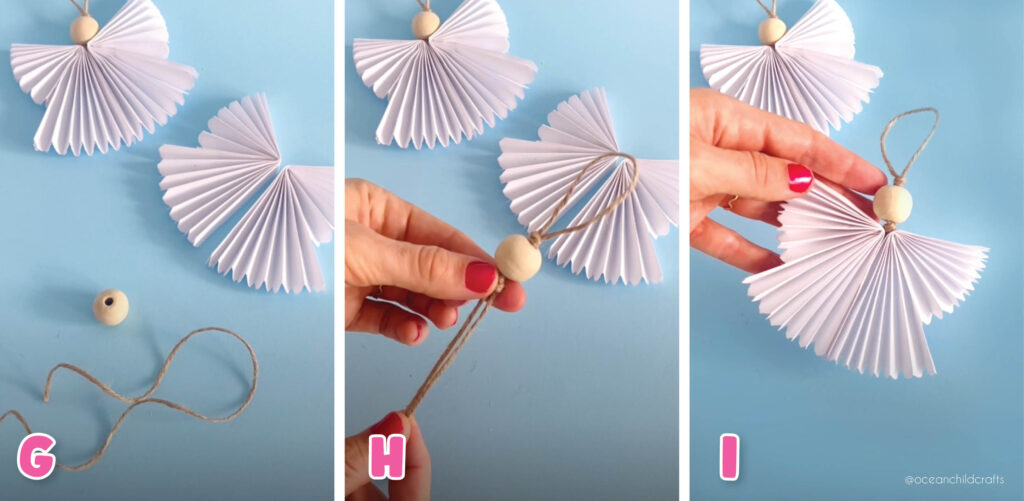
DIY ornaments for in the Christmas tree
Step 7: Paint and Decorate
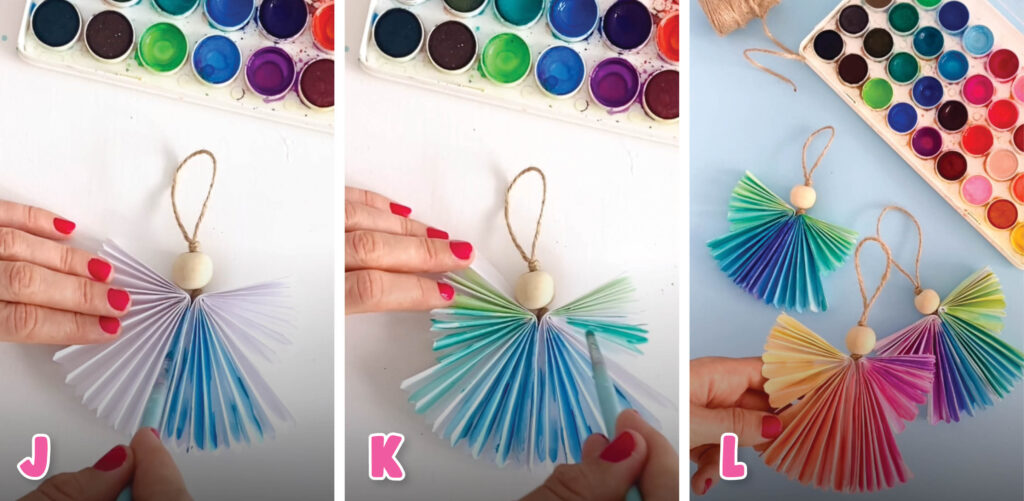
Now the fun part, decorating with color! Use watercolors to paint your angel’s wings, a watercolor palette works great with kids. You can choose a classic gold-and-white look or go for rainbow colors like we did. Pre-wet the watercolor palette so kids can easily dip their brushes in and start painting. See images J, K and L below!
Craft idea: Try mixing soft pastels for a dreamy look, or metallic shades for festive sparkle.
Step 8: Add a Face to your Christmas Angel (Optional)
Once the paint is dry, use a fine marker or pencil to draw a sweet little face on the bead. You can even add a touch of blush with pink watercolor or add some googly eyes if you wish!
And just like that, your adorable paper angel is ready to hang on the tree, attach to a gift, or give to someone special.
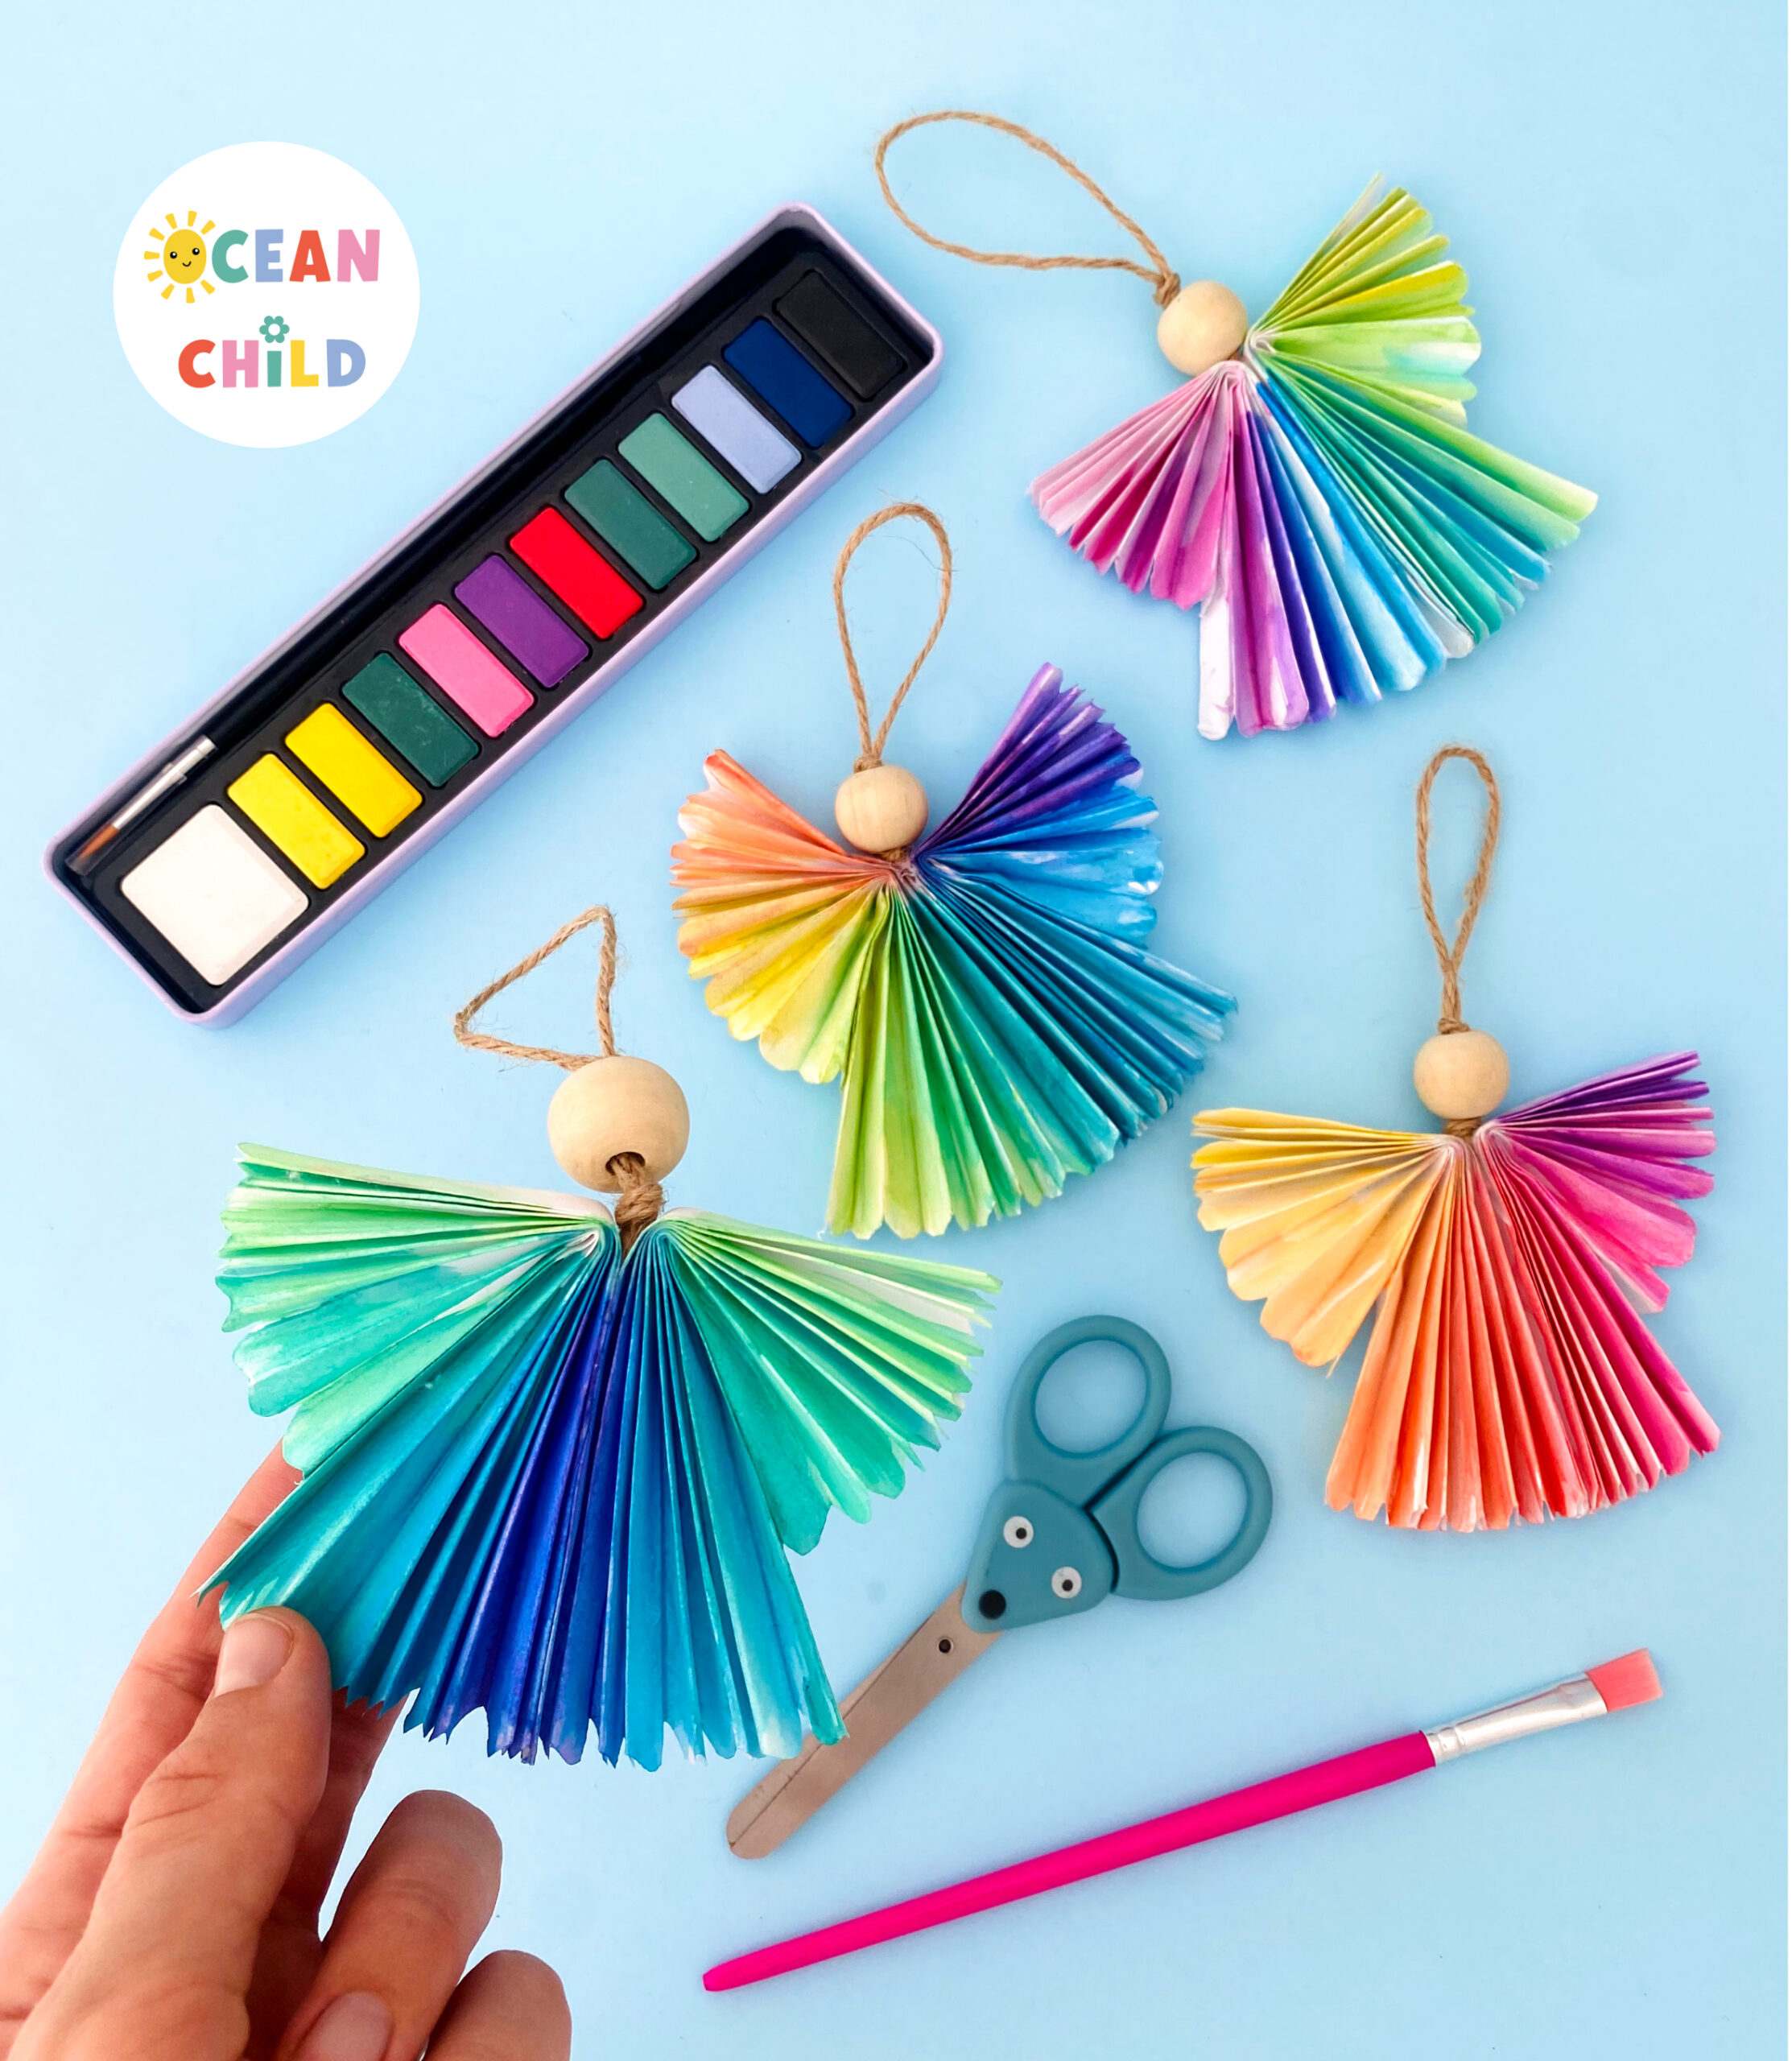
Paper Christmas angels painted with watercolors
Tips & Tricks for Success
- Use thin paper so it’s easier for kids to fold neatly.
- Pre-fold or pre-cut the paper for younger children.
- Recycled paper or old book pages also make charming rustic angels!
- If your paper curls after painting, flatten it under a heavy book for a few minutes once it’s dry.
Fun Variations on this Christmas Angel Craft
- Make mini angels as gift tags or tree decorations.
- Add glitter or sequins for extra sparkle.
- Use patterned origami paper instead of painting.
- Replace twine with ribbon or metallic cord for a festive touch.
Educational Benefits
This easy Christmas angel craft helps children:
- Develop fine motor skills and focus through folding
- Explore color blending and design with watercolors
- Practice patience and following steps
- Experience pride in creating something beautiful by hand
More Christmas Craft Ideas
If you enjoyed this project, check out these festive favorites:
-
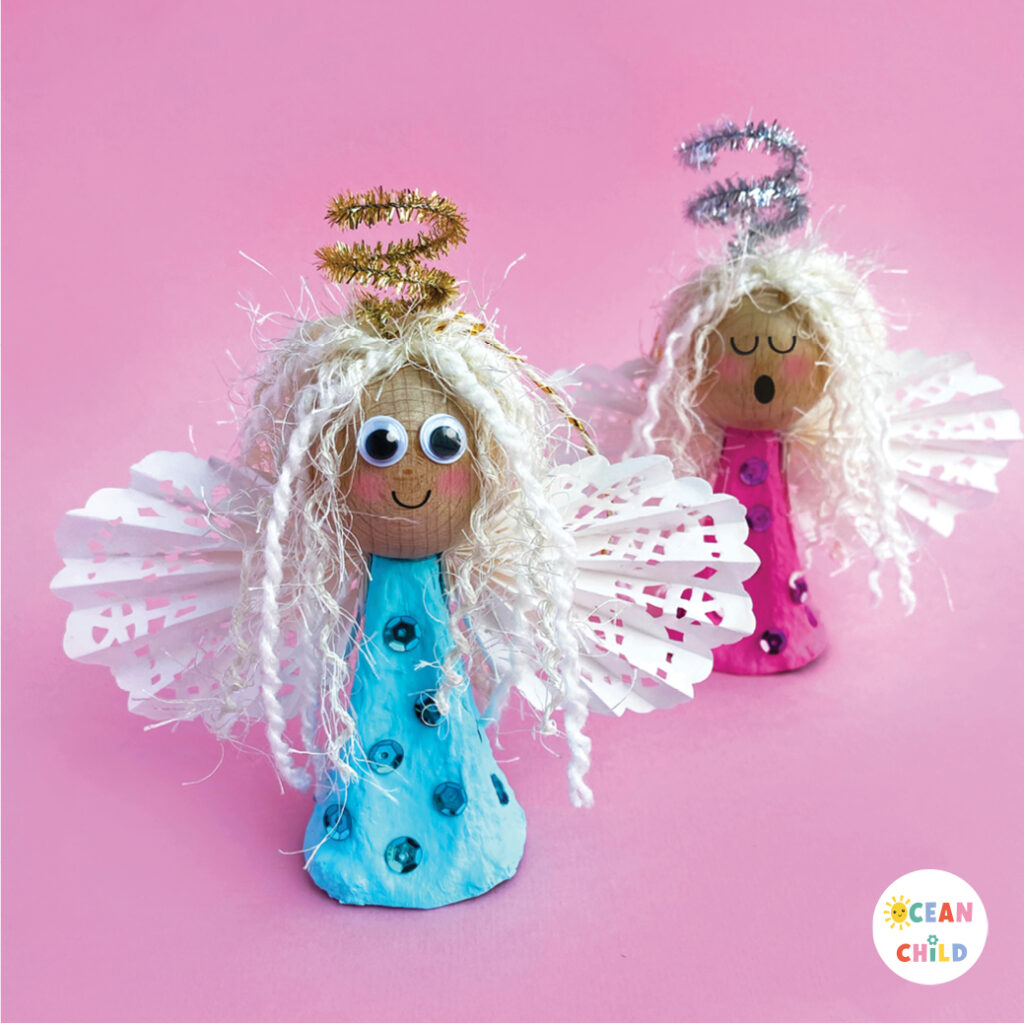
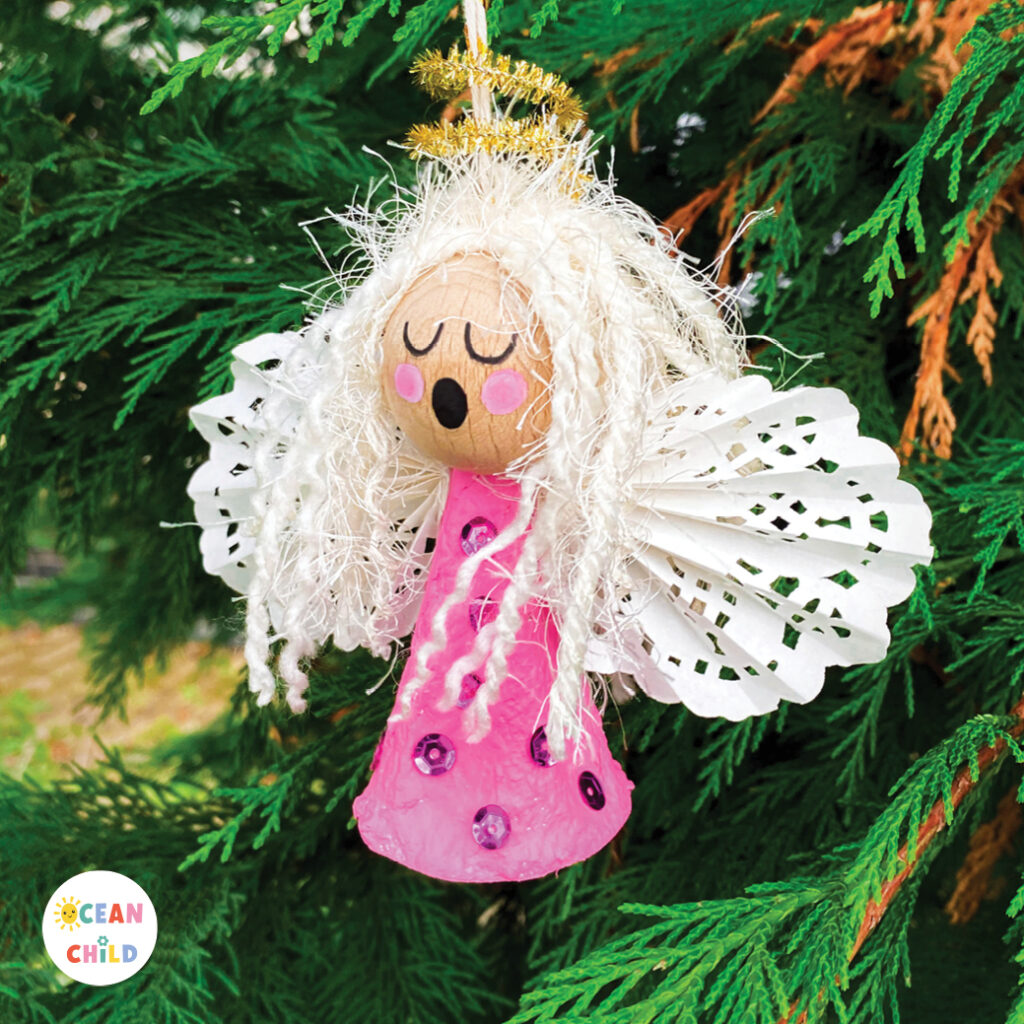
Egg Carton Christmas Angel Craft: Transform egg cartons into Christmas angels. Kids can paint, decorate with yarn hair, and add glittery pipe cleaner halos. See images above!
-
29 Fun and Easy Christmas Crafts for Kids: creative ideas for all ages!
-
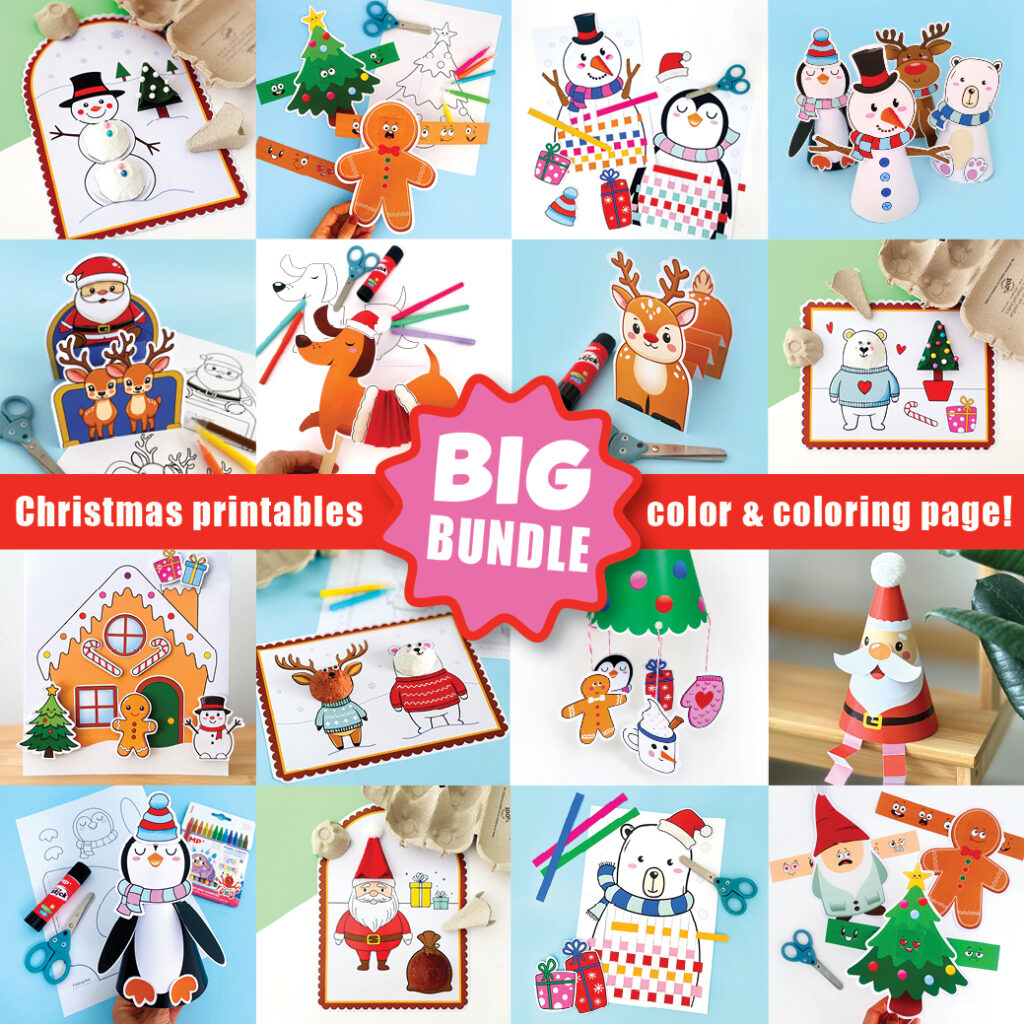
BIG Christmas Craft Printable Bundle: packed with festive templates, coloring pages, and easy crafts. Perfect for home or classroom fun, see the graphic below! This bundle helps spark imagination and joyful learning all season long. Find it now on Teachers Pay Teachers or in our Etsy craft printables shop.
Final Thoughts
Crafting with kids isn’t just about the final result, it’s about the laughter, the mess, and the memories you make together. These watercolor angels bring a touch of handmade magic to your holidays and remind us that sometimes, the simplest crafts are the most special.
Enjoy crafting, and may your holiday season be filled with creativity, color, and joy!
 How to Make a 3D Paper Christmas Tree Ornament (Free Printable for Kids)
 Fun Halloween craft that will make you giggle, FREE printable!
 Easy Lilo and Stitch Craft for Kids: Step-by-Step Fun at Home!
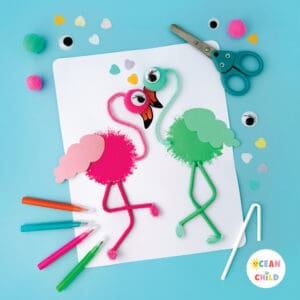 Fun and Easy DIY Flamingo Valentine’s Day Craft for Kids


[…] If you enjoyed creating these colorful Christmas trees, you might also love these easy paper Christmas angels! […]