These DIY flower stamps make the perfect flower spring craft idea for Mother´s Day! Flower stamps are one of the easiest crafts to make with kids. So these foam stamp flowers make a great classroom project for Valentine´s Day, Mother’s Day, or Grandparents’ Day. We taped the flowers on a straw so you can put them in a vase or gift them to a loved one. You can also glue the flower straps on paper for a colorful spring season artwork or turn them into greeting cards or invitations. For sure, these happy DIY spring flowers will put a smile on many faces.
By using this site, you agree to our terms of use. This article contains affiliate links; read our full discloser here.
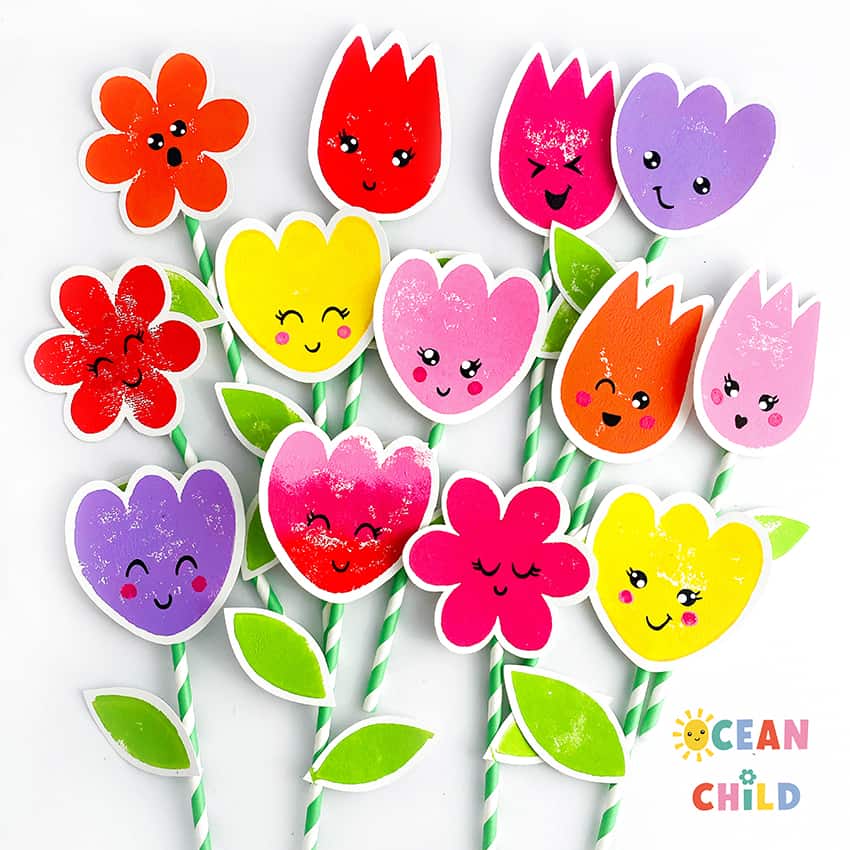
DIY flower spring craft for Mother´s Day!
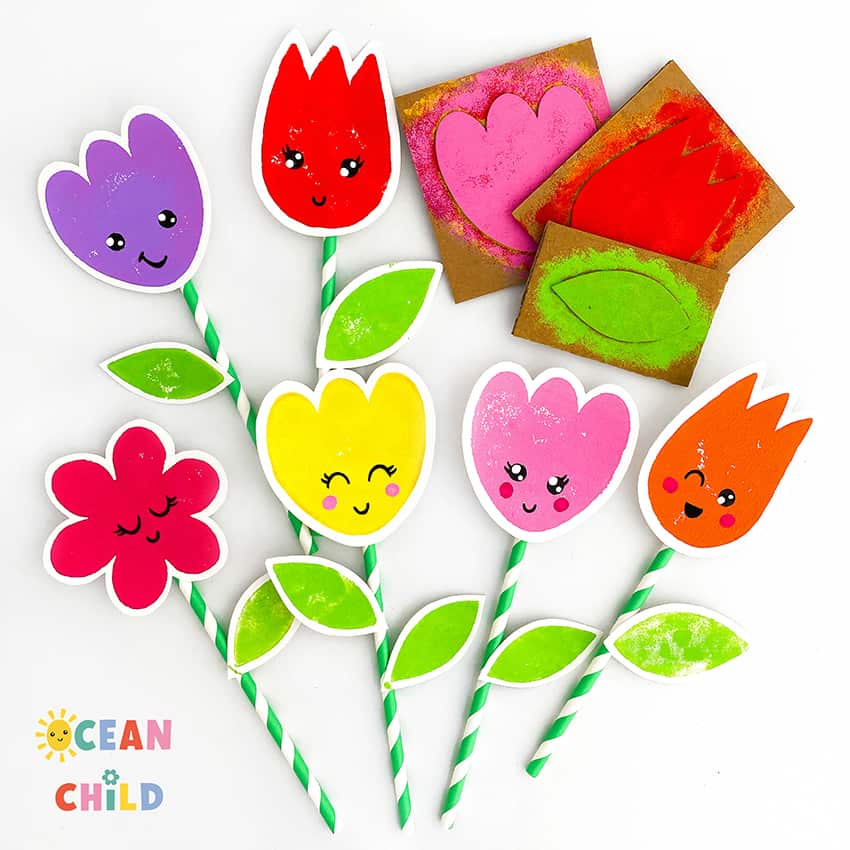
Diy flower stamp for spr”>
Craft supplies flower spring craft
- Craft foam for kids
- Piece of cardboard or wood
- Colored paint
- Green striped straws
- White card-stock
- Sponge to apply paint
- Black marker
- Scissor
- Tape or glue
Step-by-step instructions
Step 1: Gather the craft supplies you need for this craft.
Step 2: Start with scrap paper and draw one of the flowers you can see in the pictures above. Make sure your flower has the right size for your straw. When you´re happy with your flower drawing, cut it out and trace it on a piece of foam. Cut out your foam flower as well.
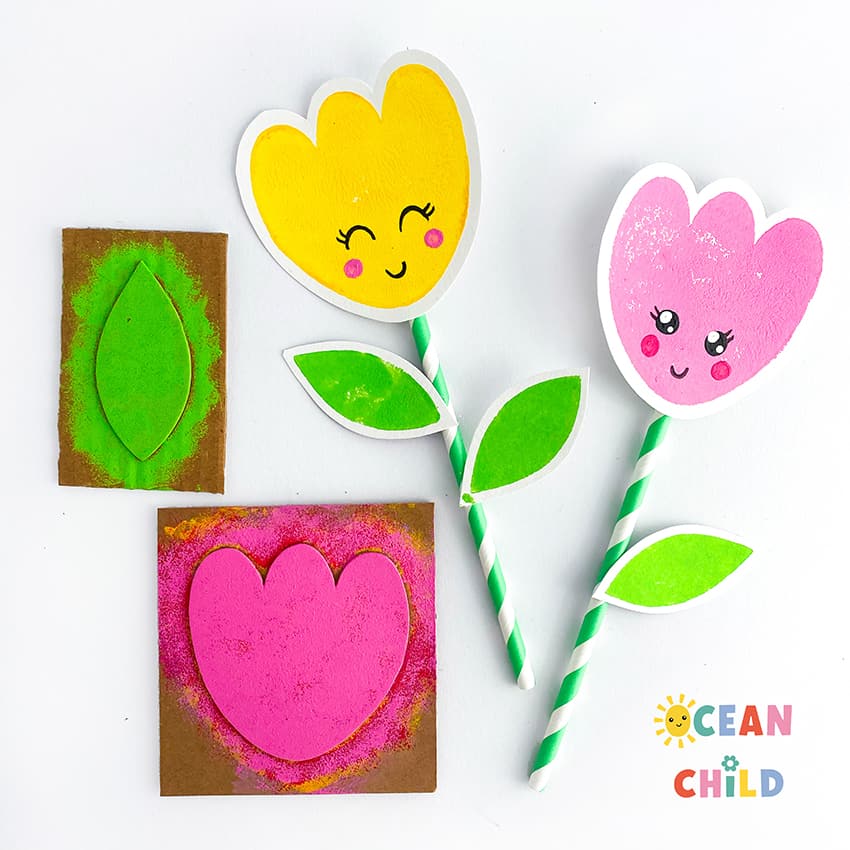 DIY flower stamp craft activity
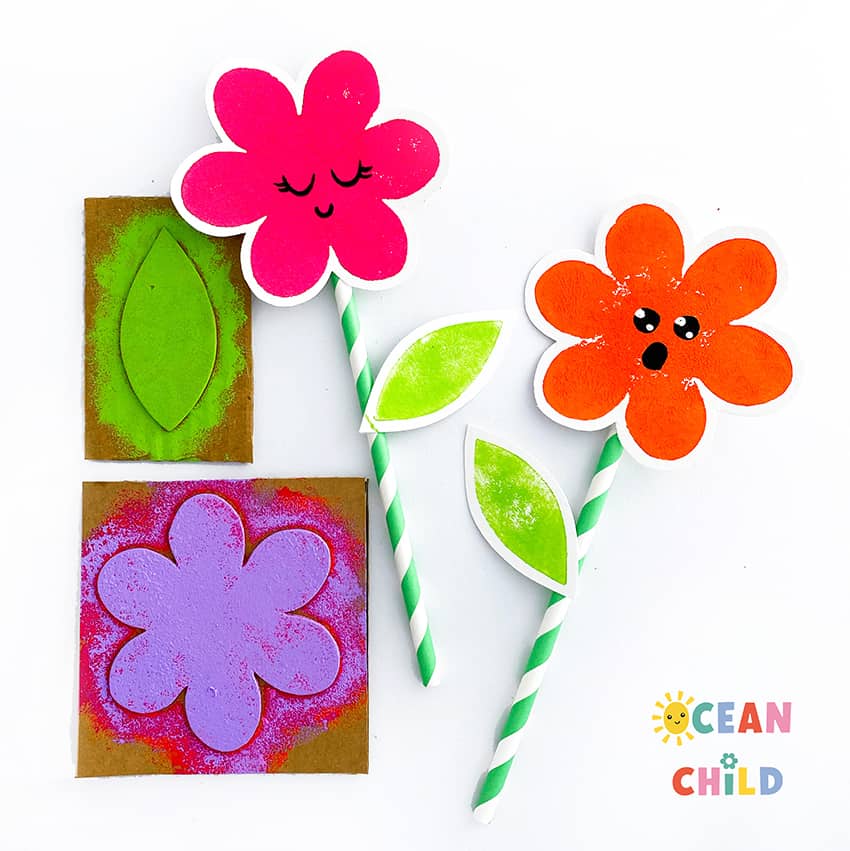
Flower craft for Mother’s “>
[caption id="attachment_1719" align="aligncenter" width="850"]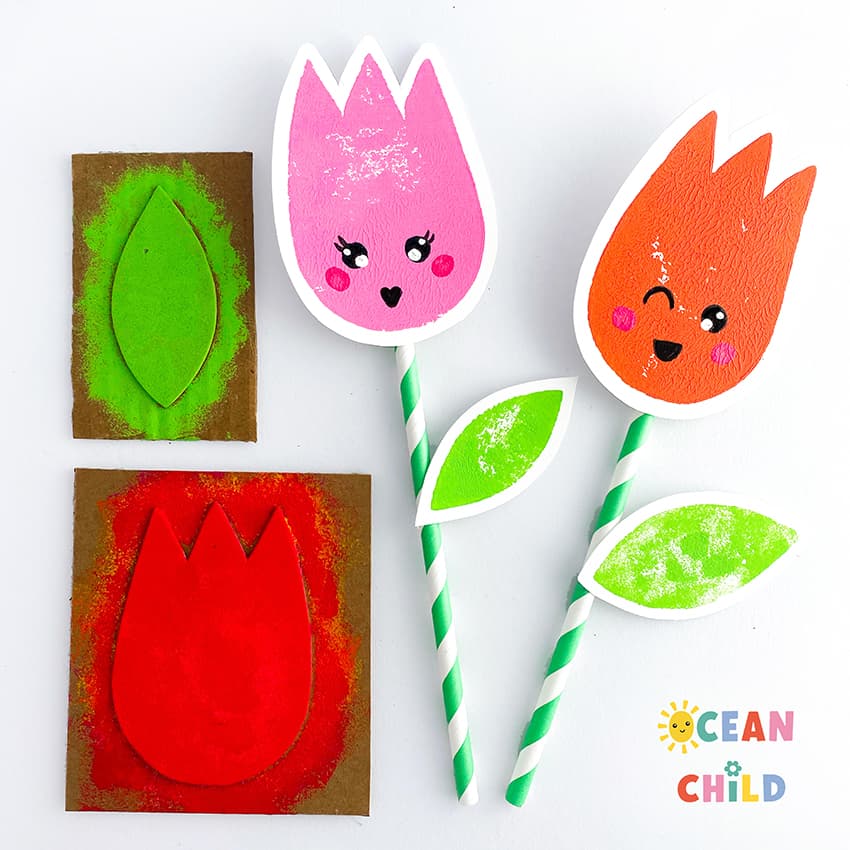 Mother´s day craft kids
Step 3: We will use a piece of cardboard or wood for the base of your stamp. This piece needs to be slightly bigger than your foam flower. Glue your foam flower against the cardboard or wood and let it dry.
Step 4: Take a small plate and put some paint out with a sponge (we used an old cleaning sponge). We´re going to apply the paint to your foam stamp. With the sponge, it´s easier to control the amount of color you apply to make a lovely clean stamp. You can use washable paint or acrylic paint, as we did.
Step 5: Now, it´s time for a test stamp. Take scrap paper or an old newspaper and try out your logo.
Step 6: When you´re happy with your test stamp, it´s time to stamp on your white cardstock. We recommend using white card stock , so the paper doesn´t bend as easily. Try out multiple stamps and colors on one paper sheet. When you are done stamping, put your paper aside and let the paint dry.
Step 7: If you like, you can also make some green leave stamps for your flowers, but this is optional.
Step 8: When your flowers are dry, we will cut them out. Leave a small white border around your stamp to make the flower pop more.
Step 9: Give your flowers a cute face, draw a smile with a black fine liner/marker and a pair of eyes, or glue some googly eyes. And what about some pink cheeks?
Step 10: Now, glue our flower prints against your straw. You can use hot glue to ensure the flower sticks well or secure the flower with a piece of tape. And don´t forget to glue one or two green leaves on your strawflower.
Well, they are done creating these gorgeous DIY flower stamps. Are you ready for another fun flower craft activity? Try out these pretty DIY paper flowers in a popsicle frame. They make a cute gift idea for a loved one.
For more information about our favorite craft supplies and stores, check out the blog post favorites. And don’t forget to subscribe to our YouTube channel for step-by-step craft instructions!
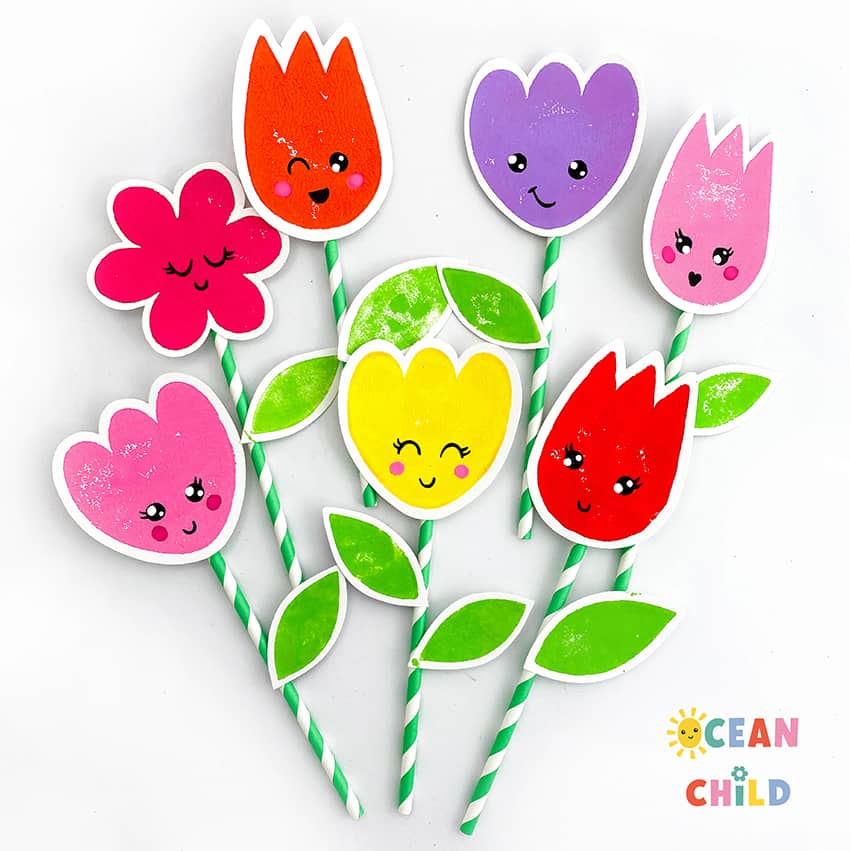
Easy Mother´s Day craft
 Bear Pop-Up Card for Kids – Easy Valentine’s and Mother’s Day Craft
 Easy Lilo and Stitch Craft for Kids: Step-by-Step Fun at Home!
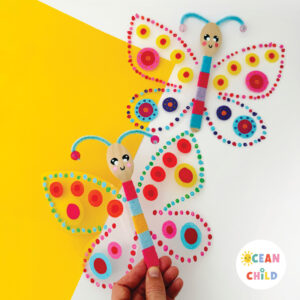 Make Colorful Butterfly Puppets with Flapping Wings for Kids!
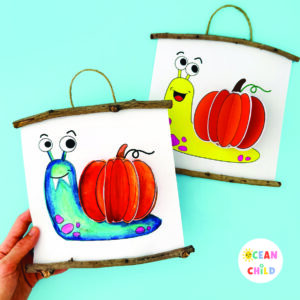 A 3D Pumpkin Snail Craft for Kids, Fall & Halloween Activity with Template


[…] Great job on these happy spring flowers. Now you have the perfect Mother´s Day craft and gift! Looking for another Easy Mother´s Day craft, try out these beautiful DIY frames with free craft printable. Or try out these easy spring flowers, perfect for kids of all ages. […]