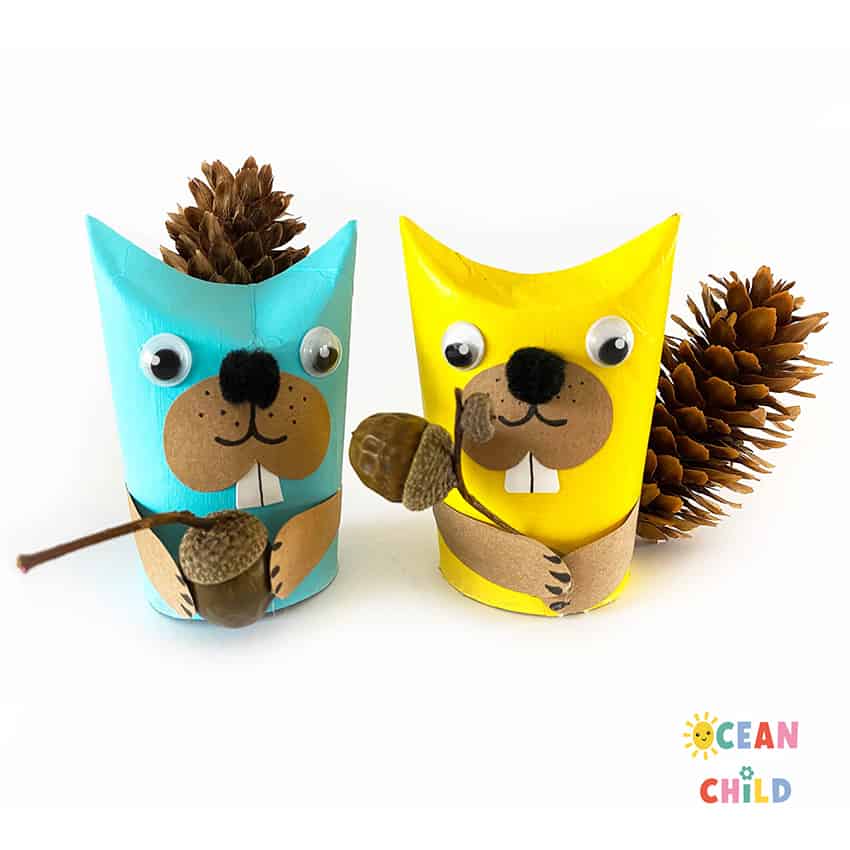
Looking for a fun, creative nature craft for kids? This adorable pinecone squirrel craft is a fantastic way to turn everyday natural treasures into whimsical woodland animals! With just a few basic craft supplies and a walk in the park, you can make your own charming paper roll squirrels with fluffy pinecone tails.
This easy DIY squirrel craft is perfect for autumn activities, forest school, or any rainy-day indoor fun. Ready to get started? Let’s go!
By using this site, you agree to our terms of use. This article contains affiliate links; read our full discloser here.
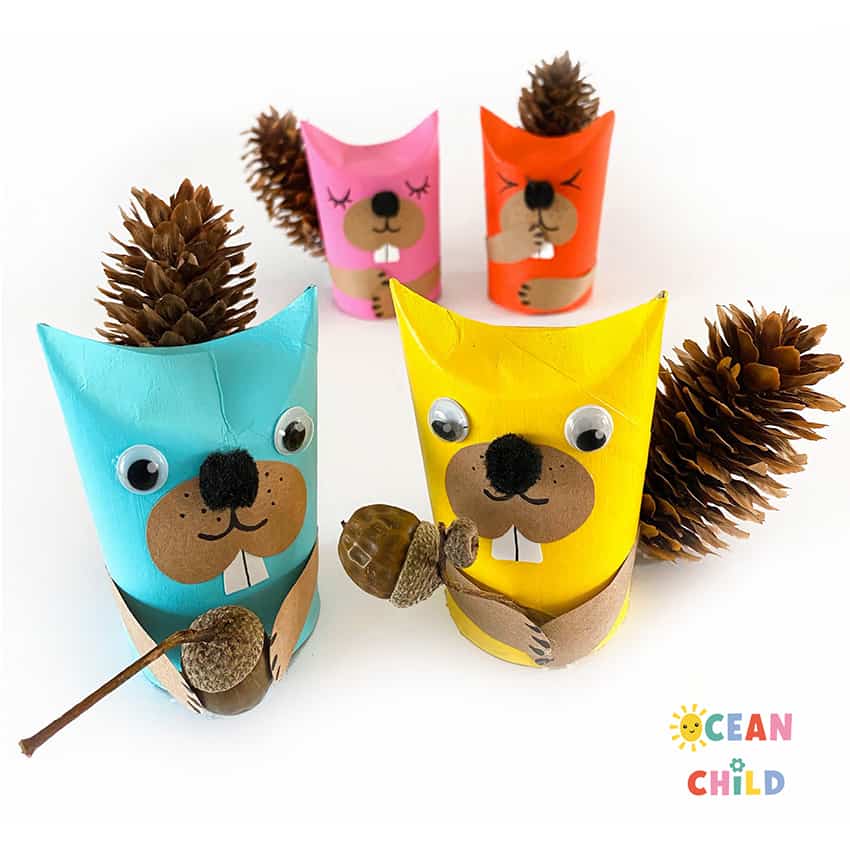
Paper roll pinecone squirrels craft for kids
Why You’ll Love This Pinecone Squirrel Craft
-
Uses natural materials like pinecones and acorns
-
Great fall craft for preschoolers, toddlers, and kids of all ages
-
Helps kids explore creativity and fine motor skills
-
Easy and inexpensive to make at home
Paper Roll Pinecone Squirrel Craft Supplies
-
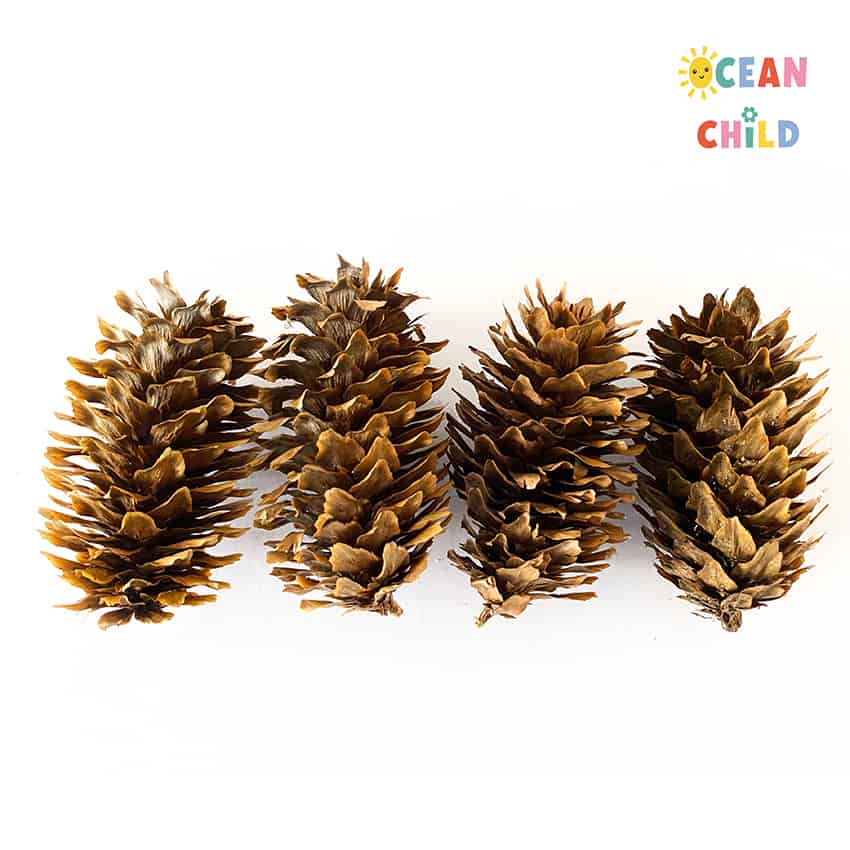
Pinecones
-
Paper rolls (toilet paper or kitchen rolls)
-
Acorns (optional)
-
Brown craft paper & white paper
-
Paintbrush or sponge
-
Tiny black pom-poms (optional)
-
Googly eyes (optional)
-
Glue (hot glue gun works best to make different materials stick)
-
Scissors
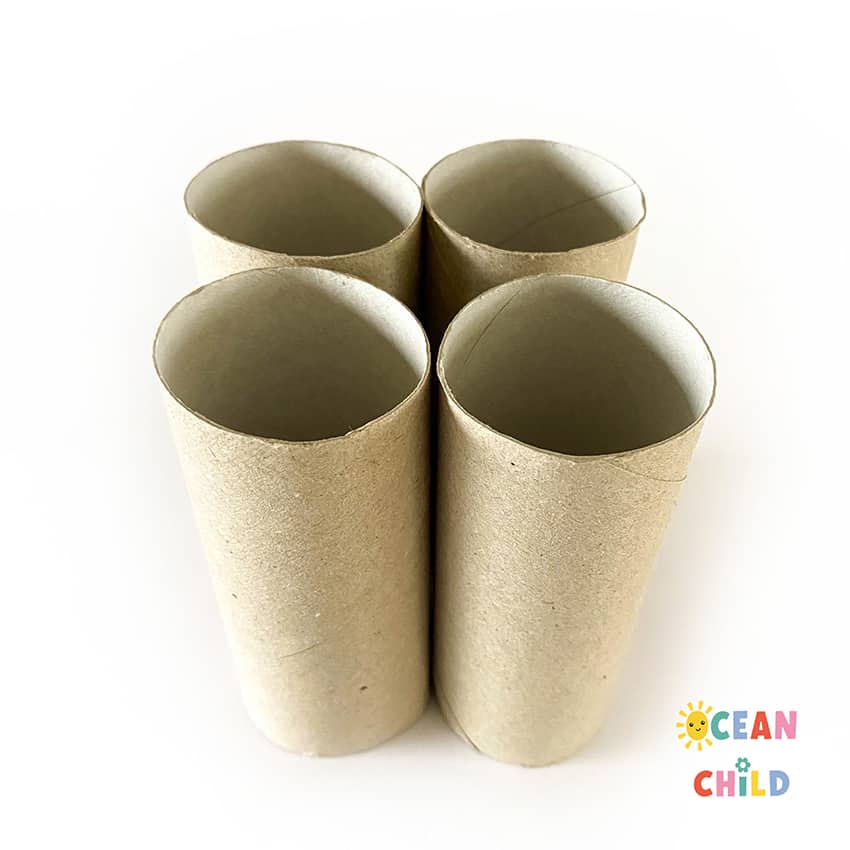
You can take your paper rolls for the base of your squirrels.

Cut a piece of your paper roll depending on the size of your pinecone
How to Make a Paper Roll Pinecone Squirrel, Step-by-Step Instructions
Step 1: Gather Your Supplies
Lay out all your craft materials. Decide how many squirrels you want to make; you need one paper roll per squirrel.
Step 2: Size the Paper Roll
To match the size of your pinecones, cut a bit off the paper roll if needed. This helps the proportions look just right.
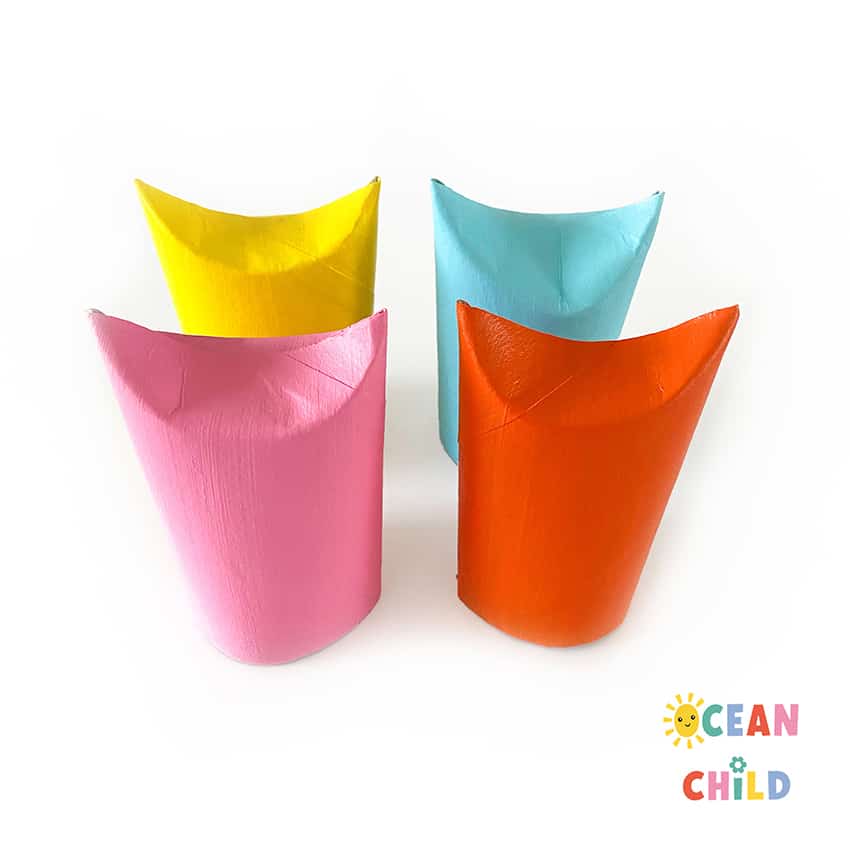
Step 3: Paint the Paper Roll
Pick your favorite squirrel color! We used fun shades like blue, pink, orange, and yellow. However, you can also opt for more traditional colors, such as brown or orange. We used acrylic paint because it provides excellent coverage. With small kids, use washable paint. Use an old sponge or brush for easy painting. Let it dry completely.
Step 4: Create the Head & Ears
Once dry, fold down the top of the roll to create cute little “ears.” This automatically forms your squirrel’s head.
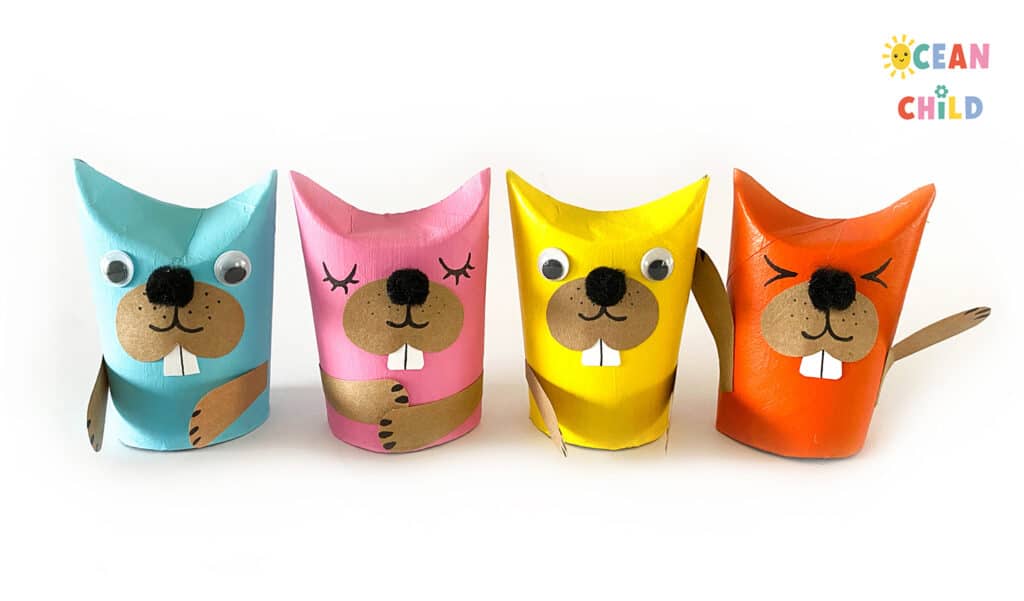
Add a cute face to your paper roll squirrels.
Step 5: Add the Face
Cut a wide heart shape out of brown paper and glue it upside down on the front. Add:
-
Two white teeth
-
A small black pom-pom for the nose
-
Googly eyes or draw eyes with a marker
Step 6: Make the Squirrel’s Arms
Cut two small arm shapes (around 6 cm / 2.5 inches long) from brown paper. Glue one on each side of the paper roll.
Step 7: Attach the Pinecone Tail
Glue a pinecone to the back of the paper roll for a fluffy, full squirrel tail! You can also attach it to the side if you prefer. Hot glue works best to hold it in place securely.
Step 8: Add an Acorn (Optional)
For a final touch, glue a small acorn between the squirrel’s arms. So cute!
Nature Craft Fun for Kids
Great job! You’ve created a delightful pinecone squirrel ready to scurry through your home. This craft is a fantastic way to blend creativity with nature, making it ideal for fall crafts, forest school projects, or homeschool activities.
Looking for more nature-inspired fun? Check out:
-
Pinecone Butterflies – colorful, magical, and super fun to make!
-
Pinecone Lion Wall Decor – a beautiful craft that makes a great room decoration.
Favorite Craft Supplies & Tutorials
Want to know what we use in our projects? Visit our Craft Favorites blog post to discover our top recommended tools and materials.
And don’t forget to subscribe to our YouTube channel for easy-to-follow craft tutorials for kids!
 8 Fun and Easy Pinecone Crafts for Kids This Fall
 Woodland Animal Craft for Kids, Hedgehog & Squirrel with Fall Leaves
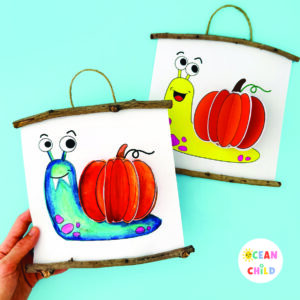 A 3D Pumpkin Snail Craft for Kids, Fall & Halloween Activity with Template
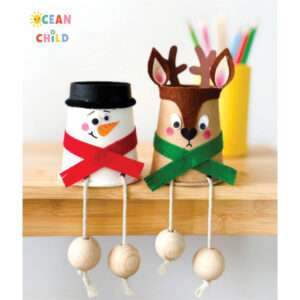 How to Make a Paper Cup Reindeer and Snowman (Easy Winter Crafts for Kids)


)
[…] job on this fantastic pinecone dinosaur craft. You might also like these gorgeous pinecone squirrels if you enjoy crafting with pinecones. Or try out this lion craft with pinecone manes, a beautiful […]