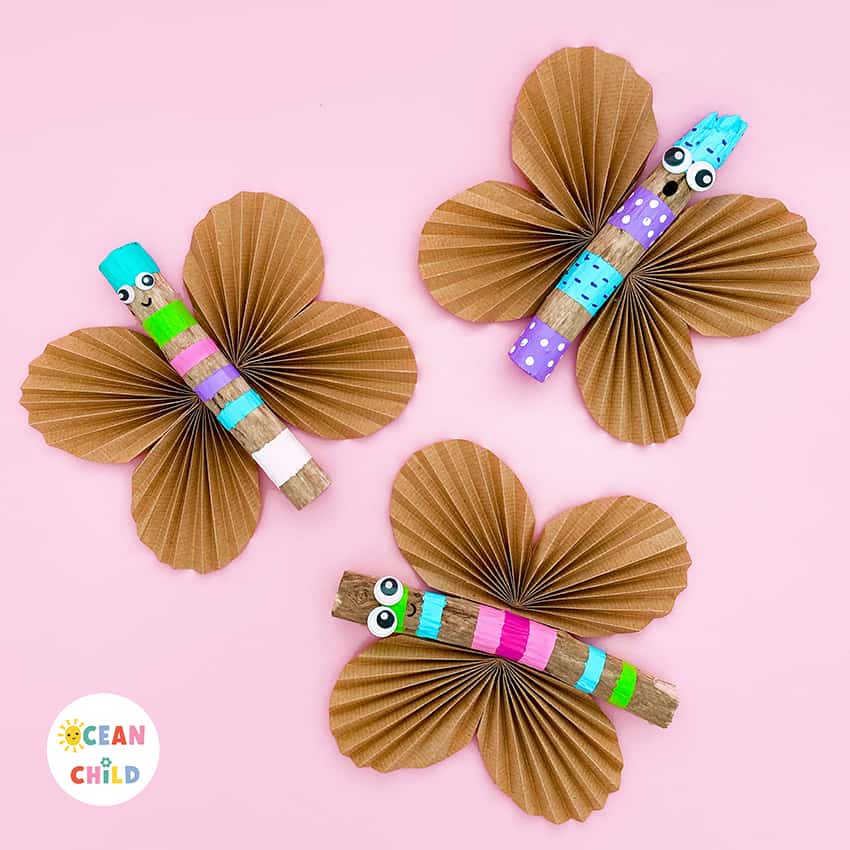
How fun and cute is this butterfly stick craft activity? If you enjoy nature as much as we do, it’s time to bring the elements of your outdoor adventures into your crafts. Sticks and driftwood make perfect craft materials. And if you decorate your stick with paint, you already have fantastic artwork, but when you give it some wings, your stick turns into a beautiful butterfly. So. gather the craft materials below, and let´s start crafting!
By using this site, you agree to our terms of use. This article contains affiliate links; read our full discloser here.

Craft Supplies
- Stick/wood/driftwood
- Paint, we used acrylic paint for the best coverage
- Paint brush or sponge to apply paint
- Painter’s tape
- Roll craft paper
- Plate or a circle to trace
- pencil
- Scissor
- Googly eyes (optional)


Step-by-step instructions
Step 1: Gather the craft supplies you need for this craft.
Step 2: Start with your wooden stick or a piece of driftwood. To make the perfect-colored stripes, we used painter’s tape. See the picture (step 2) above. You can tape off small lines or only do a few big stripes.
Step 3: Pick your favorite paint colors; we recommend using acrylic paint because it sticks very well on wood and has excellent coverage. When you’re done painting your stick, ensure the paint dries before removing the tape. If necessary, give your color a second layer.

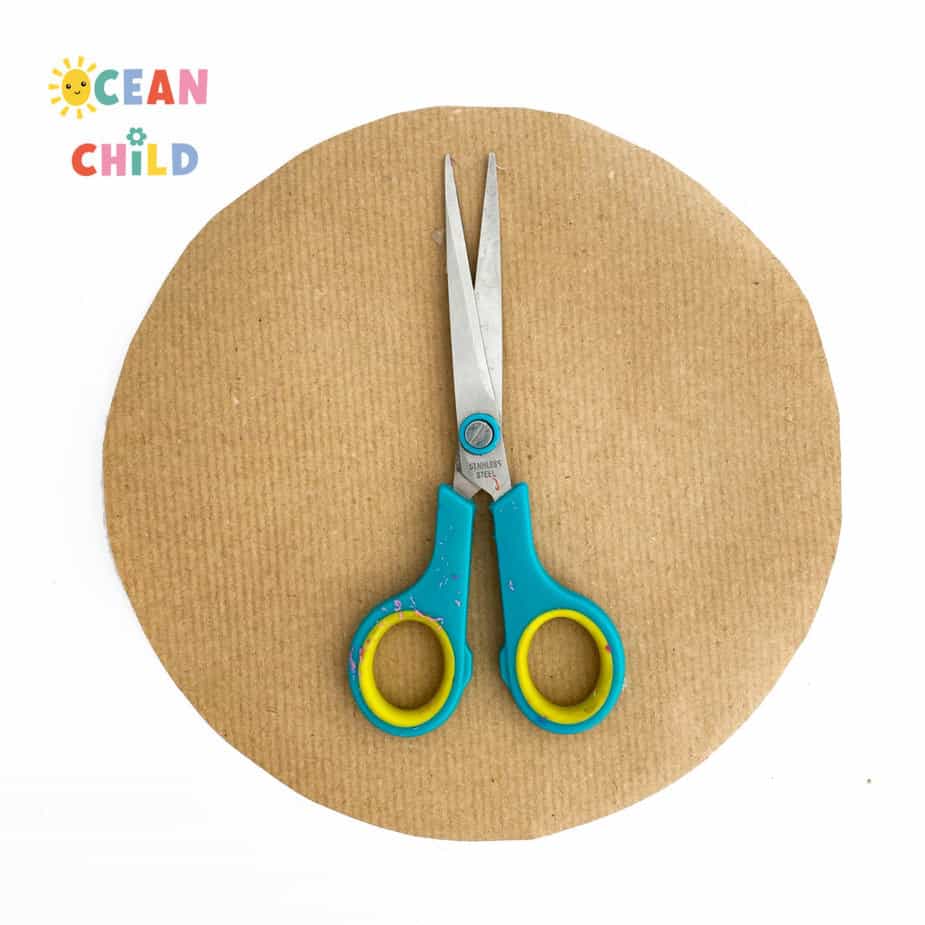

Step 4: When your paint is drying, you can make your butterfly’s wings. For the wings, we used a roll of brown craft paper. But regular printing paper will work as well as long as your paper is not too thick. Take your craft paper and a (food plate) and trace your footplate; see picture (step 4) above.
Step 5: When you have your craft paper circle, we will fold it into a fan; see picture (step 6) above. Make sure you fold it even for the best results.

Step 6: Next, we will fold the paper in half, so you create a heart-shaped fan; see picture (step 7) above. The heart-shaped fan makes a perfect butterfly wing. Now you repeat this process, so you end up with two wings. But the second wing, you fold the other way.
Step 7: When the paint of your stick is dry and you remove the painter’s tape, we will attach the wings to the middle of your stick. On the left and right sides, you glue each wing. Use hot glue to make sure the paper sticks well to the wood.
Step 8: Last but not least, give your stick butterfly a cute smile. You can use a black paint marker or fine liner for this. You can glue a pair of googly eyes on your stick butterfly if you have googly eyes.
Another fun butterfly craft activity is these gorgeous butterflies created with a pinecone. Or try out this butterfly puppet created with a wooden spoon!
For more information about our favorite craft supplies and stores, check out the blog post favorites. And don’t forget to subscribe to our YouTube channel for step-by-step craft instructions!
 8 Fun and Easy Pinecone Crafts for Kids This Fall
 Woodland Animal Craft for Kids, Hedgehog & Squirrel with Fall Leaves
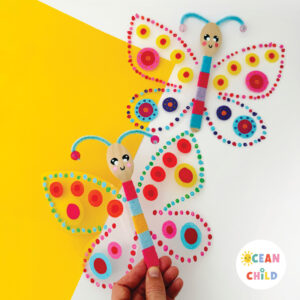 Make Colorful Butterfly Puppets with Flapping Wings for Kids!
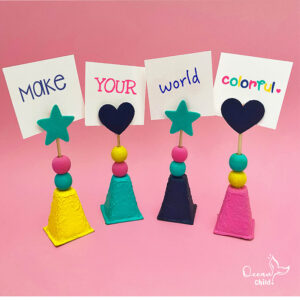 Recycle your Egg carton into a cute photo clip holder!


[…] you enjoy crafting this butterfly sun catcher? Then you might also like this gorgeous butterfly craft with a nature twist! Or these pinecone butterflies; they´re very popular on the […]