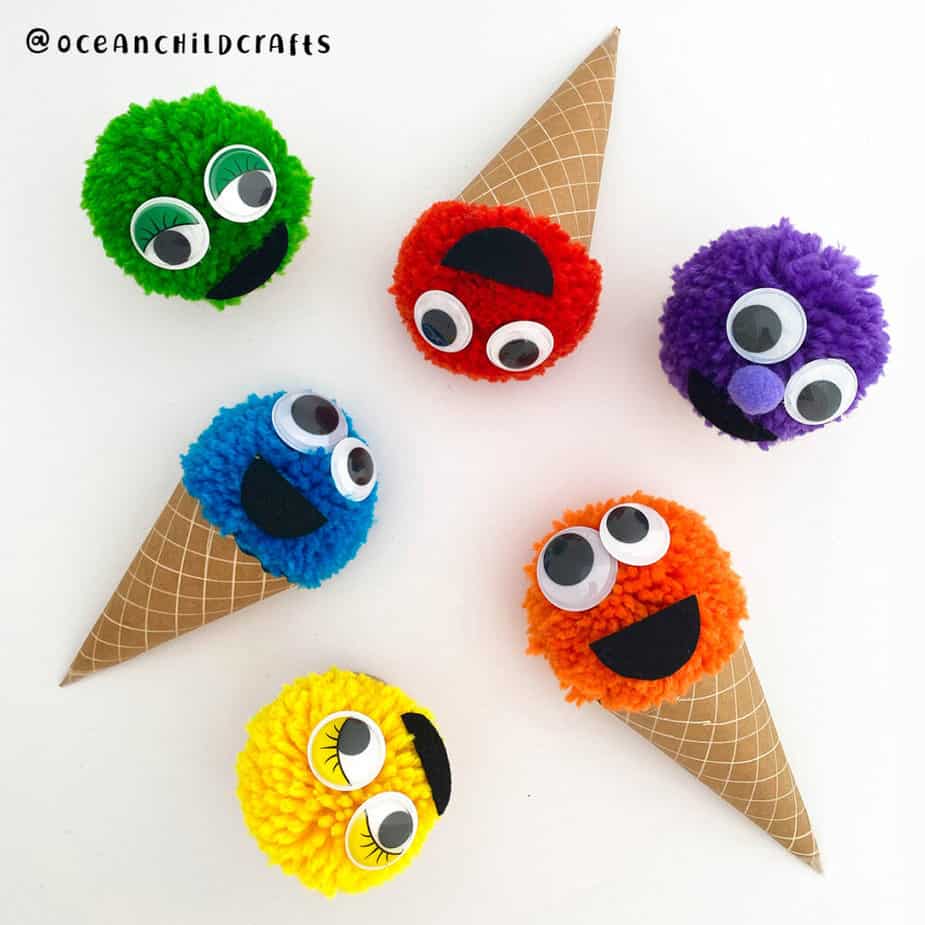
Pom-pom ice cream craft, Cookie monsters
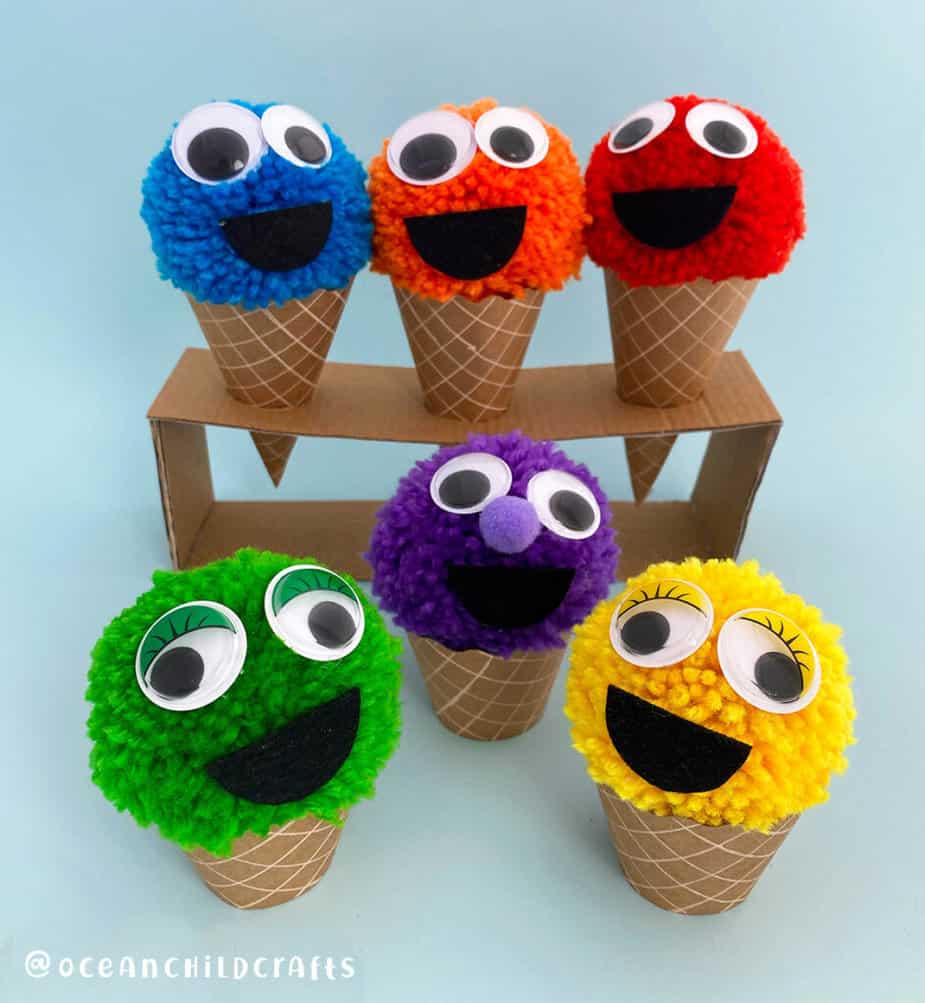
Pom-pom ice cream craft for summer
This ice cream craft is in collaboration with KiwiCo #KiwiCoPartner.
School holidays are just around the corner, and it’s time to plan some fun summer craft projects for the kids. This pom-pom ice cream craft activity will be perfect for a rainy or sunny day! And with this pom-pom maker set from kiwiCo_inc, you can make the perfect puffy and fluffy pom-poms for all kinds of creative projects—the ideal craft for all the little ice cream lovers out there.
Are you already familiar with KiwiCo? They deliver enriching hands-on projects to your doorstep. The projects are engaging and seriously fun for every age and interest. We also received this gorgeous rainbow yarn set from KiwiCo, in the perfect colors for our cookie monsters.
We created a template from the ice cream craft to make it easier. A long and short ice cream cone craft template, perfect for pom-poms between sizes 2.5-4 inches (6-10 CM). You can use the ice cream cones as puppets and make a puppet show, turn them into a summer ice cream garland, or give them to a loved one. Endless options!
By using this site, you agree to our terms of use. This article contains affiliate links; read our full discloser here.
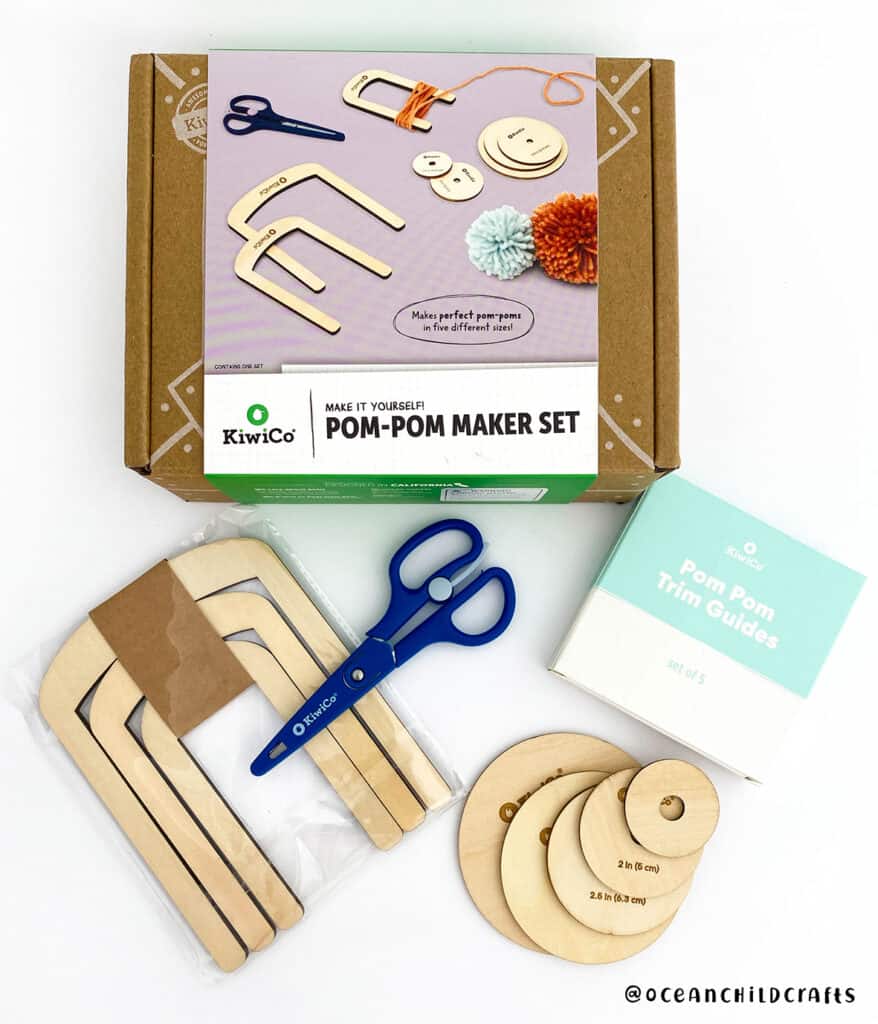
How to make a pom-pom
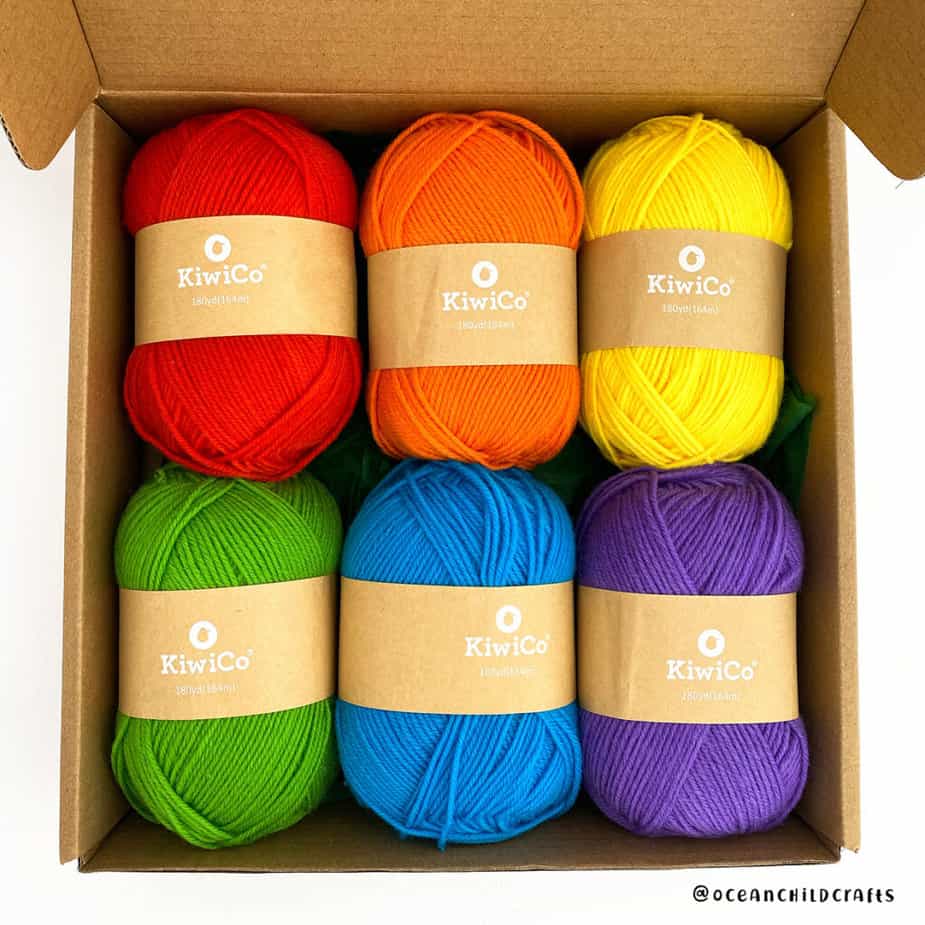
Yarn rainbow craft k”>
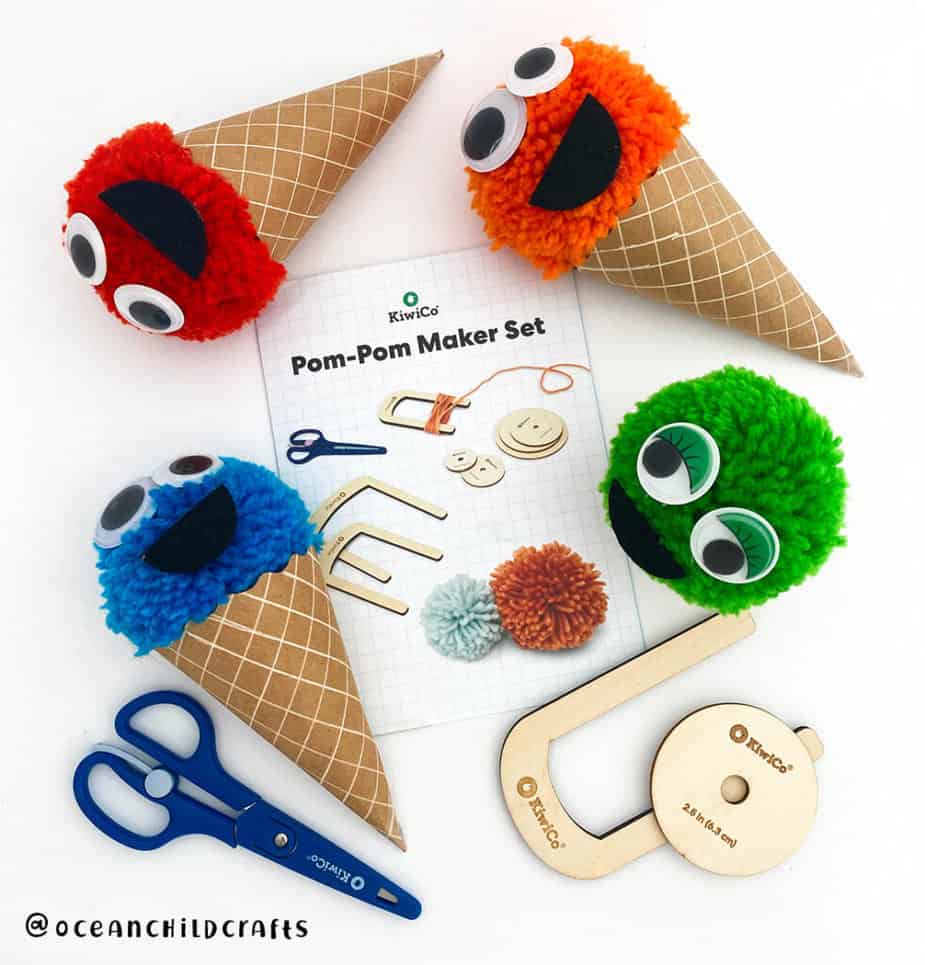 Pom-pom ice cream summer craft
Craft Supplies ice cream craft
- KiwiCo pom-pom maker set (optional)
- Yarn (rainbow yarn set Kiwico)
- Two big googly eyes
- Brown colored cardstock for the cone (or use the printable get it here)
- Black posca marker
- Black felt fabric for the mouth (you can also use black paper)
- Scissor
- Glue (preferably hot glue)
- Printable/template (optional)
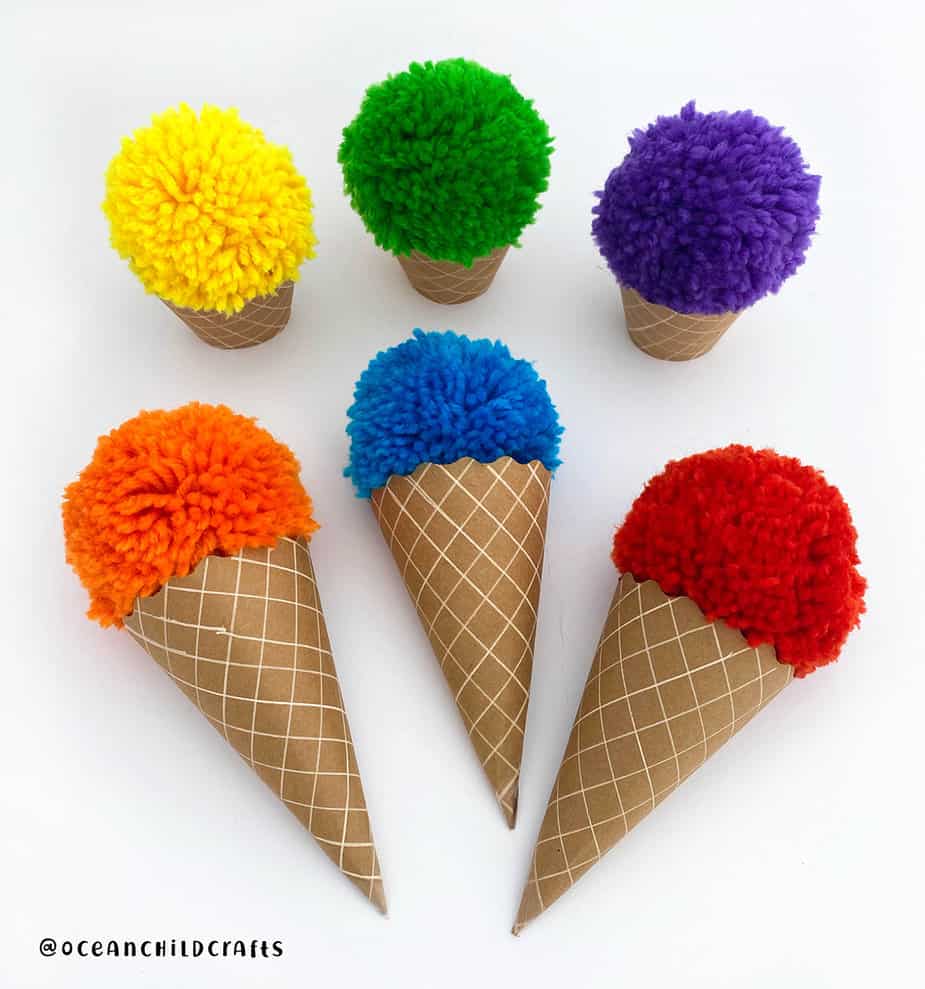
DIY pom-pom ice creams
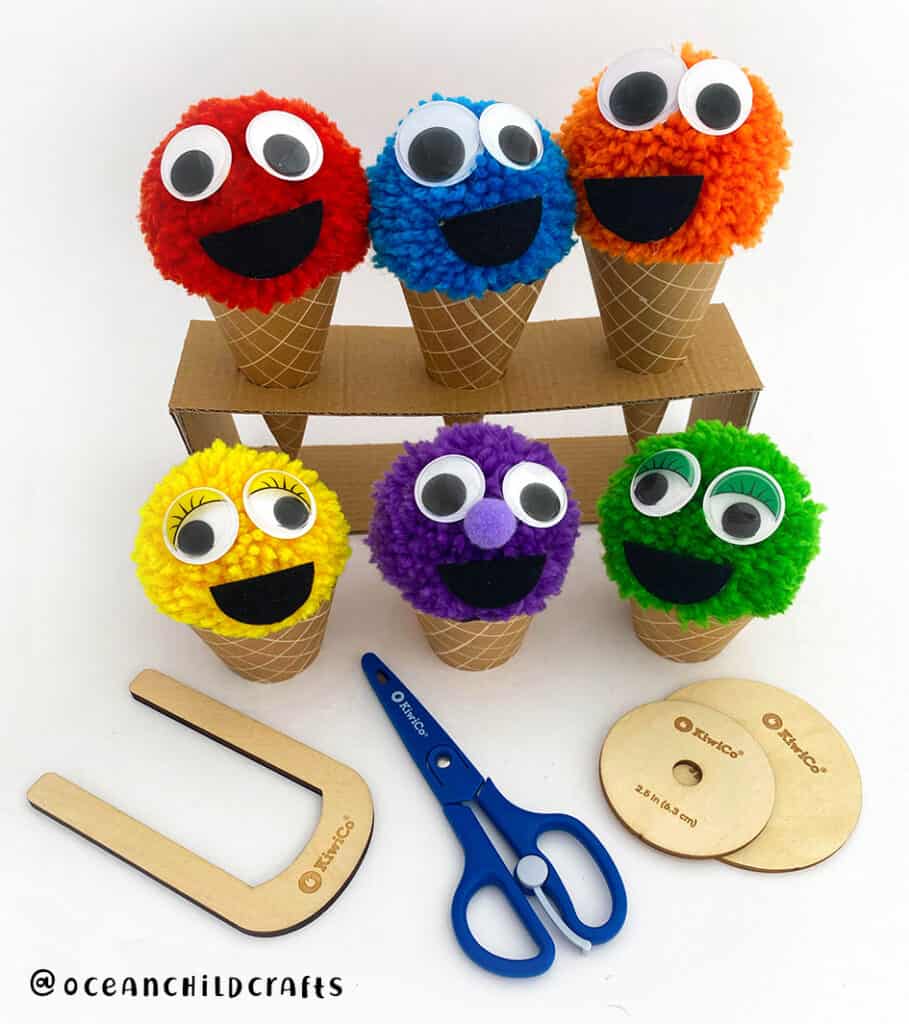
ice cream cone craft for the summer season
Step-by-step craft instructions
Step 1- Gather all the craft materials and print out the printable.
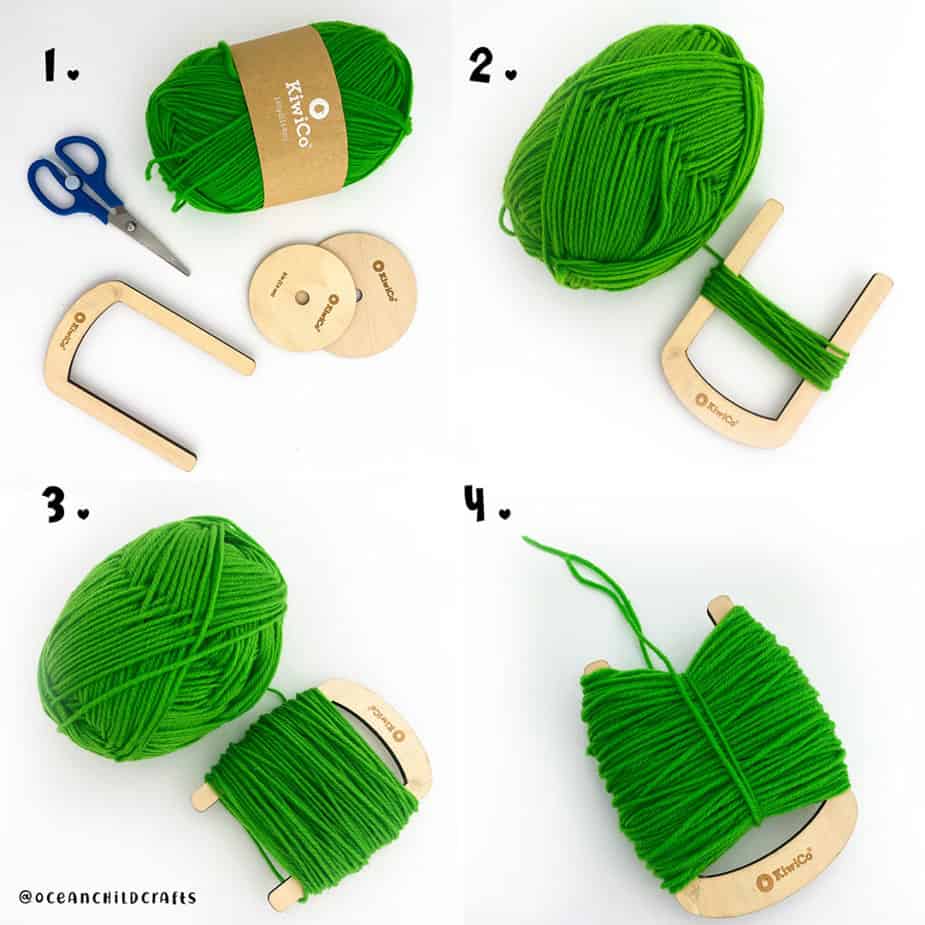
pom-pom craft kids
Step 2- Take your pom-pom winder and wrap the yarn loosely around the winder. If you don’t have a winder, you can use a piece of cardboard, for example. The more yarn you wrap around your winder, the fluffier and prettier the pom-pom will be. See picture 2 above.
Step 3- When you’re done wrapping, cut a piece of yarn about 8 inches (20 cm) long. And tie it around the middle from your yarn bundle. Push the yarn off the winder and make a very tight double knot. See picture 4 above.
Craft instructions ice cream cone
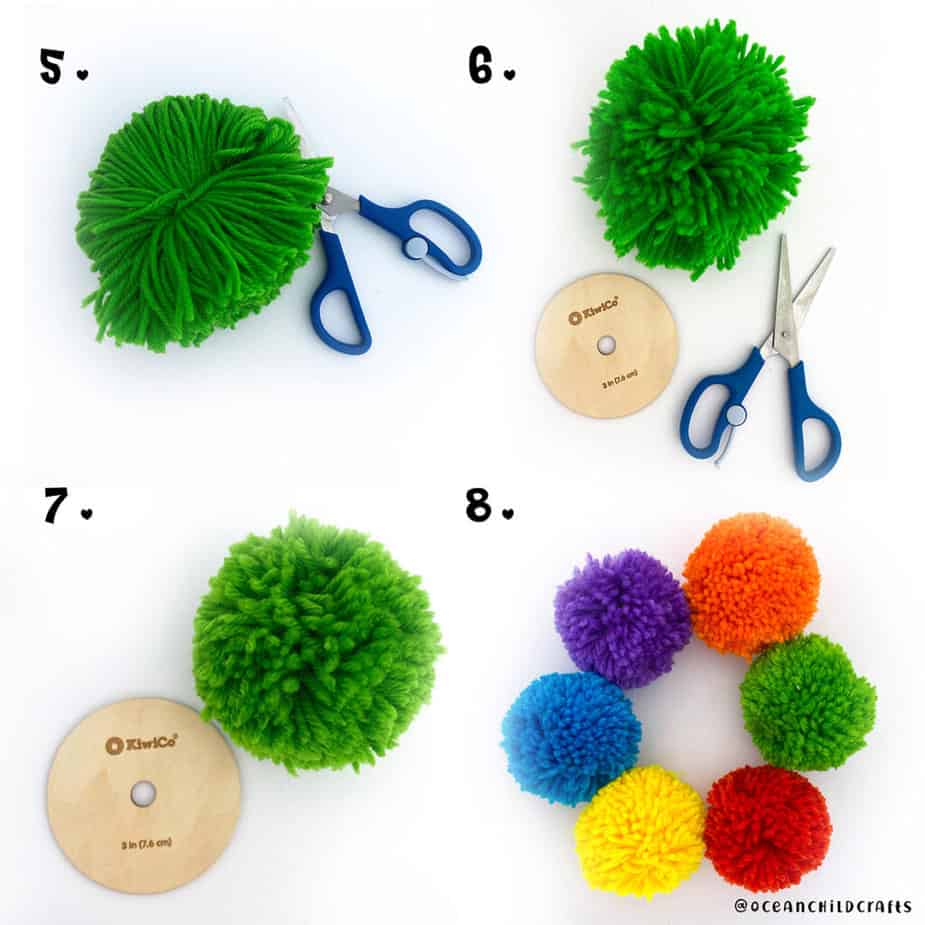
Step 4- Cut the loops of yarn a few at a time. Keep going until all the loops are all cut. When done, fluff out your pom-pom. See picture 5 above.
Step 5- By now your pom-pom looks silly and very uneven, don’t worry we’re going to fix that now. Grab the trim guide from your pom-pom maker set and center it on your pom-pom then cut all the way around the guide to make your pom-pom nice and round. Fluff out your pom-pom and move the guide to another side to trim. Repeat this step till your pom-pom is perfectly round. If you don’t have a trim guide, you can cut a round cardboard circle. See picture 6 and 7 above.
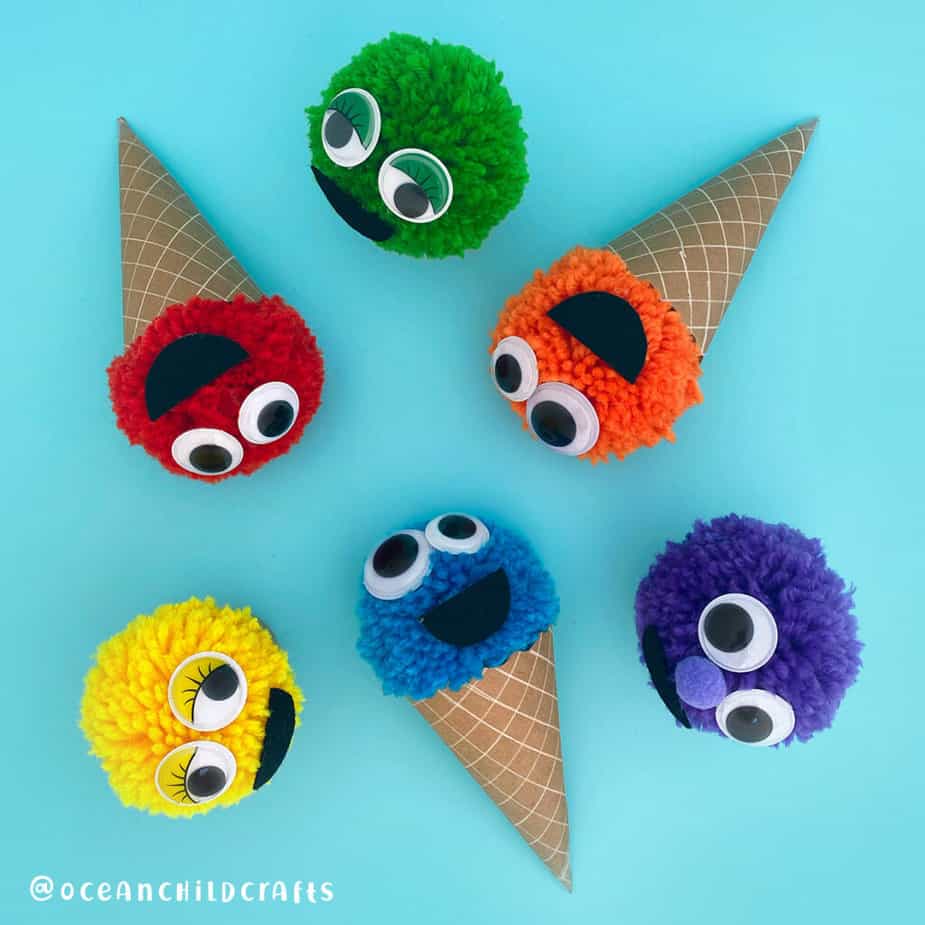
Step 6- Glue two big googly eyes on top of your pom-pom and create a smile from felt fabric or black paper.
Free ice cream craft printable
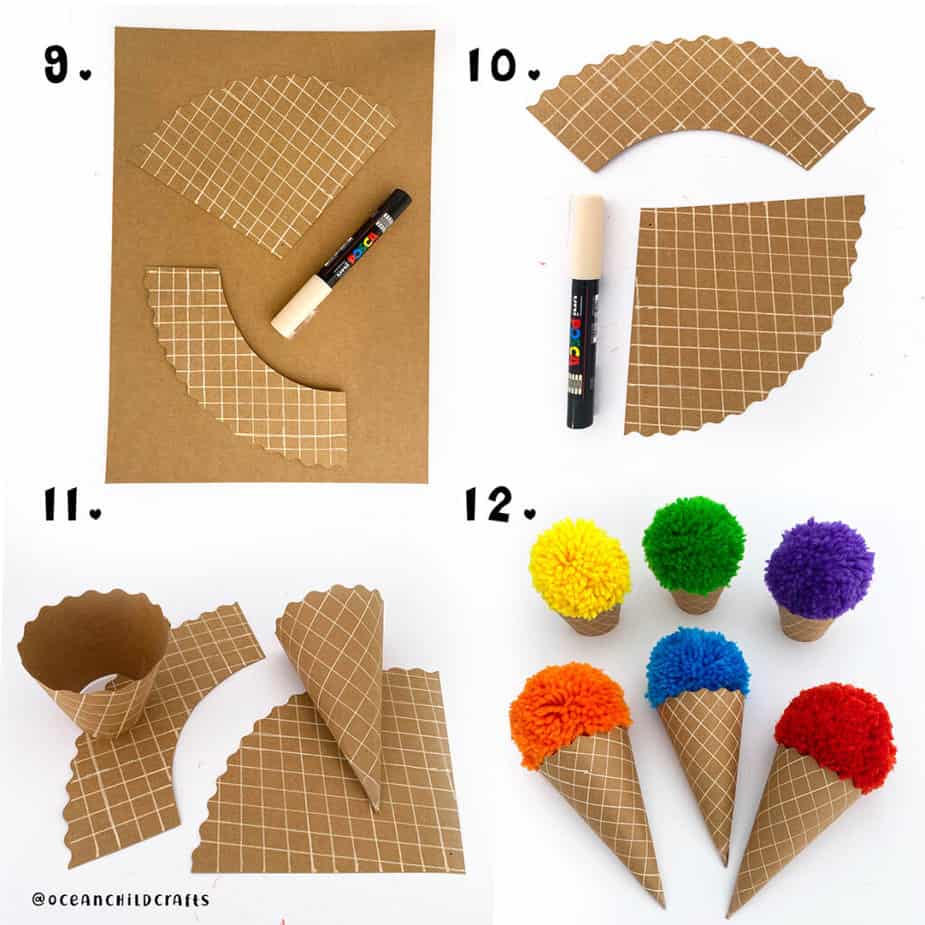
Step 7: Let’s make the ice cream cone. You can use the colored printable (skip step 8) or you can print out only the black and white outline and trace it on a beige/light brown cardstock. See picture 9 above.
Step 8– When you have your layout of the ice cream cone on cardstock you can draw a raster on top to make your cone look more realistic. See picture 10 above.
Step 9- Glue your ice cream cone together. See picture 11 above.
Step 10- When your cones are finished, it’s time to glue the pom-poms on top. Glue around the inside (top) of your cone. I recommend using hot glue to make the yarn stick very well, but make sure to be careful and help the children with this step.
YAY, your ice cream craft is done. Great job! Looking for more summer season craft ideas? Why don´t you try out these colorful origami fishes! Or take a look at these gorgeaus rainbow birds with craft template! Another fun summer craft is this tropical pop-up mini world!
More information about our favorites craft supplies and/or stores, check out the blog post favorites. And don’t forget to subscribe to our YouTube channel for step by step craft instructions!
Pom-pom Ice cream cone summer craft

Pom-pom ice cream craft, Cookie monsters

Pom-pom ice cream craft for summer
This ice cream craft is in collaboration with KiwiCo #KiwiCoPartner.
School holidays are just around the corner, and it’s time to plan some fun summer craft projects for the kids. This pom-pom ice cream craft activity will be perfect for a rainy or sunny day! And with this pom-pom maker set from kiwiCo_inc, you can make the perfect puffy and fluffy pom-poms for all kinds of creative projects—the ideal craft for all the little ice cream lovers out there.
Are you already familiar with KiwiCo? They deliver enriching hands-on projects to your doorstep. The projects are engaging and seriously fun for every age and interest. We also received this gorgeous rainbow yarn set from KiwiCo, in the perfect colors for our cookie monsters.
We created a template from the ice cream craft to make it easier. A long and short ice cream cone craft template, perfect for pom-poms between sizes 2.5-4 inches (6-10 CM). You can use the ice cream cones as puppets and make a puppet show, turn them into a summer ice cream garland, or give them to a loved one. Endless options!
By using this site, you agree to our terms of use. This article contains affiliate links; read our full discloser here.

How to make a pom-pom

Yarn rainbow craft kids

Pom-pom ice cream summer craft
Craft Supplies ice cream craft
- KiwiCo pom-pom maker set (optional)
- Yarn (rainbow yarn set Kiwico)
- Two big googly eyes
- Brown colored cardstock for the cone (or use the printable get it here)
- Black posca marker
- Black felt fabric for the mouth (you can also use black paper)
- Scissor
- Glue (preferably hot glue)
- Printable/template (optional)

DIY pom-pom ice creams

ice cream cone craft for the summer season
Step-by-step craft instructions
Step 1- Gather all the craft materials and print out the printable.

pom-pom craft kids
Step 2- Take your pom-pom winder and wrap the yarn loosely around the winder. If you don’t have a winder, you can use a piece of cardboard, for example. The more yarn you wrap around your winder, the fluffier and prettier the pom-pom will be. See picture 2 above.
Step 3- When you’re done wrapping, cut a piece of yarn about 8 inches (20 cm) long. And tie it around the middle from your yarn bundle. Push the yarn off the winder and make a very tight double knot. See picture 4 above.

Craft instructions ice cream cone
Step 4- Cut the loops of yarn a few at a time. Keep going until all the loops are all cut. When done, fluff out your pom-pom. See picture 5 above.
Step 5- By now your pom-pom looks silly and very uneven, don’t worry we’re going to fix that now. Grab the trim guide from your pom-pom maker set and center it on your pom-pom then cut all the way around the guide to make your pom-pom nice and round. Fluff out your pom-pom and move the guide to another side to trim. Repeat this step till your pom-pom is perfectly round. If you don’t have a trim guide, you can cut a round cardboard circle. See picture 6 and 7 above.
Step 6- Glue two big googly eyes on top of your pom-pom and create a smile from felt fabric or black paper.

Free ice cream craft printable
Step 7: Let’s make the ice cream cone. You can use the colored printable (skip step 8) or you can print out only the black and white outline and trace it on a beige/light brown cardstock. See picture 9 above.
Step 8– When you have your layout of the ice cream cone on cardstock you can draw a raster on top to make your cone look more realistic. See picture 10 above.
Step 9- Glue your ice cream cone together. See picture 11 above.
Step 10- When your cones are finished, it’s time to glue the pom-poms on top. Glue around the inside (top) of your cone. I recommend using hot glue to make the yarn stick very well, but make sure to be careful and help the children with this step.
YAY, your ice cream craft is done. Great job! Looking for more summer season craft ideas? Why don´t you try out these colorful origami fishes! Or take a look at these gorgeaus rainbow birds with craft template! Another fun summer craft is this tropical pop-up mini world!
More information about our favorites craft supplies and/or stores, check out the blog post favorites. And don’t forget to subscribe to our YouTube channel for step by step craft instructions!

Pom-pom Ice cream cone summer craft
 Teach Kids to Stitch with This Cute Pineapple Cross-Stitch Craft (Free Pattern)
 Easy Tulip Craft Project: Make Unique Greeting Cards
 Hop into Spring: Fun and Easy Straw Print Chick Painting for Easter
 Make this Festive Dinosaur Christmas Craft With Kids


I got what you intend,saved to favorites, very nice web site.
Just wanna input that you have a very nice web site, I like the layout it really stands out.